|


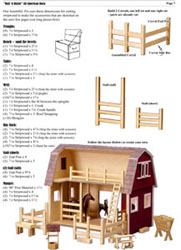
A cutting list is on page 7
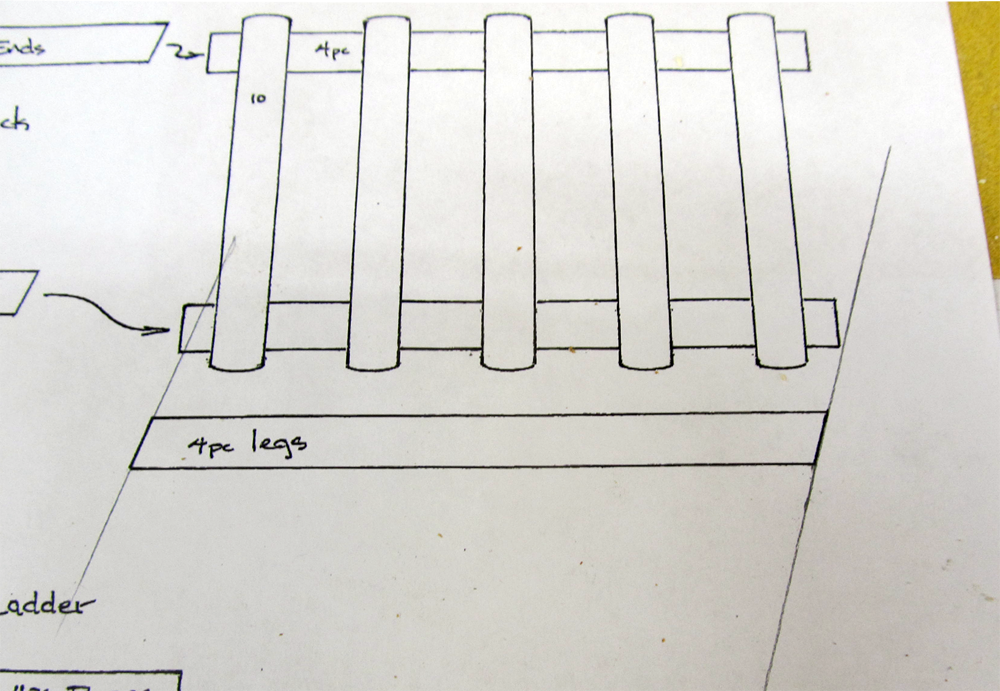
The diagram is on page 9
|
DHTMLGoodies.com
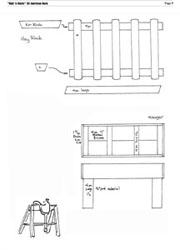
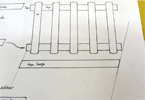
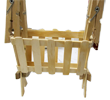
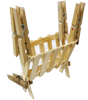
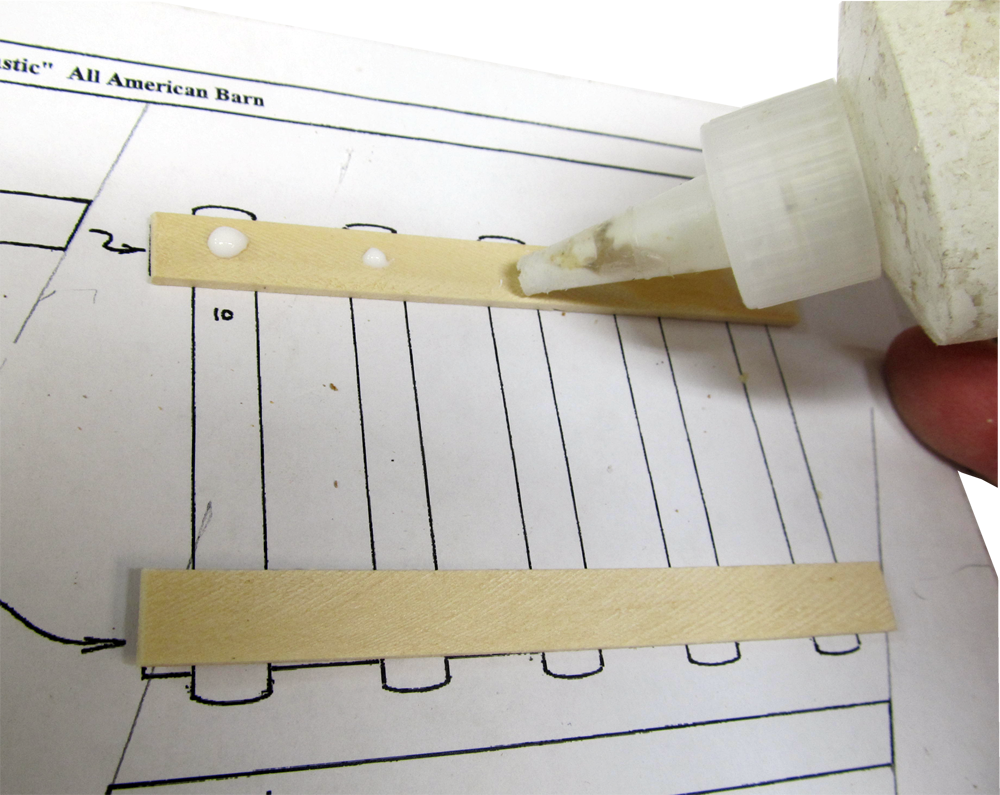
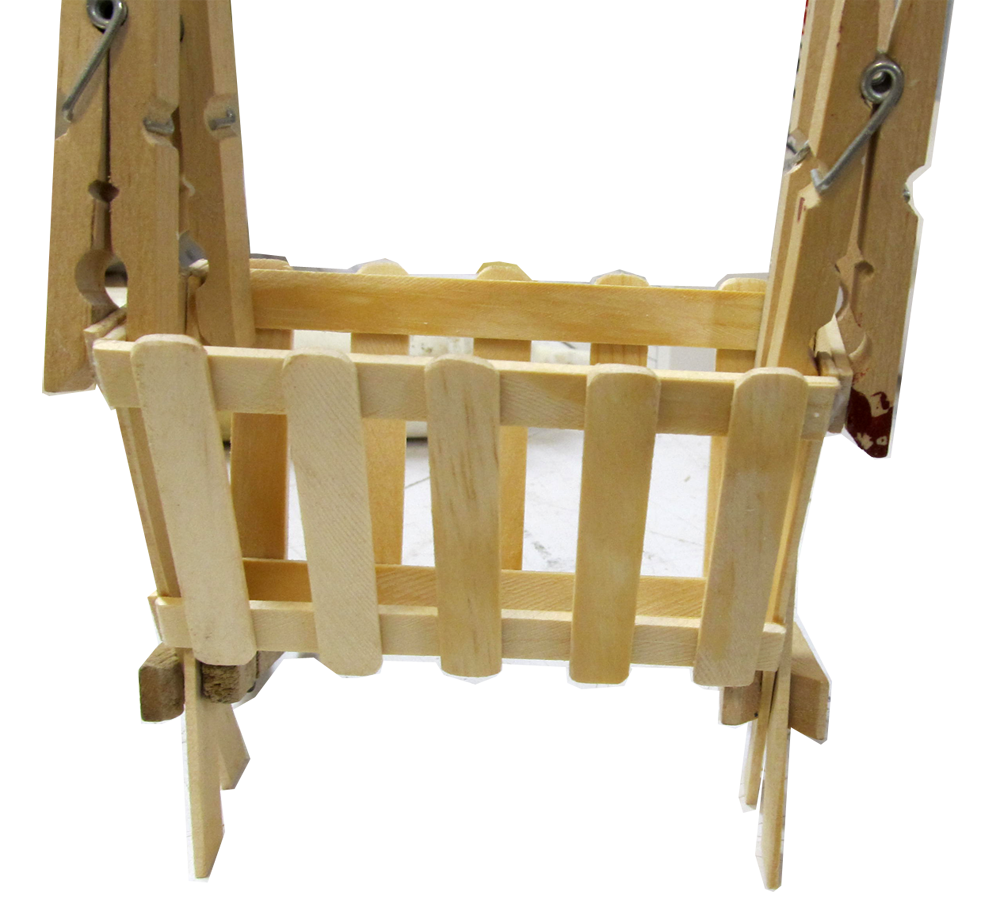
 00. Details of the Hay Rack assembly
../../RGT_Website_assets/ajax-loader.gif
00. Details of the Hay Rack assembly
../../RGT_Website_assets/ajax-loader.gif
DHTMLGoodies.com
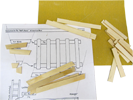
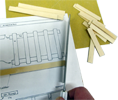
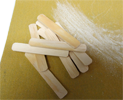
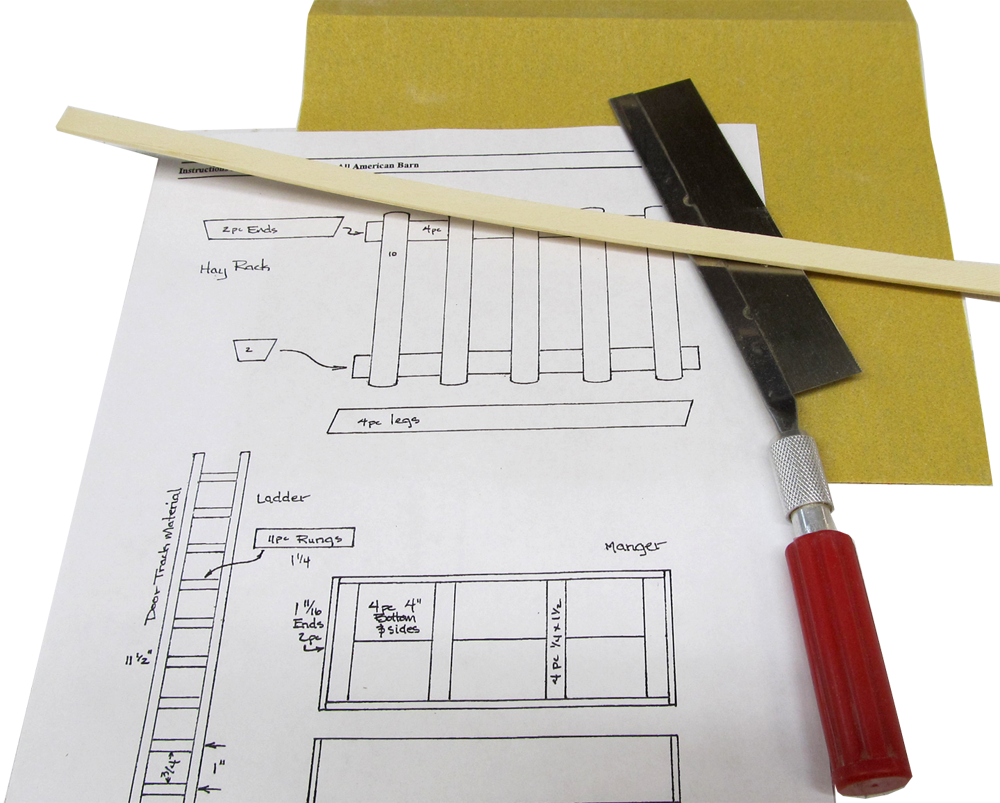
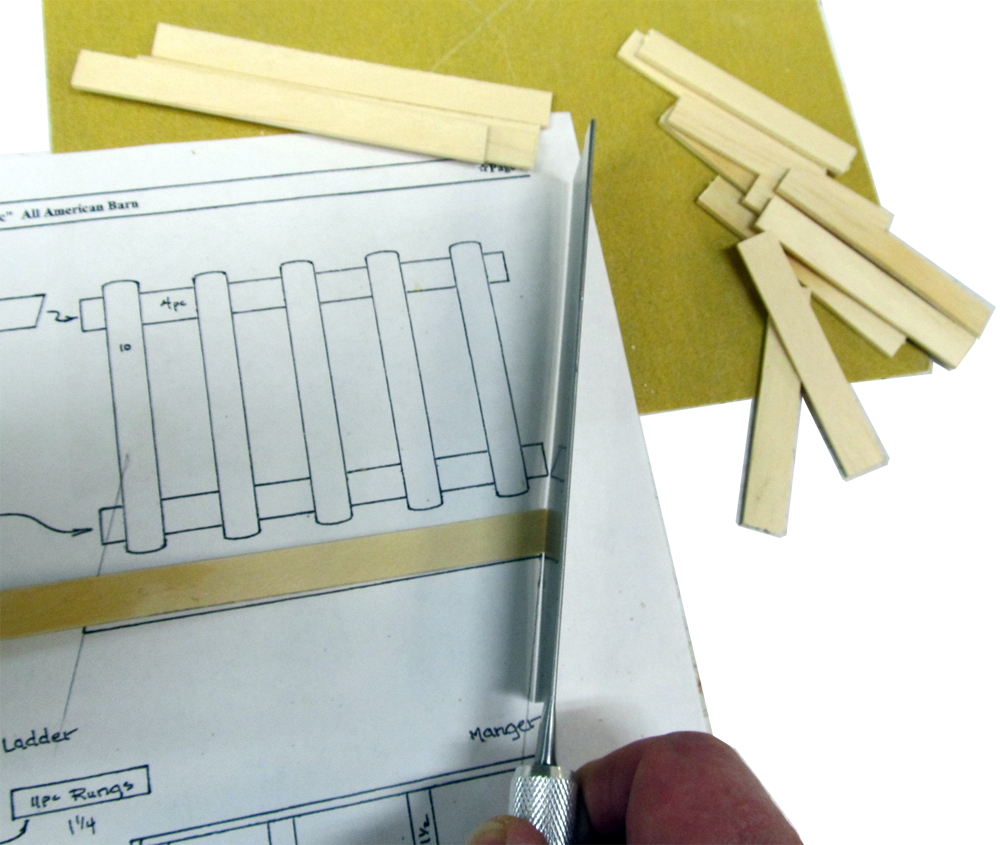
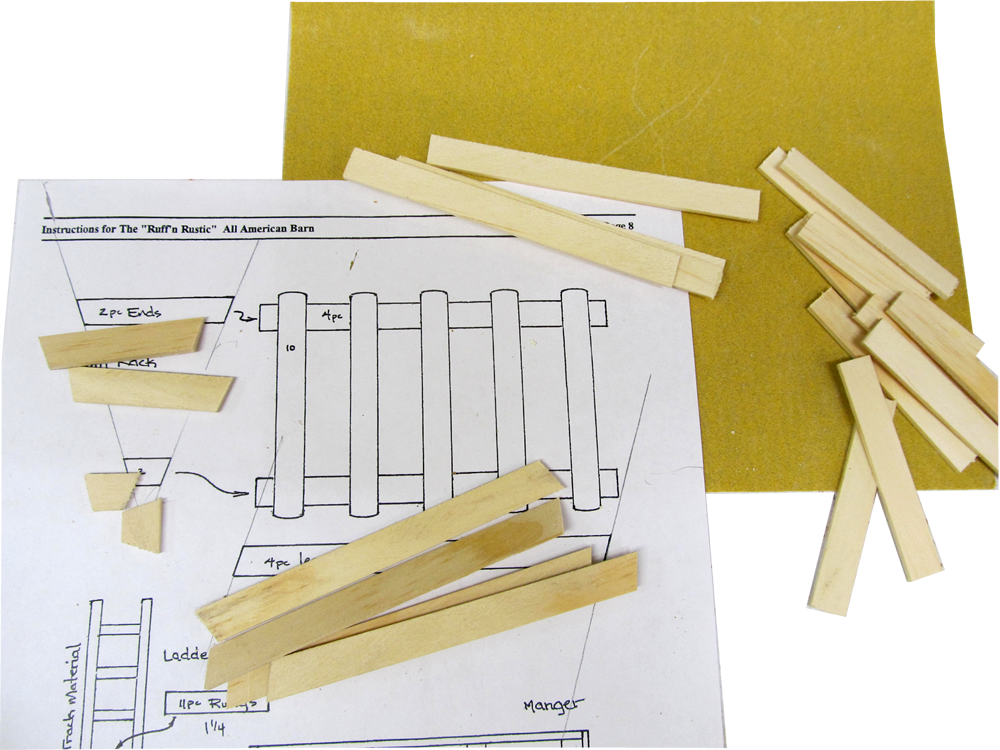
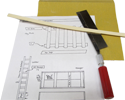 01. Stripwood, razor saw, sandpaper, and the cutting/assembly diagram
01D.png
01. Stripwood, razor saw, sandpaper, and the cutting/assembly diagram
01D.png
DHTMLGoodies.com
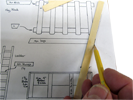
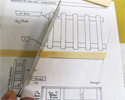
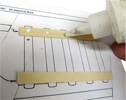
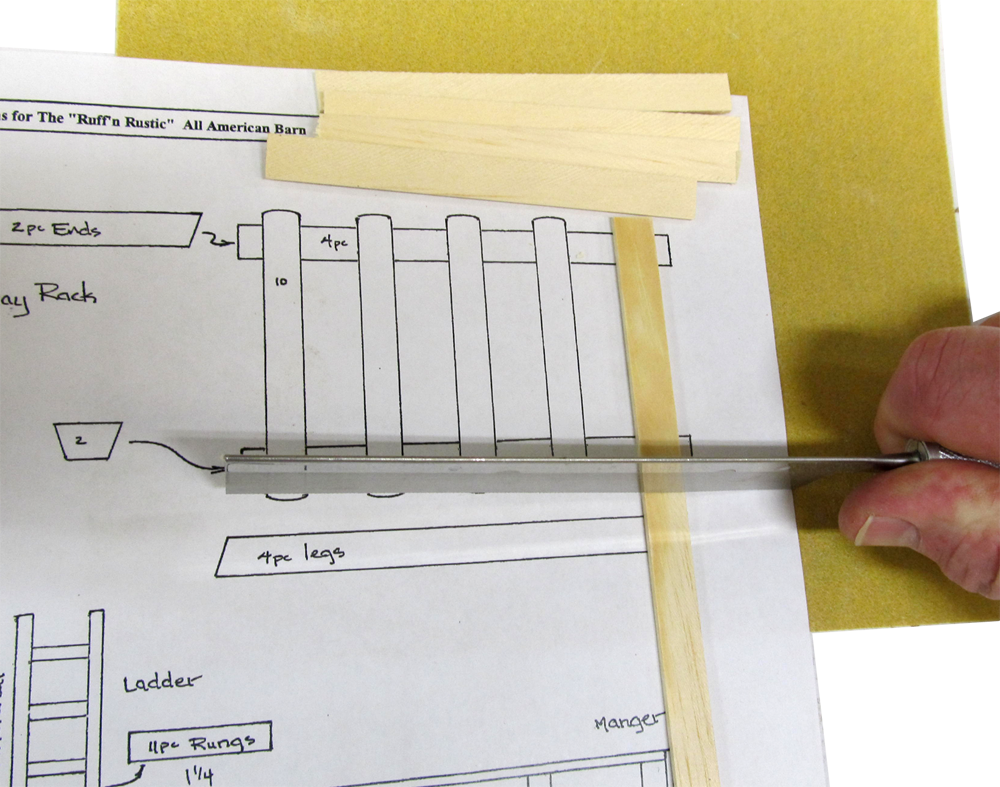
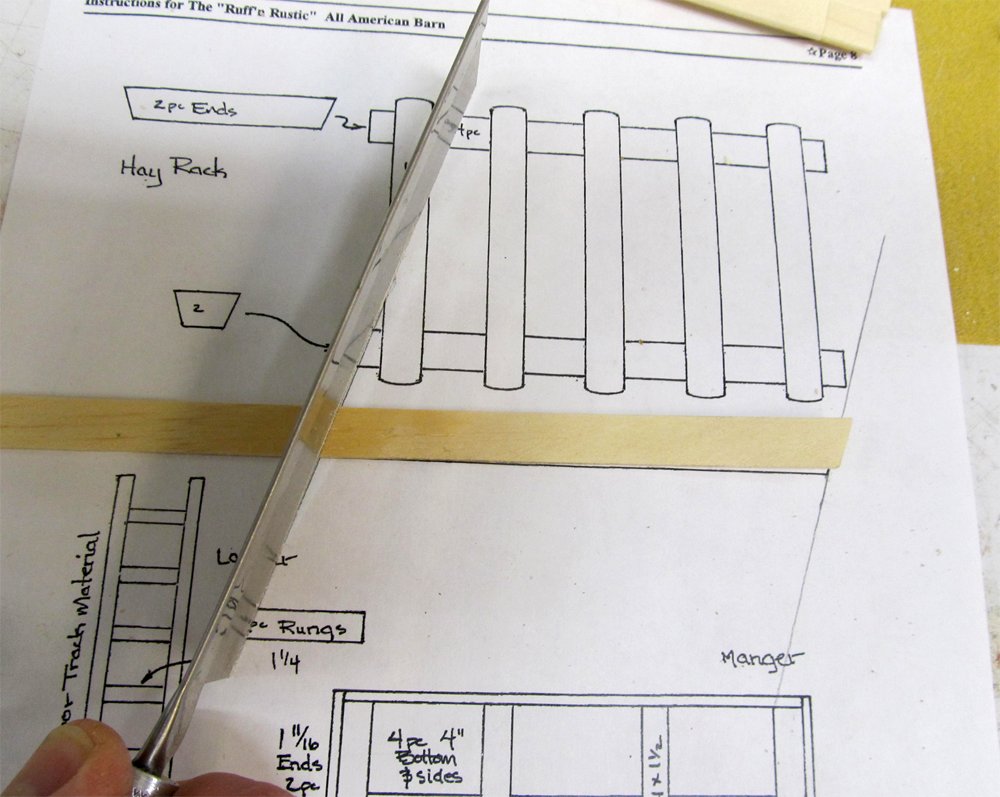
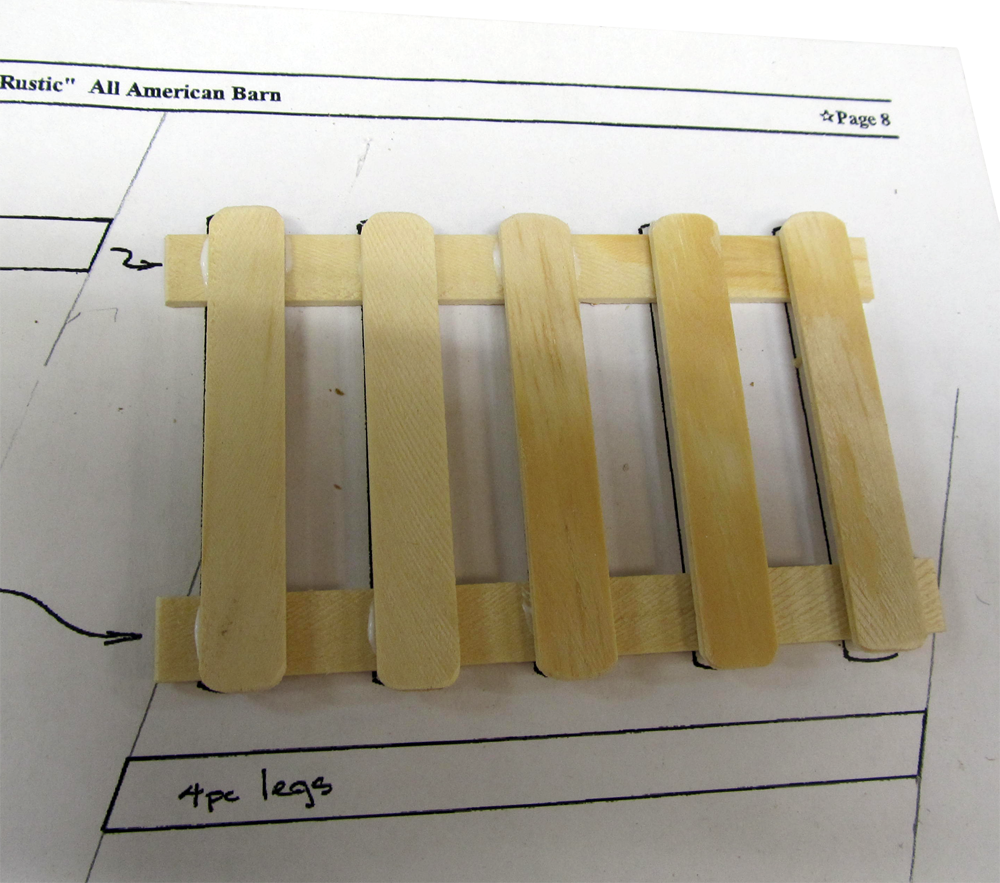
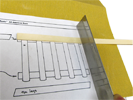 02. You can lay out the cuts on the diagram if it's easier than measuring
02D.png
02. You can lay out the cuts on the diagram if it's easier than measuring
02D.png
DHTMLGoodies.com
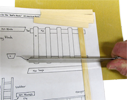
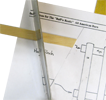
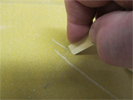
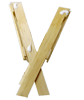
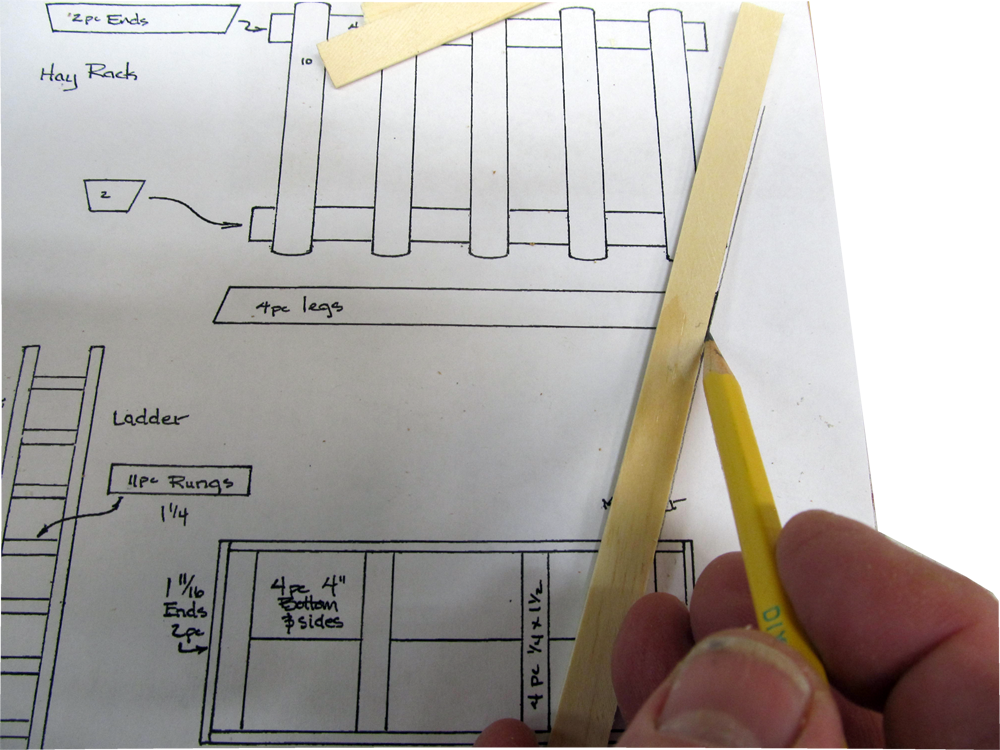
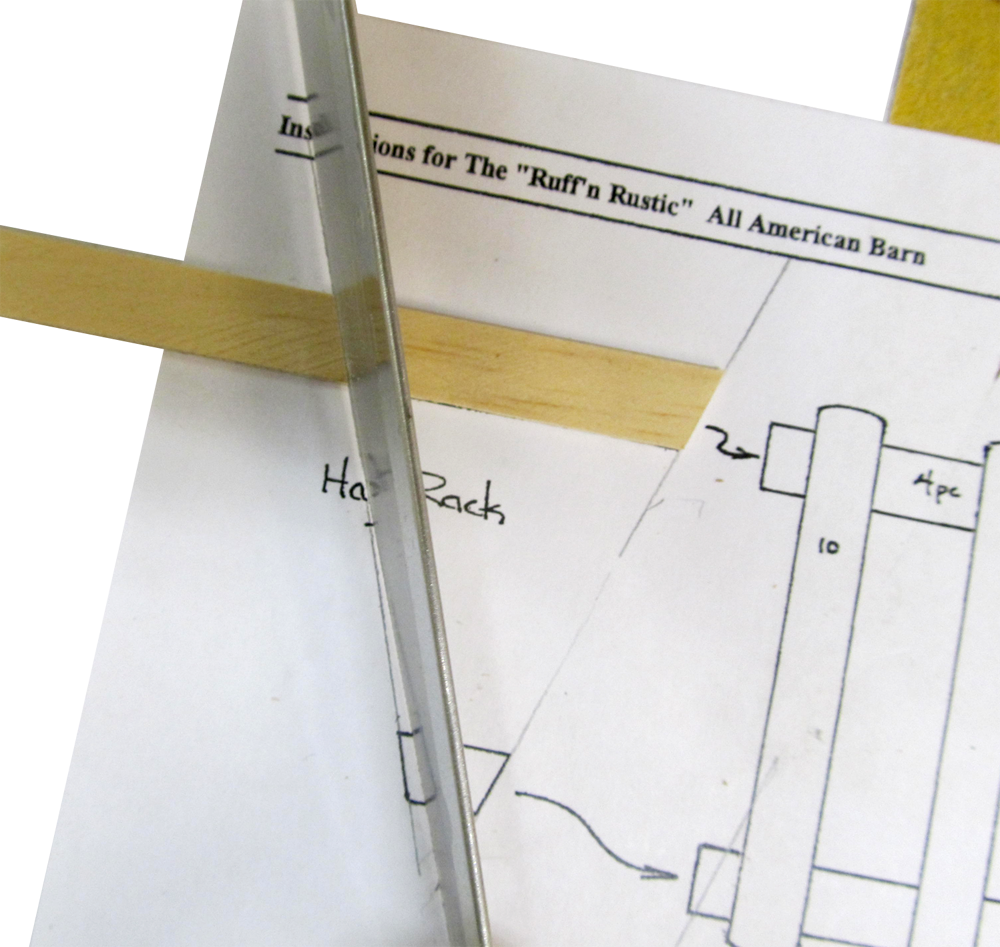
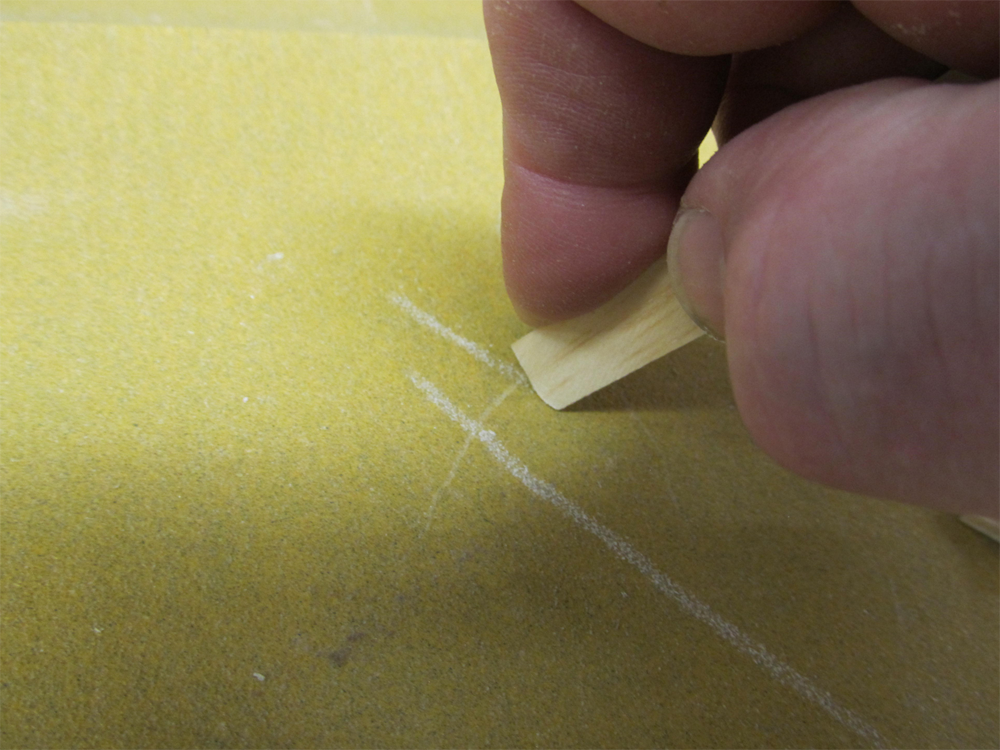
 04. Extend the lines so you can guide the saw when the diagram is covered
04D.png
04. Extend the lines so you can guide the saw when the diagram is covered
04D.png
DHTMLGoodies.com
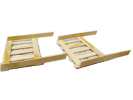
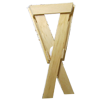
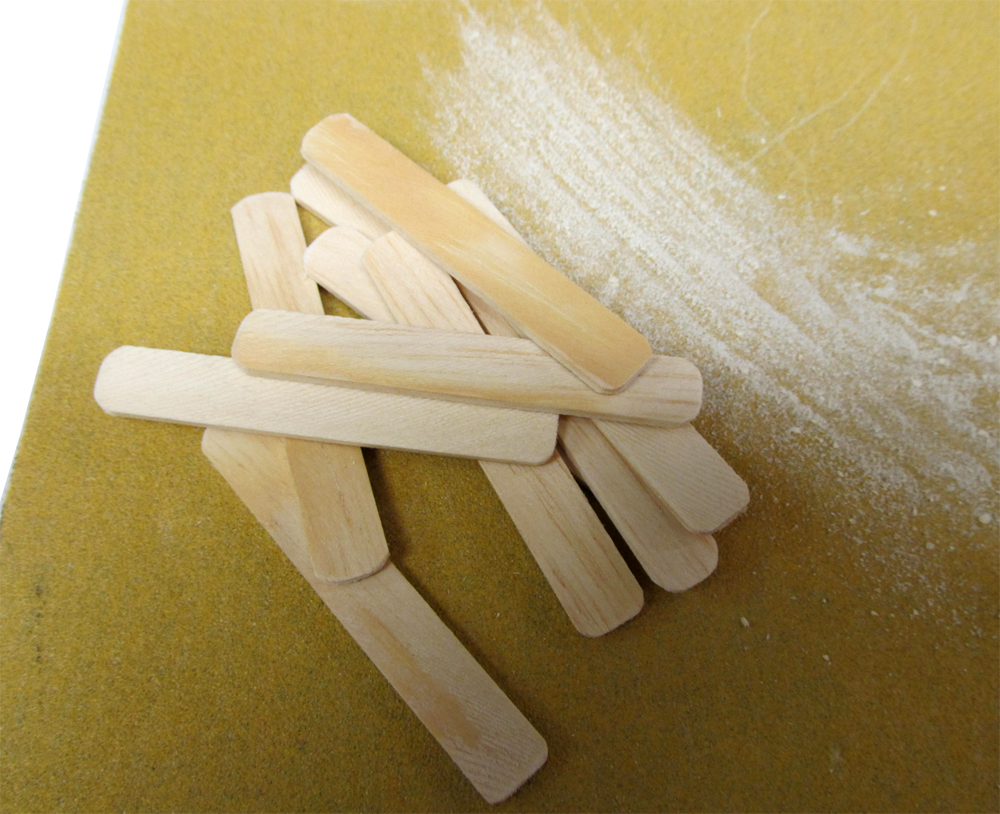
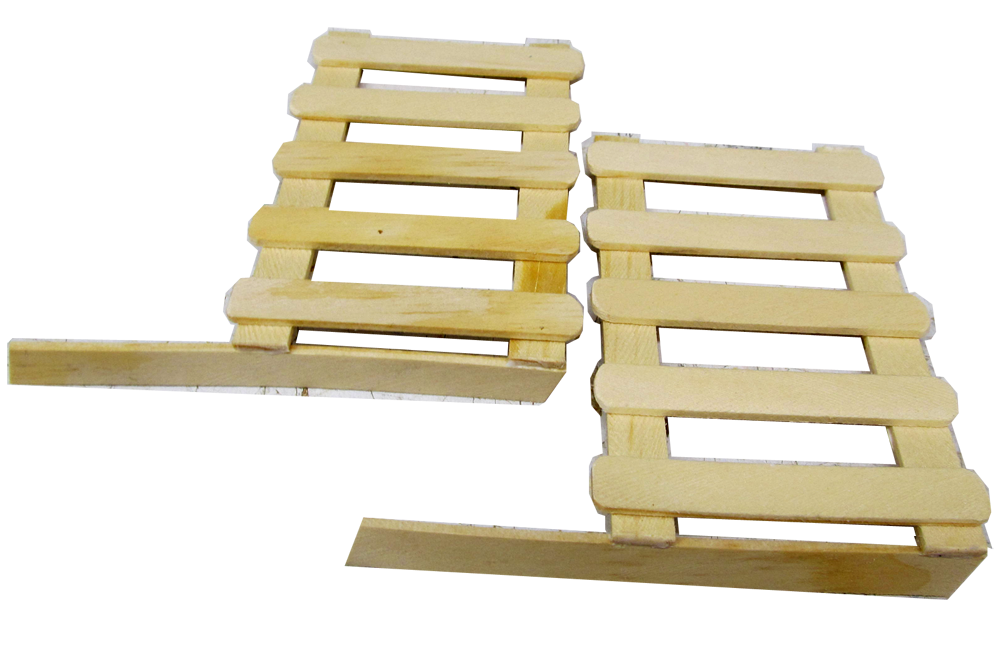
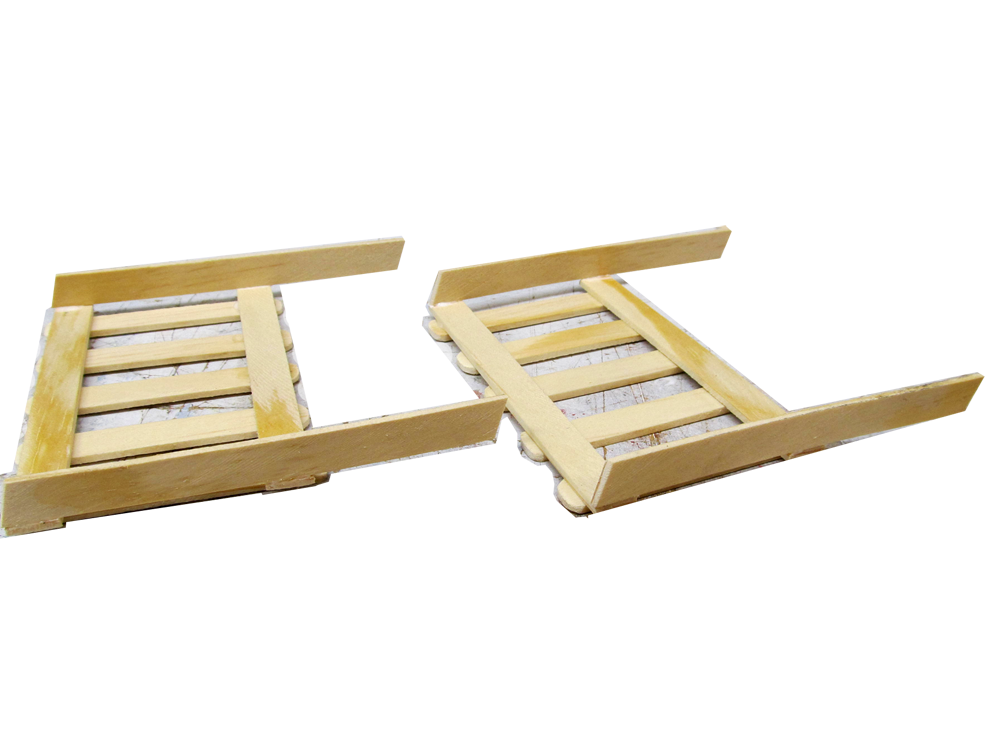
 09. My short end braces came out too short - in the end I didn't use them
09D.png
09. My short end braces came out too short - in the end I didn't use them
09D.png
DHTMLGoodies.com
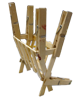
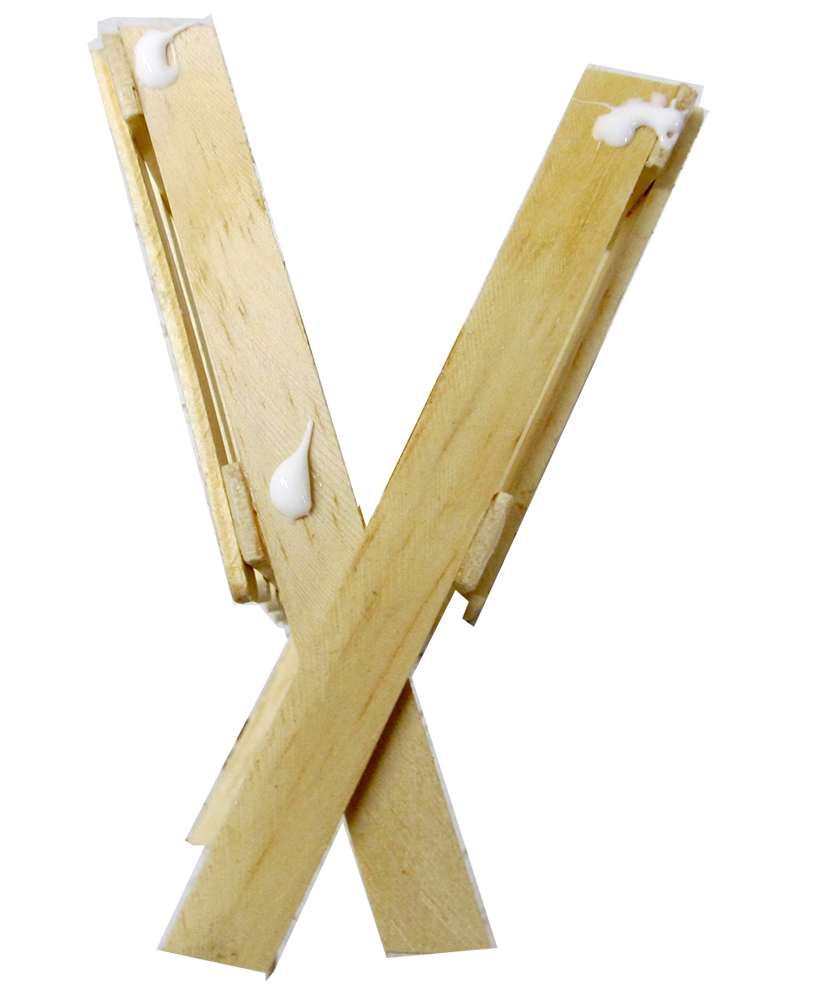
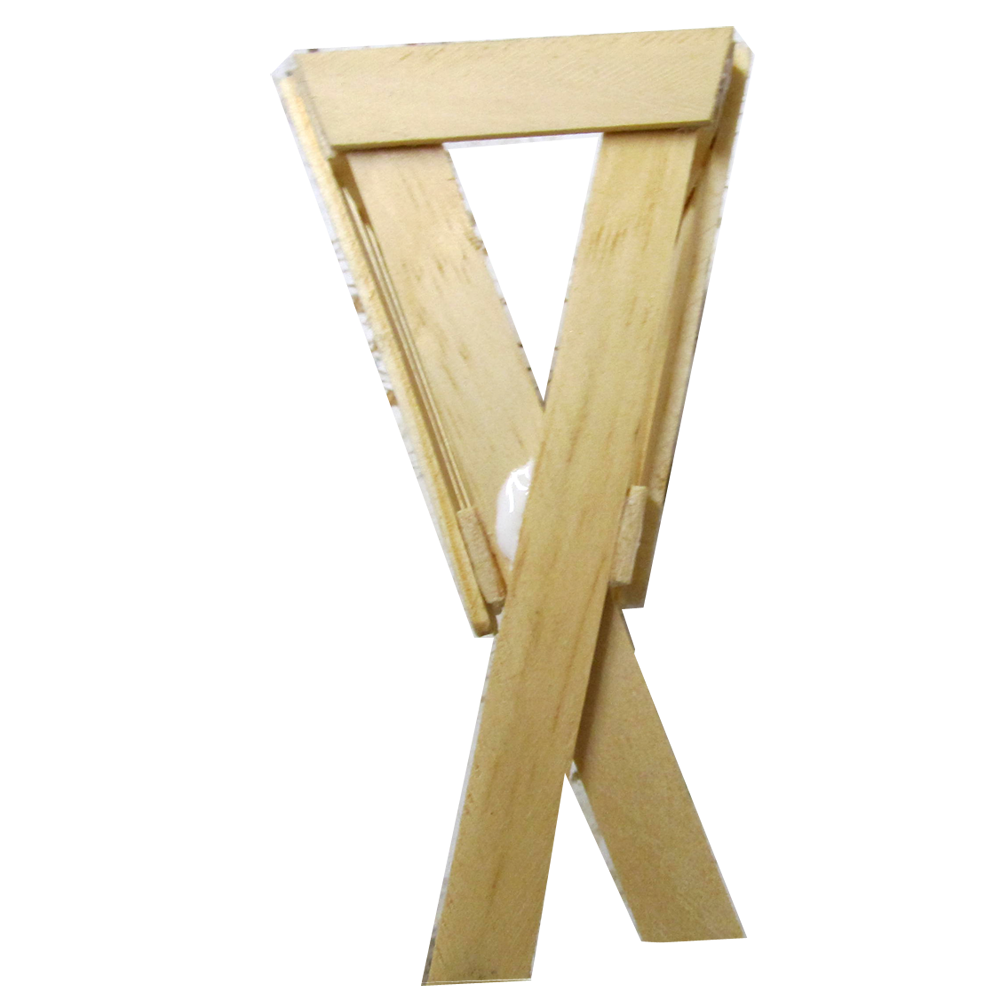
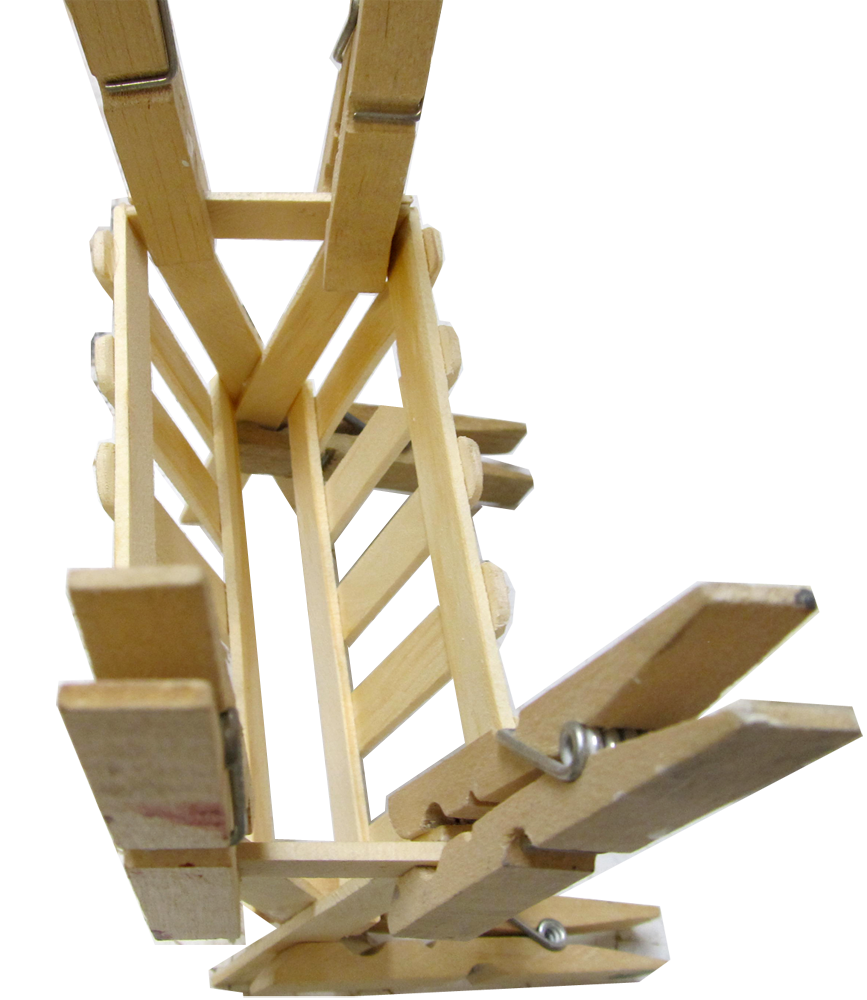
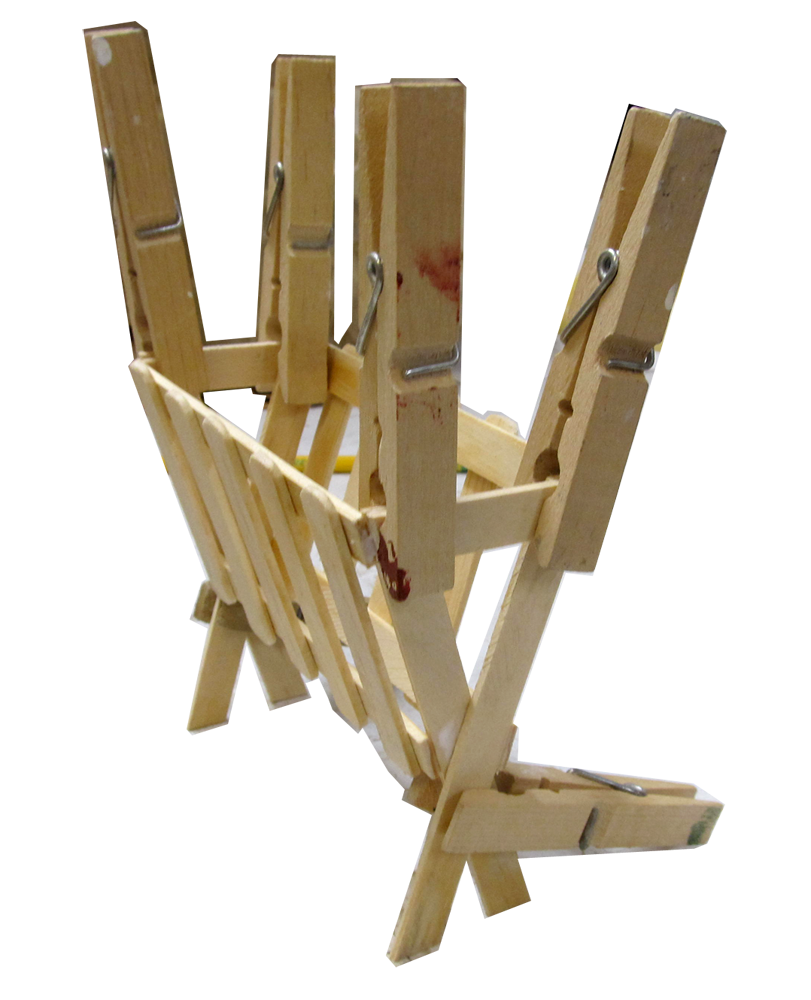
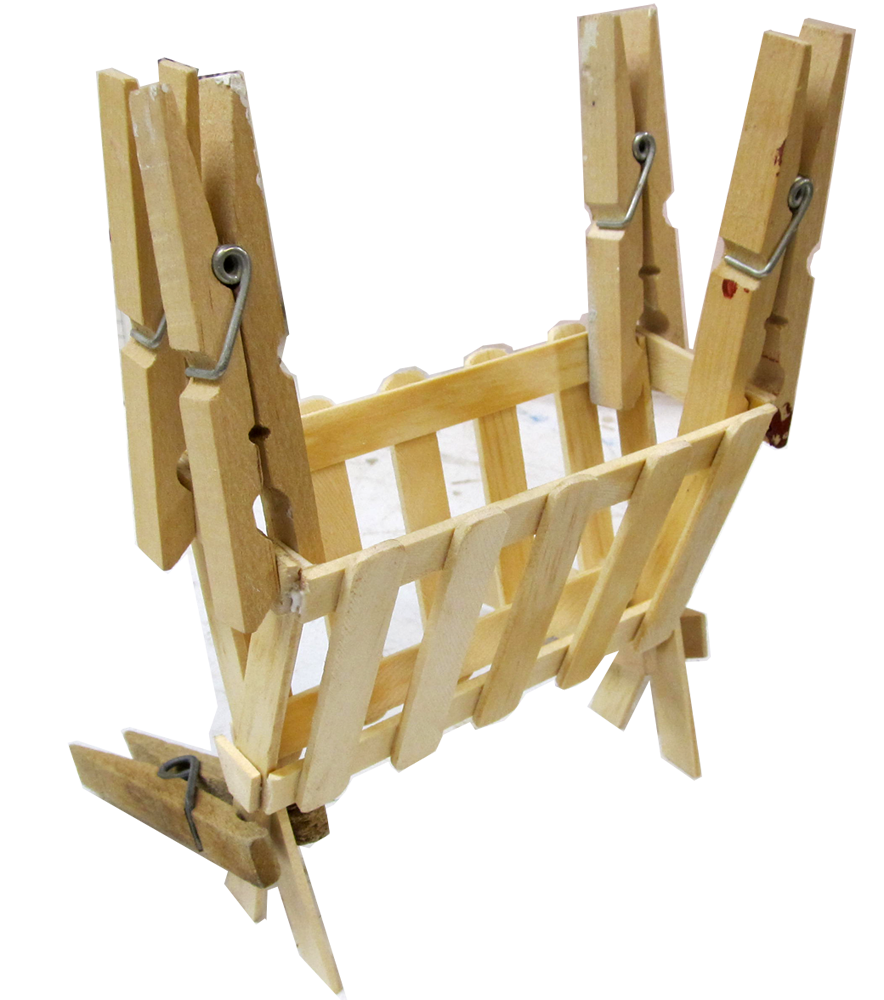
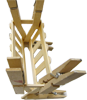 18. Clothes pins make great clamps - paper clips or binder clamps do too
18D.png
18. Clothes pins make great clamps - paper clips or binder clamps do too
18D.png
|

