![]()
![]()
![]()
![]()
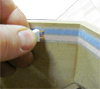
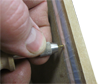
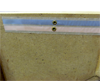
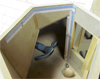
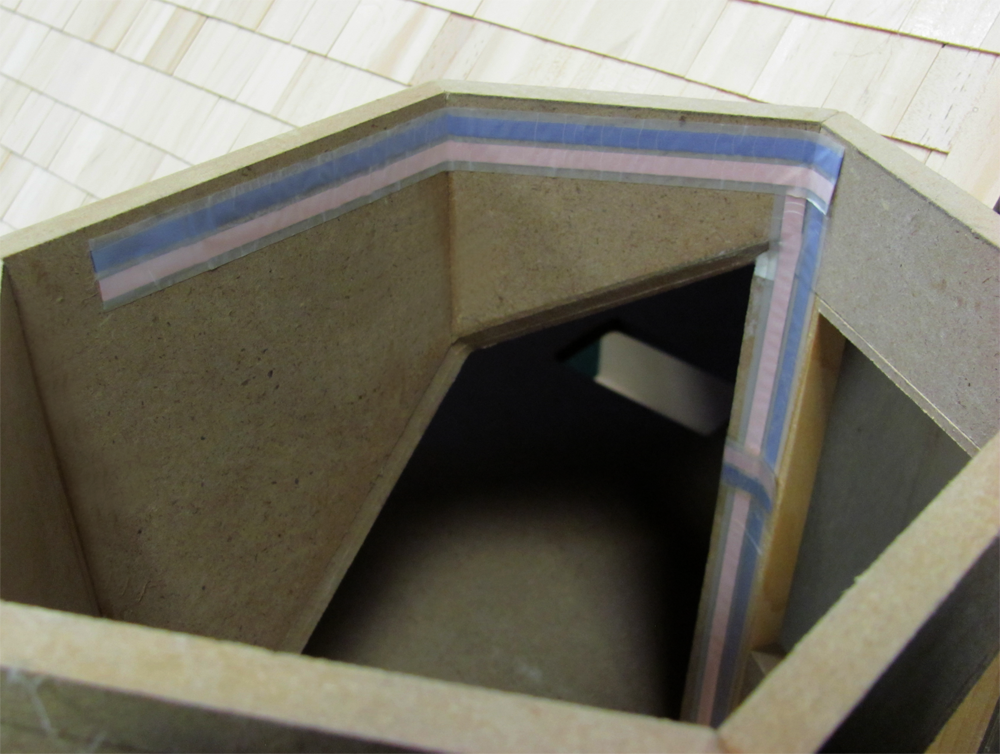
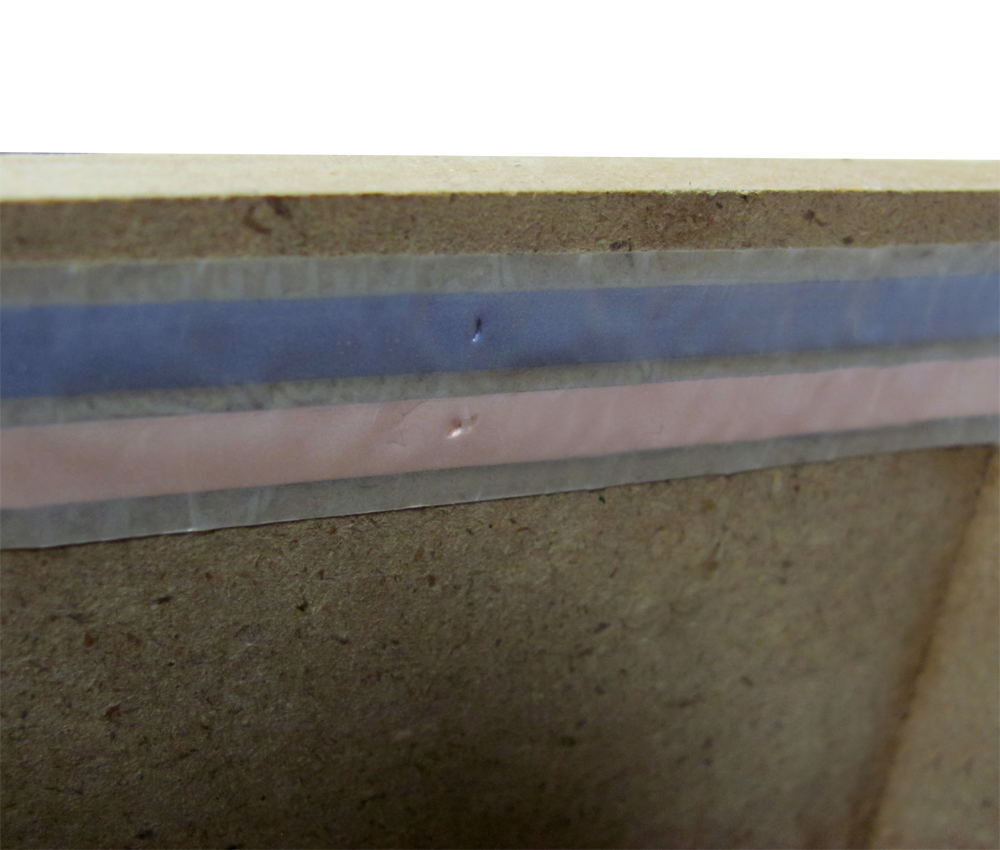
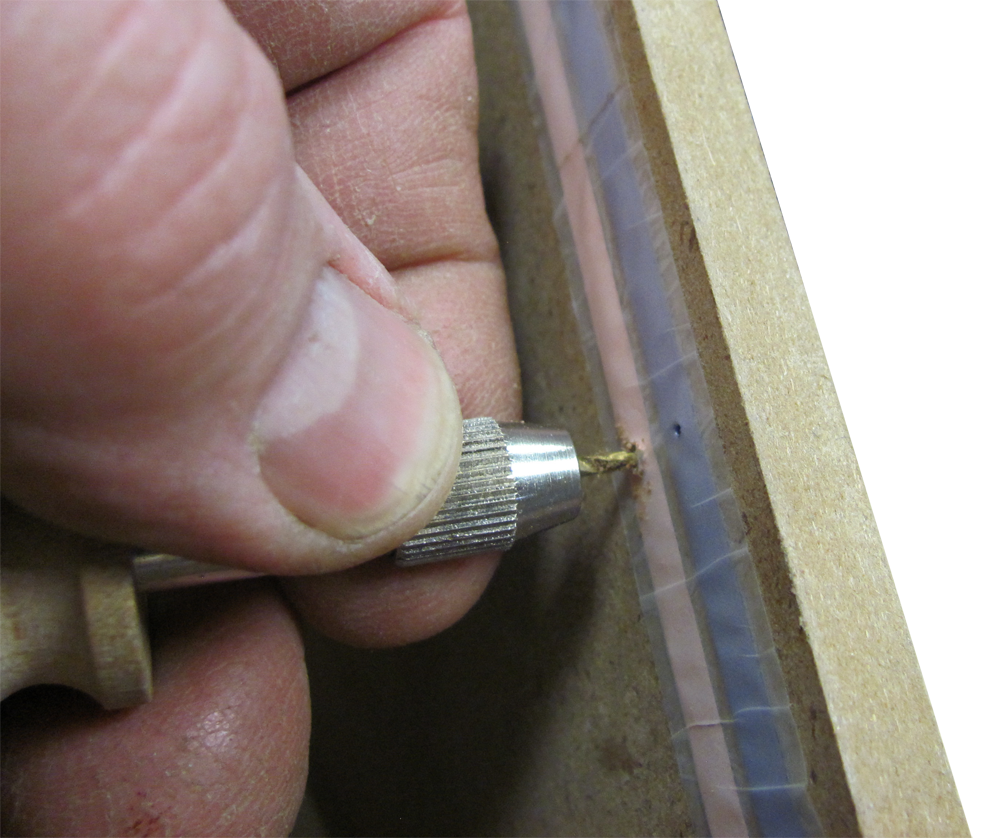
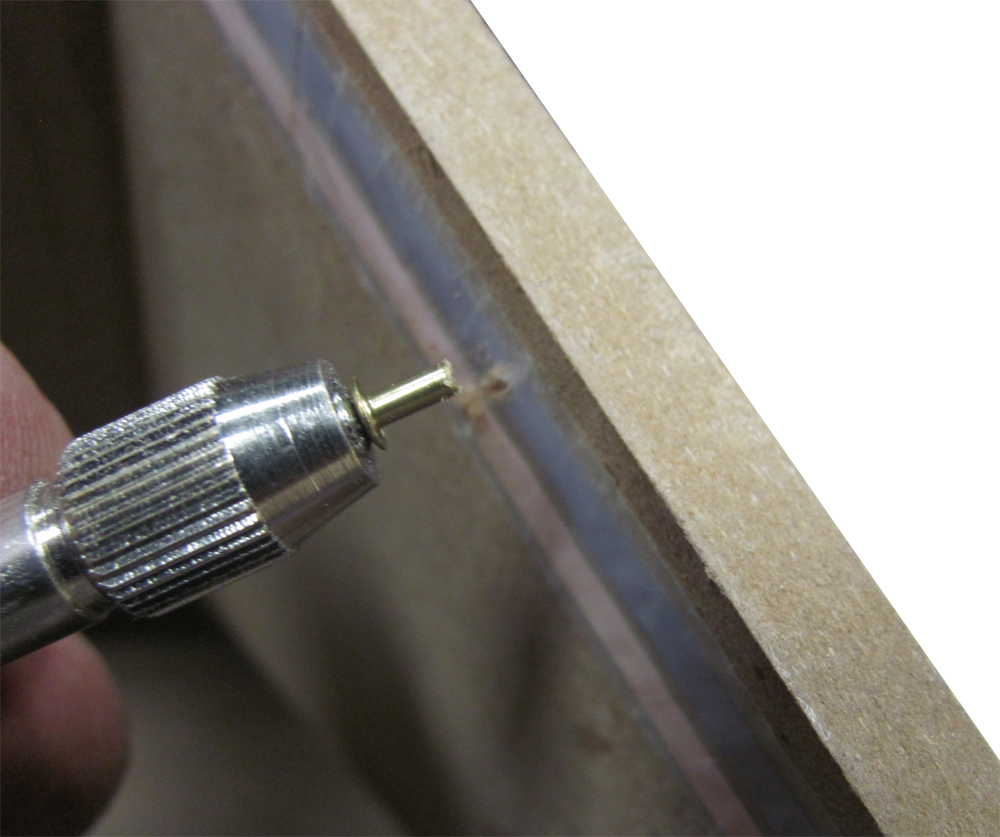
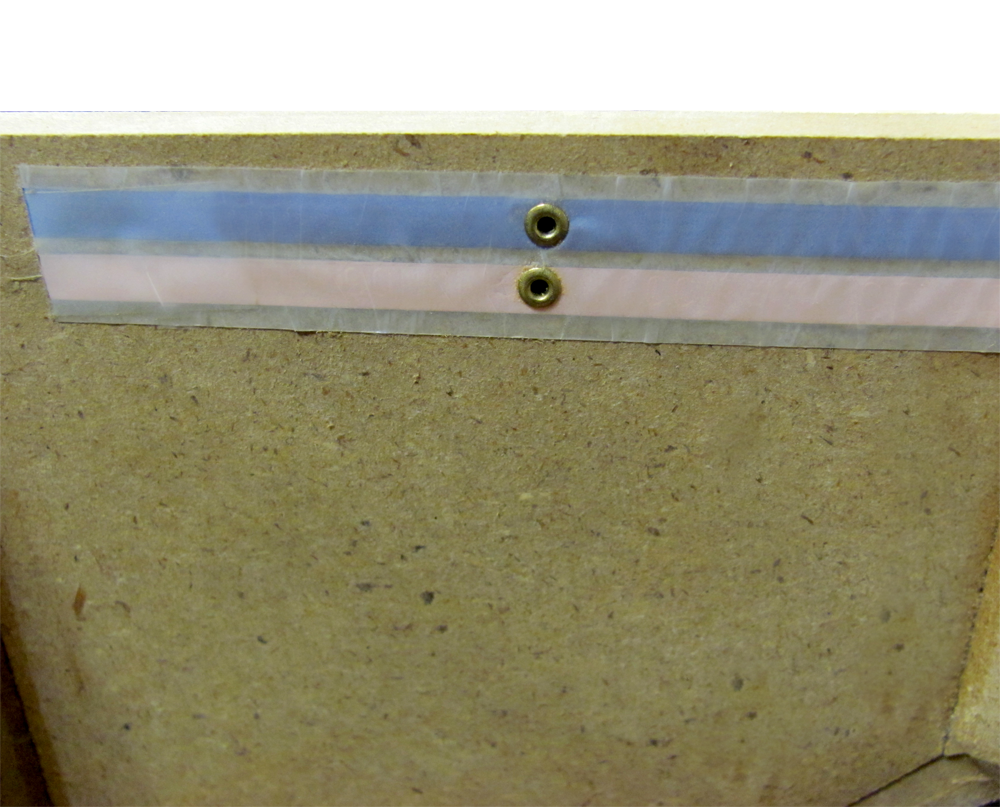
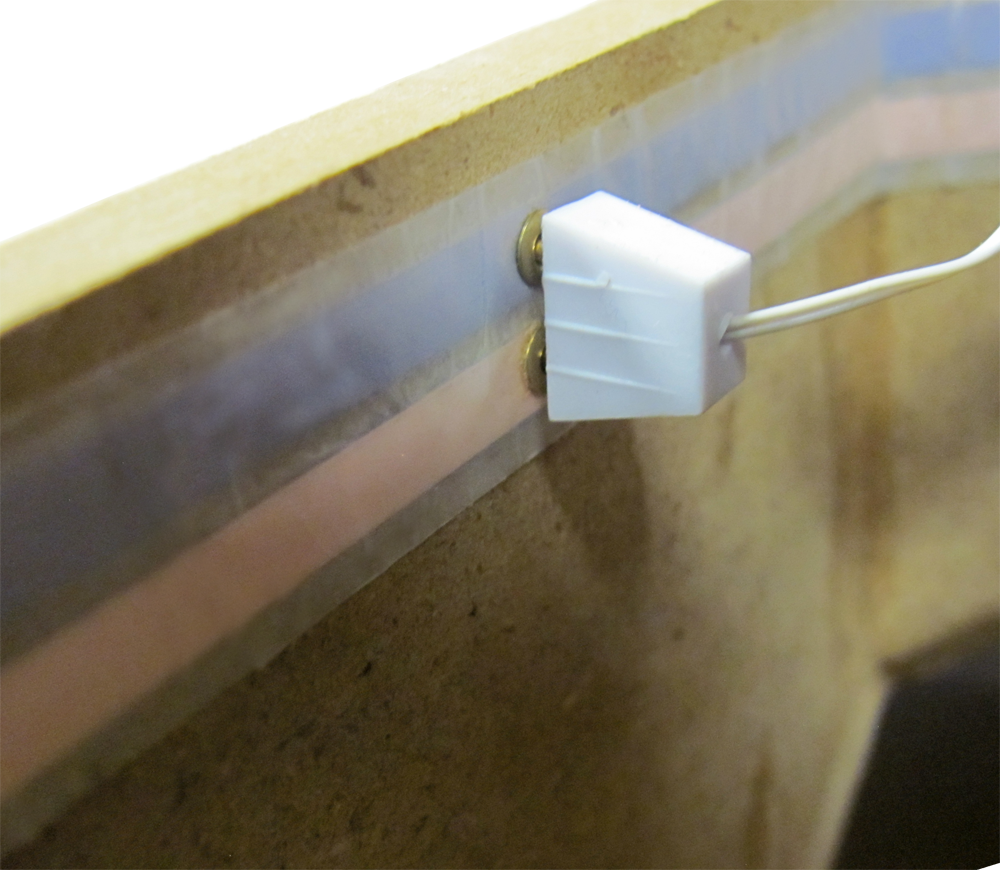
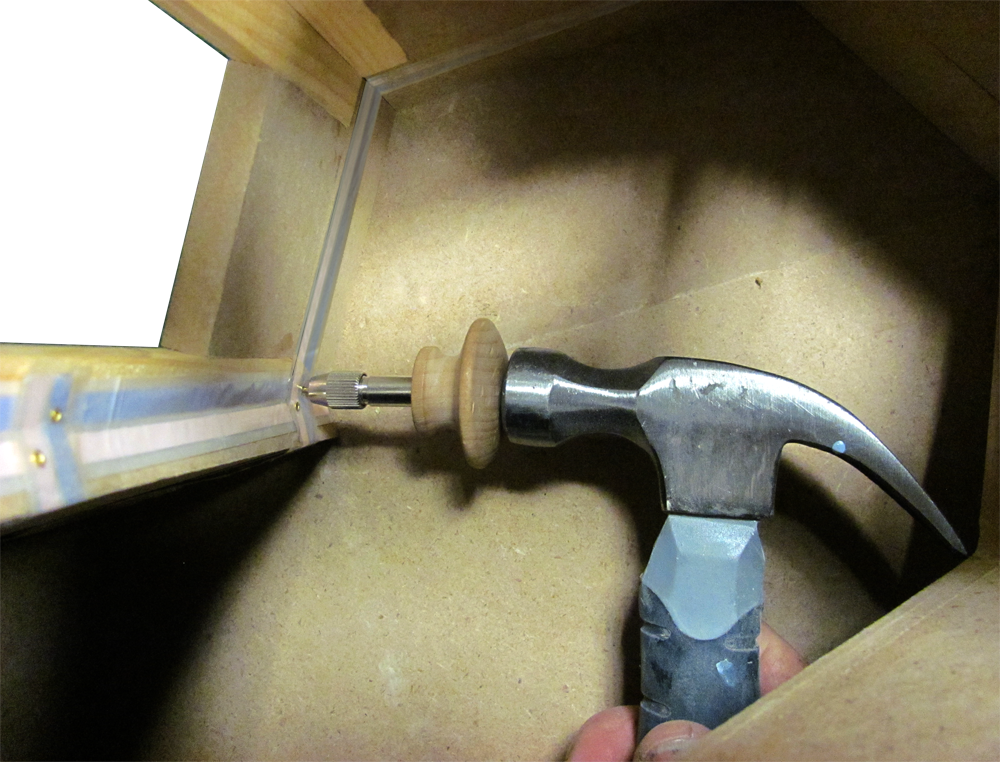
Wiring the Tower Ceiling with a plug allows the Ceiling and Roof to be removable for future access
| Wiring a Plug for the Tower Ceiling Light | |
|
Wiring the Tower Ceiling with a plug allows the Ceiling and Roof to be removable for future access
|
|


