![]()
![]()
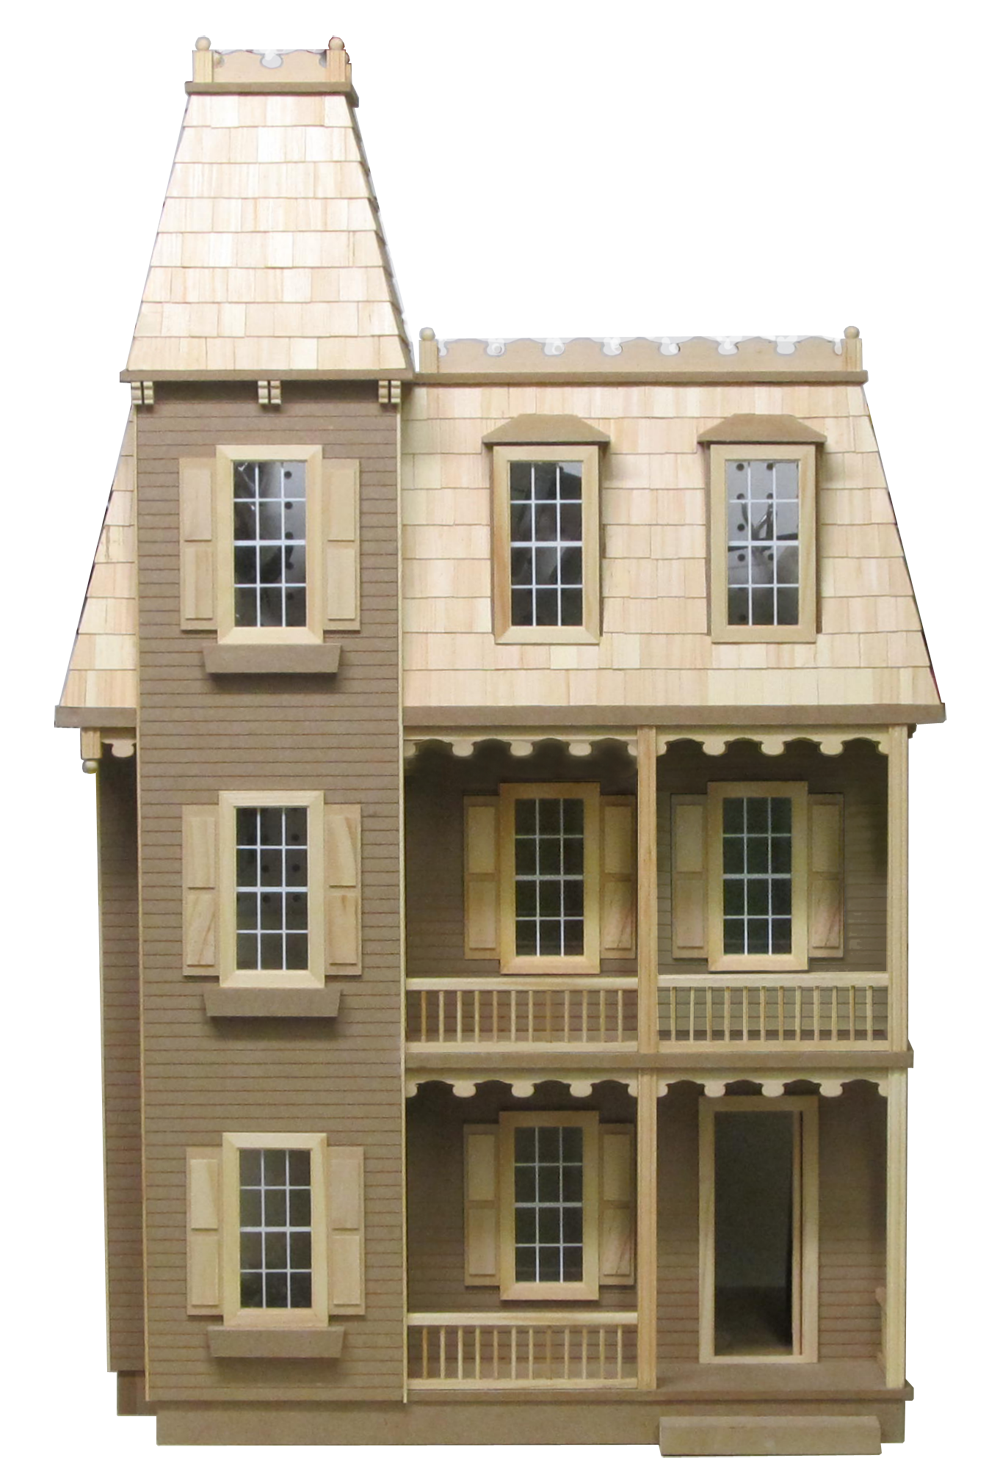
This slideshow uses an
un-finished dollhouse built for a special project.
Normally I would use dyed shingles for this process.
Click on the picture for a printable copy
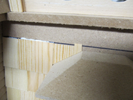
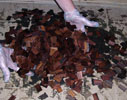 If you're going to dye or stain your shingles, do it several days in advance
../Shingles/DyeShingles/DyeShingles12L.jpg
If you're going to dye or stain your shingles, do it several days in advance
../Shingles/DyeShingles/DyeShingles12L.jpg
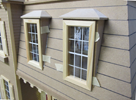
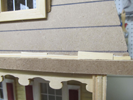 The Starter Course lifts the bottom of the first row of shingles
Shingling/Shingles03L.png
The Starter Course lifts the bottom of the first row of shingles
Shingling/Shingles03L.png
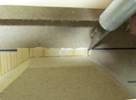
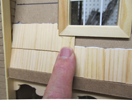 Cut the shingles where necessary to keep the bottom edge lined up
Shingling/Shingles04L.png
Cut the shingles where necessary to keep the bottom edge lined up
Shingling/Shingles04L.png
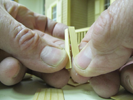
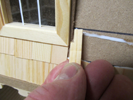
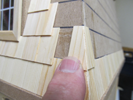
 Cut a shingle to fill in between the course and the corner
Shingling/Shingles11L.png
Cut a shingle to fill in between the course and the corner
Shingling/Shingles11L.png
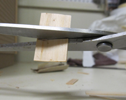
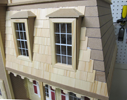
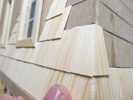
 Cut the top row so all the lower rows have the same "Reveal"
Shingling/Shingles12L.png
Cut the top row so all the lower rows have the same "Reveal"
Shingling/Shingles12L.png