![]()
![]()
![]()
![]()
![]()
Other Great! Websites:
![]()
![]()
| 1. Painted Edge | |
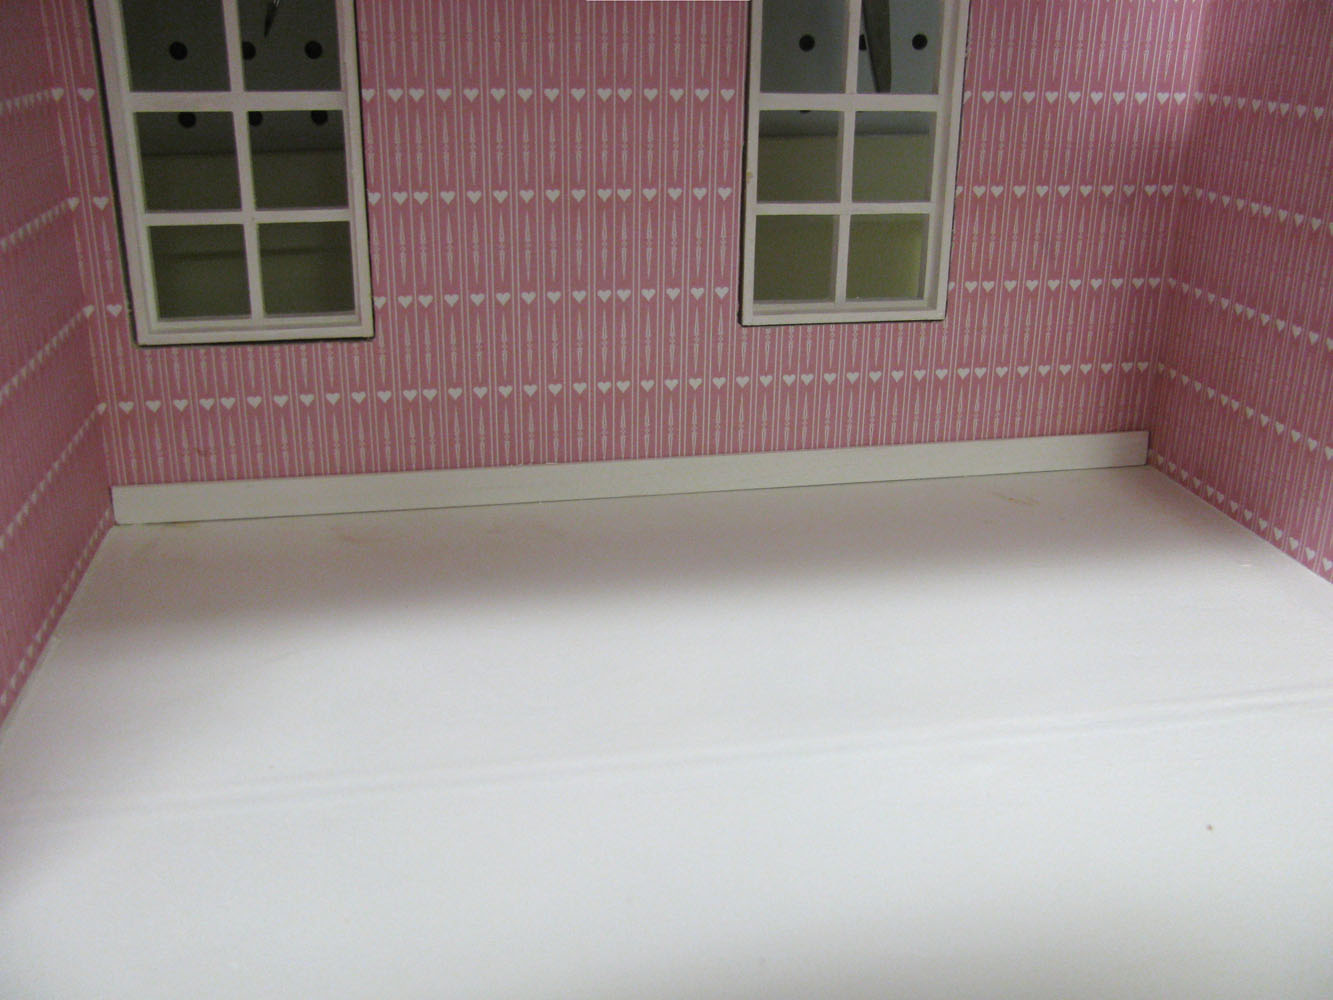
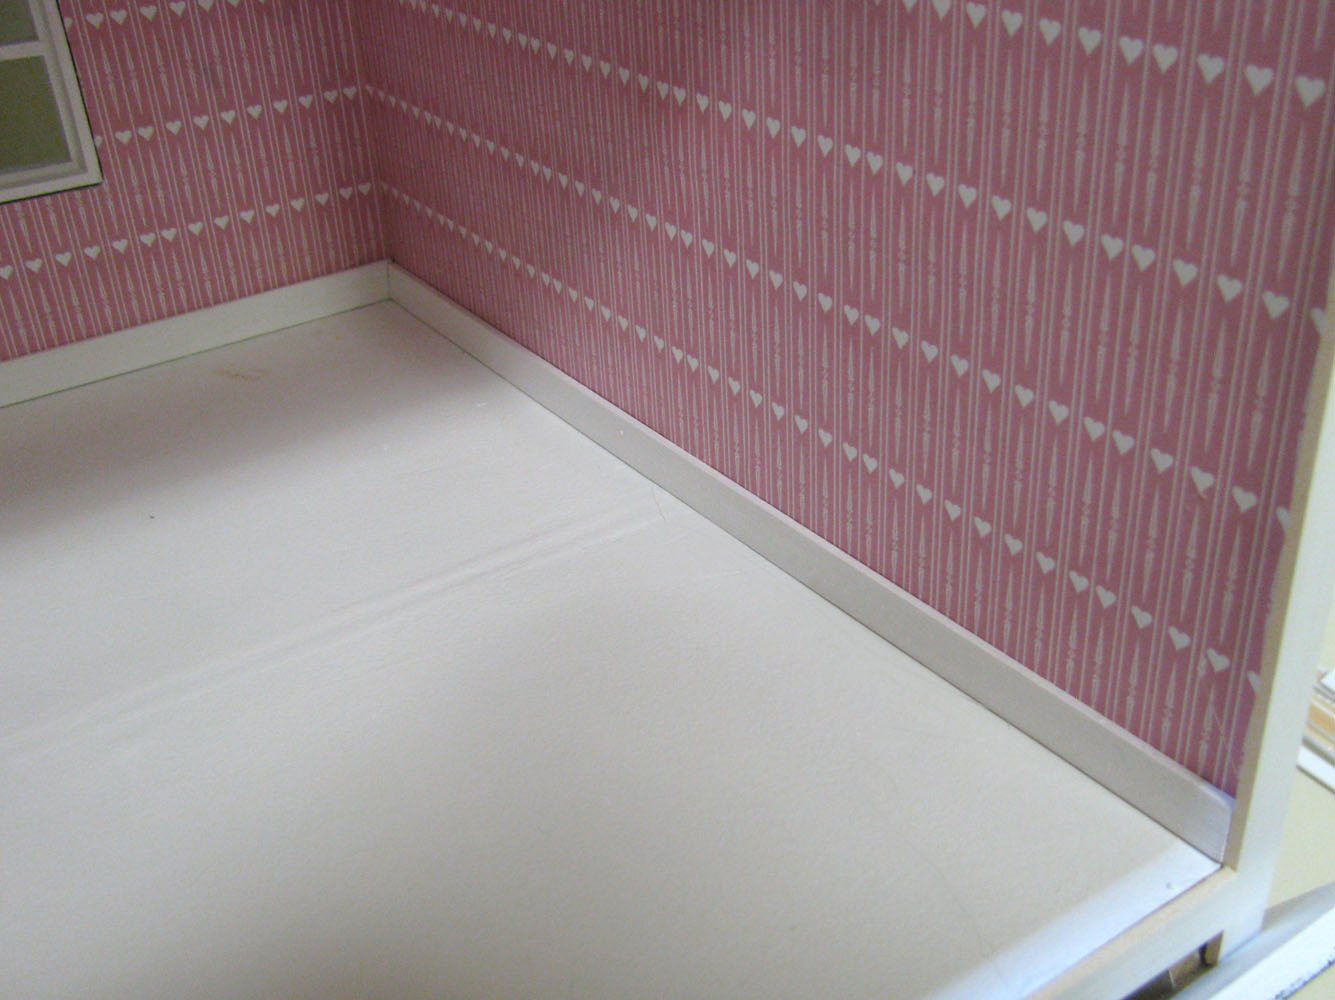
| 2. Strip Baseboard | |
| 3. Stripwood Trim | |
| 4. Crown and Window | here |
| Pack SW16 | |
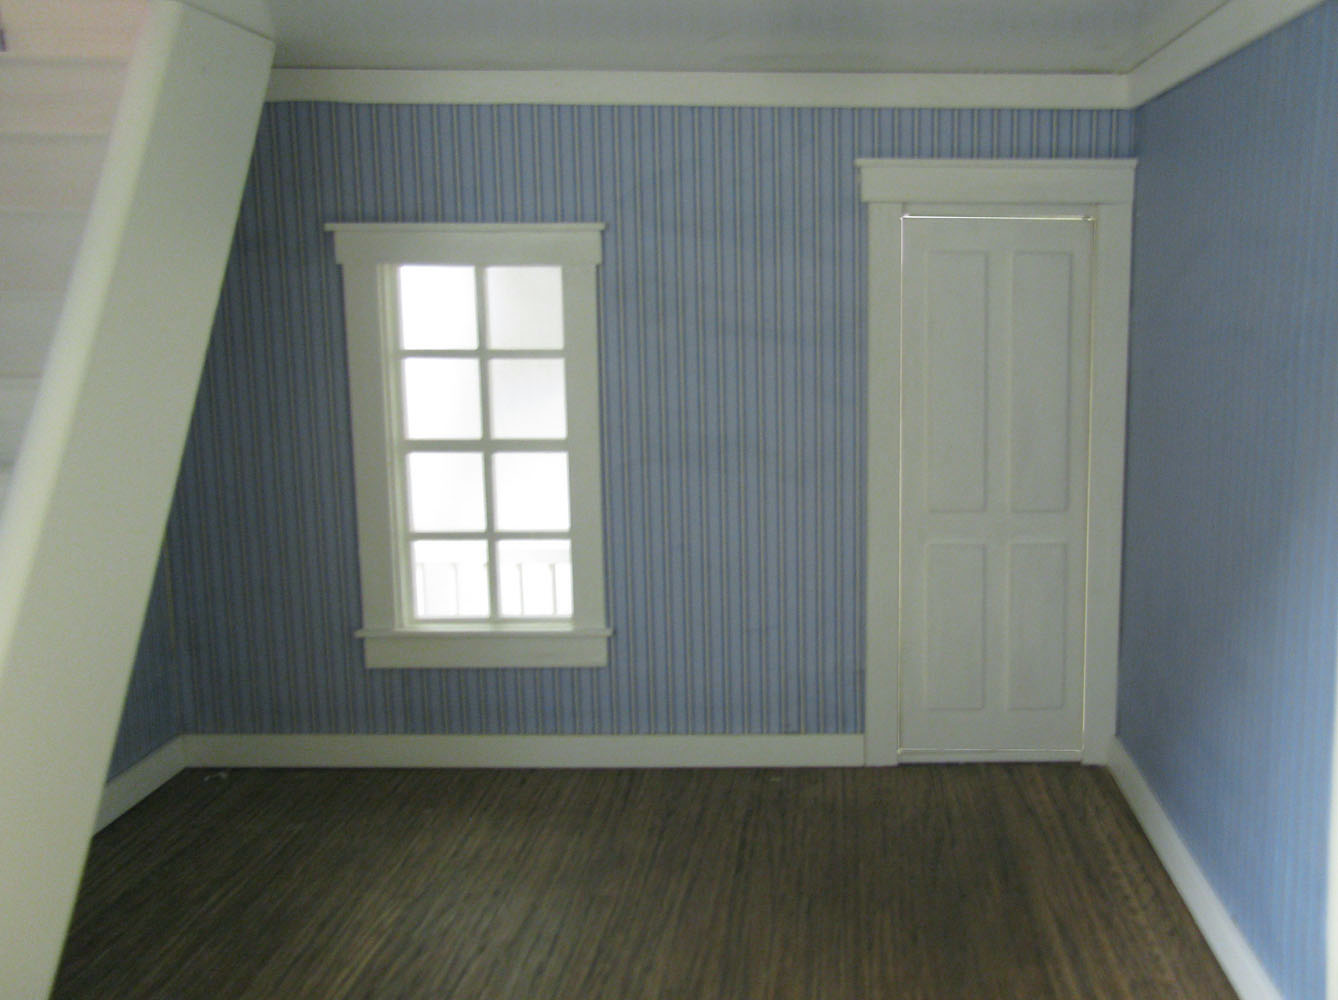
the Window Trim shown in this slideshow would not apply to kits JM907, JM401, JM4600
DHTMLGoodies.com
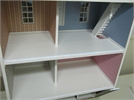
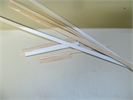
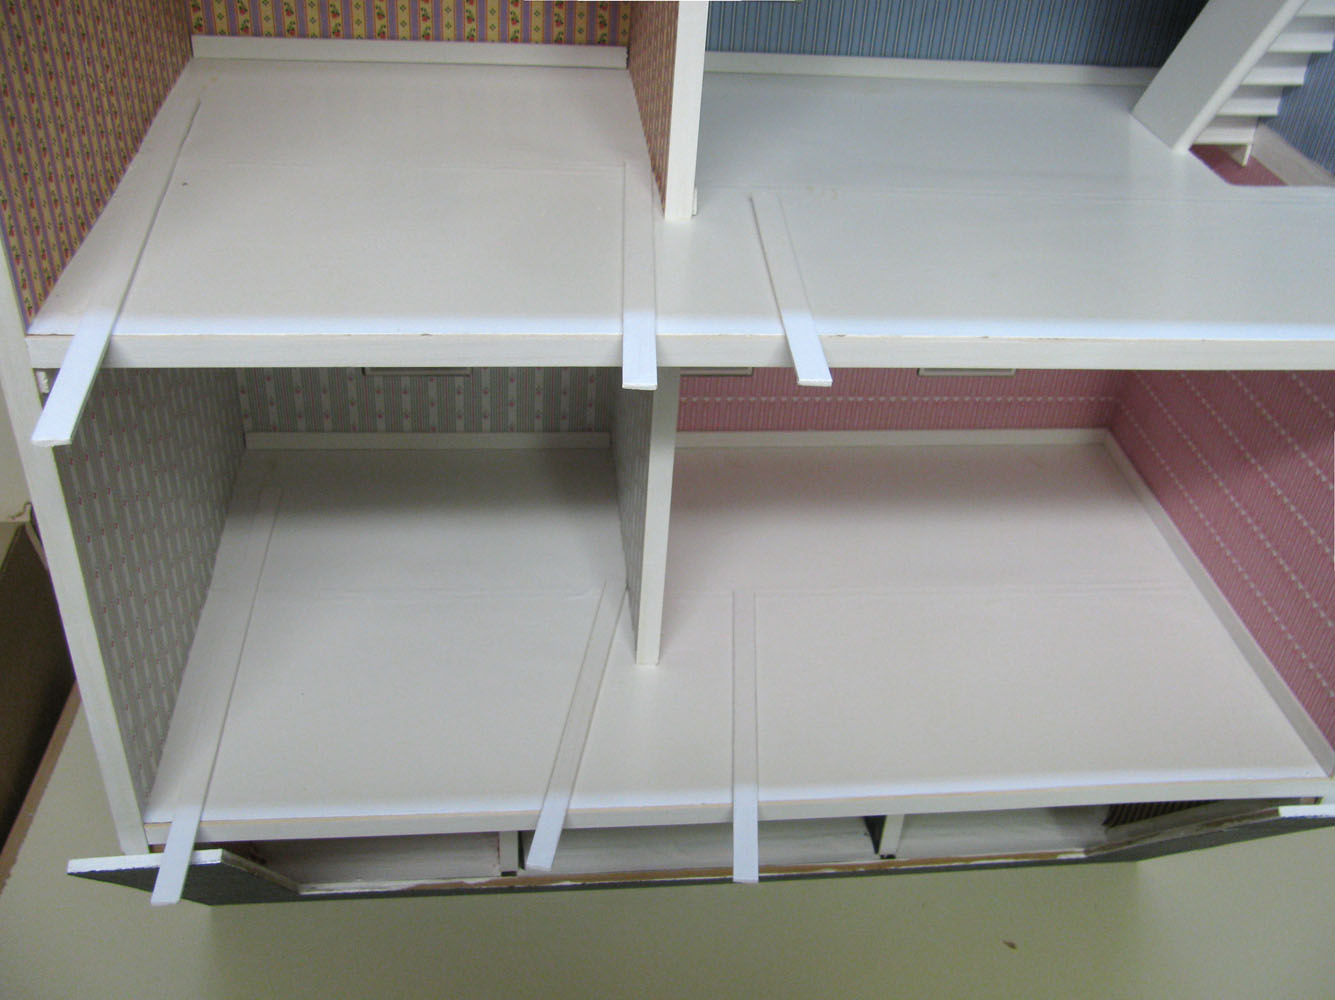
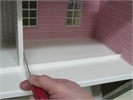 The house is up-side-down for cutting the Crown
stripwood/SW16-2/StripwoodCrown01_lg.jpg
The house is up-side-down for cutting the Crown
stripwood/SW16-2/StripwoodCrown01_lg.jpg
The house is up-side-down for cutting the Crown
stripwood/SW16-2/StripwoodCrown01_lg.jpg

DHTMLGoodies.com
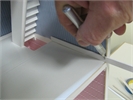
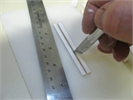
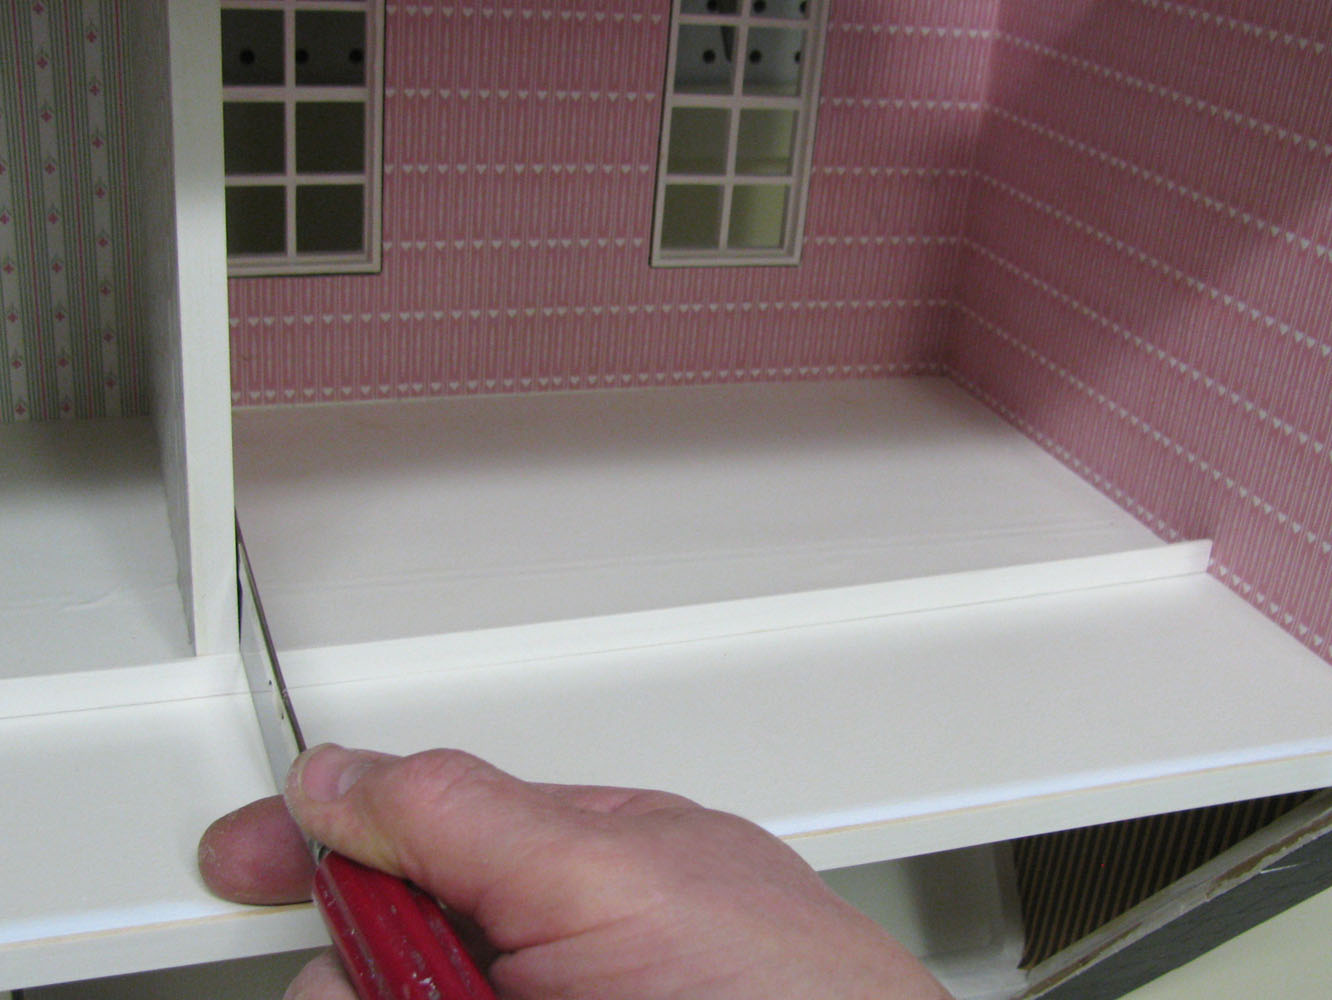
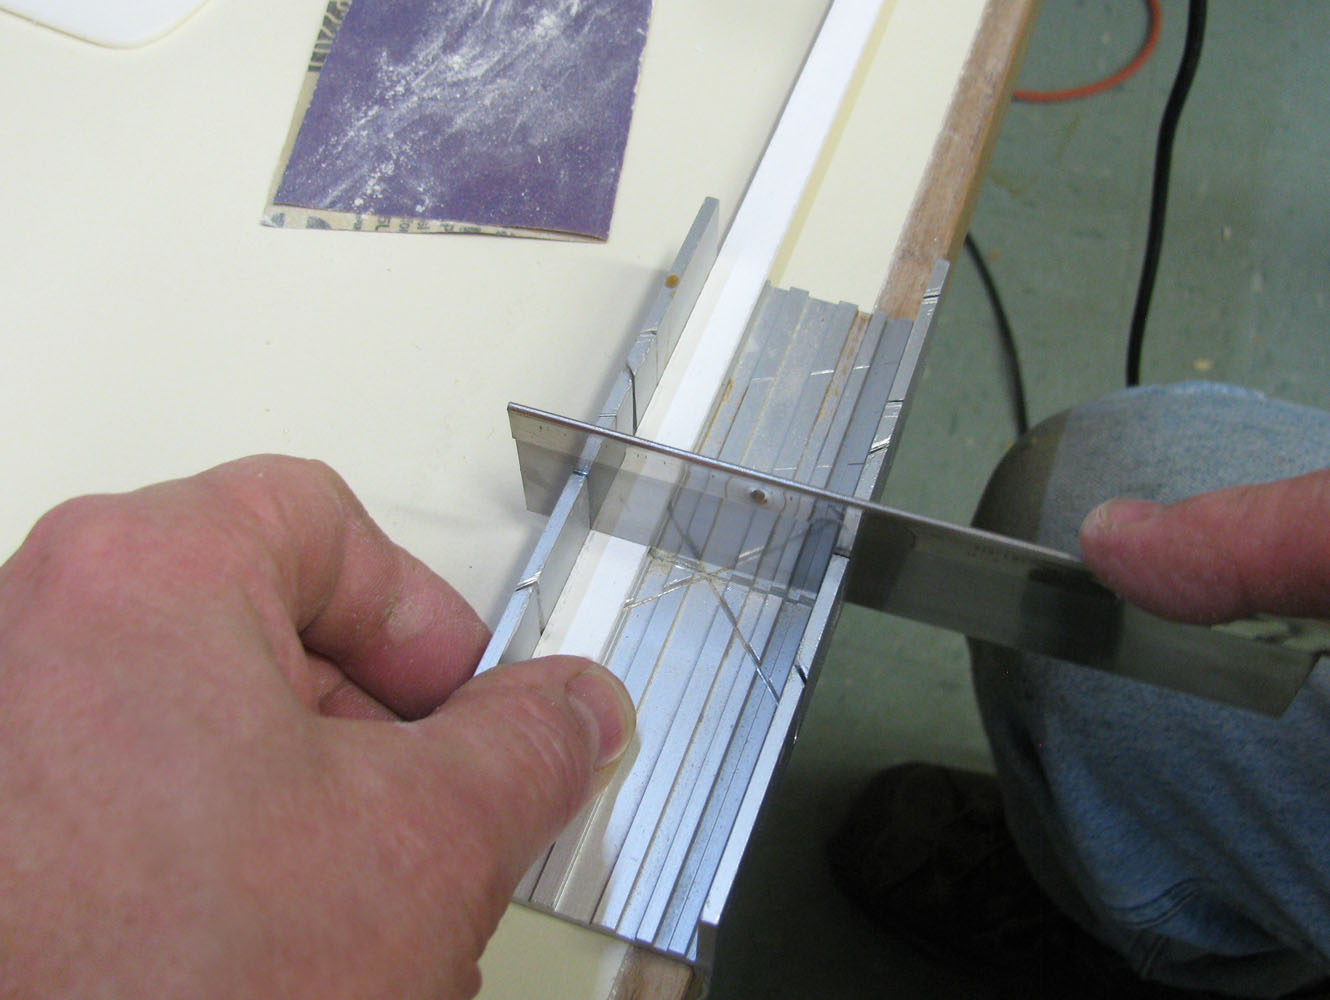
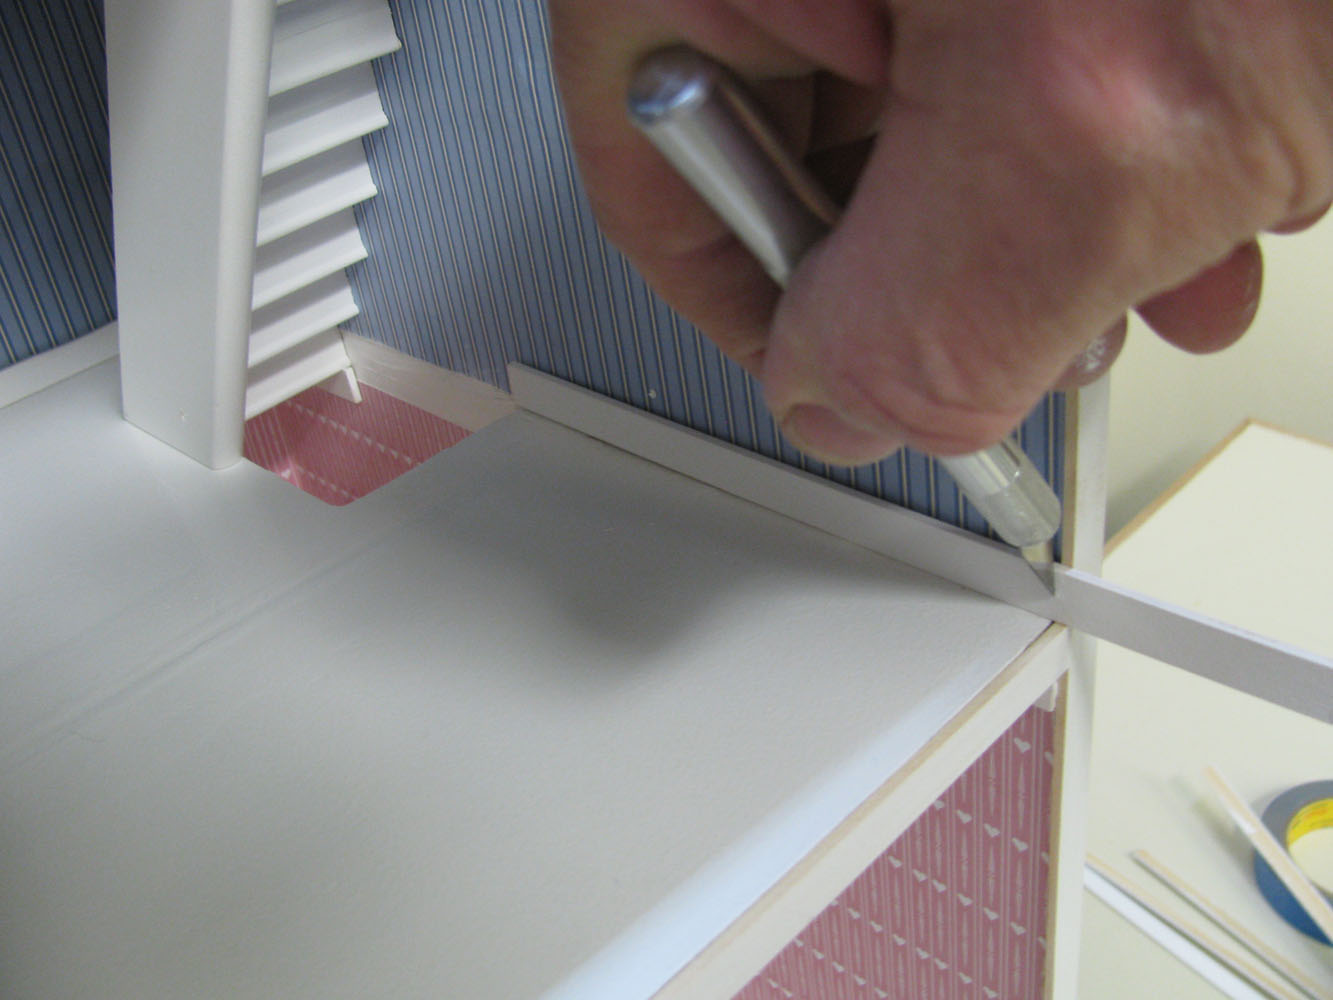
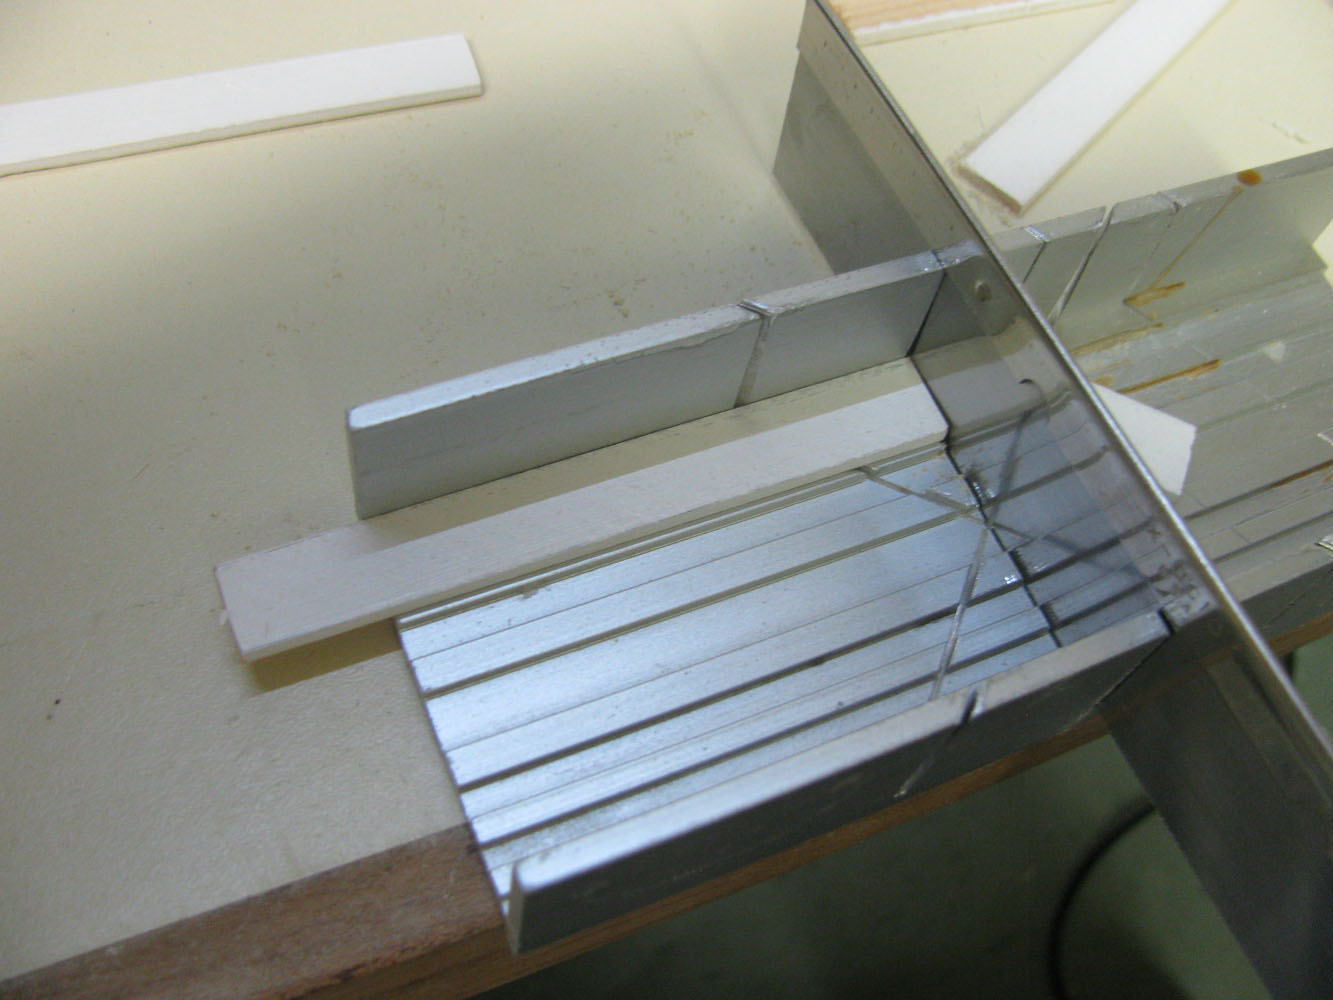
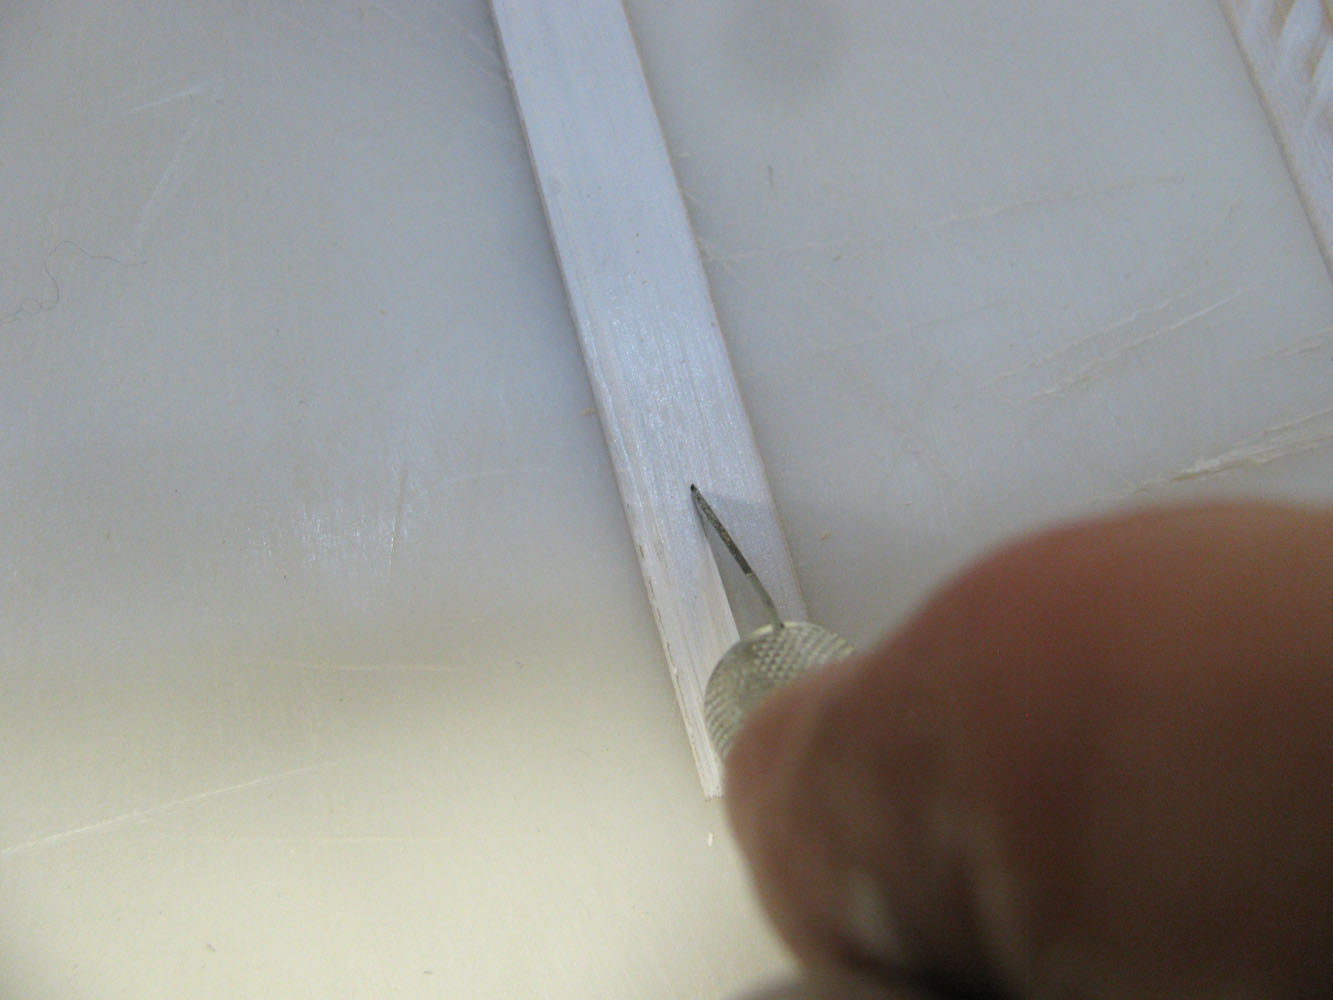
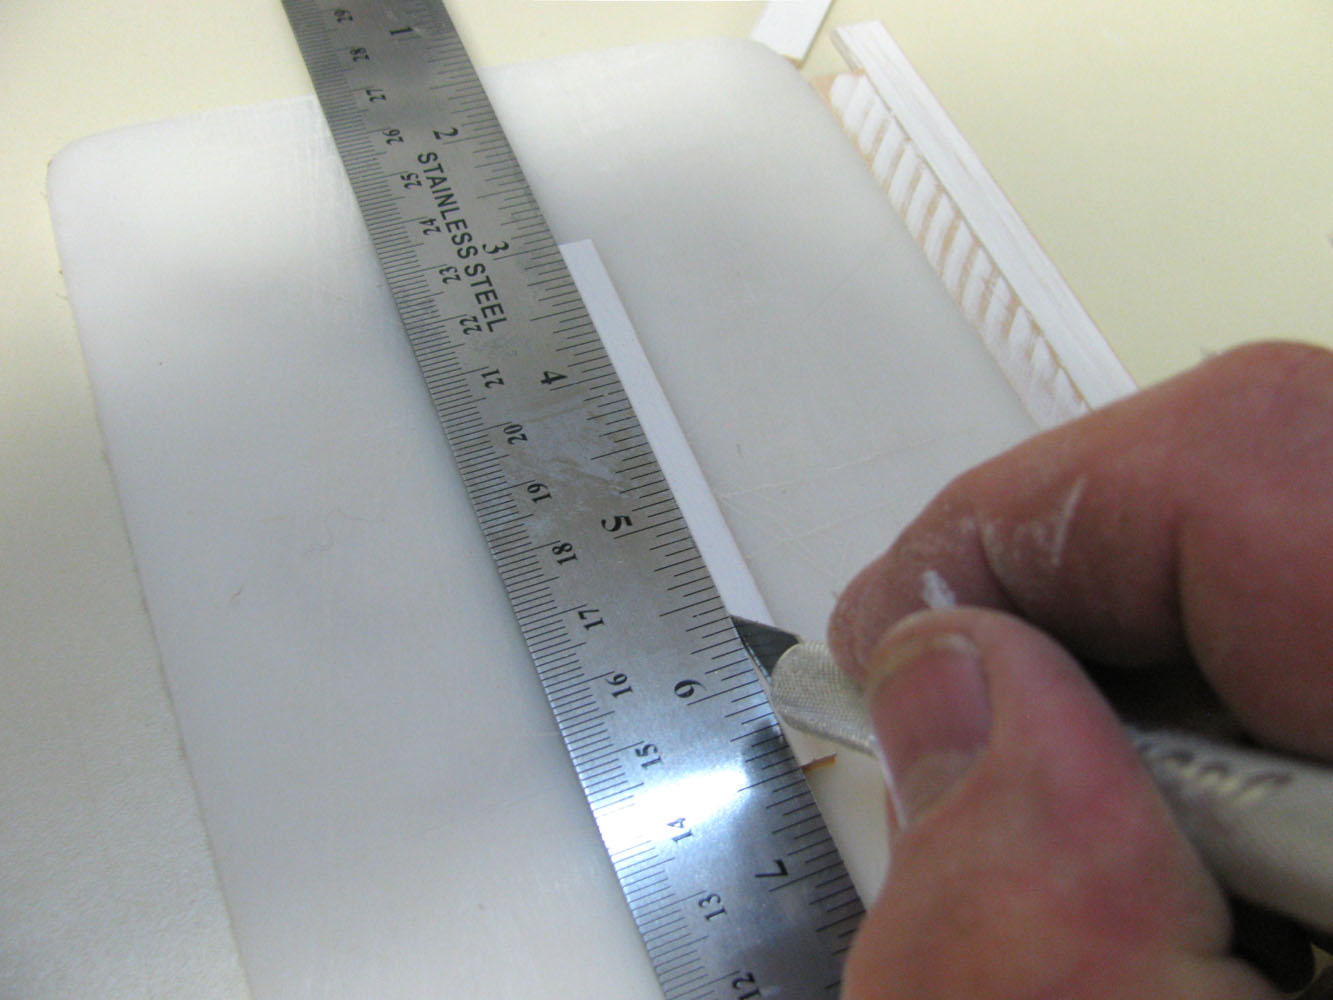
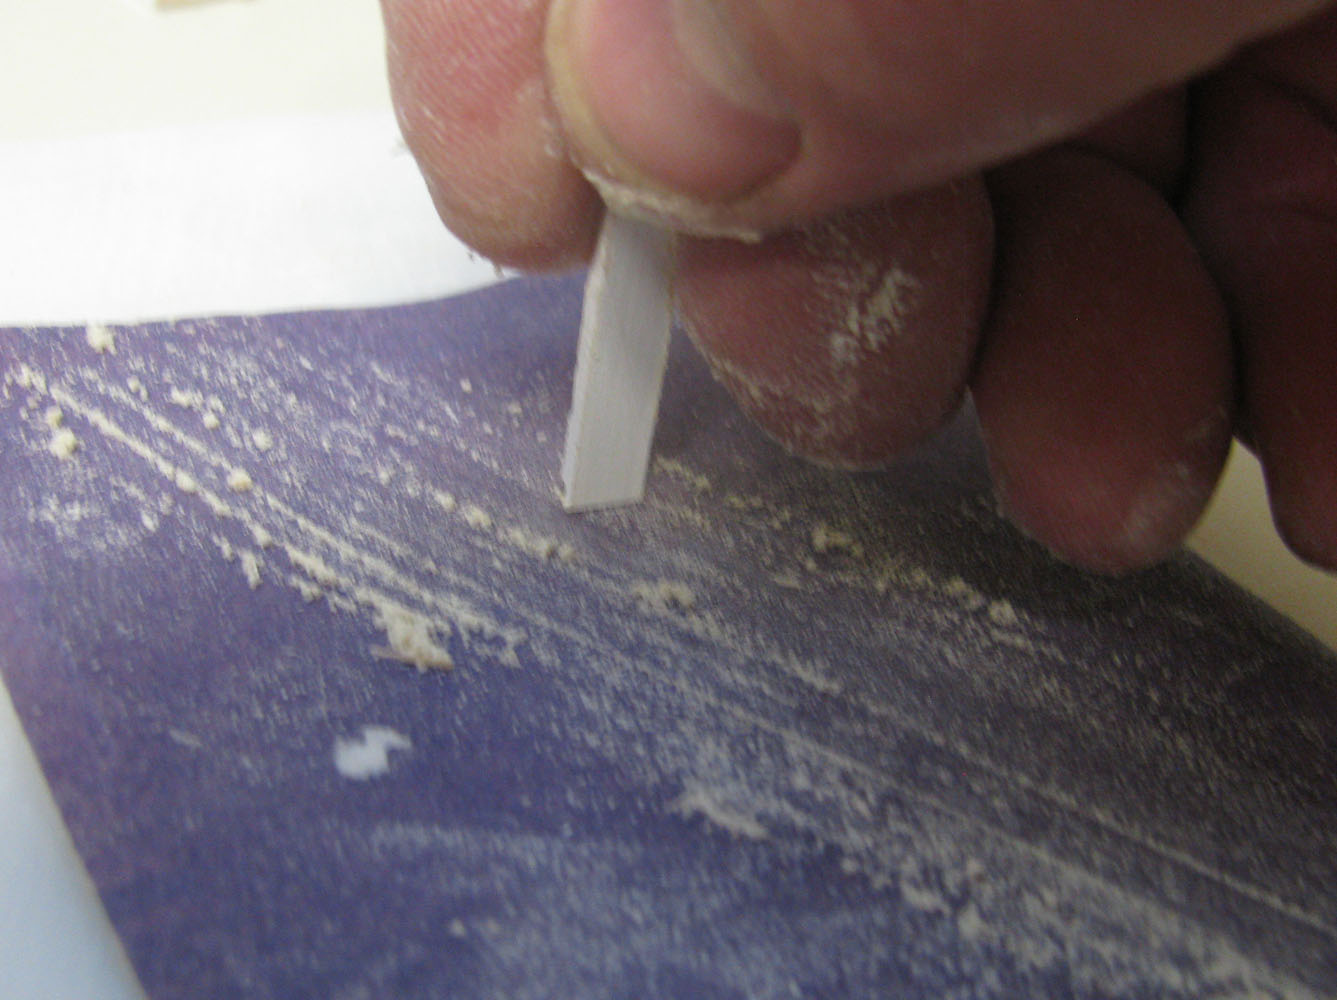
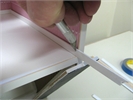 Measure, mark, and cut the front then the side crown
stripwood/SW16-2/StripwoodCrown03_lg.jpg
Measure, mark, and cut the front then the side crown
stripwood/SW16-2/StripwoodCrown03_lg.jpg
Measure, mark, and cut the front then the side crown
stripwood/SW16-2/StripwoodCrown03_lg.jpg


DHTMLGoodies.com
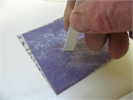
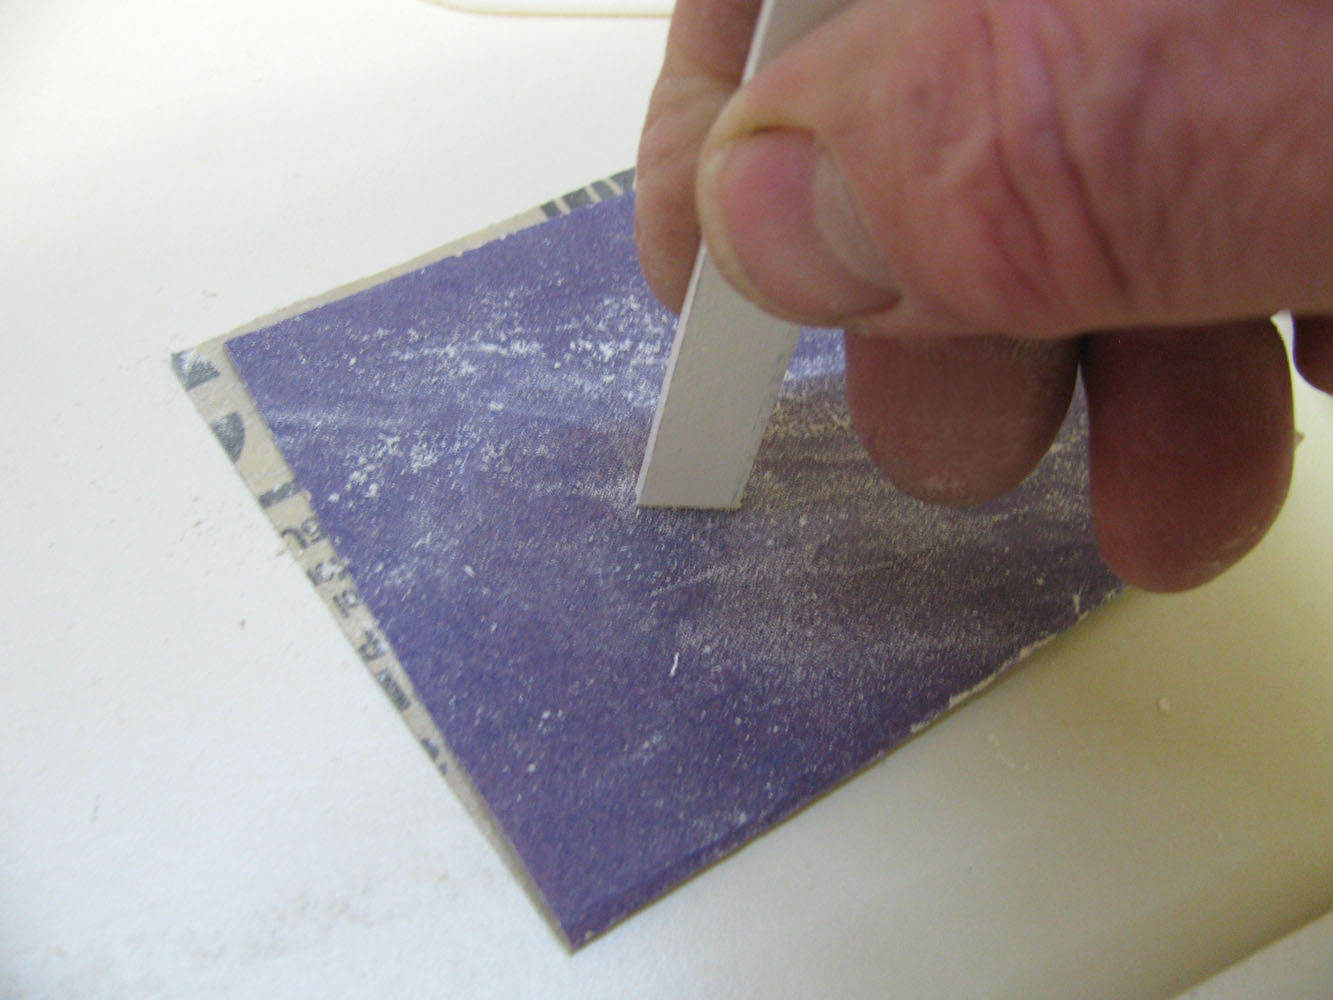
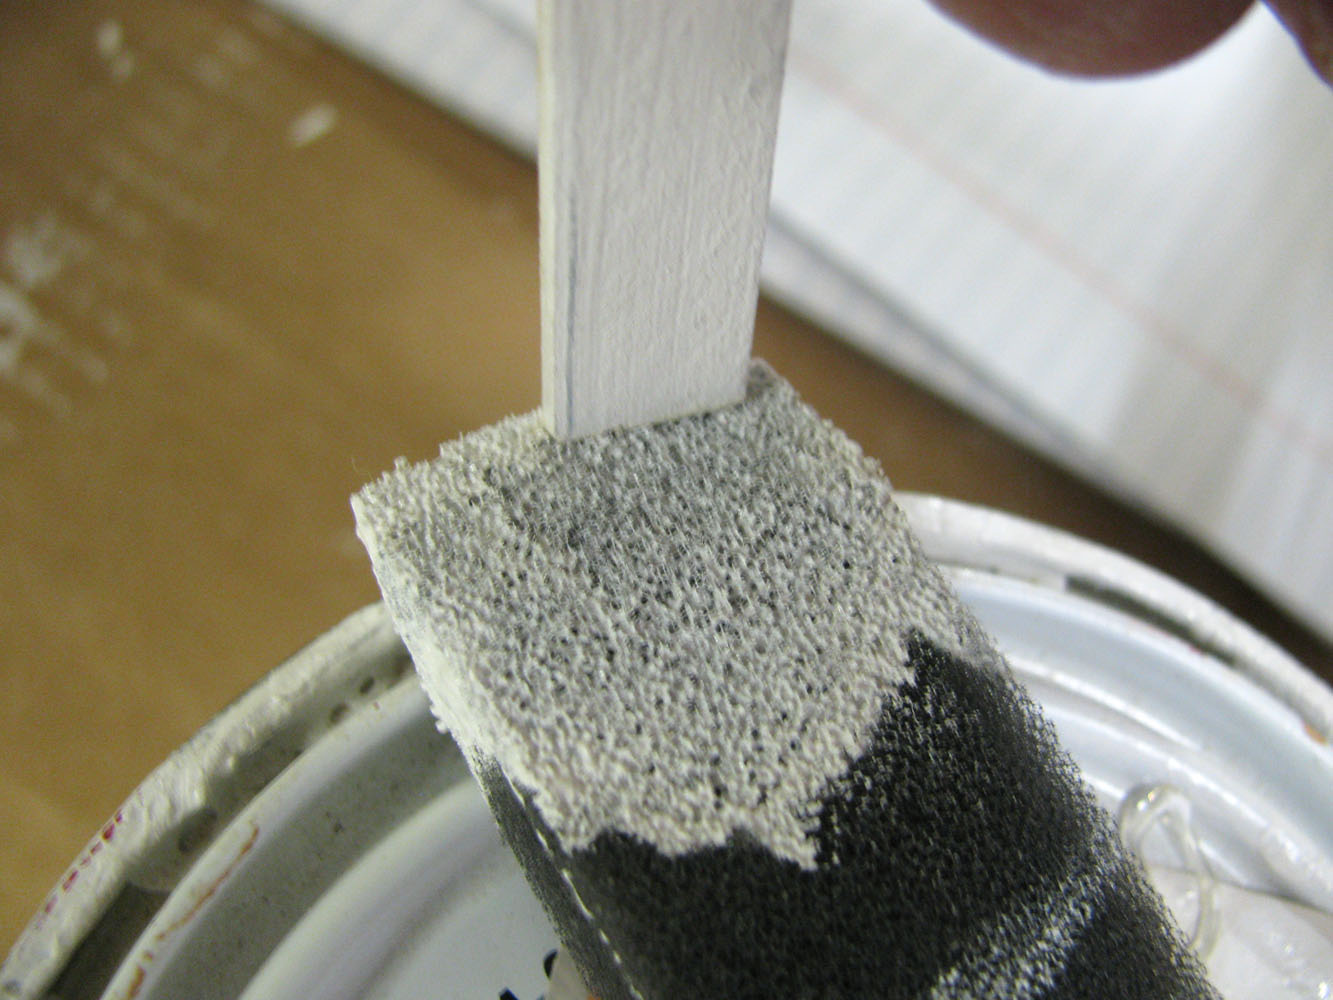
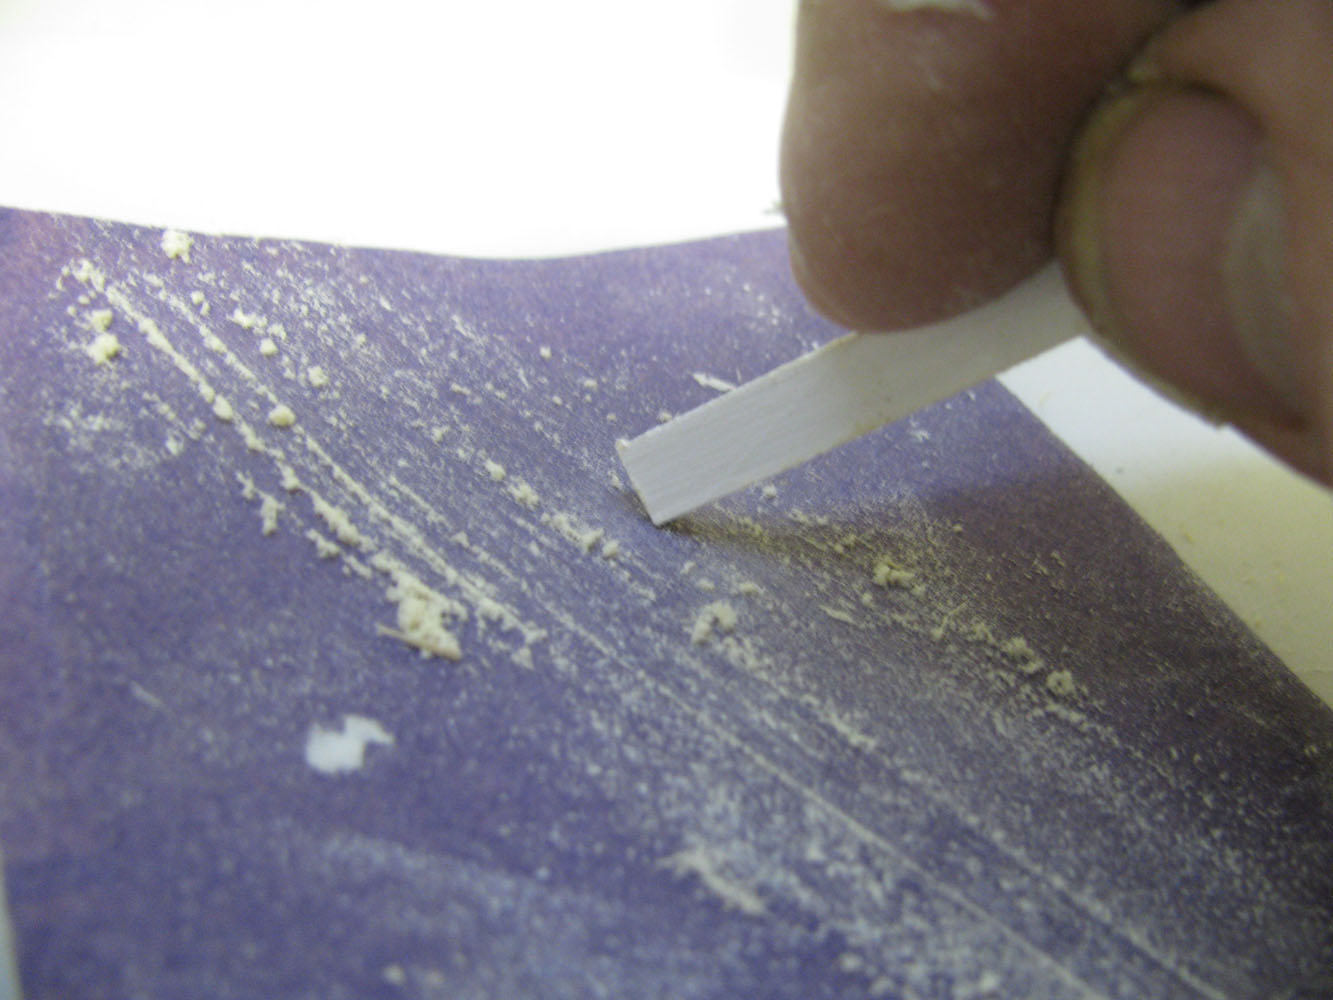
 The back end shows and should be painted before installing
stripwood/SW16-2/StripwoodCrown10_lg.jpg
The back end shows and should be painted before installing
stripwood/SW16-2/StripwoodCrown10_lg.jpg
The back end shows and should be painted before installing
stripwood/SW16-2/StripwoodCrown10_lg.jpg
DHTMLGoodies.com
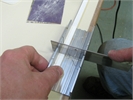
 The crowns are long and must be done before the shorter window trims
stripwood/SW16-2/StripwoodCrown13_lg.jpg
The crowns are long and must be done before the shorter window trims
stripwood/SW16-2/StripwoodCrown13_lg.jpg
The crowns are long and must be done before the shorter window trims
stripwood/SW16-2/StripwoodCrown13_lg.jpg
DHTMLGoodies.com
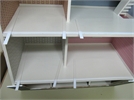
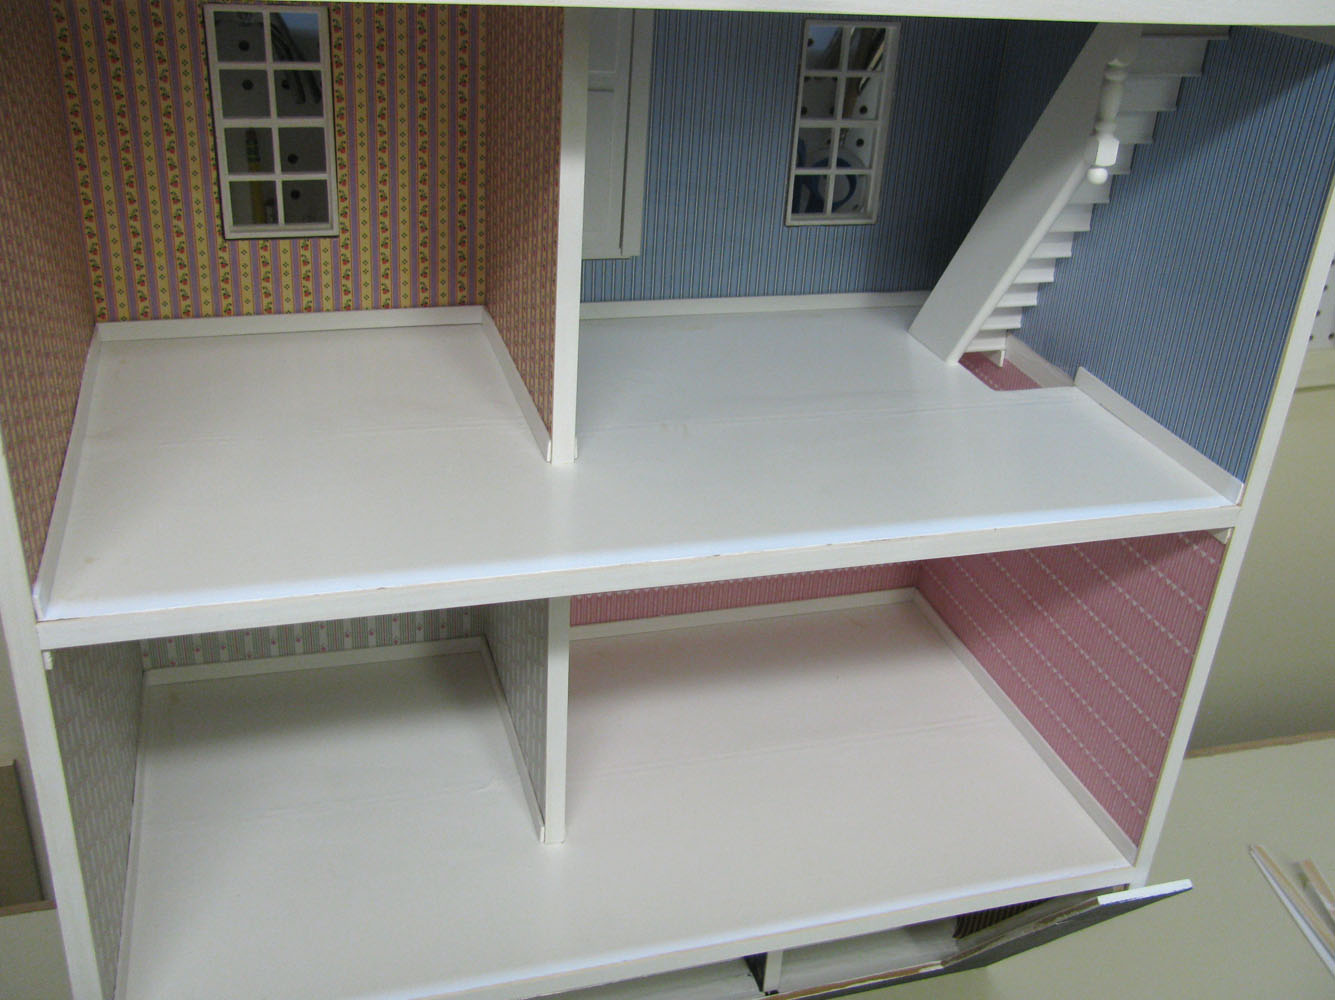
 Now, the house is on the front, with supports to hold it flat
stripwood/SW16-2/StripwoodCrown15_lg.jpg
Now, the house is on the front, with supports to hold it flat
stripwood/SW16-2/StripwoodCrown15_lg.jpg
Now, the house is on the front, with supports to hold it flat
stripwood/SW16-2/StripwoodCrown15_lg.jpg
DHTMLGoodies.com
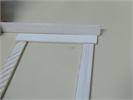
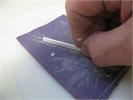
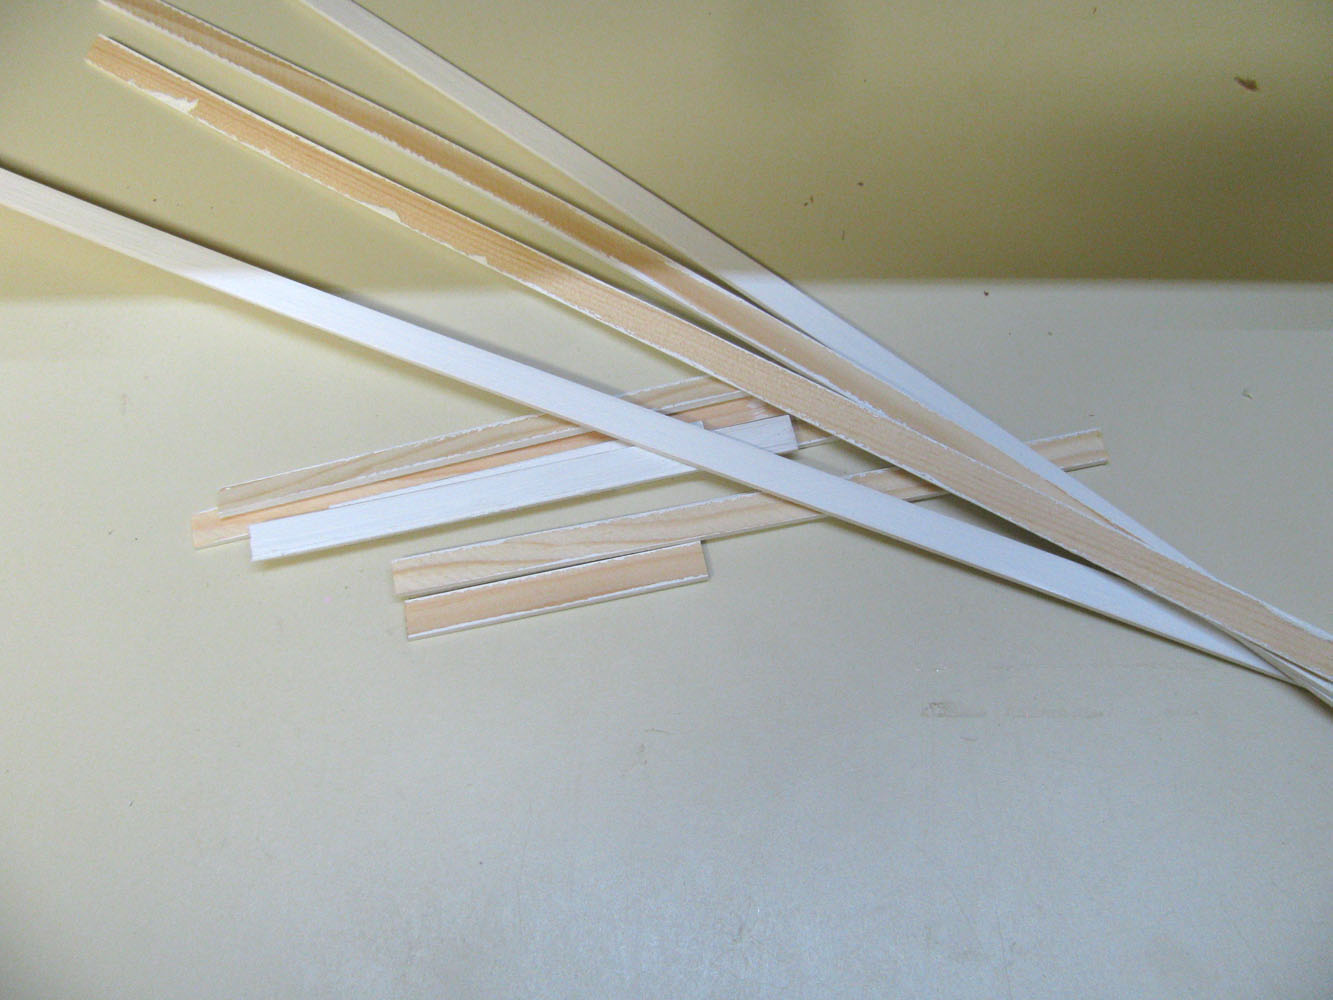
 I will cut 10 of these side frames eventually...
stripwood/SW16-2/StripwoodCrown16_lg.jpg
I will cut 10 of these side frames eventually...
stripwood/SW16-2/StripwoodCrown16_lg.jpg
I will cut 10 of these side frames eventually...
stripwood/SW16-2/StripwoodCrown16_lg.jpg
DHTMLGoodies.com
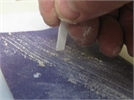
 ... but for now, I will do just one set to test my plan
stripwood/SW16-2/StripwoodCrown17_lg.jpg
... but for now, I will do just one set to test my plan
stripwood/SW16-2/StripwoodCrown17_lg.jpg
... but for now, I will do just one set to test my plan
stripwood/SW16-2/StripwoodCrown17_lg.jpg
DHTMLGoodies.com
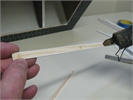
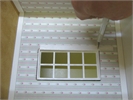
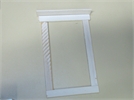
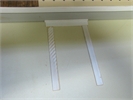
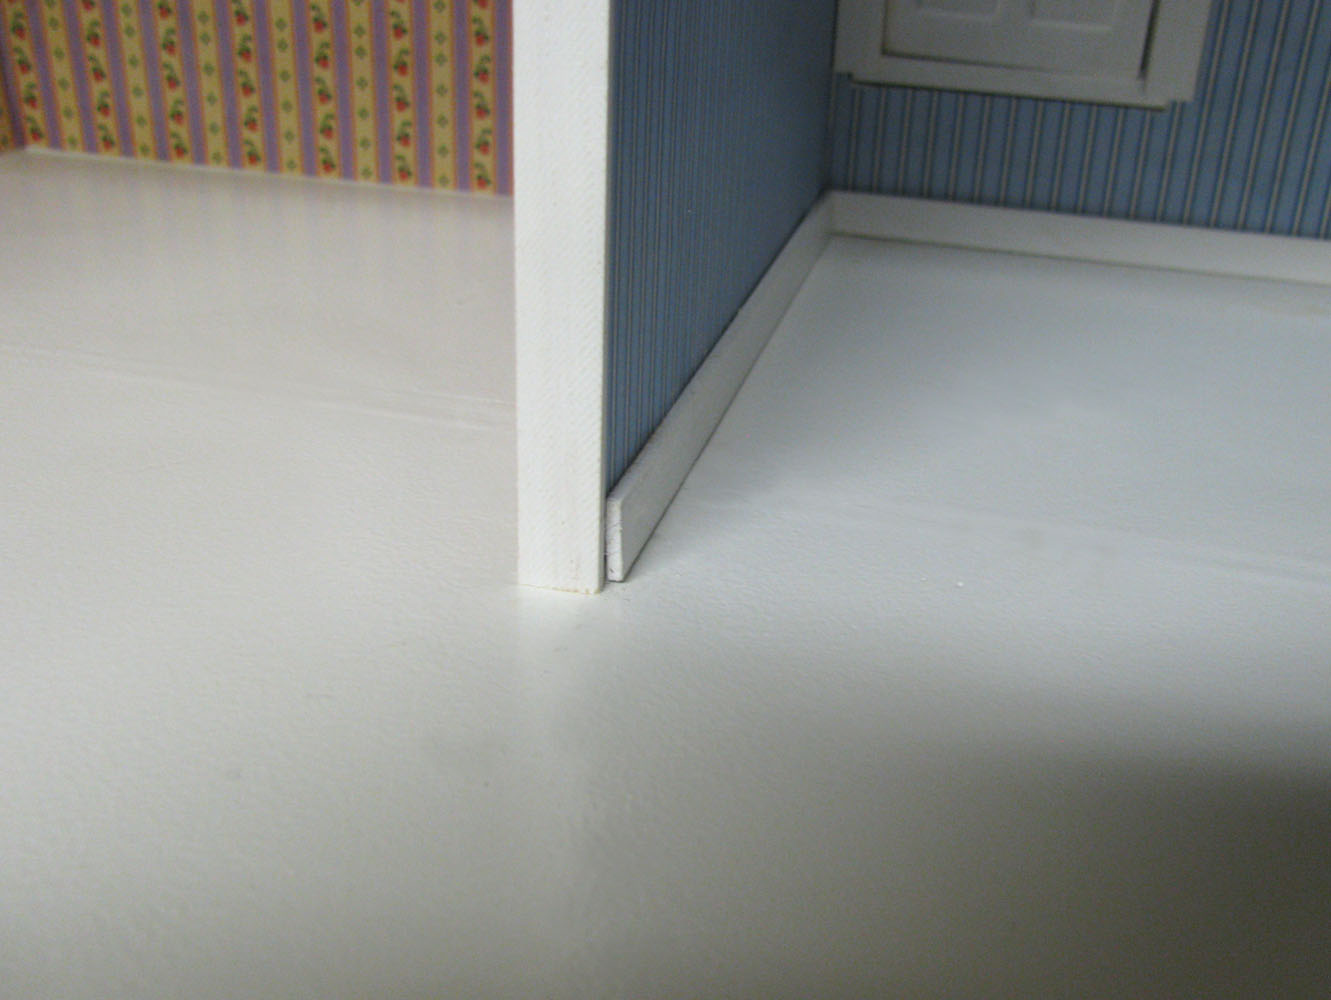
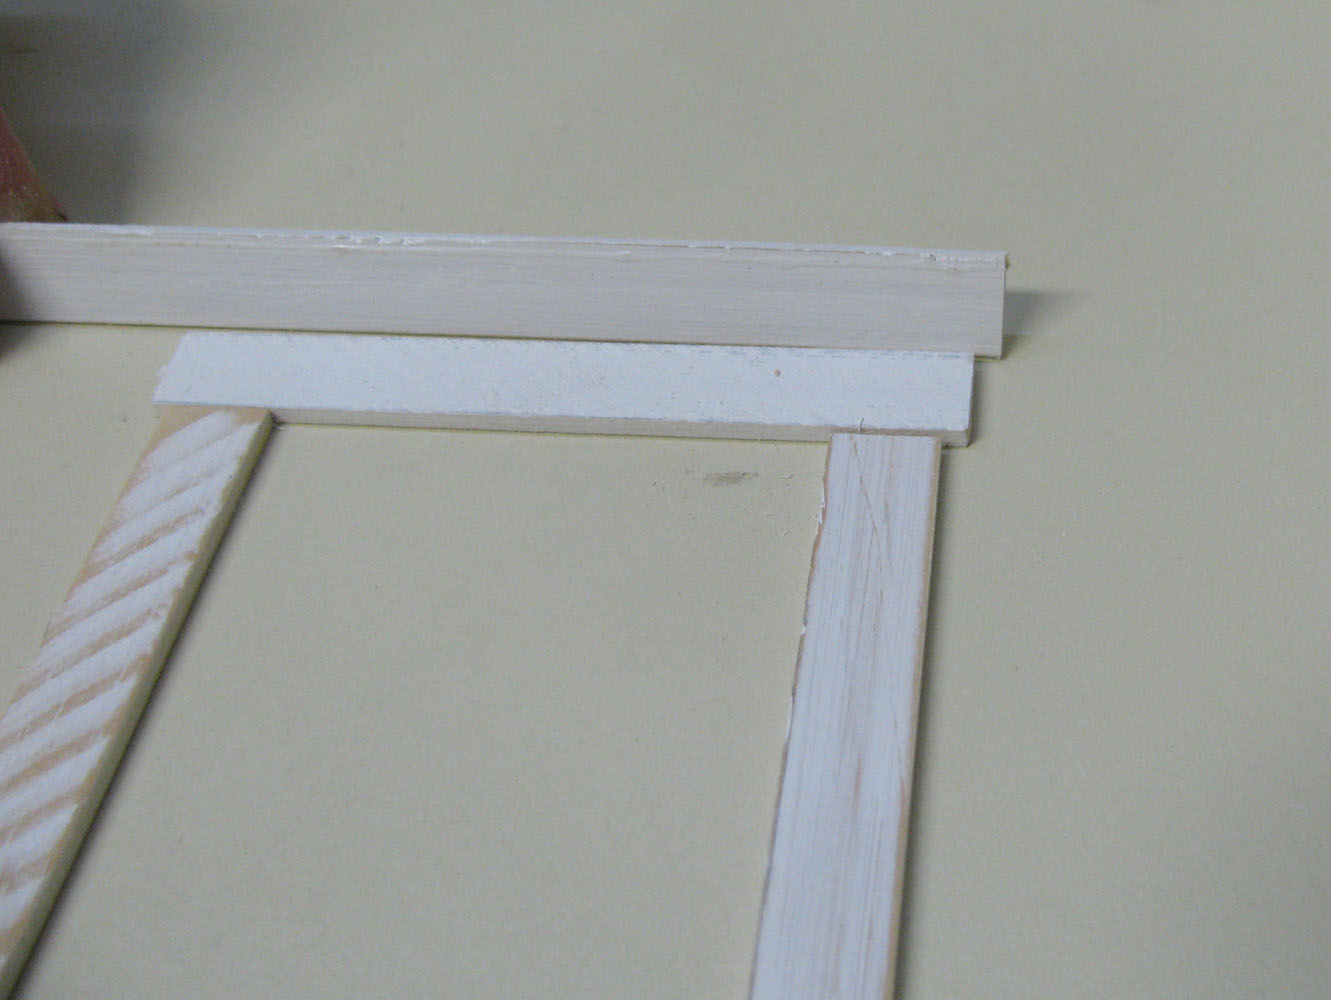
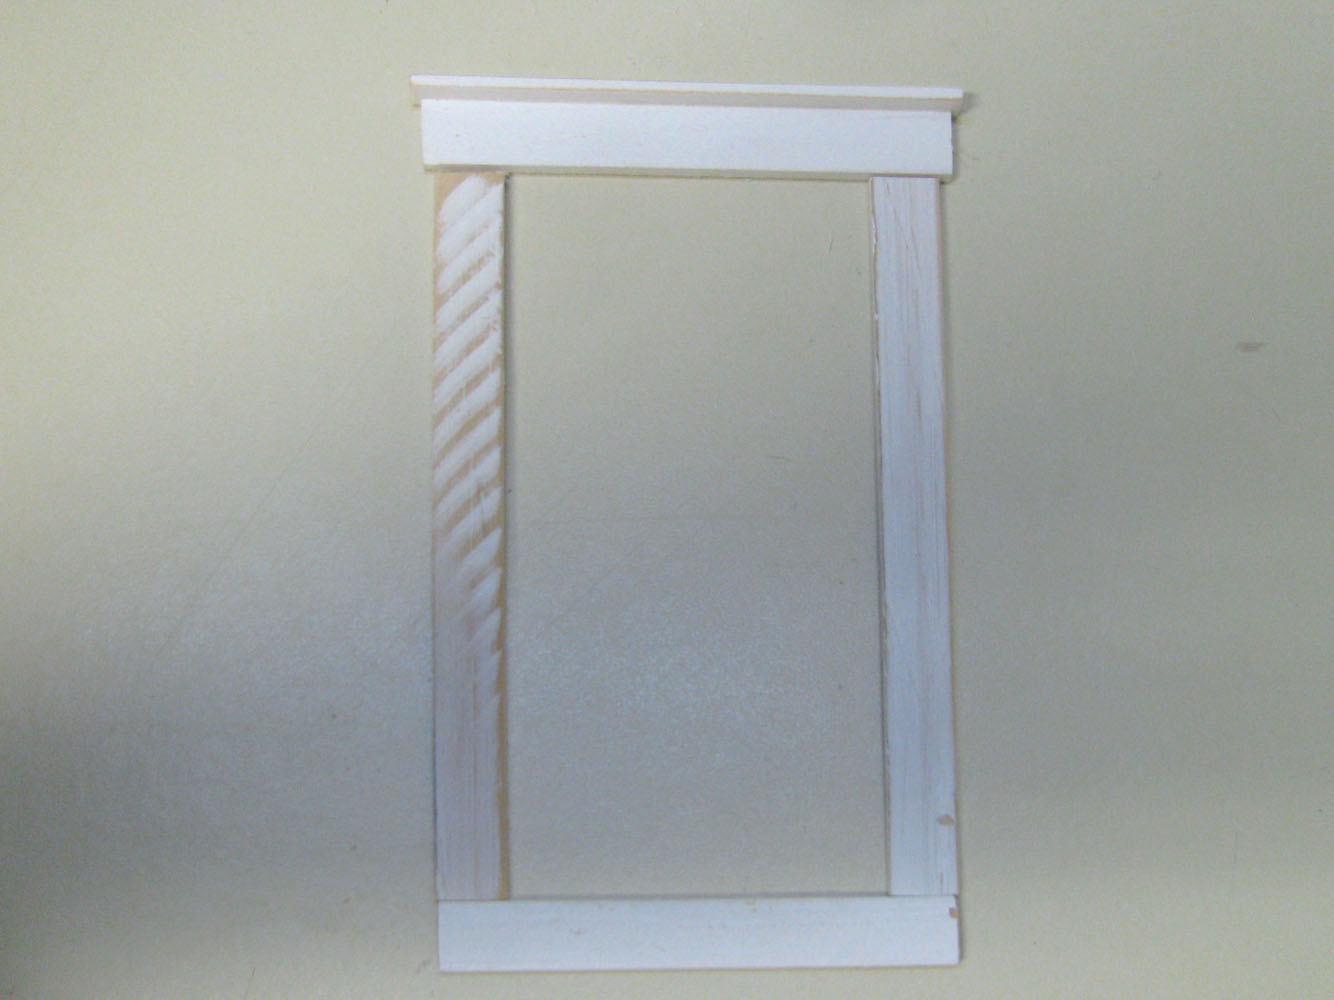
 Here is a good basic frame - with the top overhanging
stripwood/SW16-2/StripwoodCrown18_lg.jpg
Here is a good basic frame - with the top overhanging
stripwood/SW16-2/StripwoodCrown18_lg.jpg
Here is a good basic frame - with the top overhanging
stripwood/SW16-2/StripwoodCrown18_lg.jpg


DHTMLGoodies.com
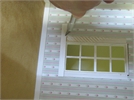
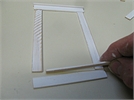
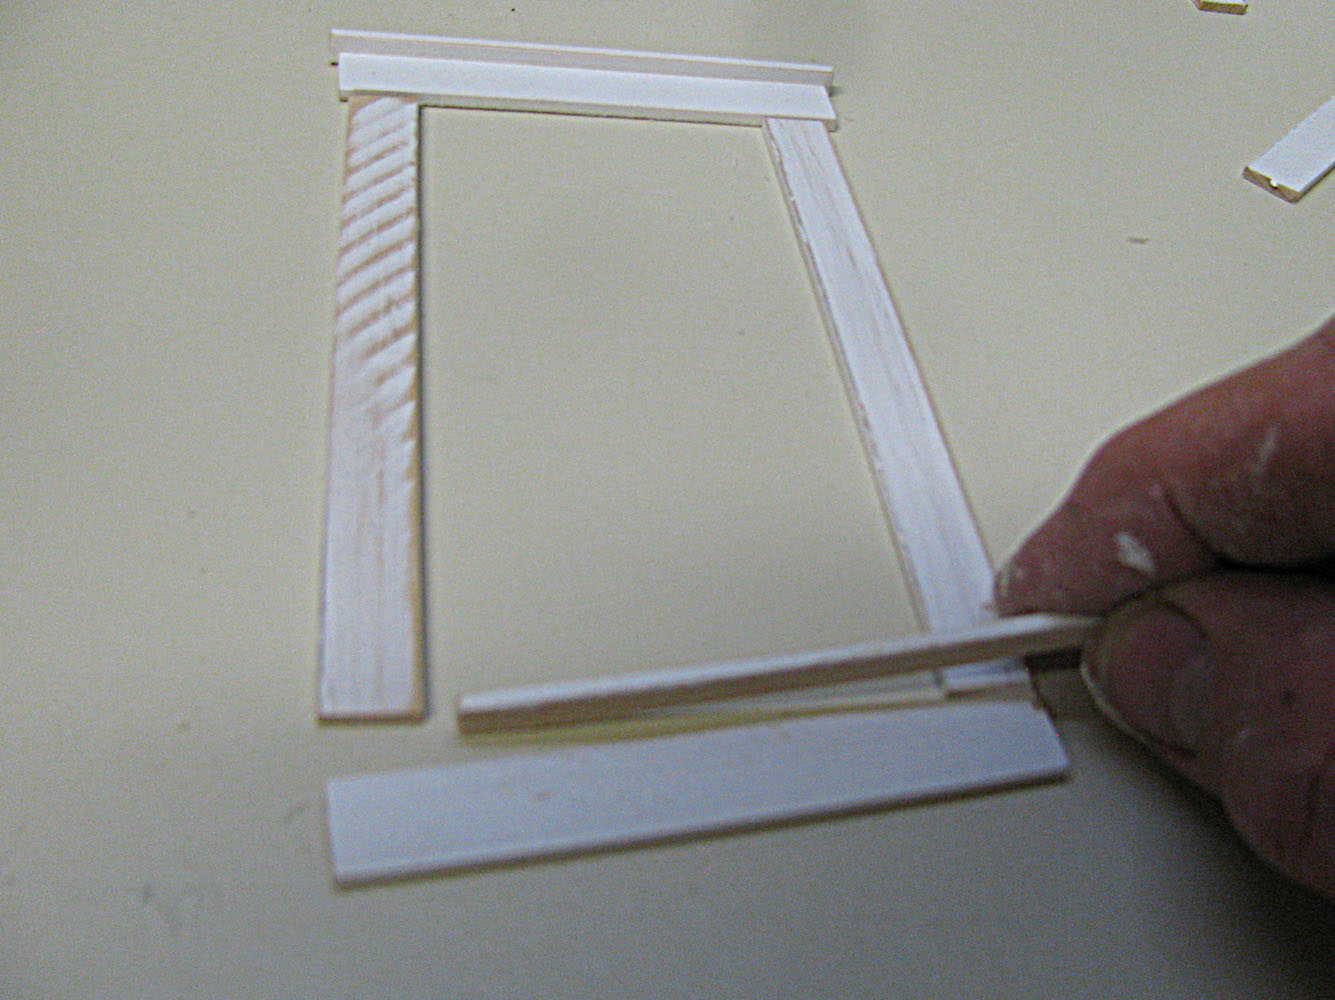
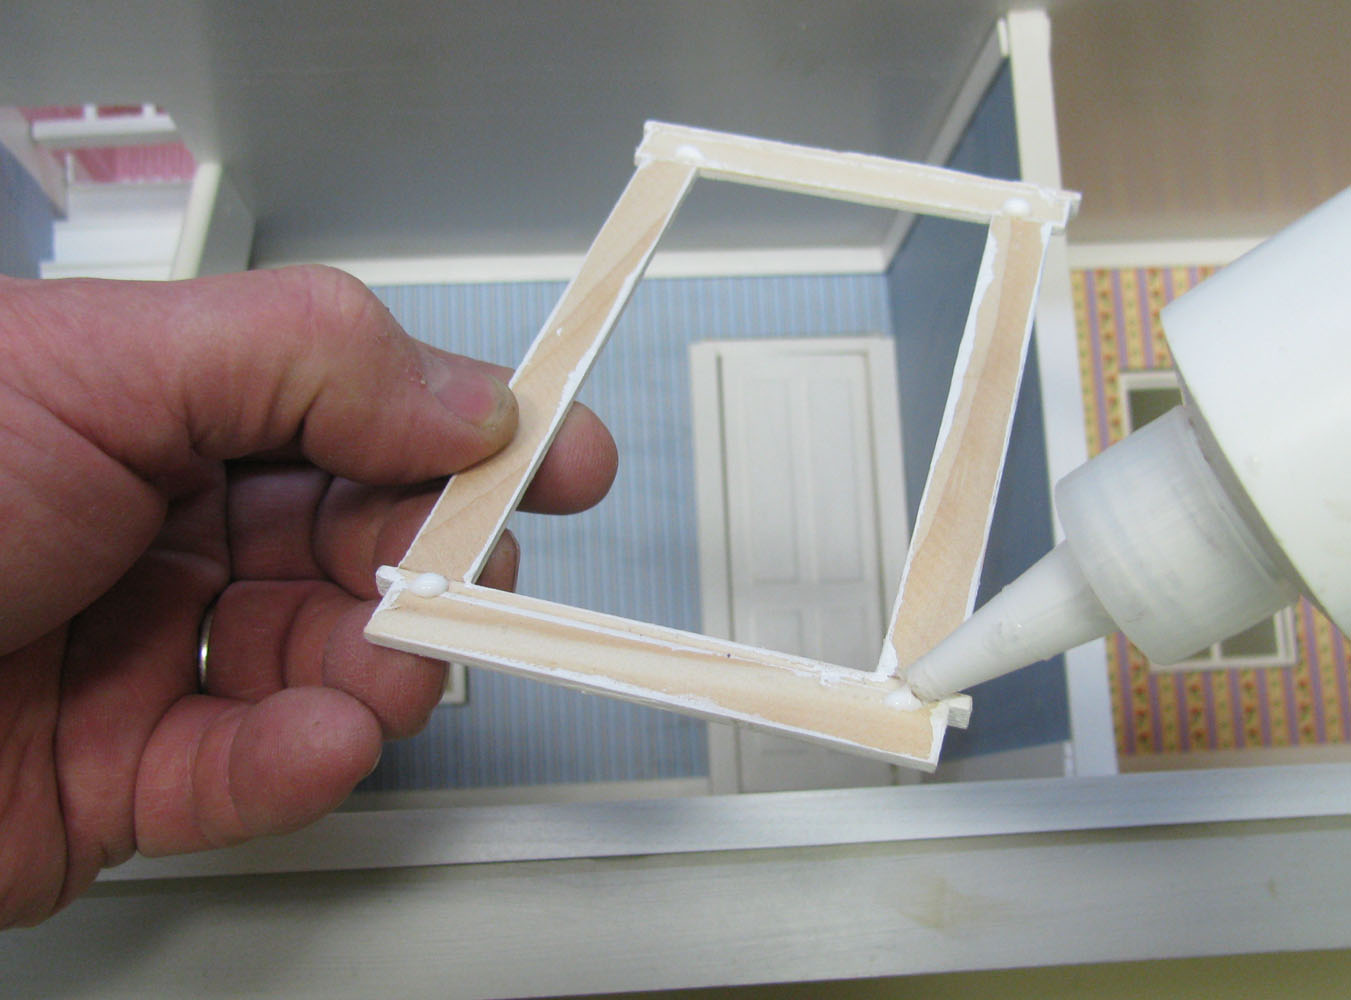
 Here is the frame, glued together with a square reference
stripwood/SW16-2/StripwoodCrown30_lg.jpg
Here is the frame, glued together with a square reference
stripwood/SW16-2/StripwoodCrown30_lg.jpg
Here is the frame, glued together with a square reference
stripwood/SW16-2/StripwoodCrown30_lg.jpg
DHTMLGoodies.com
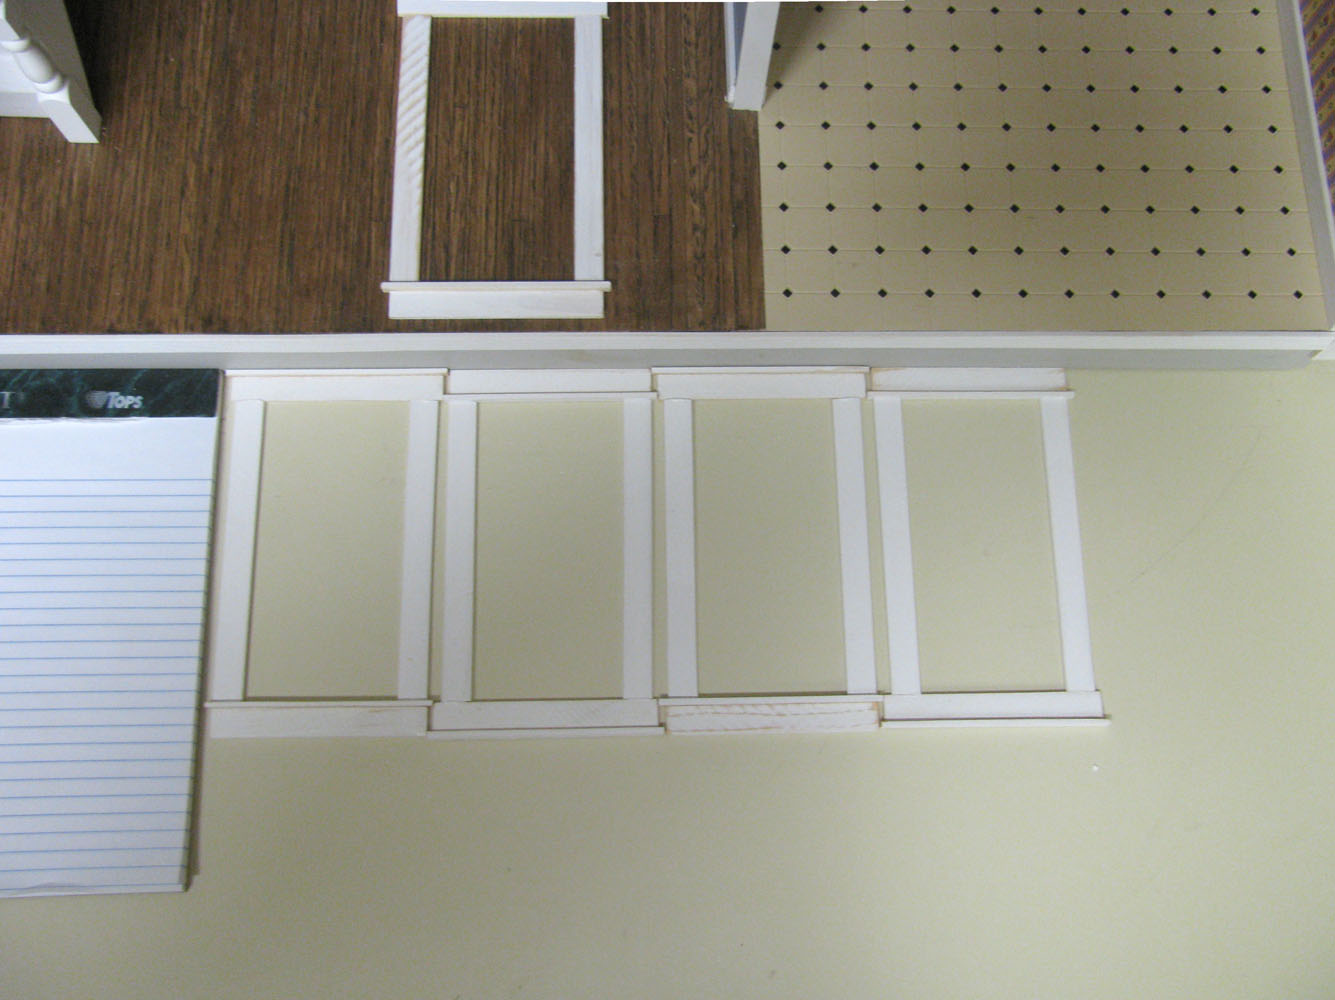
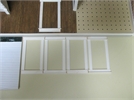 Now I have the design I want, I will cut and assemble 4 more
stripwood/SW16-2/StripwoodCrown31_lg.jpg
Now I have the design I want, I will cut and assemble 4 more
stripwood/SW16-2/StripwoodCrown31_lg.jpg
Now I have the design I want, I will cut and assemble 4 more
stripwood/SW16-2/StripwoodCrown31_lg.jpg


