![]()
Click on the display photo for a larger, printable image


DHTMLGoodies.com
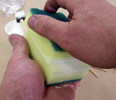
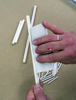
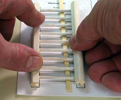
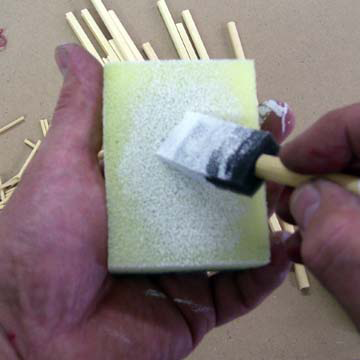
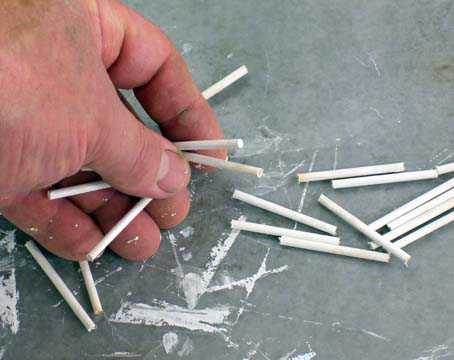
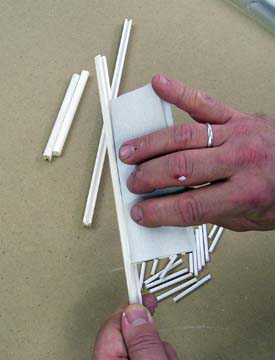
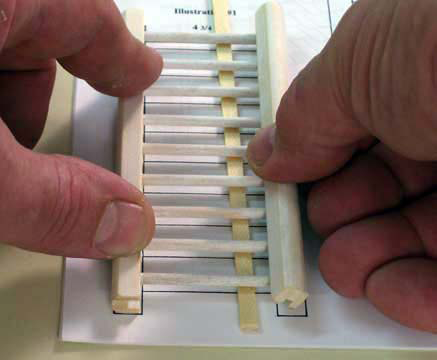
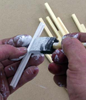 09. Paint the Rails leaving no excess on the surface - do not paint the ends
09D.png
09. Paint the Rails leaving no excess on the surface - do not paint the ends
09D.png
09. Paint the Rails leaving no excess on the surface - do not paint the ends
09D.png
DHTMLGoodies.com
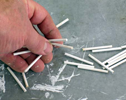
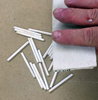
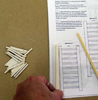
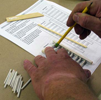
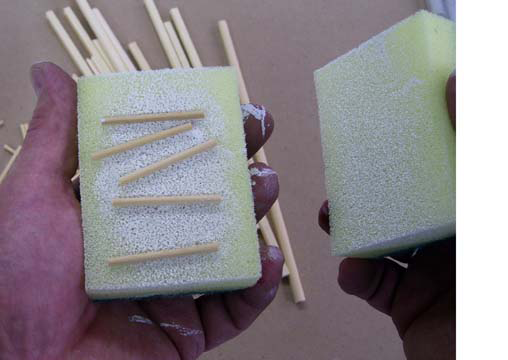
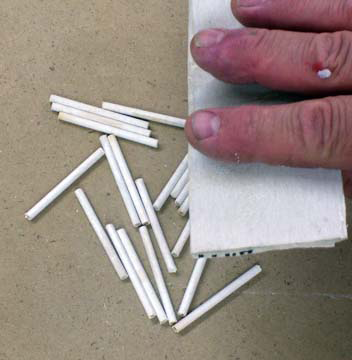
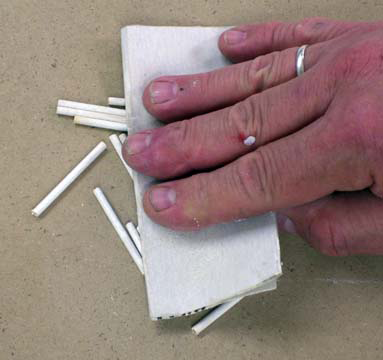
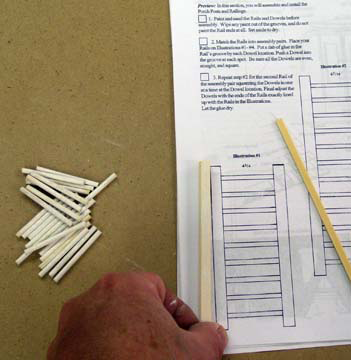
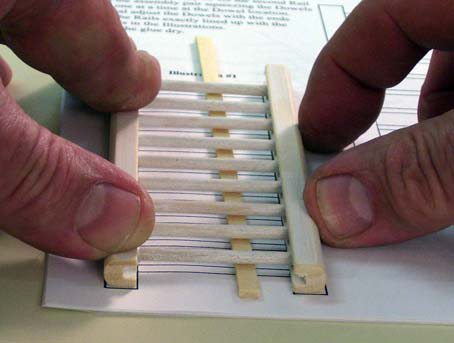
 11. Sand down to the wood - the surface feels silky and there's no extra paint
11D.png
11. Sand down to the wood - the surface feels silky and there's no extra paint
11D.png
11. Sand down to the wood - the surface feels silky and there's no extra paint
11D.png

DHTMLGoodies.com
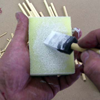
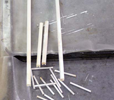
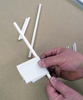
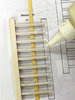
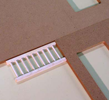
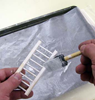
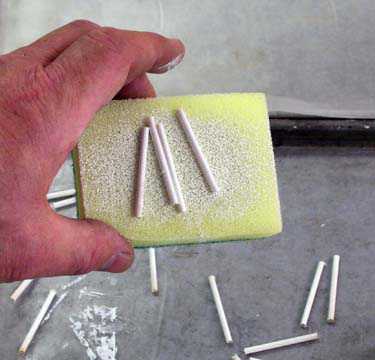
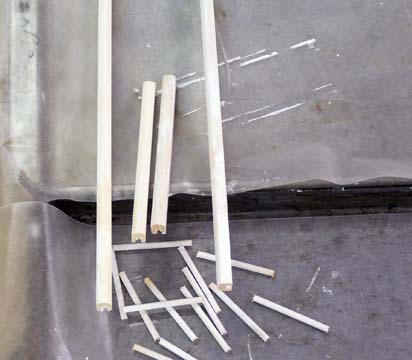
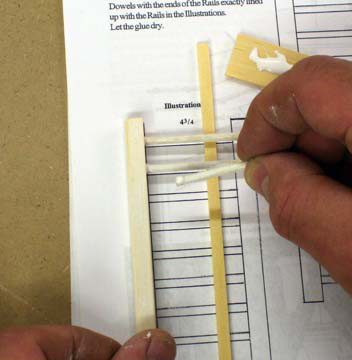
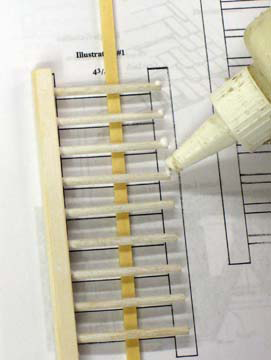
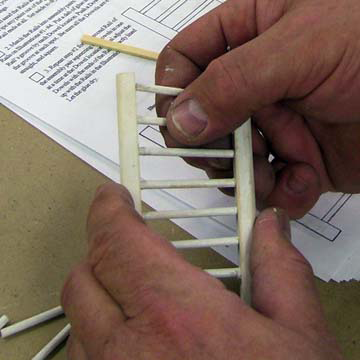
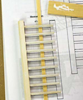 15. The dowels line up with the drawing, a piece of stripwood supports them
15D.png
15. The dowels line up with the drawing, a piece of stripwood supports them
15D.png
15. The dowels line up with the drawing, a piece of stripwood supports them
15D.png


Slideshows support but do not replace the instructions