|
 |
 |
 |
 |
 |
 |
 |
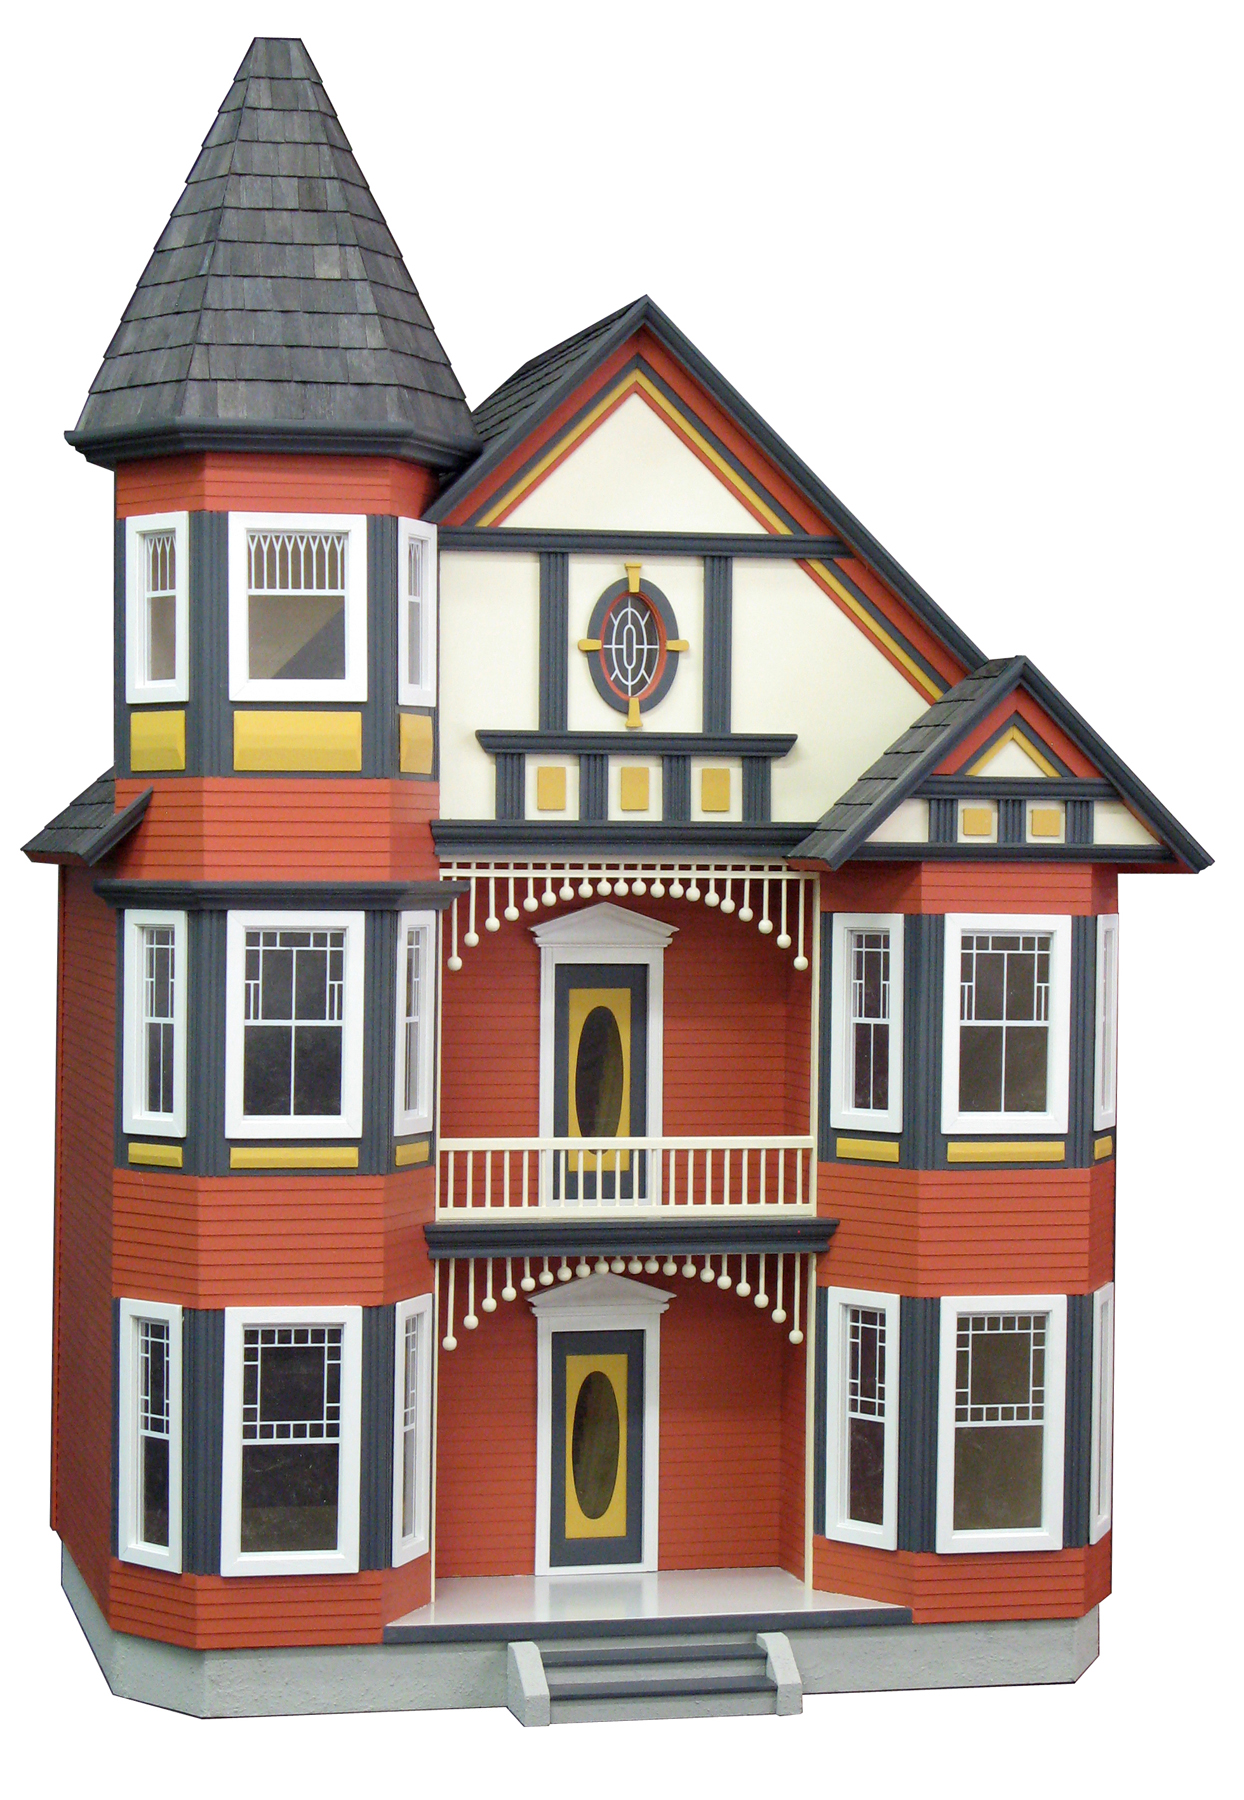
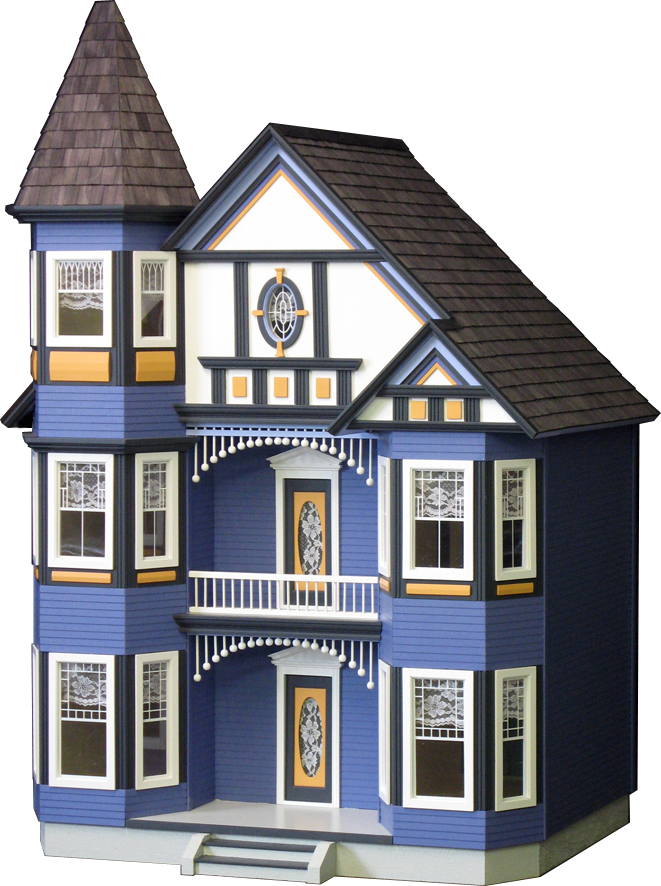
Building the Painted Lady - Kit # JM 4500 and JM 4600 |
|||||||
| The HS-4500 and the JM-4600 have some differences that must be kept in mind as you follow these demos This collection is still under construction. Stop back often for more content and captions, or help decide 'what's next' by sending a request |
||||
|
Colors | 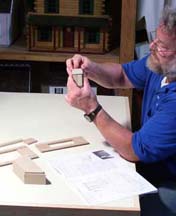 |
This may be the most important step in building a dollhouse. The builder is reading the instructions and trying the pieces. This step is valuable for becoming familiar with the parts, for getting the parts grouped in assembly order, and for figuring out the painting plan. Skipping this step is a mistake for beginners and experienced builders alike | |
| The Build | Supplemental demos | |||
Preparation
|
Measuring and fractions | |||
| Using a Tape Measure | ||||
Pre-Assembly
|
Assemble the Front Steps |
(4500 only) assemble Corner Bay Verts | ||
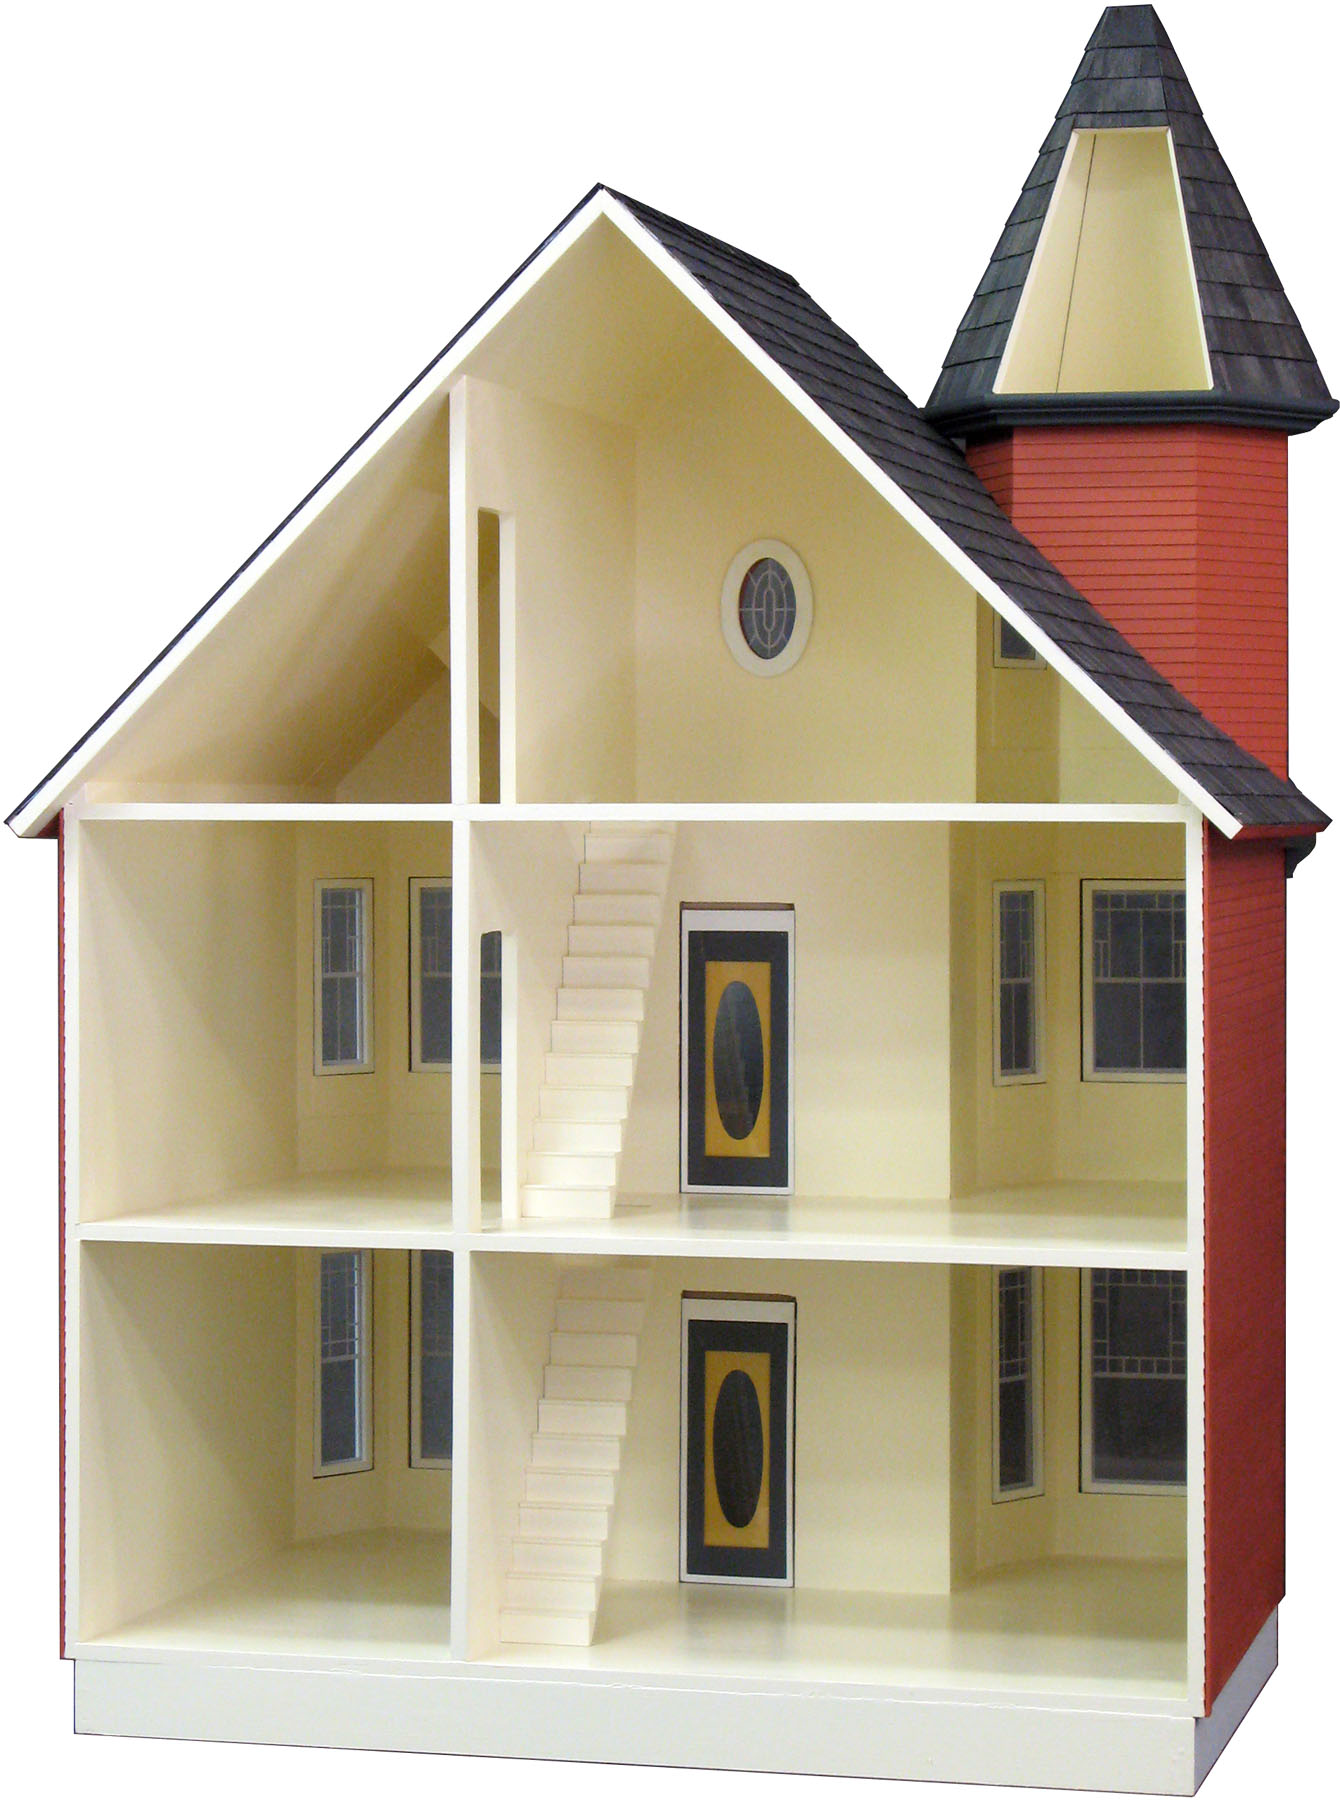
| Prepare the Floors | ||||
| Foundation | Dye or Stain Shingles | 4600 Windows | ||
| Front Walls and porch painting | More Assembly slideshows | 1: 1st floor frontset | ||
| Building | Sides and Floors | (Not necessarily in order) | 2: Middle Floor | |
| Bay Walls | Draw Shingle Guidelines | 3: Top Floor | ||
| The Roof | 4: Attic | |||
| Tower Walls | Window Frames | 5: Roof | ||
| Window Blocks and Bay Verticals | Arched Rails | 6: Bay Walls | ||
| Tower Roof | Rails | 7: Tower | ||
| Gable, Eaves, and the Porch Edge | Trim | 8: Gable | ||
| Shingle the Roofs | 9: Eaves | |||
| Stairs | 10: TowerRoof | |||
Interior |
Examples from other houses | |||
| Dividers | ||||
| Painted Lady wiring layout diagram | Electrical wiring | |||
| Crown Molding with an "Easy Cutter" | Paint and Wallpaper | |||