 FrontSet Details
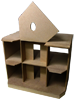
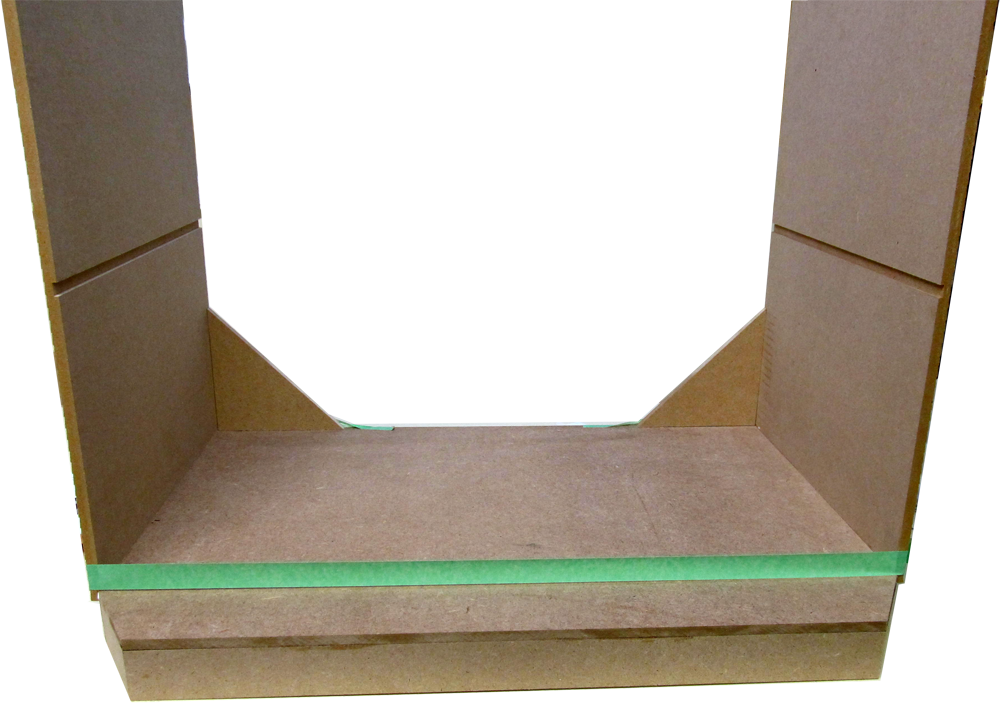
 1st Floor (here)


![]()
![]()
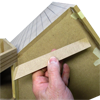
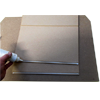
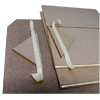
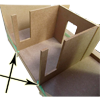
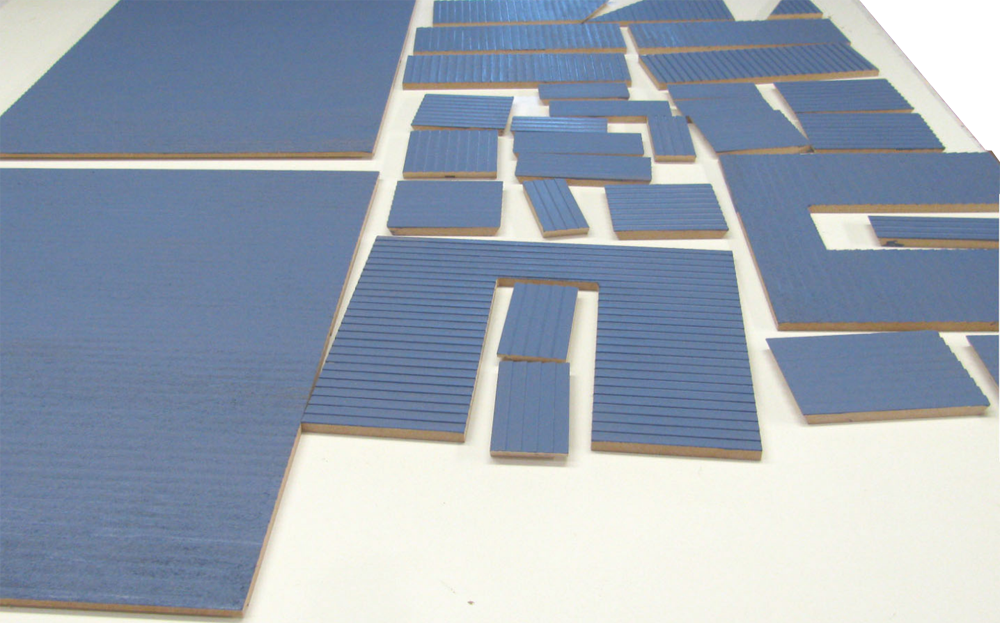
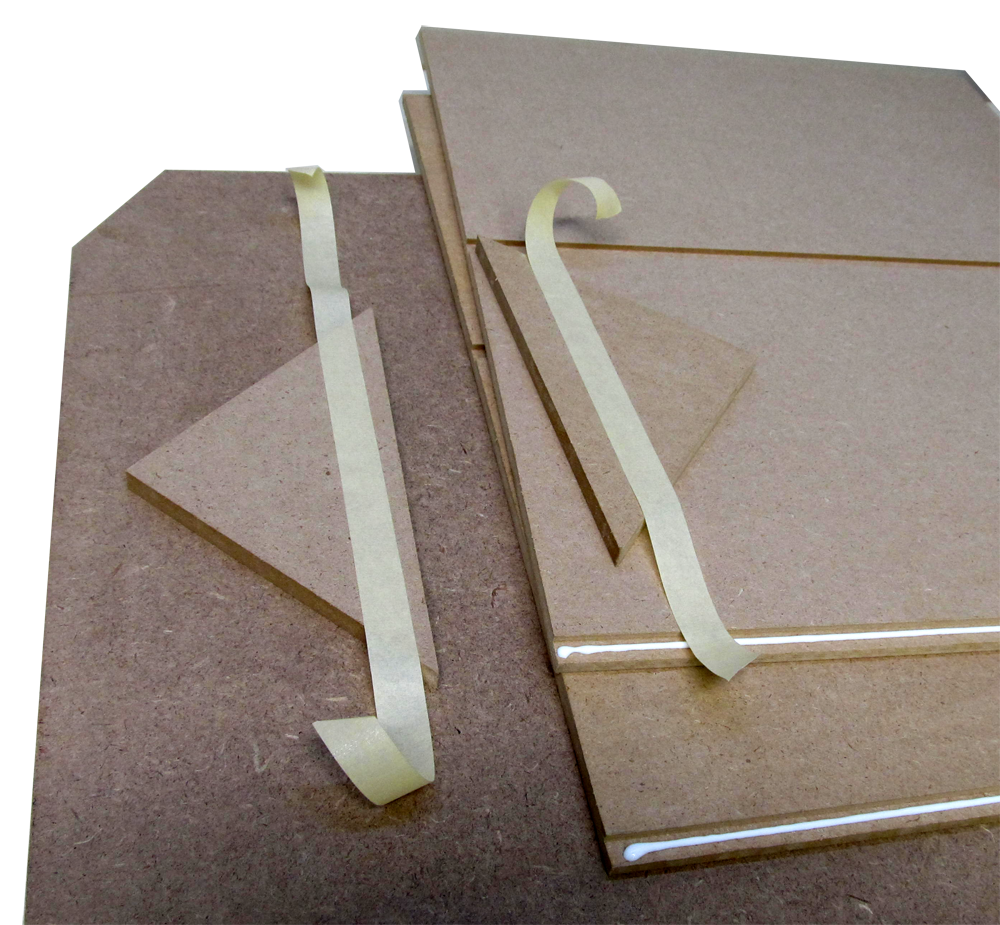
Many parts should be painted before assembly
DHTMLGoodies.com
 4. This is a special-project un-painted build - not an easier way to paint!!
../../RGT_Website_Assets/ajax-loader.gif"
4. This is a special-project un-painted build - not an easier way to paint!!
../../RGT_Website_Assets/ajax-loader.gif"


DHTMLGoodies.com
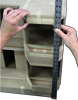
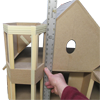
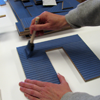
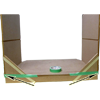
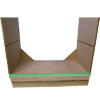
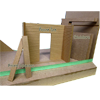
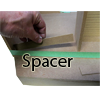
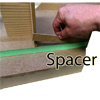
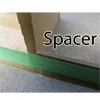
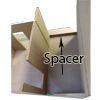
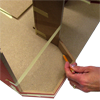
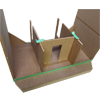
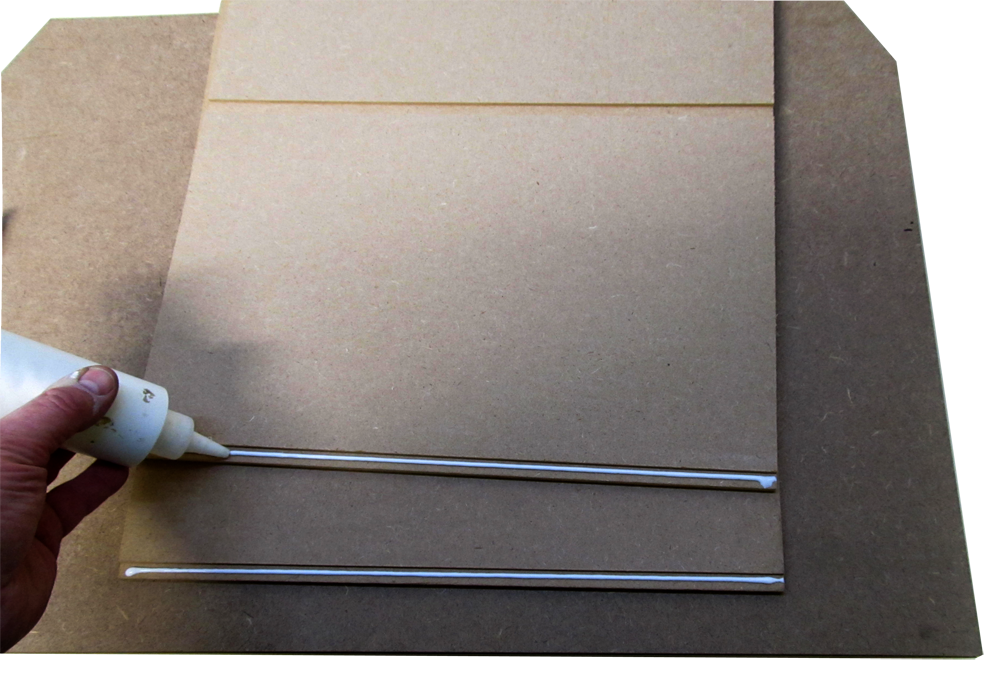
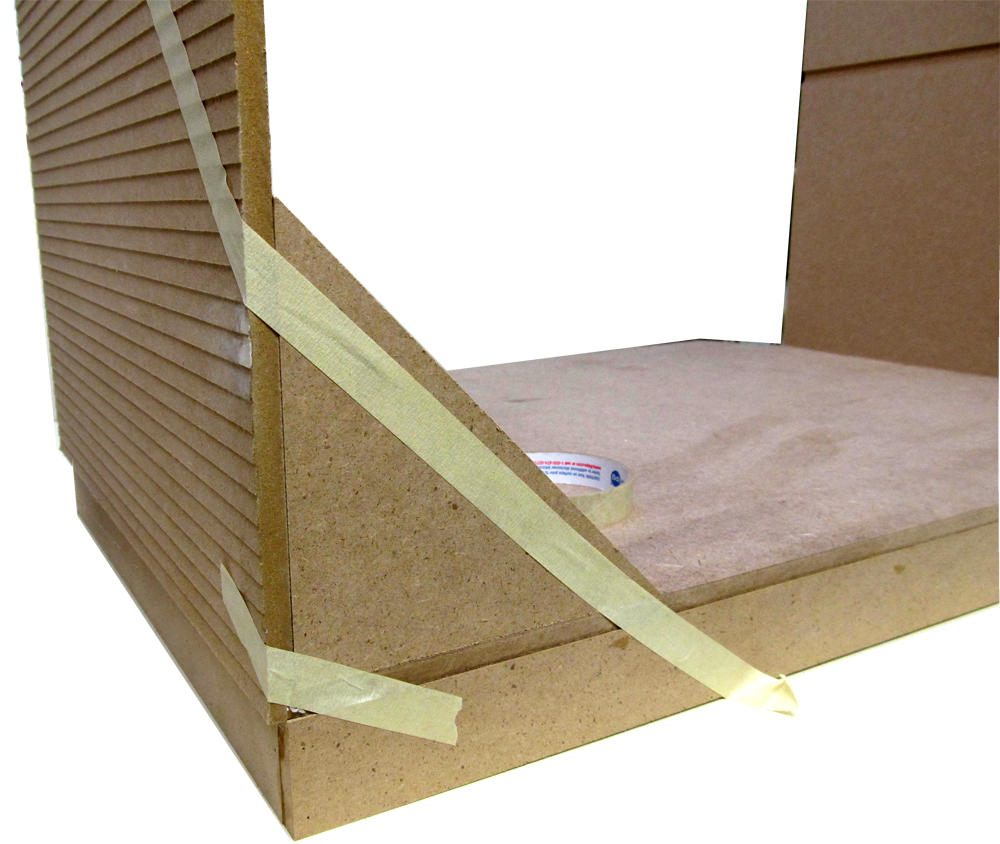
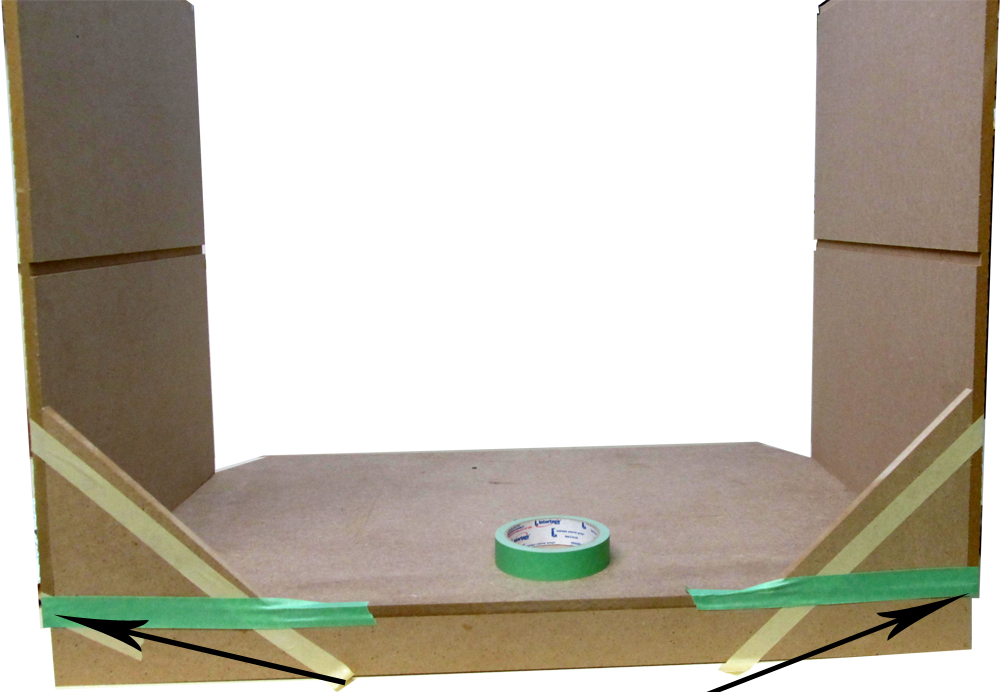
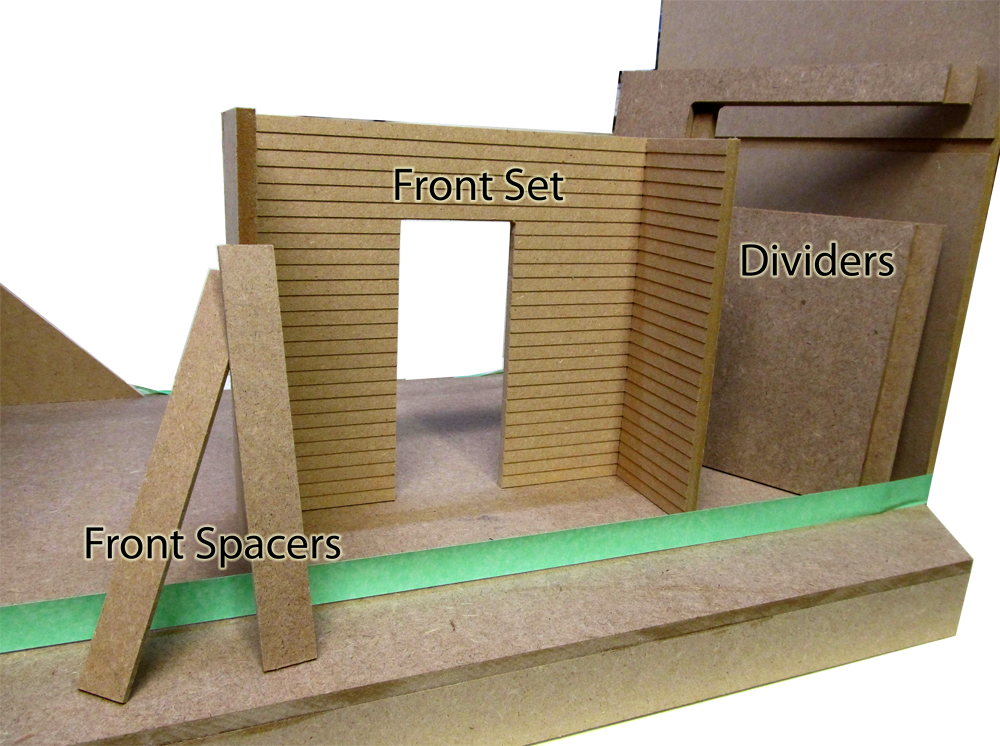
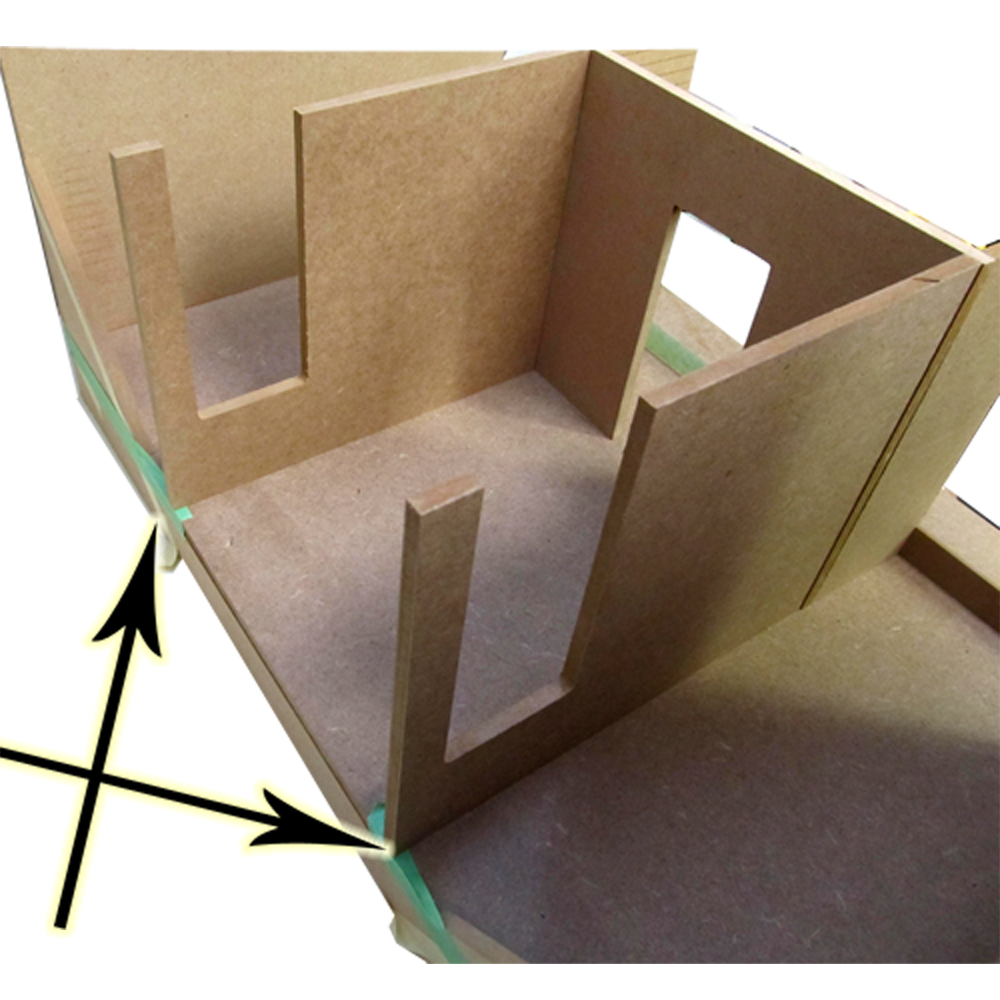
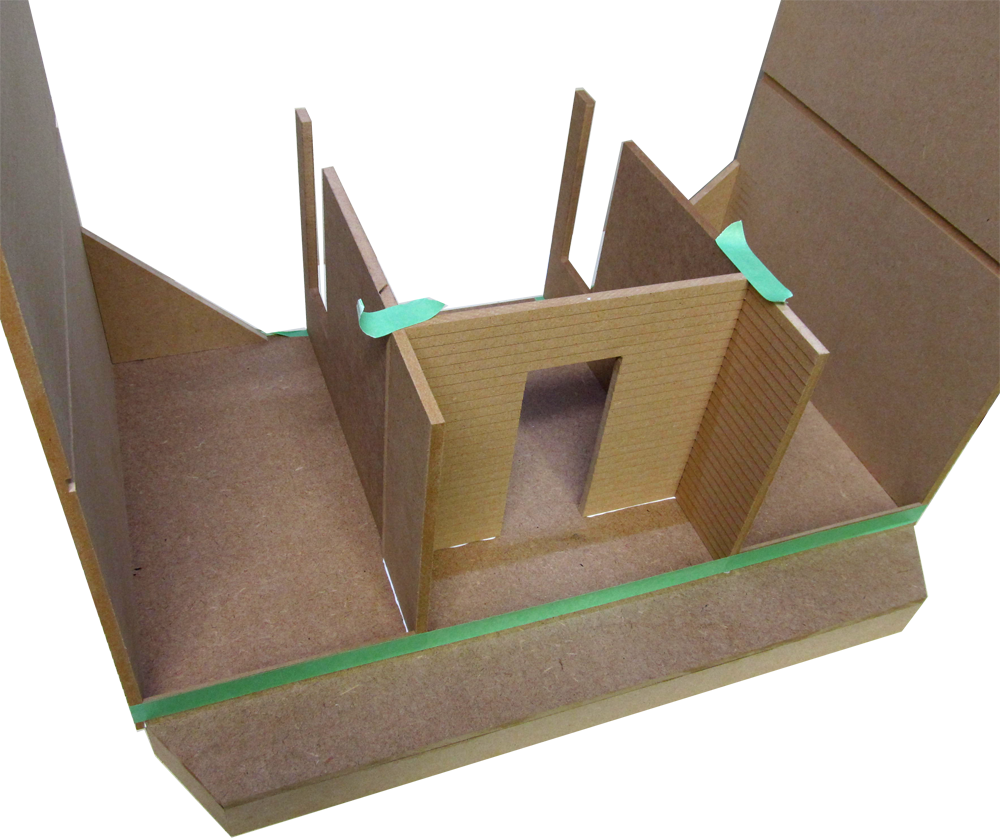
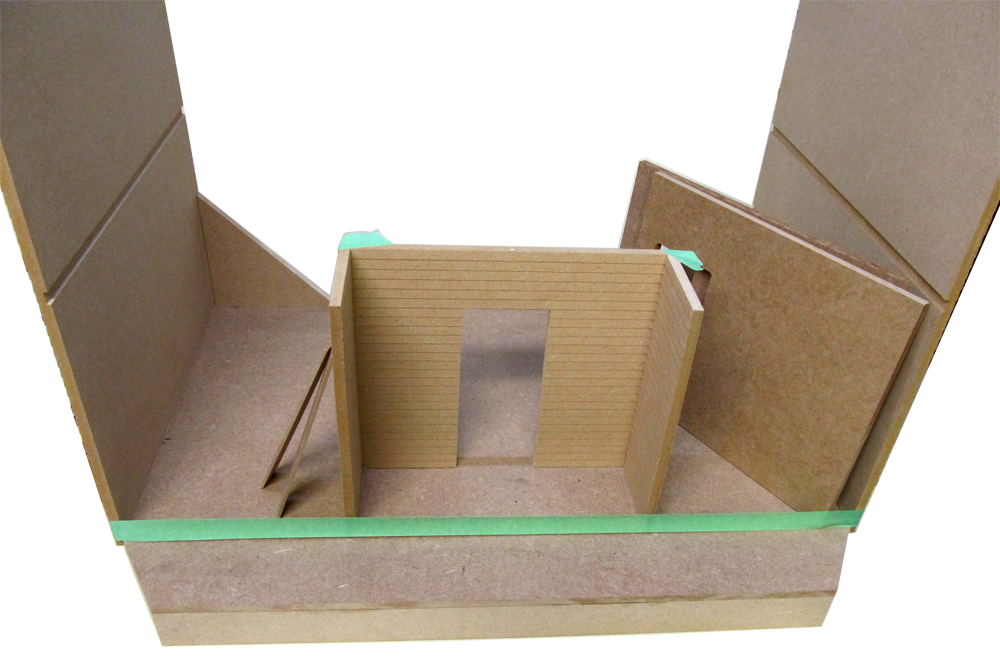
 15. The Dividers locate the Front Set from the back edge - lined up carefully
NOT GLUED! 4600-11-lg.png
15. The Dividers locate the Front Set from the back edge - lined up carefullyNOT GLUED! 4600-11-lg.png
