![]()
![]()
![]()
Click on the photo for a printable copy
Windows (video) (Slideshow)
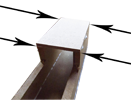
Brackets (slideshow)
Railings (paint and assemble)
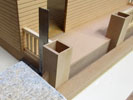
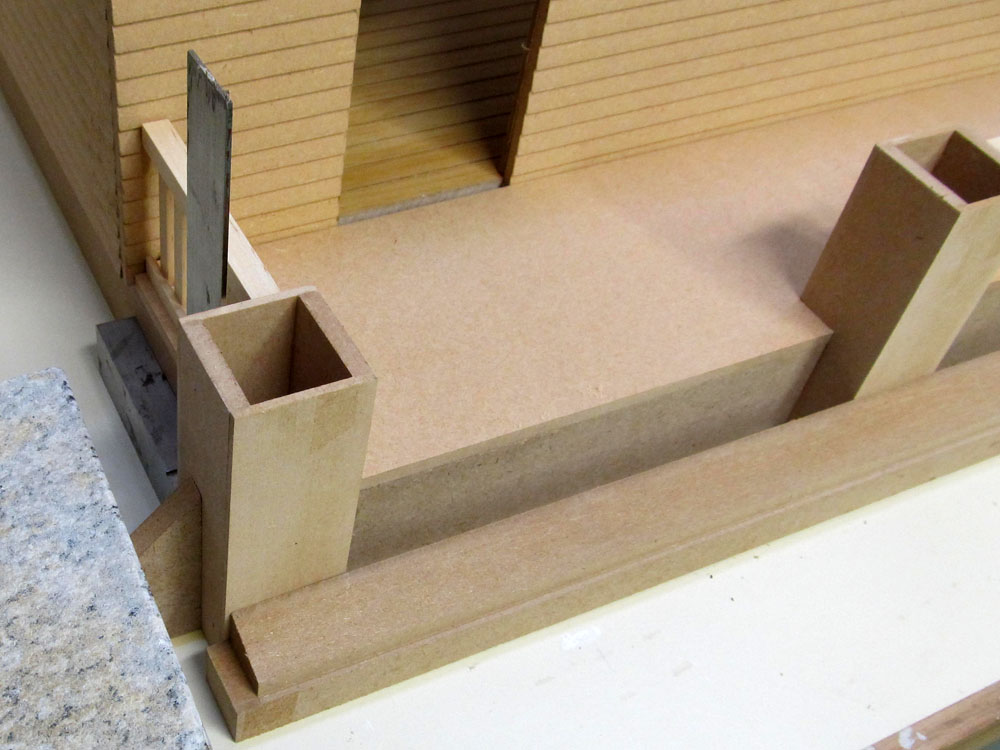
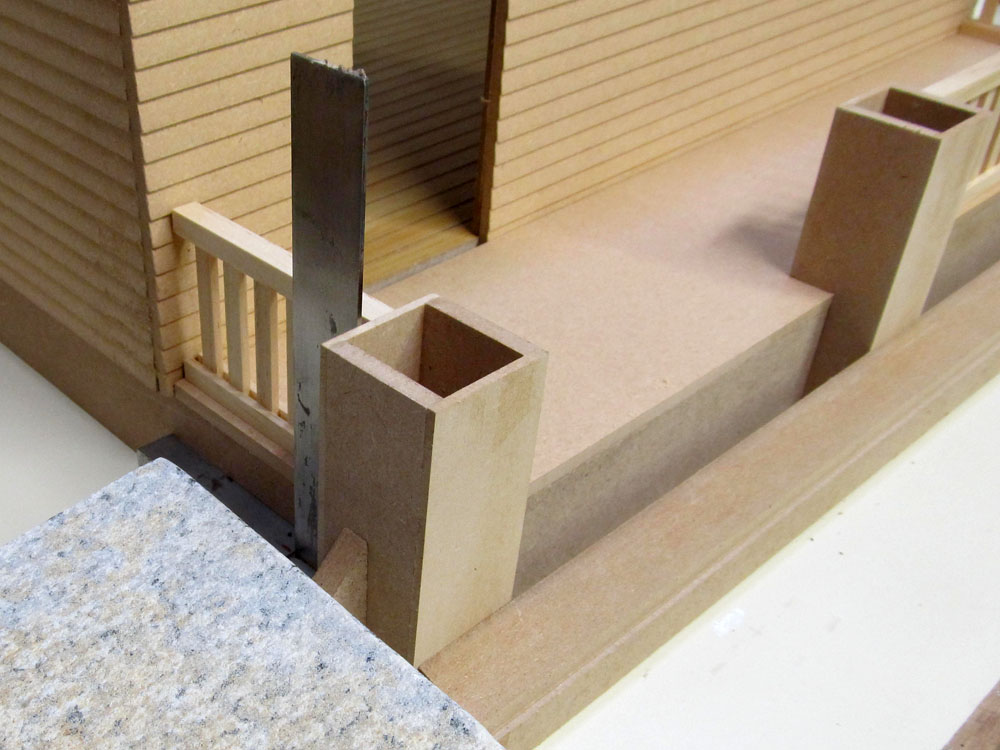
Postbases (assemble) (here)
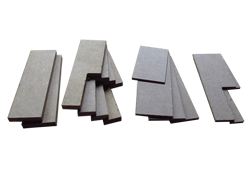
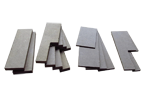
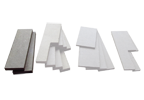
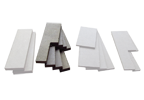
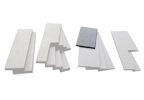
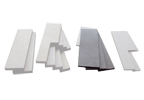
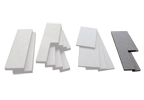
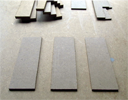
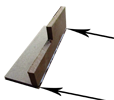
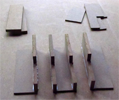
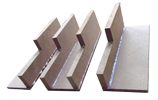
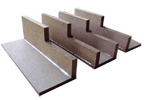
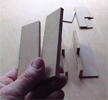
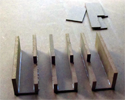
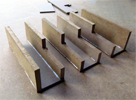
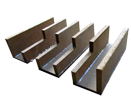
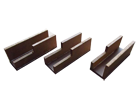
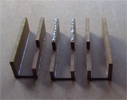
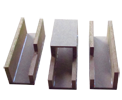
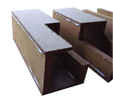
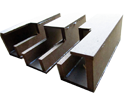
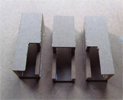
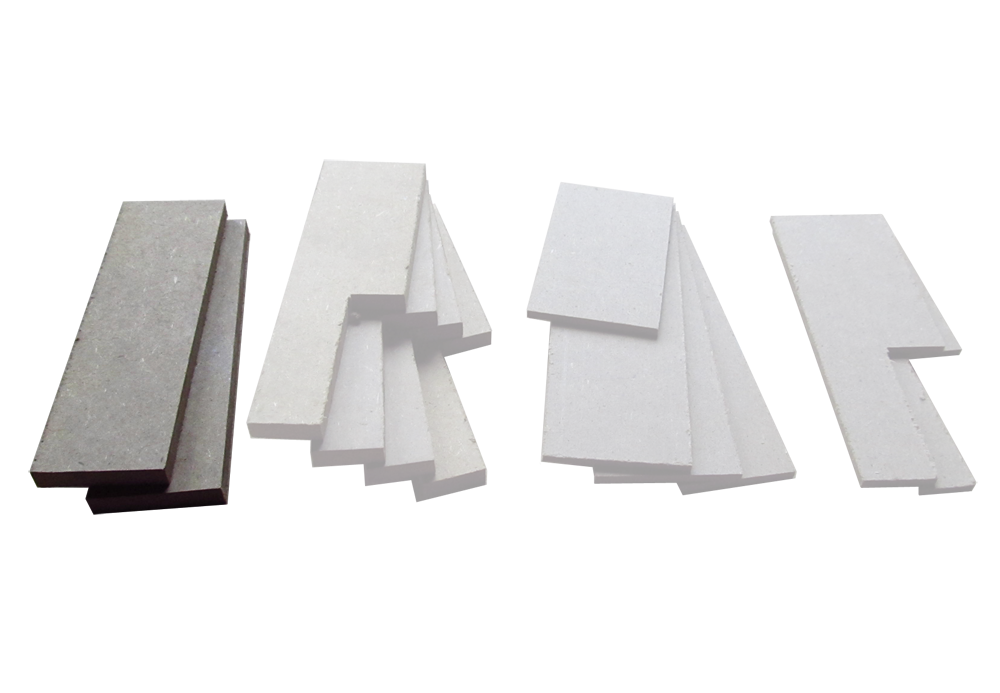
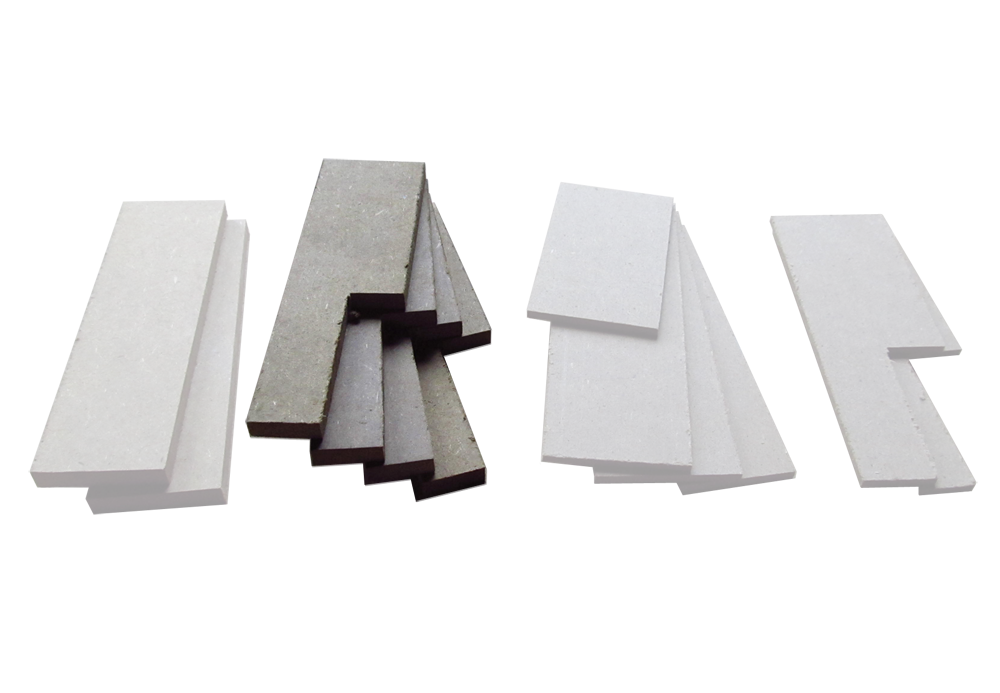
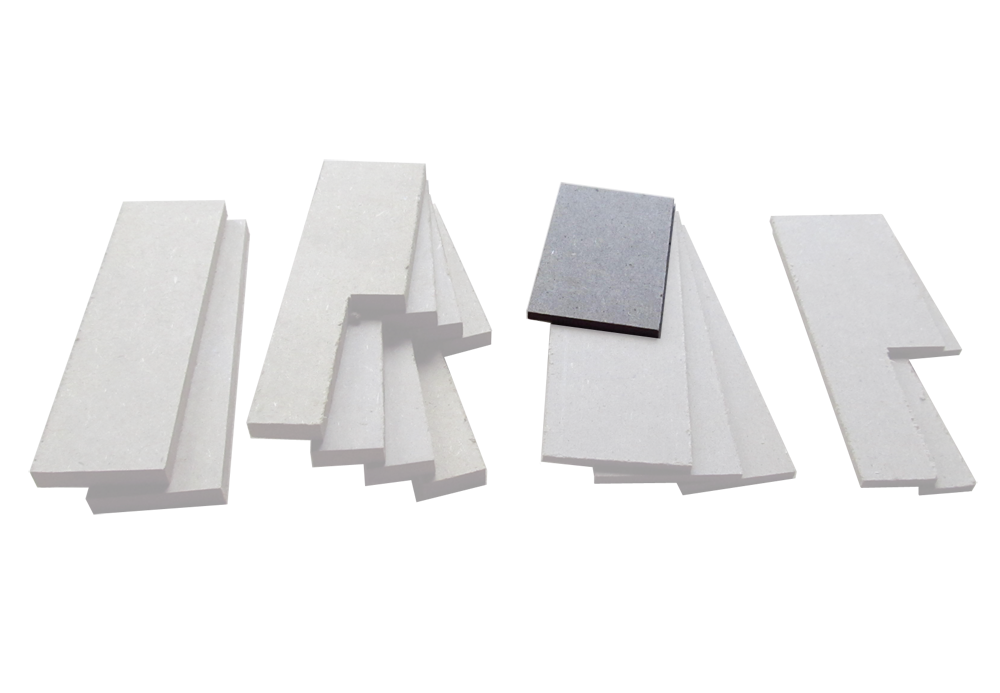
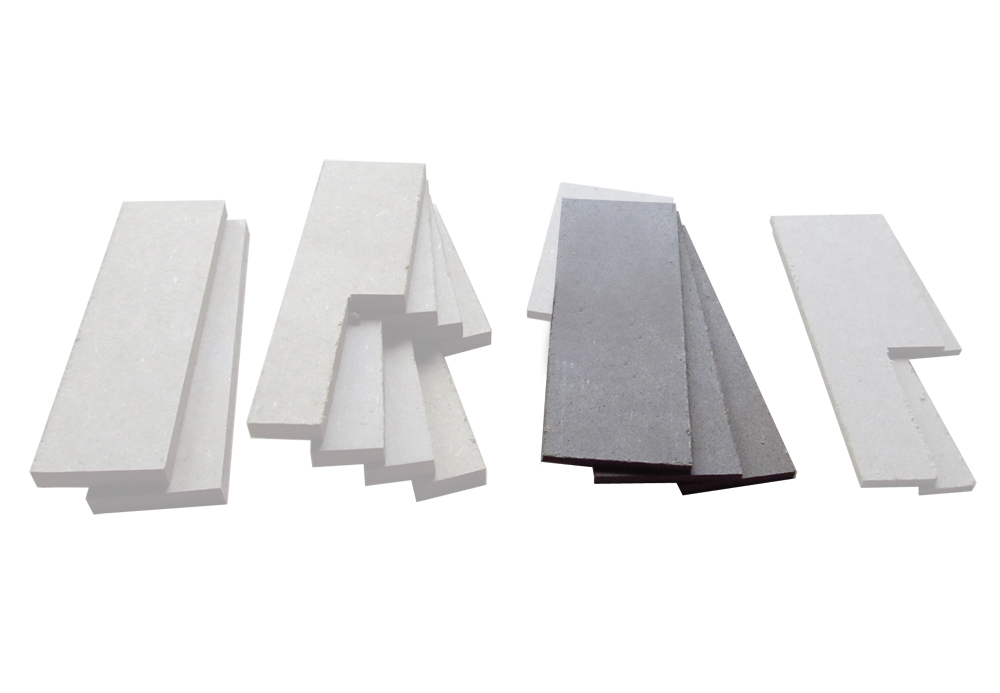
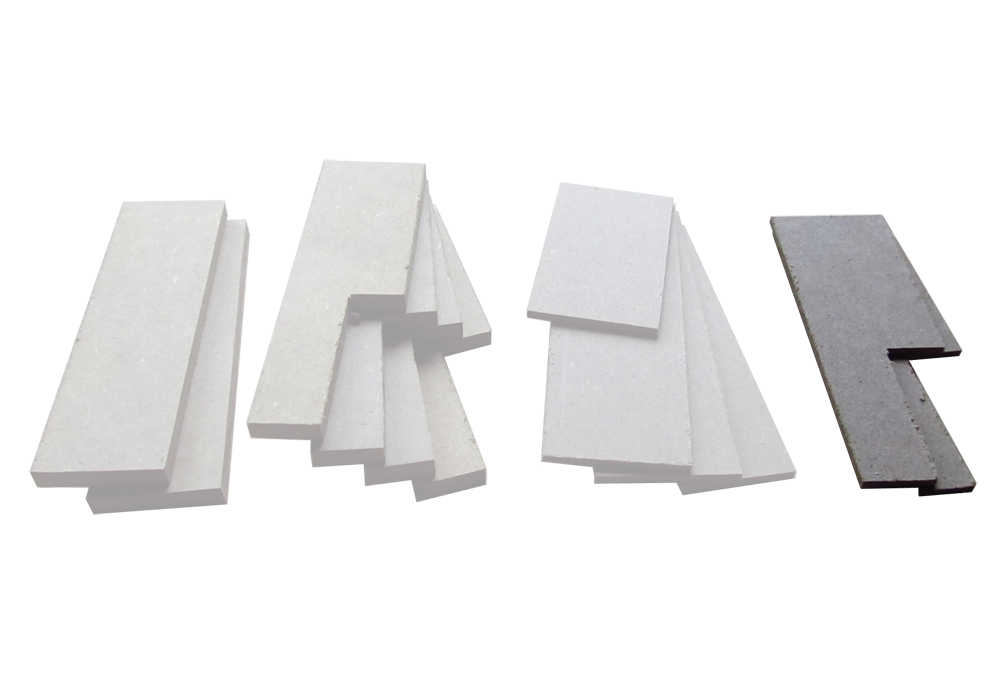
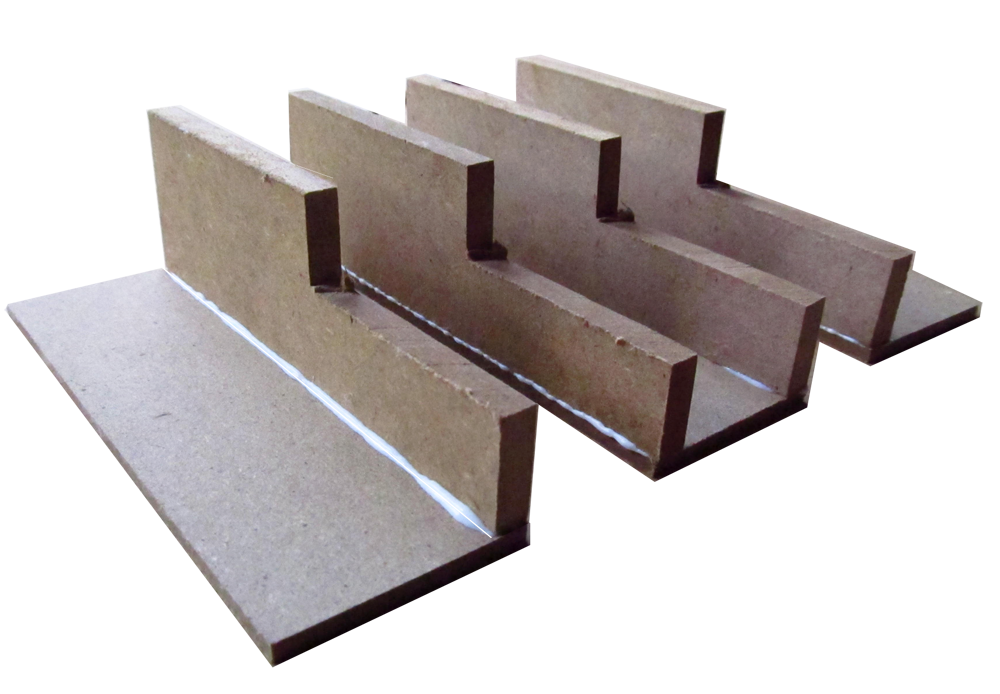
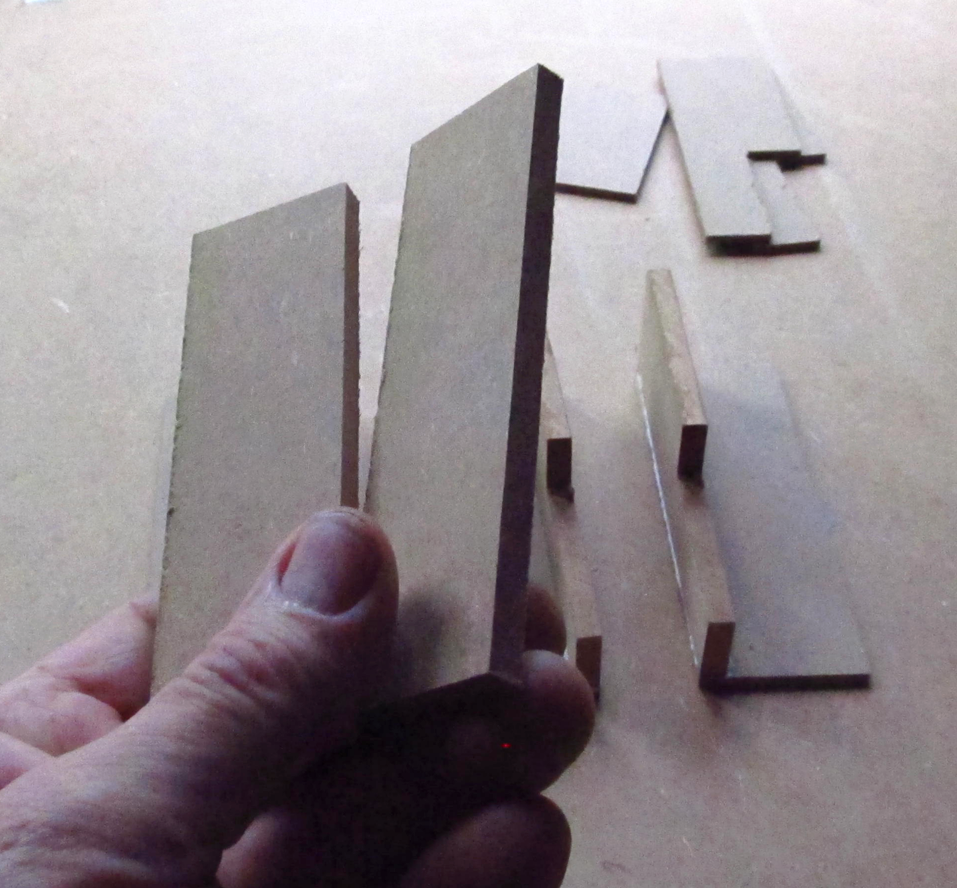
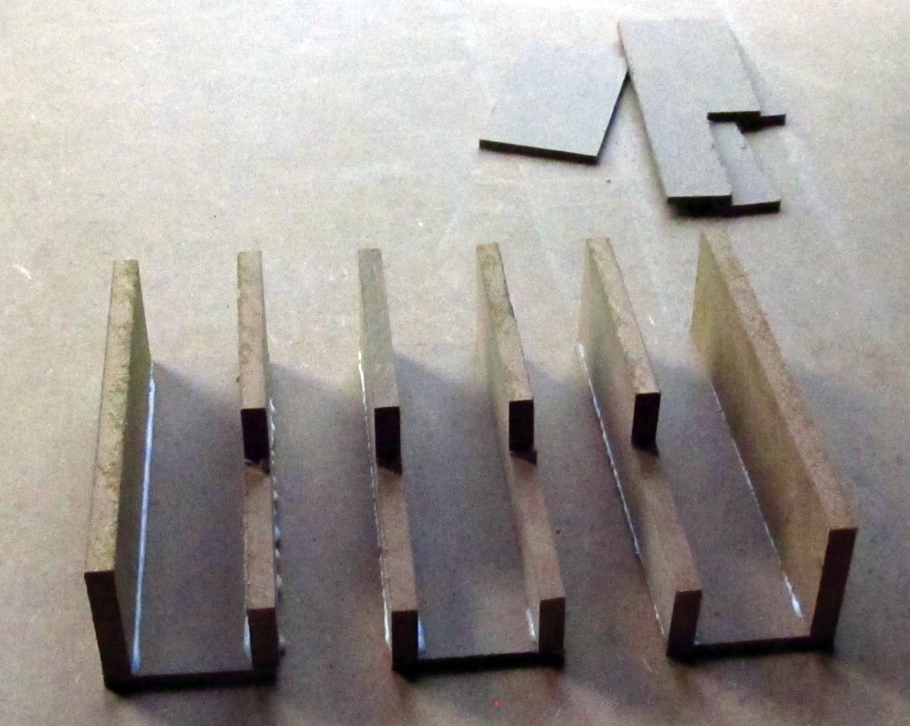
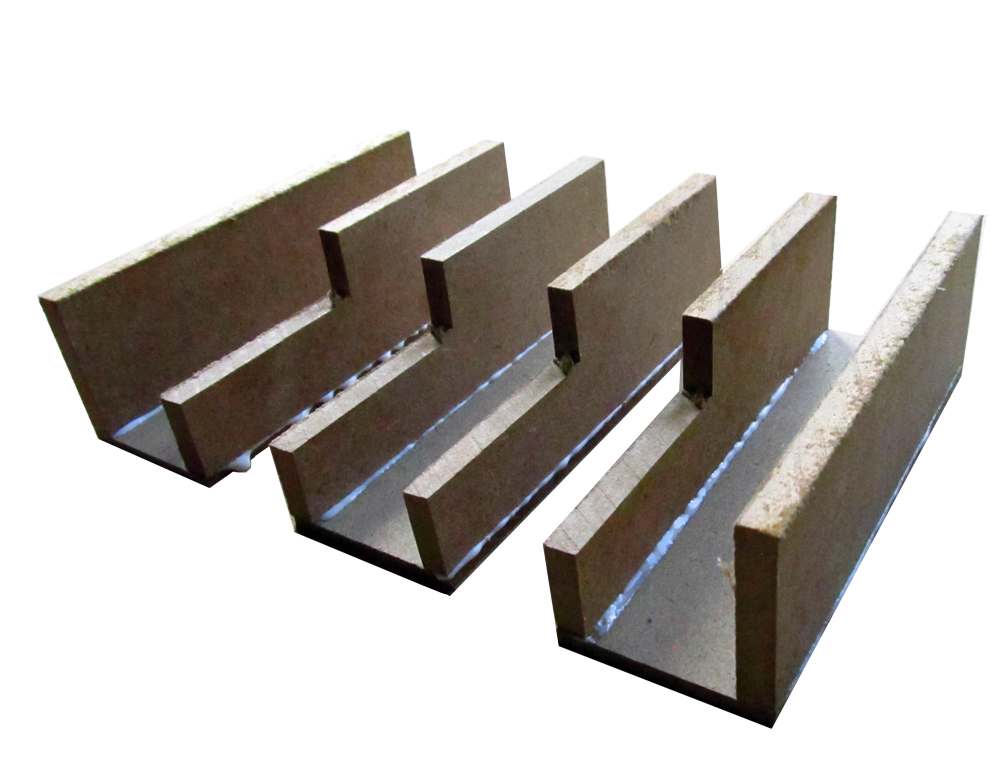
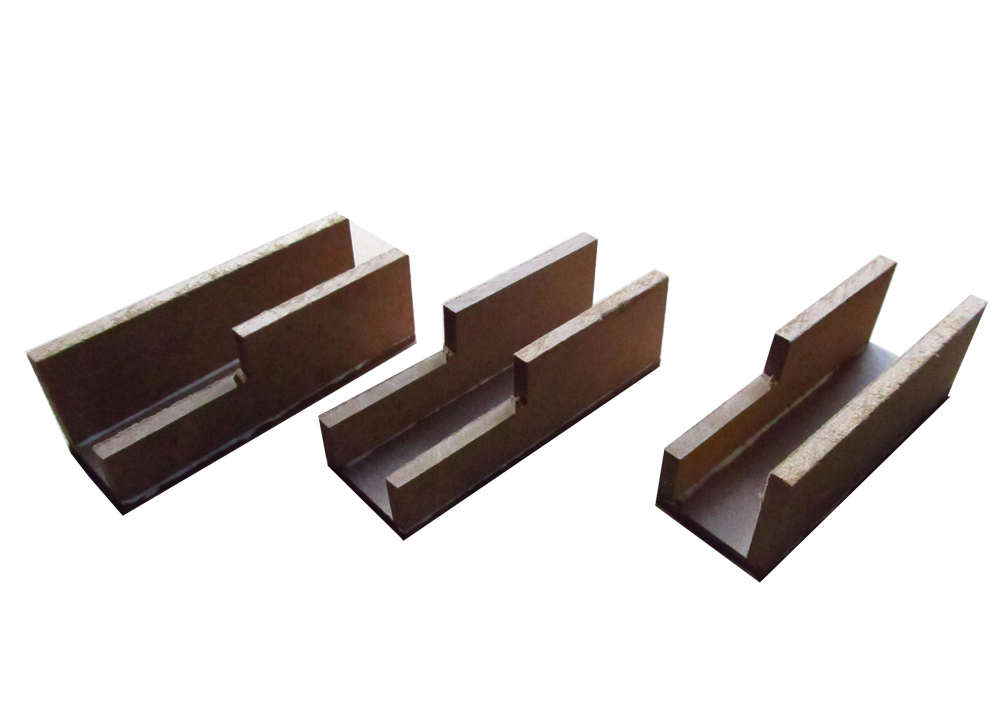
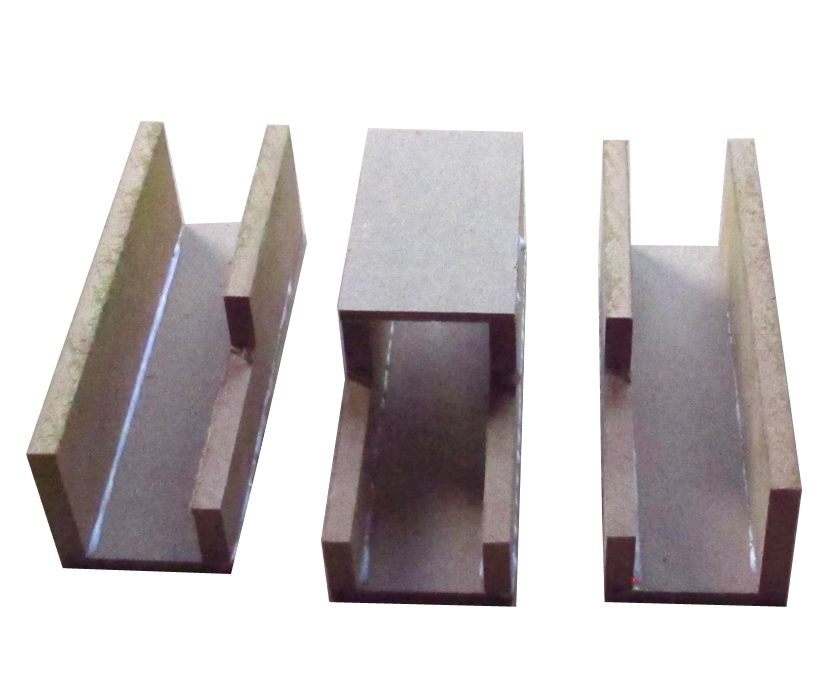
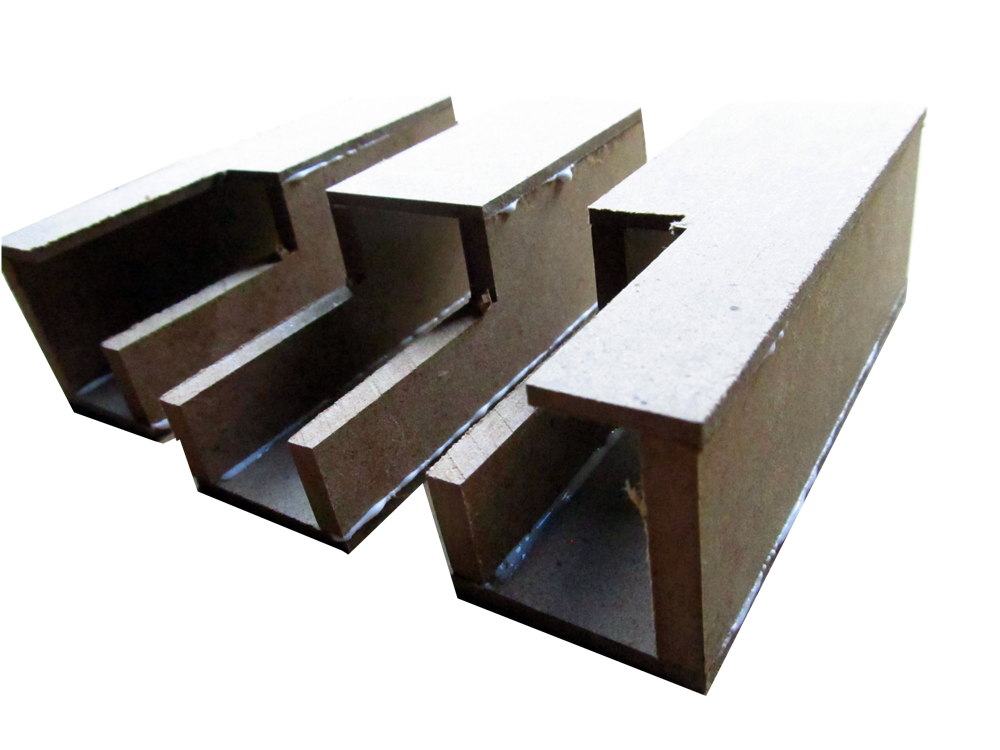
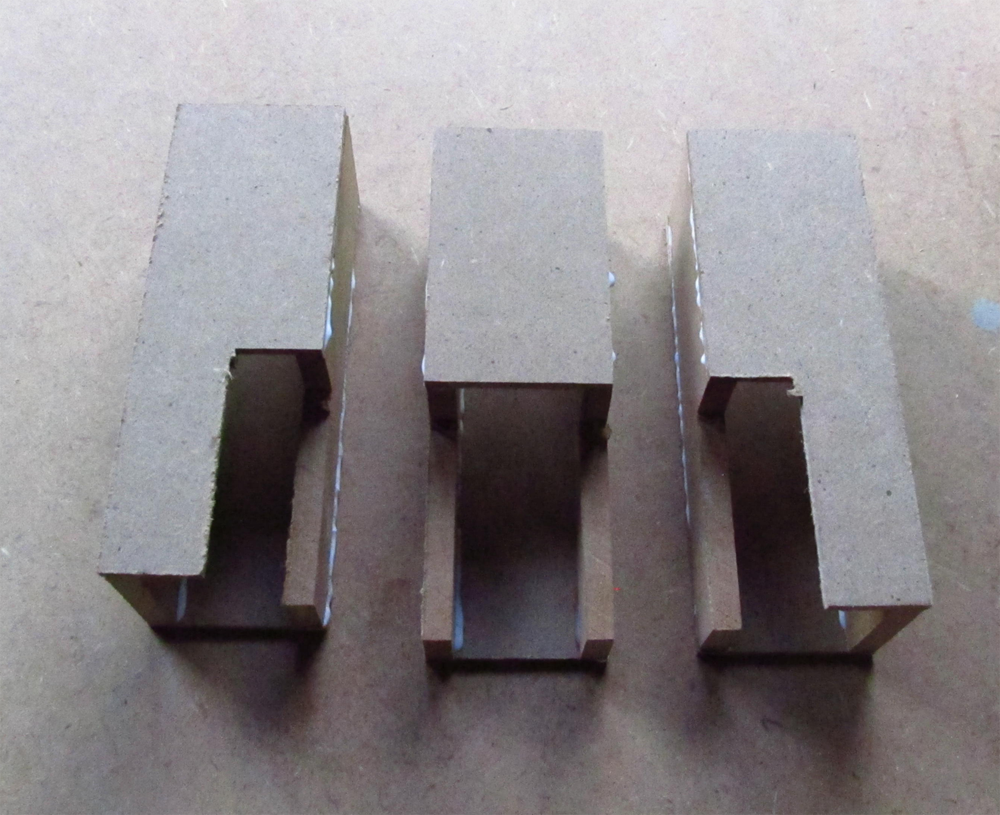
Stack by size and shape, then identify and label the parts so you can follow along with the Slideshow
DHTMLGoodies.com
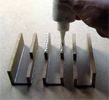
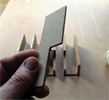
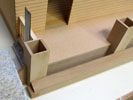
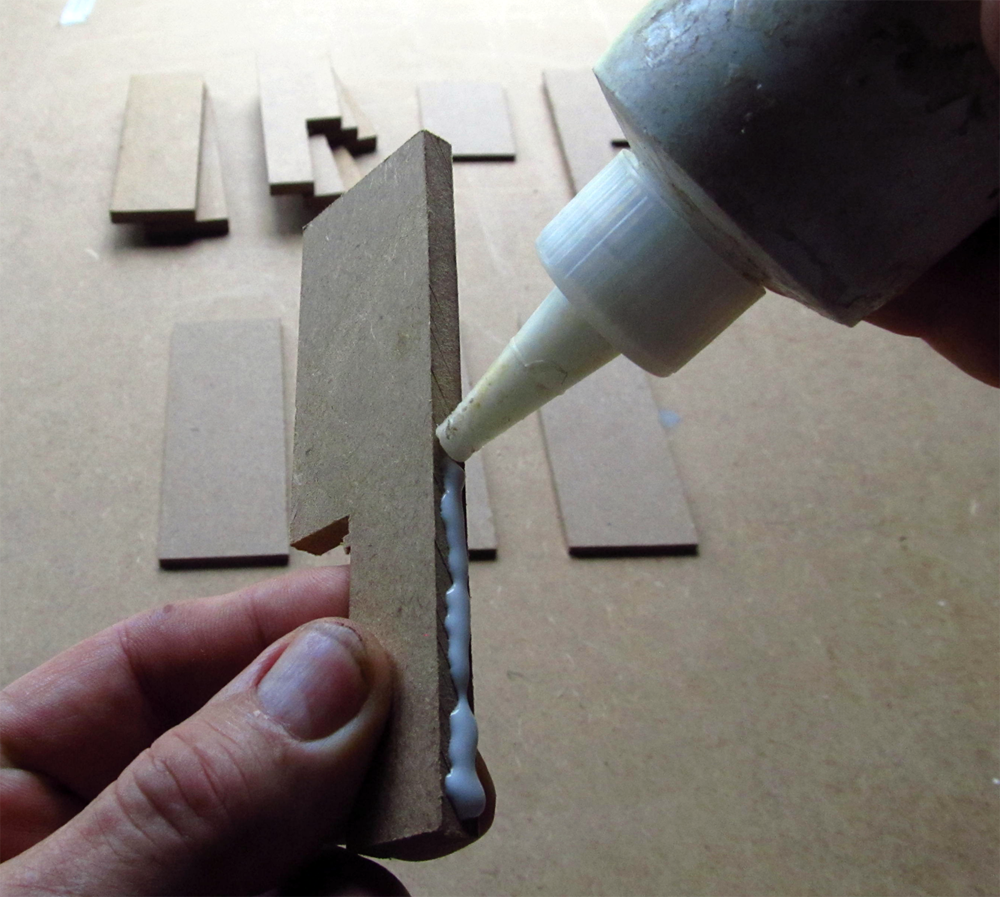
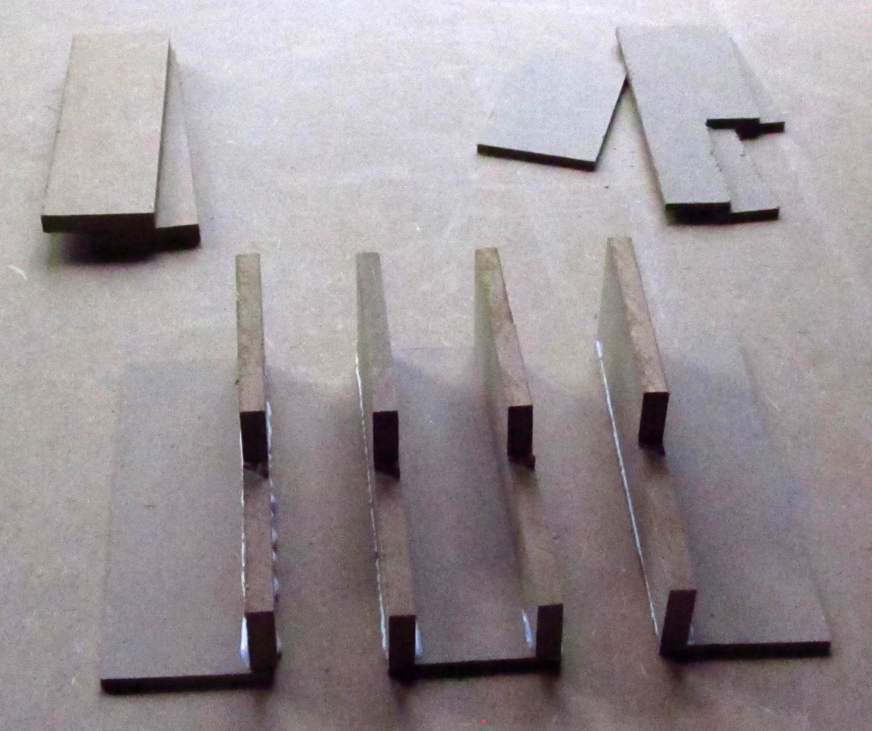
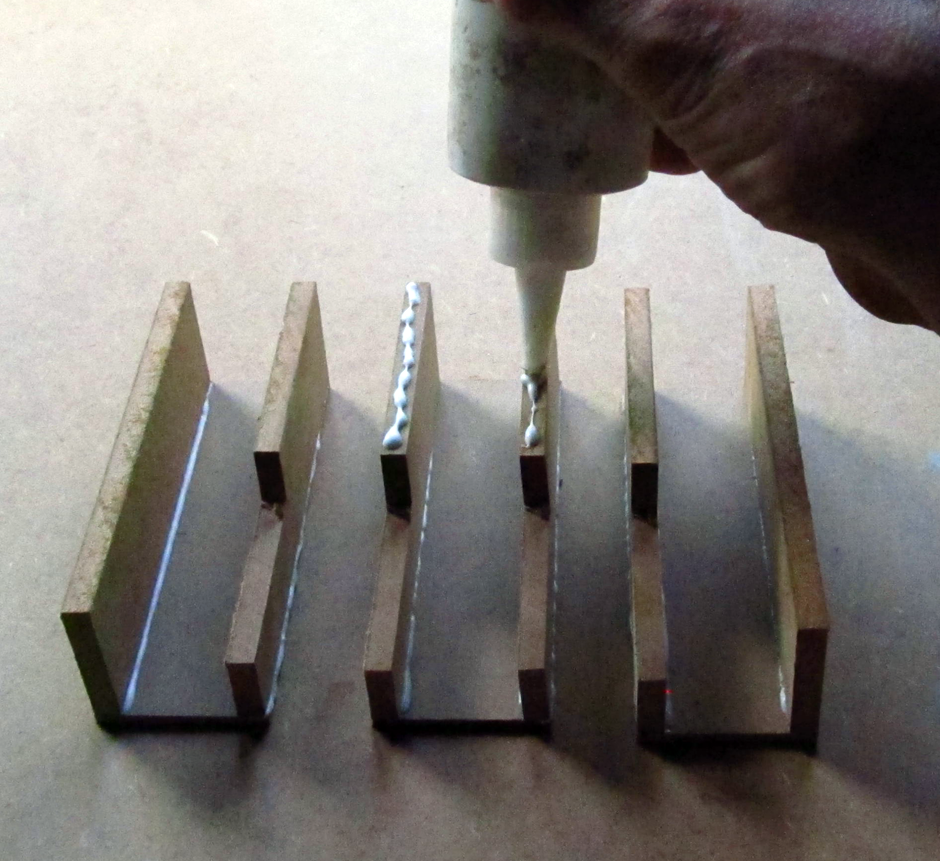
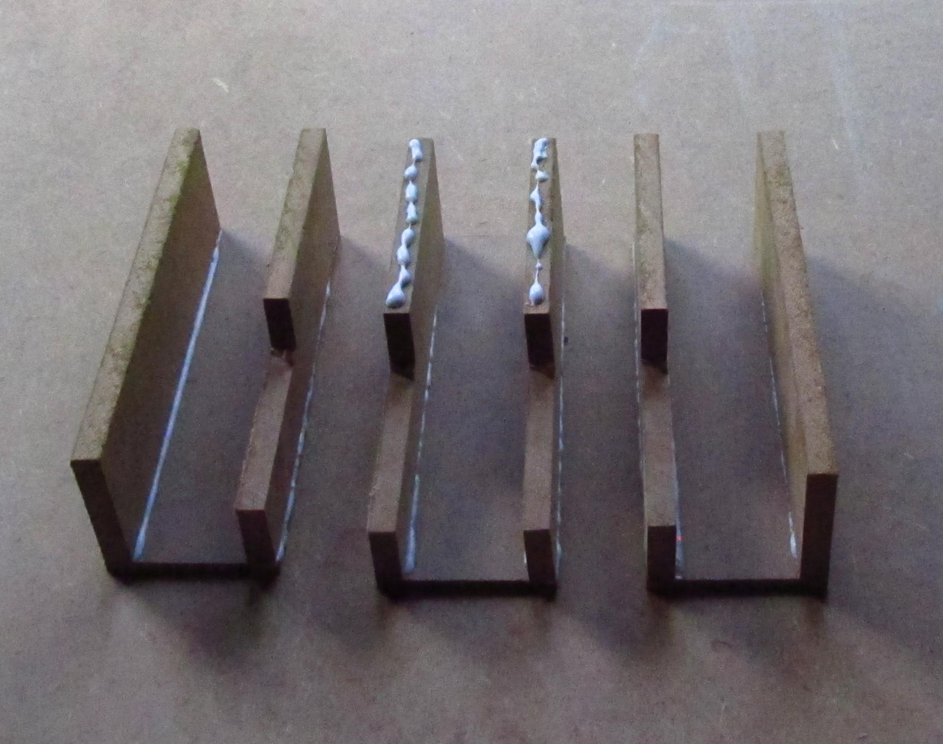
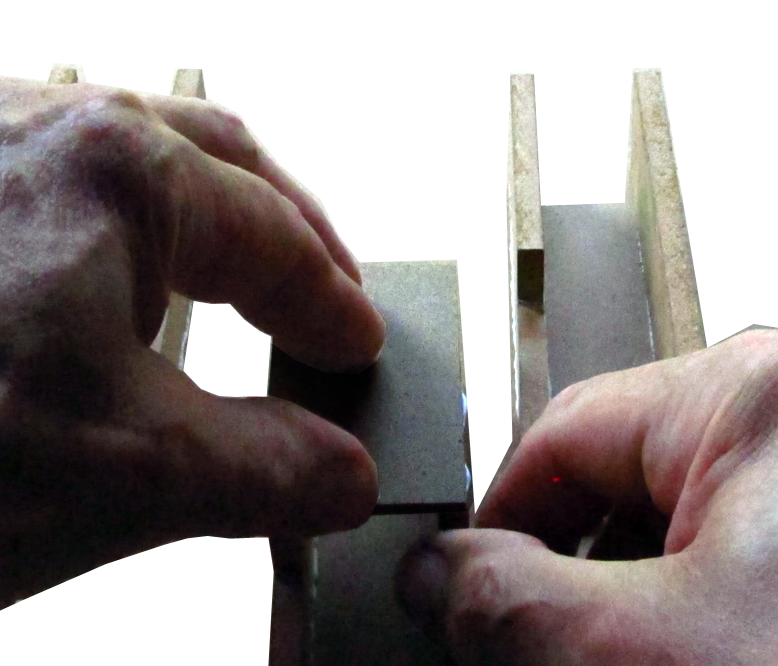
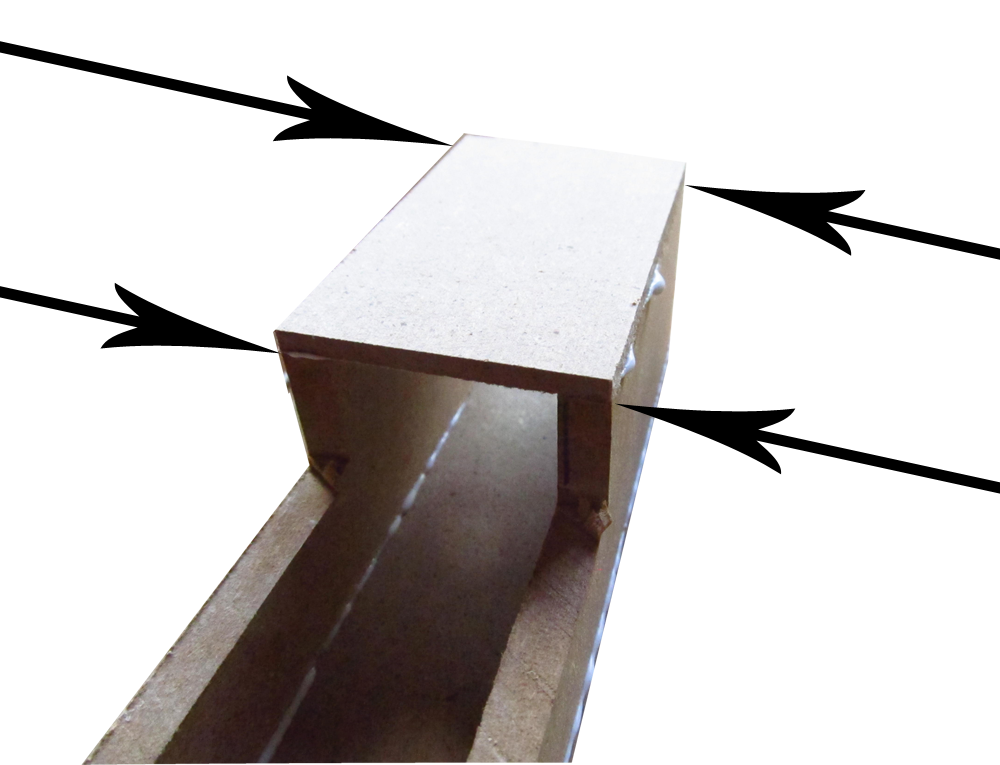
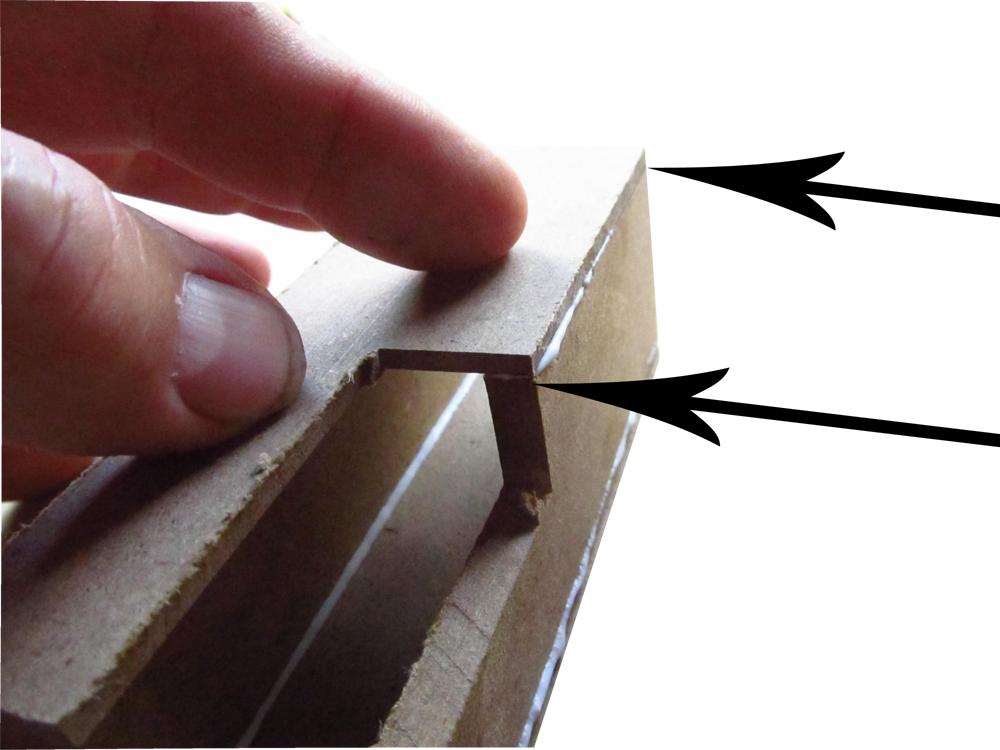
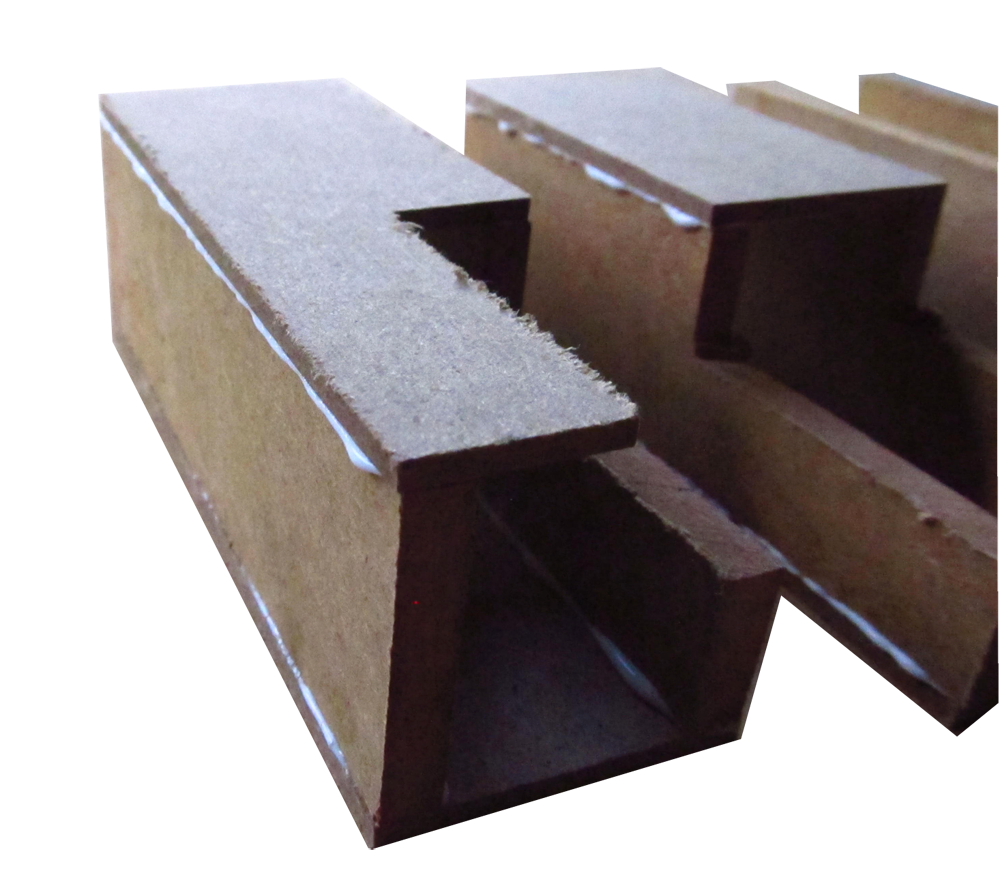
 Identify the parts and assemble the Postbases
../../RGT_Website_assets/ajax-loader.gif
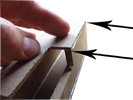
Identify the parts and assemble the Postbases
../../RGT_Website_assets/ajax-loader.gif
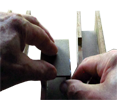
Identify the parts and assemble the Postbases
../../RGT_Website_assets/ajax-loader.gif
