![]()
![]()
![]()
![]()

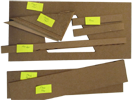
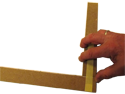
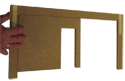
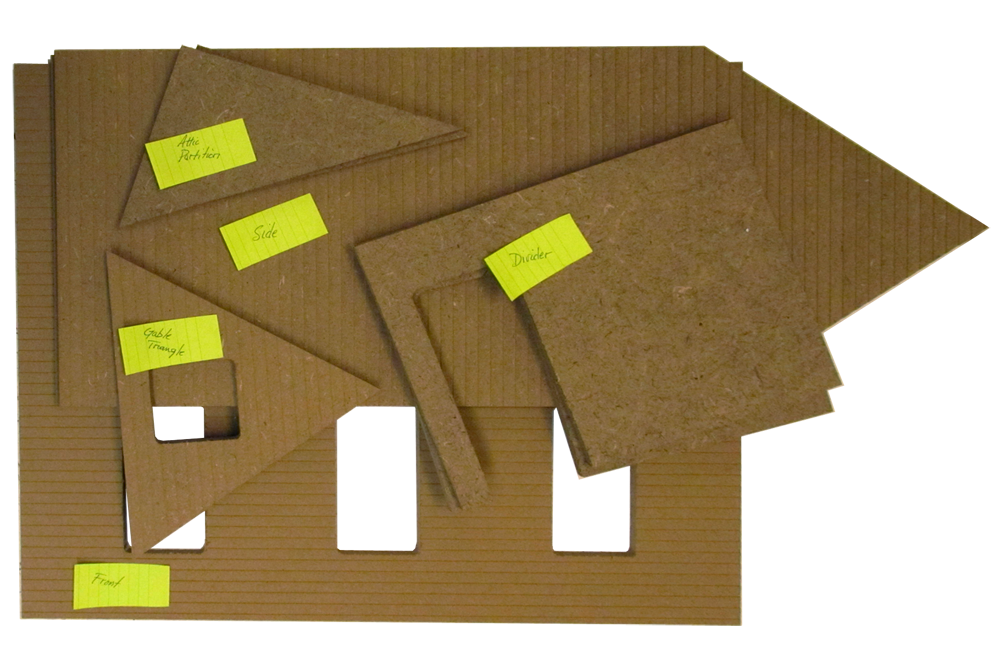
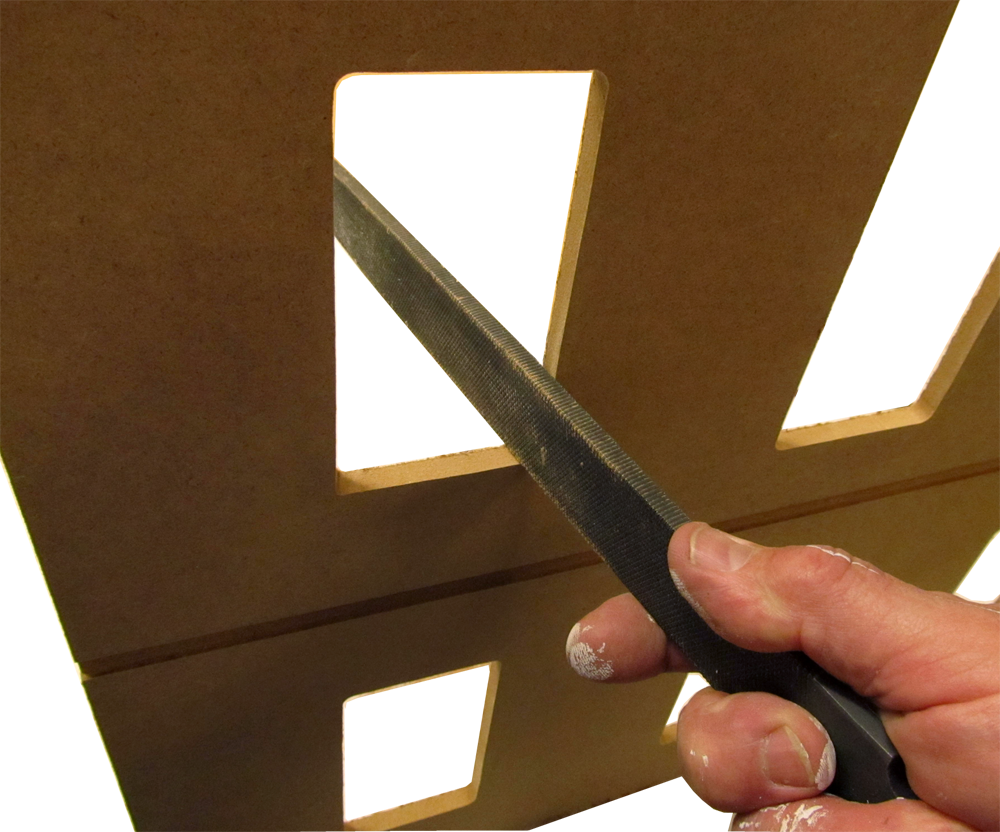
 4. Square the corners of the cutouts wuth a coarse file or a utility knife
PreAssembly/04D.png
4. Square the corners of the cutouts wuth a coarse file or a utility knife
PreAssembly/04D.png


Pre-Assembly (here)
Assembly Home
Housebody
Gable
Porch
| JM401 Pre-Assembly | ||
|
|
4. Square the corners of the cutouts wuth a coarse file or a utility knife
PreAssembly/04D.png
|
|
Pre-Assembly (here) |
||
| This slideshow supports but does not replace the instructions | ||