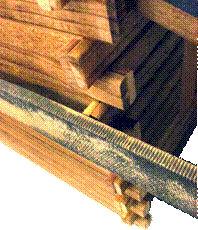
A few of the logs are unusable. Can you please replace them?
This kit is packed with log material that you will cut into the parts you need… only a few of them are used the way they are in the box (the roofs) and you should select the straightest and best for the look you want for those logs. Everything else is cut from the rest of the material, longest lengths first so the leftovers can turn into the next shorter piece that will fit.
As you go you will cut around things that are unsuitable for the part you are making, and as you move from the longest to the shortest you will always use the uncut material and the leftovers from previous cuts in the most efficient way, saving all the short scraps for the shortest pieces: the nubs.
There is quite a lot of extra material in the kit, and the pieces you are showing do have good material for cutting pieces that are shorter. Logs that are short or have unusable sections will be used up when they are the right length for the ‘next piece’ you are cutting.
It is very likely that you have enough material to do that but if not, let me know.
Best wishes
CK555 (cedar)
What is a "Nub" ?
The nubs fit the part of the logs that stick out and are flat on the back. You will cut them from the shortest of the leftovers or, for leftovers that are too short to hold easily while you saw them, glue then on and cut them to match after the glue is dry. I flatten the ends after the Nubs are glued on and fully dry using a coarse file or sandpaper wrapped around a stick so the log-end together with the nub looks like one rounded log, and then I soften the corners with sandpaper and stain the ends.
 (different house, but this is a “Nub”)
When should I stain the logs?
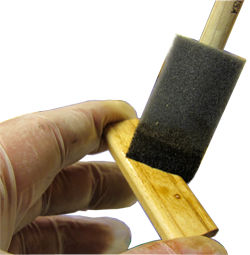
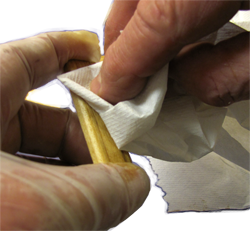
If you intend to stain some or all of the logs, I recommend doing so before gluing them together. Any excess glue during construction will seal the grain and reject stain, but that won't be the case if you stain first. Use a transparent, penetrating stain - lay it on, wipe it off, let it dry. If you use a solvent-based (oil) stain, let it dry for several days before gluing.


Approximately how many shingles will I need for the Crocketts Log Cabin?
At 1" reveal (which is "standard") the CK501 would use 320 - 370 shingles (depends on starter/peak shingling)
At 3/4" reveal (if using the log profile to guide shingle reveal) it would use 410 - 460
In either case, the bag of 800 shingles will be less expensive than multiples of the 100 bag