![]()
![]()
![]()
Slideshows support but do not replace the instructions
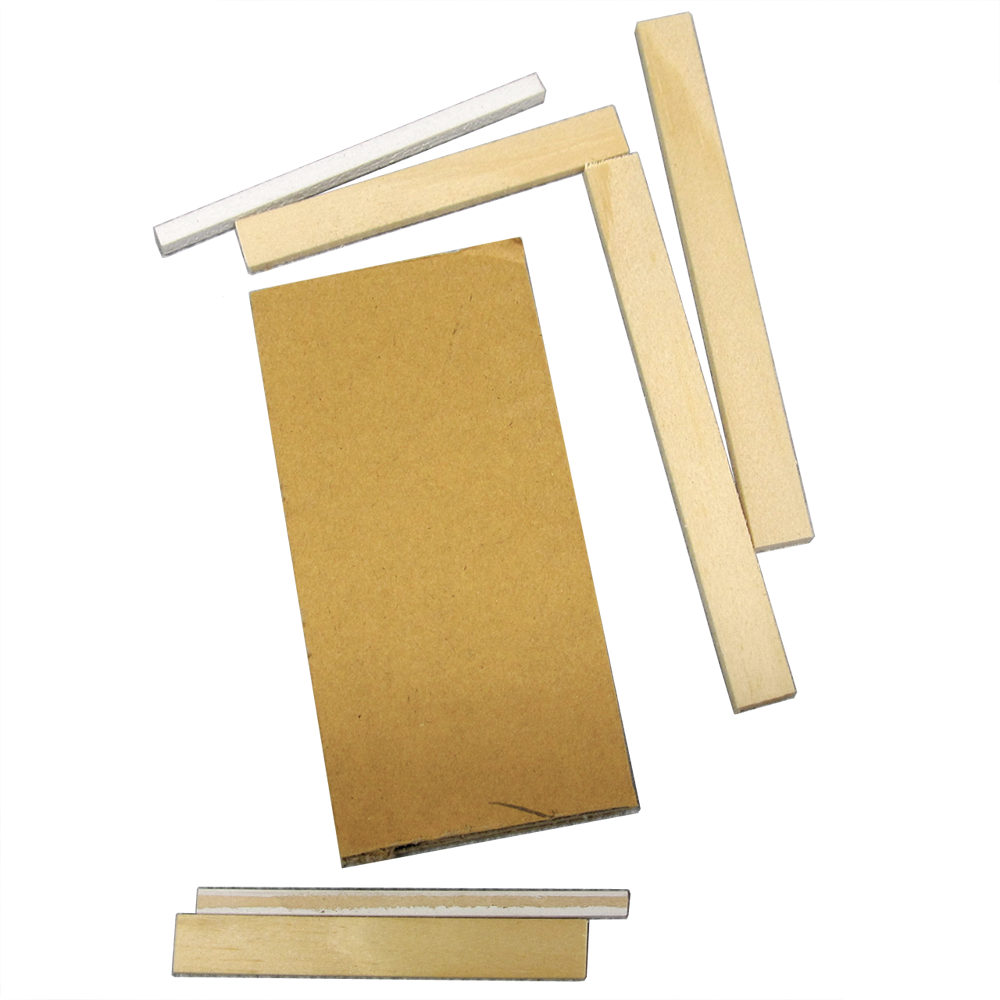
Parts
PreAssembly
Floors, Foundations, and Roofs
Mark the Floors for painting
Paint
Assembly:
Housebody 1: First floor
Housebody 2: Second floor
Top Floor - mark and paint
Tower and Roof
Exterior Frinishing
Index
Corner Trim
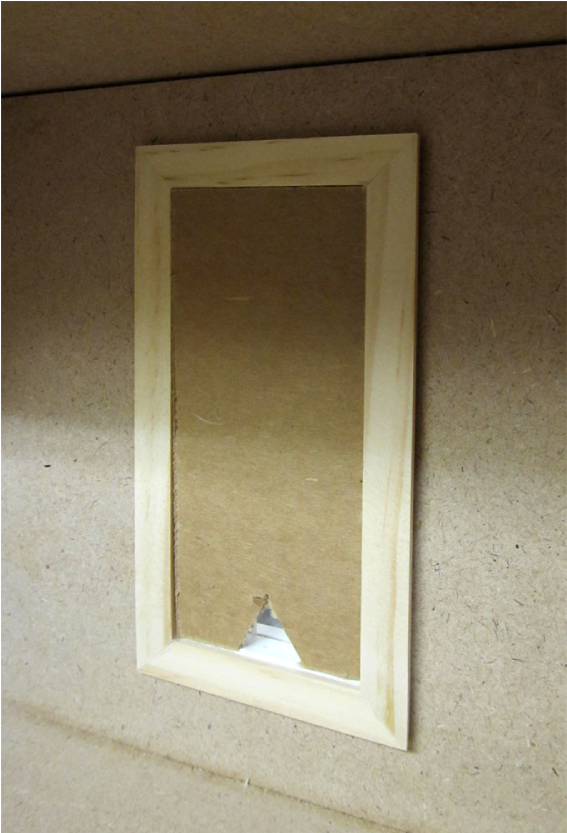
Windows
Shingles and Dormers
Rails Assemble Install Addendum
Interior Frinishing
Interiors Home
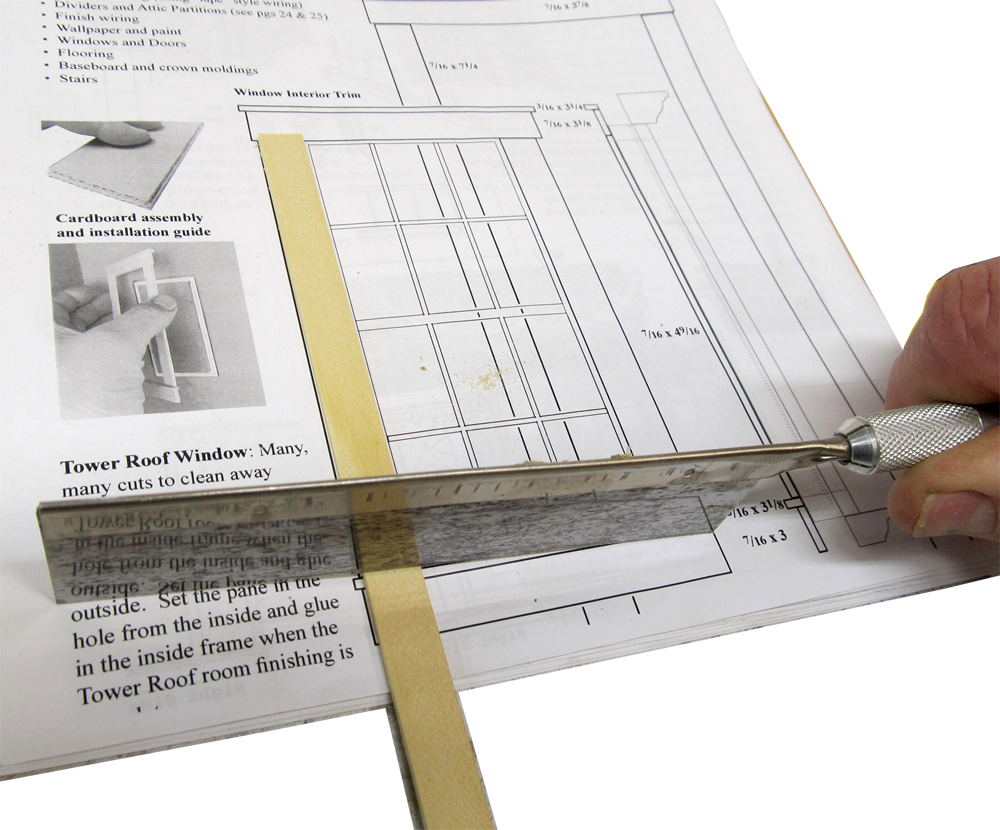
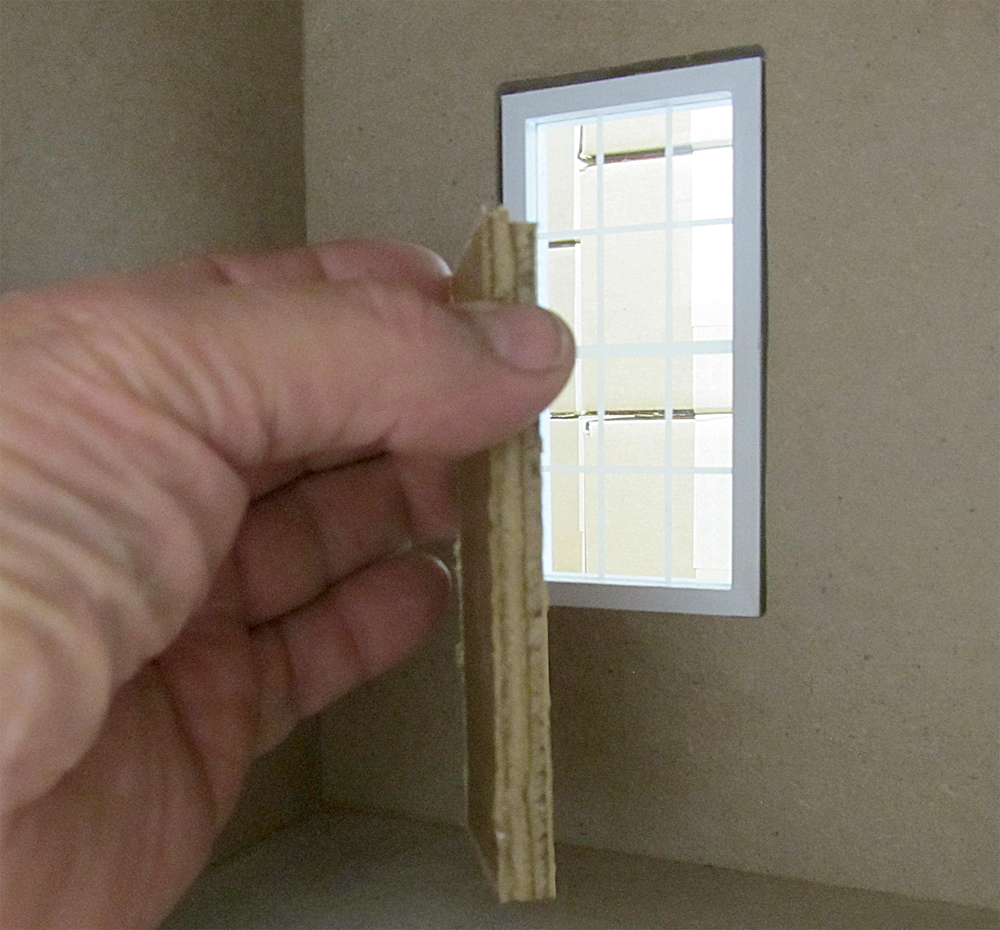
Interior Window Trim (here)
Dividers
Stairs, Banister & Landing
![]()


DHTMLGoodies.com
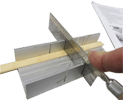
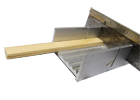
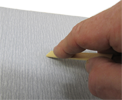
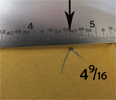
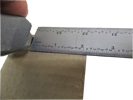
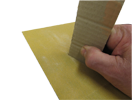
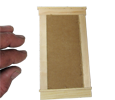
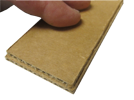
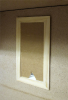
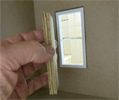
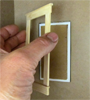
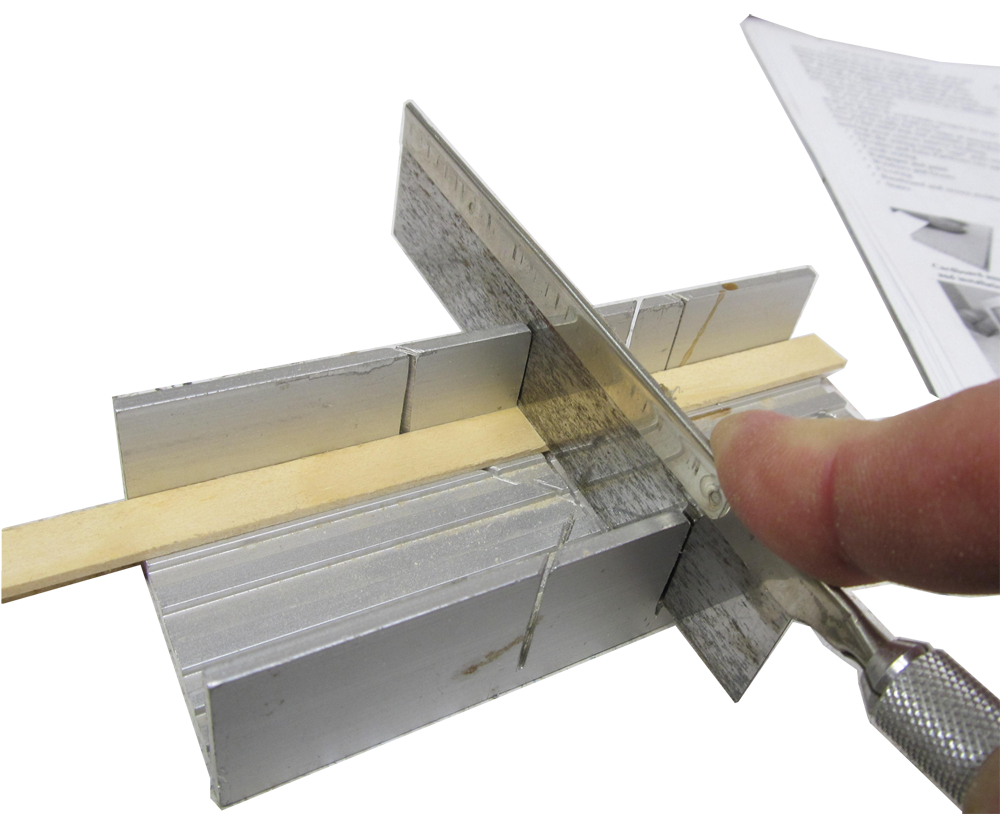
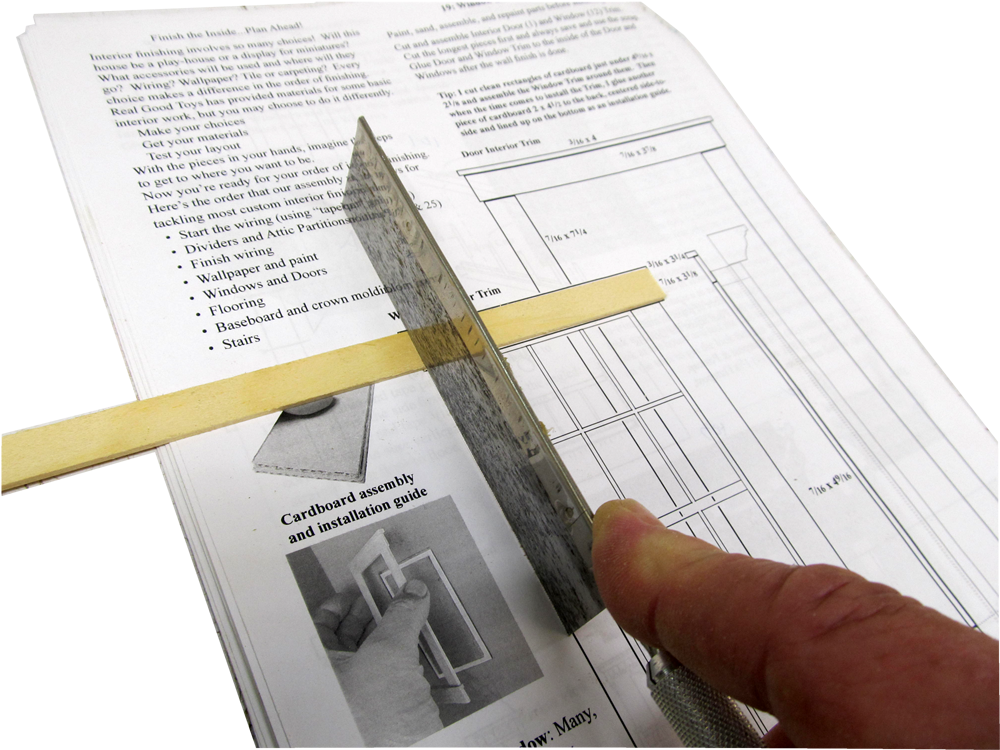
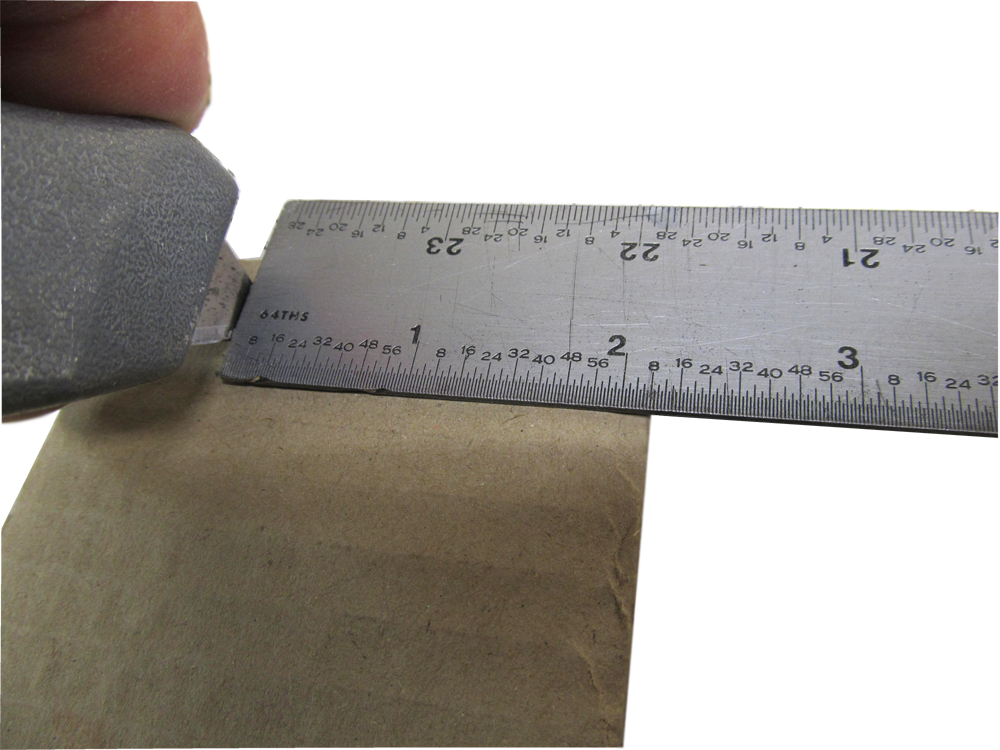
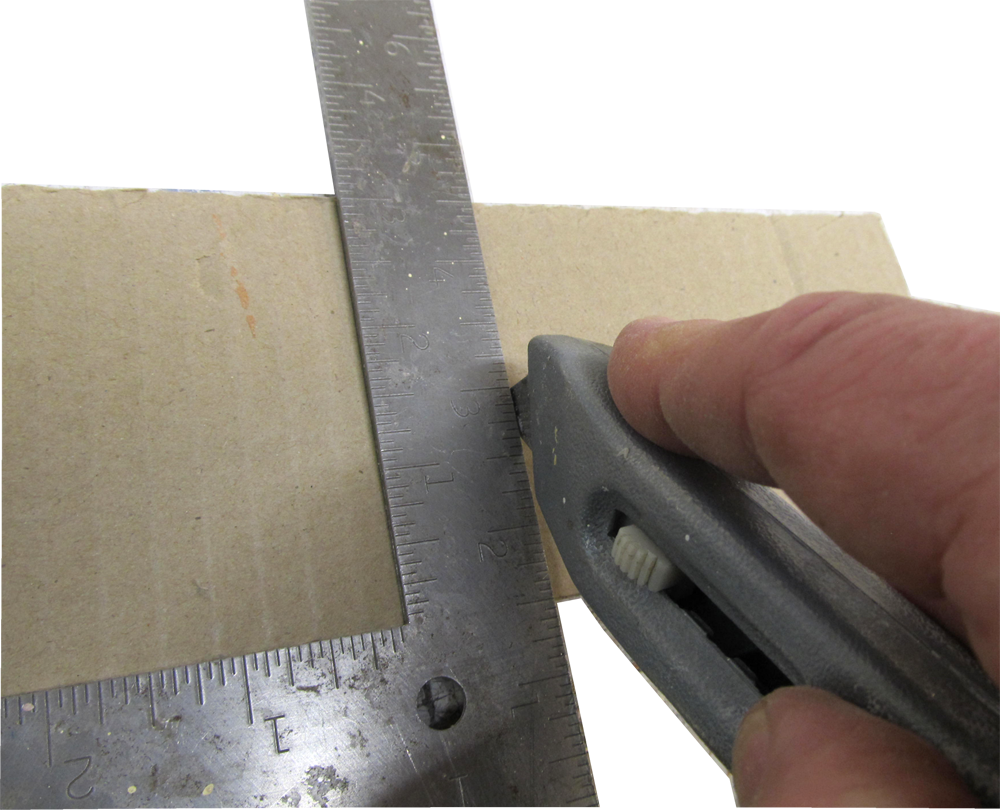
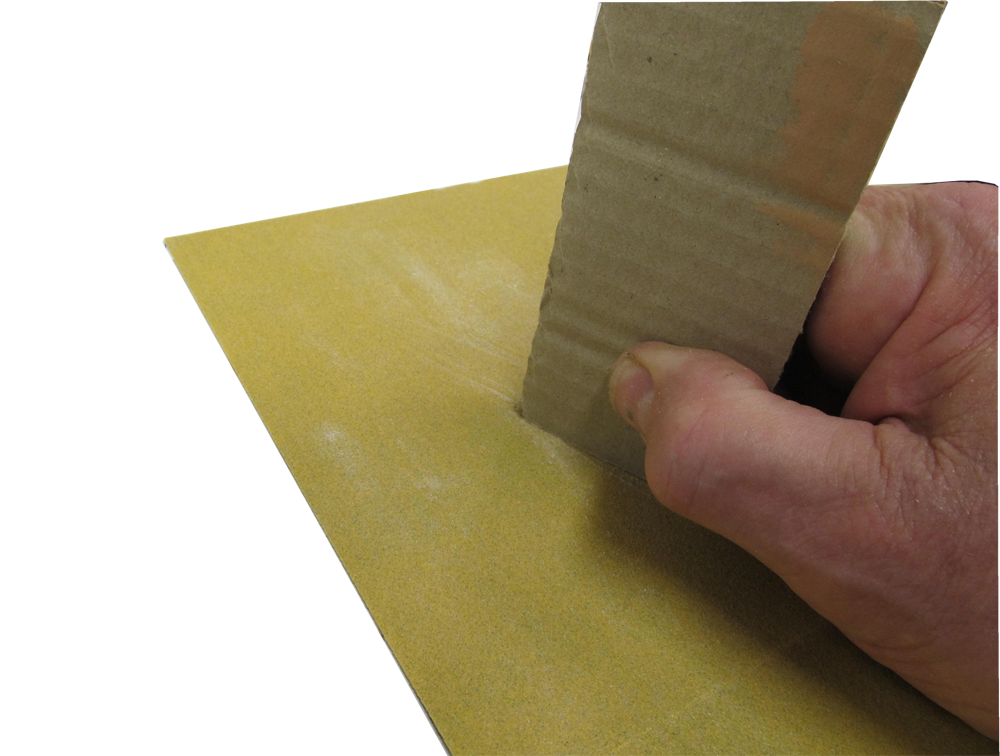
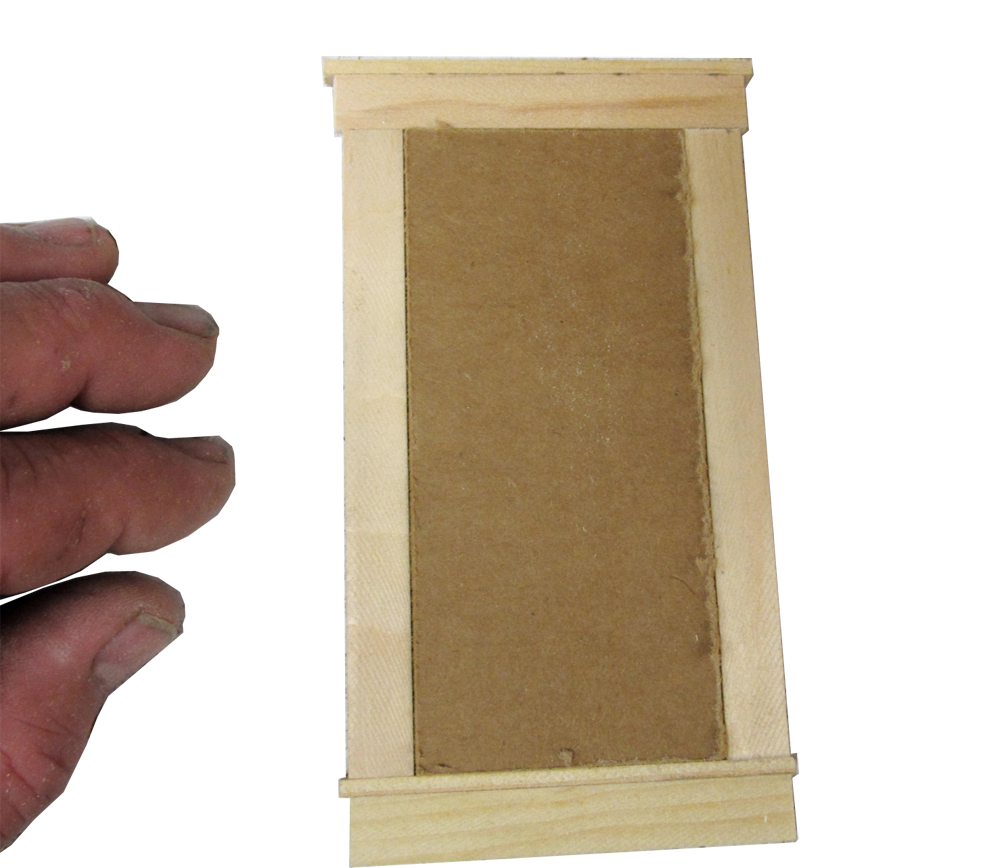
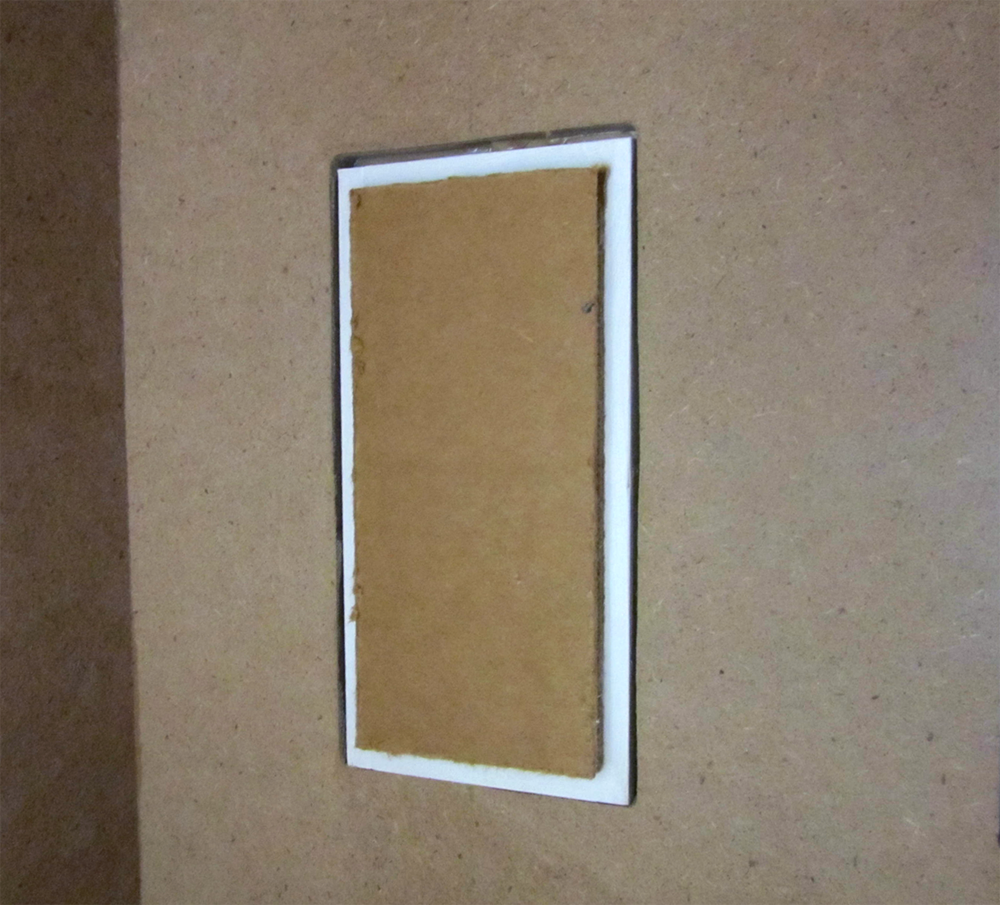
 16. Another cardboard piece - this one is 2 x 4 1/2 and fits within the Exterior Window Frame
16D.png
16. Another cardboard piece - this one is 2 x 4 1/2 and fits within the Exterior Window Frame
16D.png
16. Another cardboard piece - this one is 2 x 4 1/2 and fits within the Exterior Window Frame
16D.png


DHTMLGoodies.com
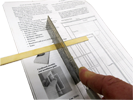
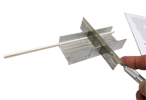
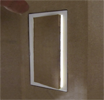
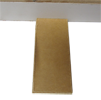
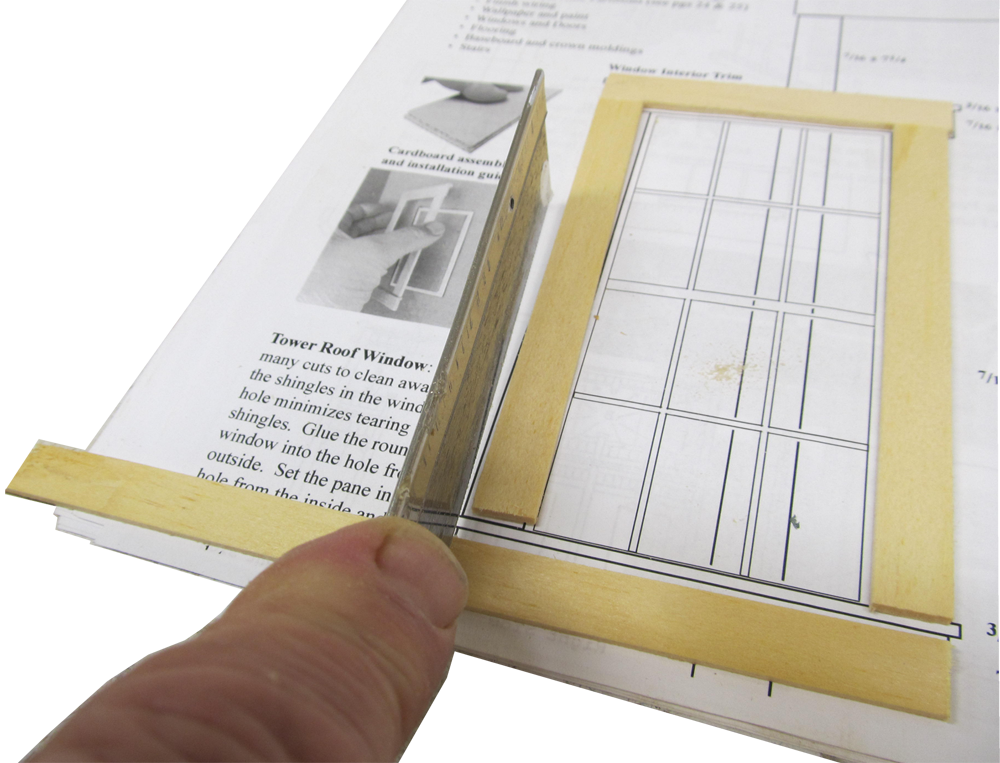
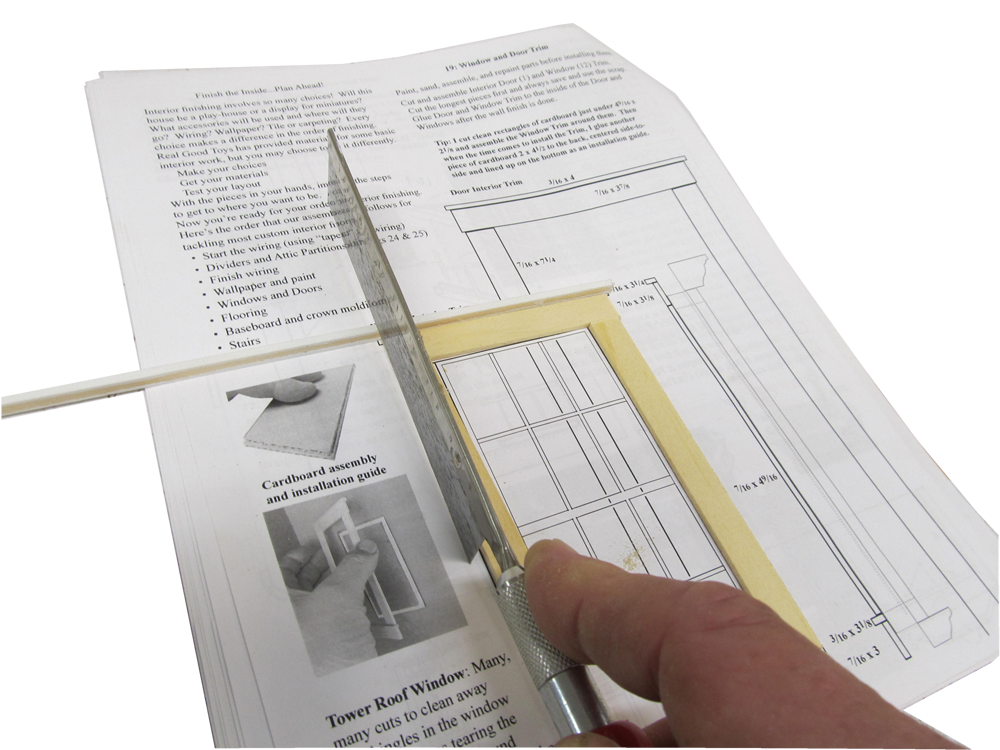
 24. Glue Interior Trim to the Windows/Door after other interior finishing is done
24D.png
24. Glue Interior Trim to the Windows/Door after other interior finishing is done
24D.png
 24. Glue Interior Trim to the Windows/Door after other interior finishing is done
24D.png
24. Glue Interior Trim to the Windows/Door after other interior finishing is done
24D.png