![]()
![]()
![]()
Dividers:
Install a Divider
Straighten a Divider
Customizing Dividers
Remove a divider
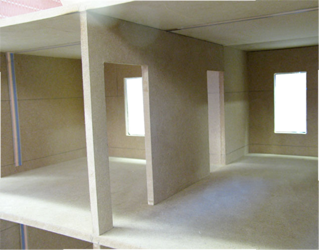
Lay out a new door hole
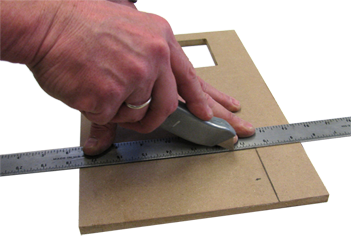
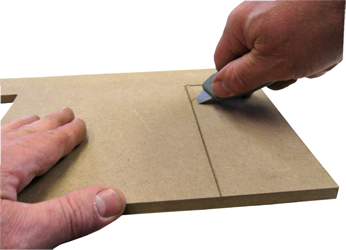
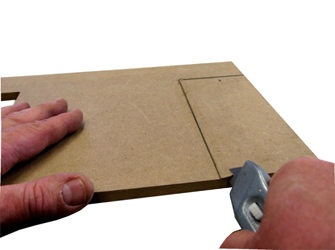
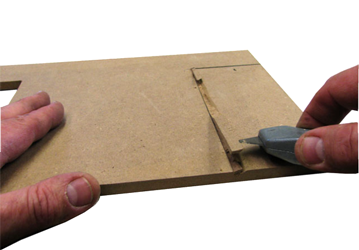
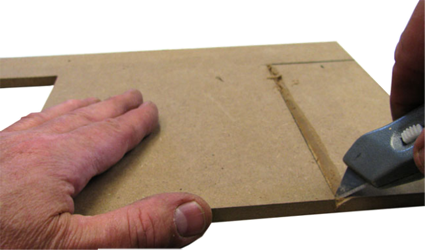
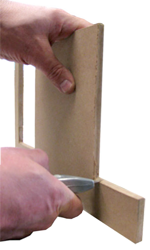
Cut a new door hole (you are here)
More
Jig Saw Cutout
Utility Knife Cutout
1015 Door (sales)