![]()
![]()
![]()
Dividers:
Install a Divider
Straighten a Divider (here)
'Straighten' Blog
Customizing Dividers
Remove a divider
Lay out a new door hole
Cut a new door hole
More
Jig Saw Cutout
Utility Knife Cutout

DHTMLGoodies.com
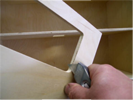
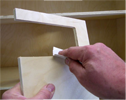
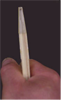
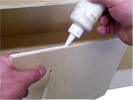
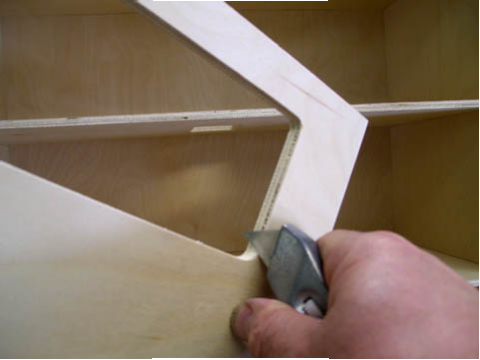
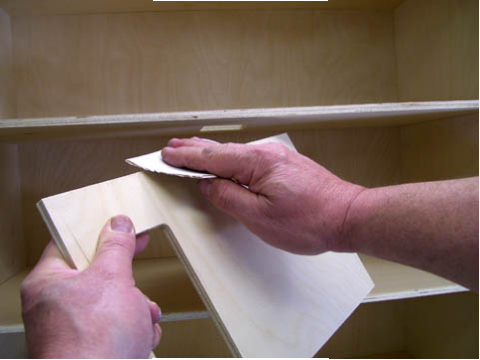
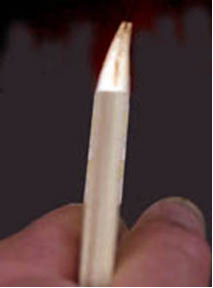
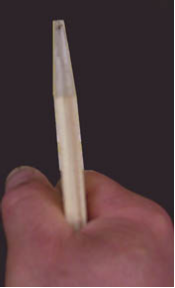
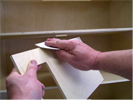 04. If the Divider is plywood, a slight softening of the corners decreases the chance of splintering
04D.png
04. If the Divider is plywood, a slight softening of the corners decreases the chance of splintering
04D.png
04. If the Divider is plywood, a slight softening of the corners decreases the chance of splintering
04D.png


DHTMLGoodies.com
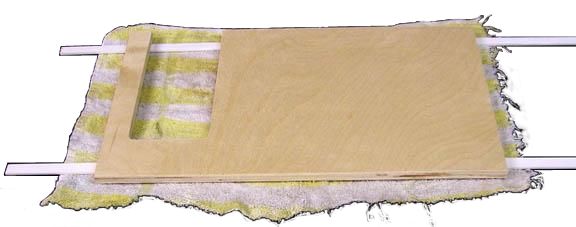
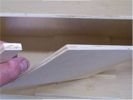
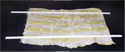 08. A damp towel and stripwood spacers (don't let the Divider touch the towel)
08D.png
08. A damp towel and stripwood spacers (don't let the Divider touch the towel)
08D.png
08. A damp towel and stripwood spacers (don't let the Divider touch the towel)
08D.png


DHTMLGoodies.com
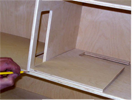
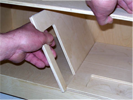
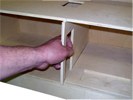
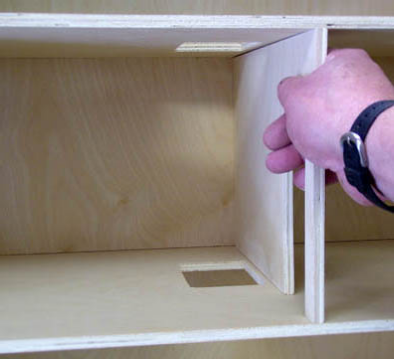
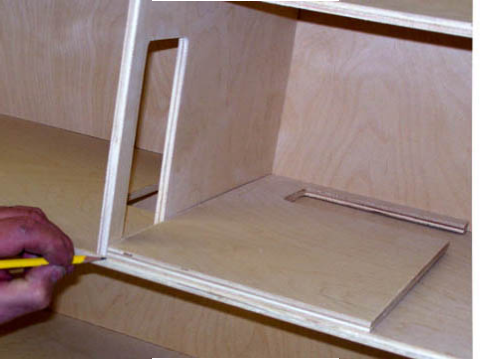
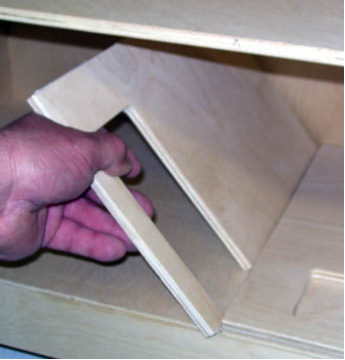
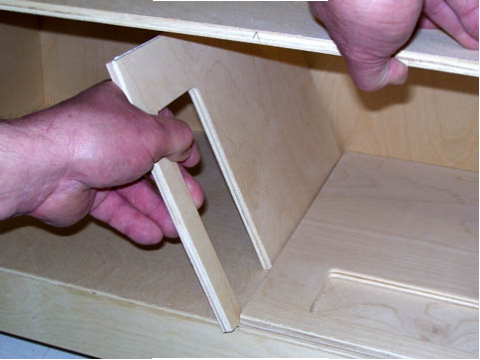
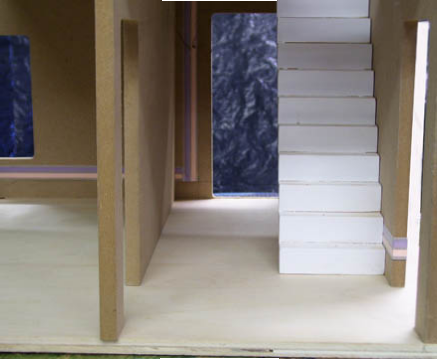
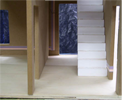 17. Temporarily set the Stairs (and/or other interior fixtures) in place to locate other Dividers
17D.png
17. Temporarily set the Stairs (and/or other interior fixtures) in place to locate other Dividers
17D.png
 17. Temporarily set the Stairs (and/or other interior fixtures) in place to locate other Dividers
17D.png
17. Temporarily set the Stairs (and/or other interior fixtures) in place to locate other Dividers
17D.png
Slideshows support but do not substitute for the instructions