![]()
![]()
![]()
![]()
![]()
Other Great! Websites:
![]()
![]()
| 1. Sheet Flooring | here | |
| 2. Attic Flooring | ||
| 3. Stain and Finishing | ||
| 4. Tile and Carpet | ||
| Flooring Sales | ||
| Glue: | Aleene's Original Tacky glue | |
| Beacon's Magna-Tac | ||

DHTMLGoodies.com
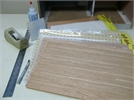
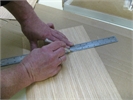
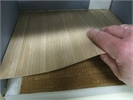
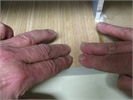
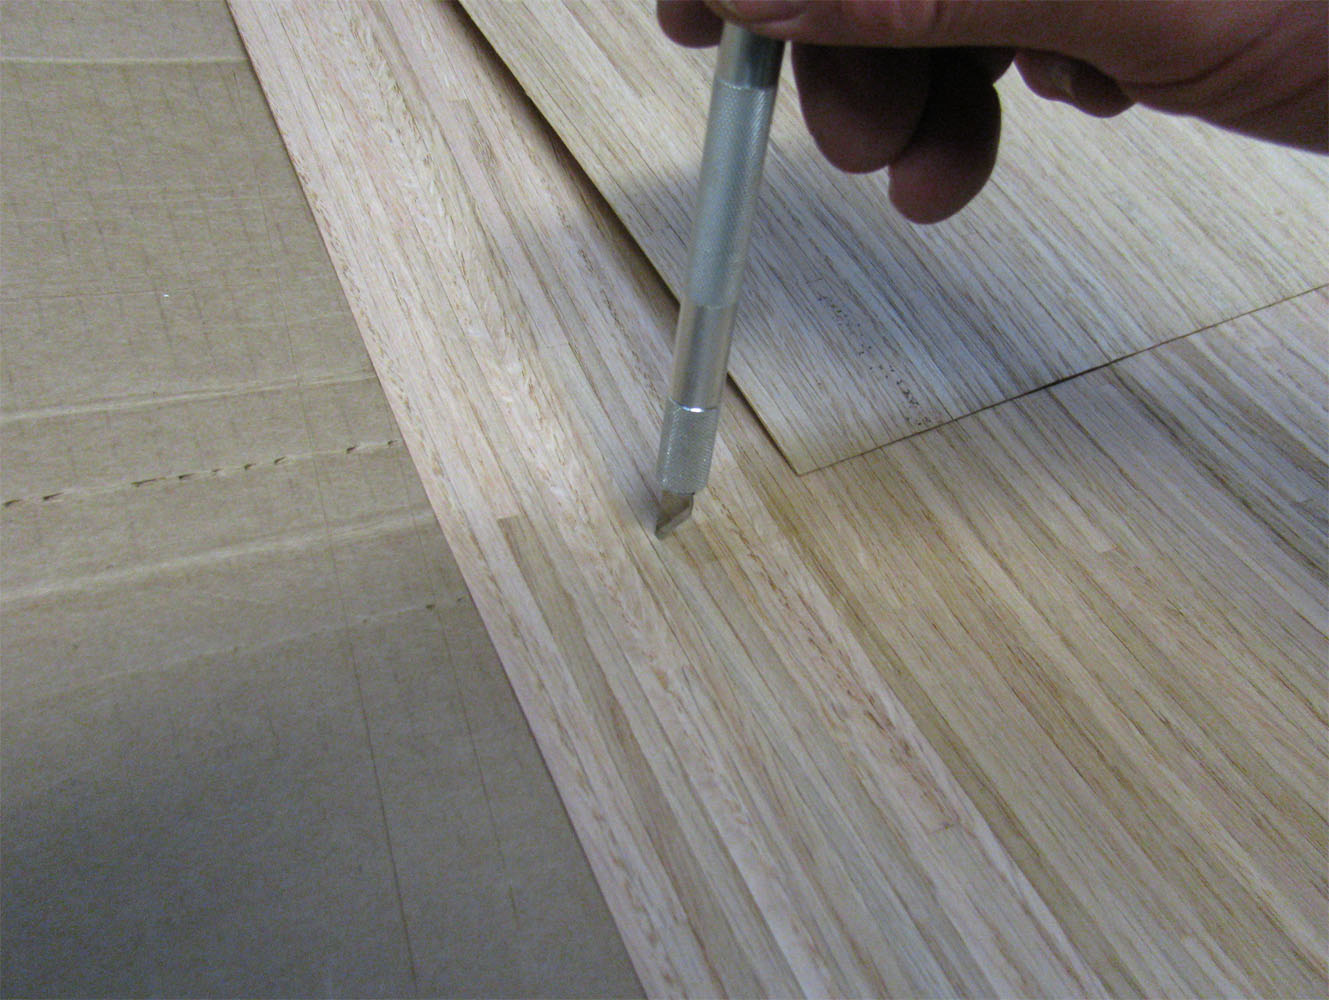
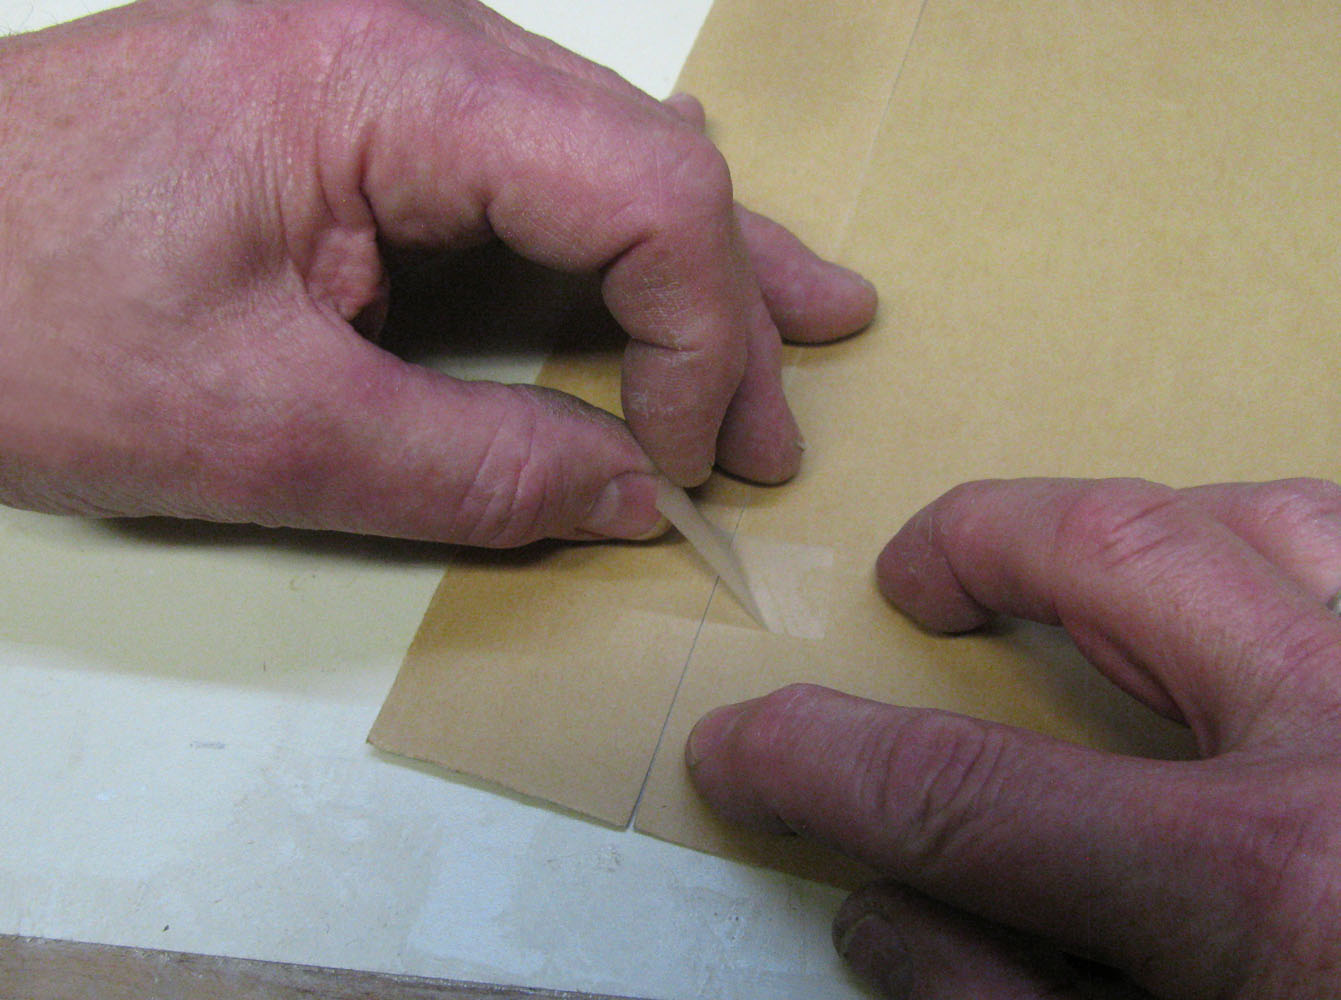
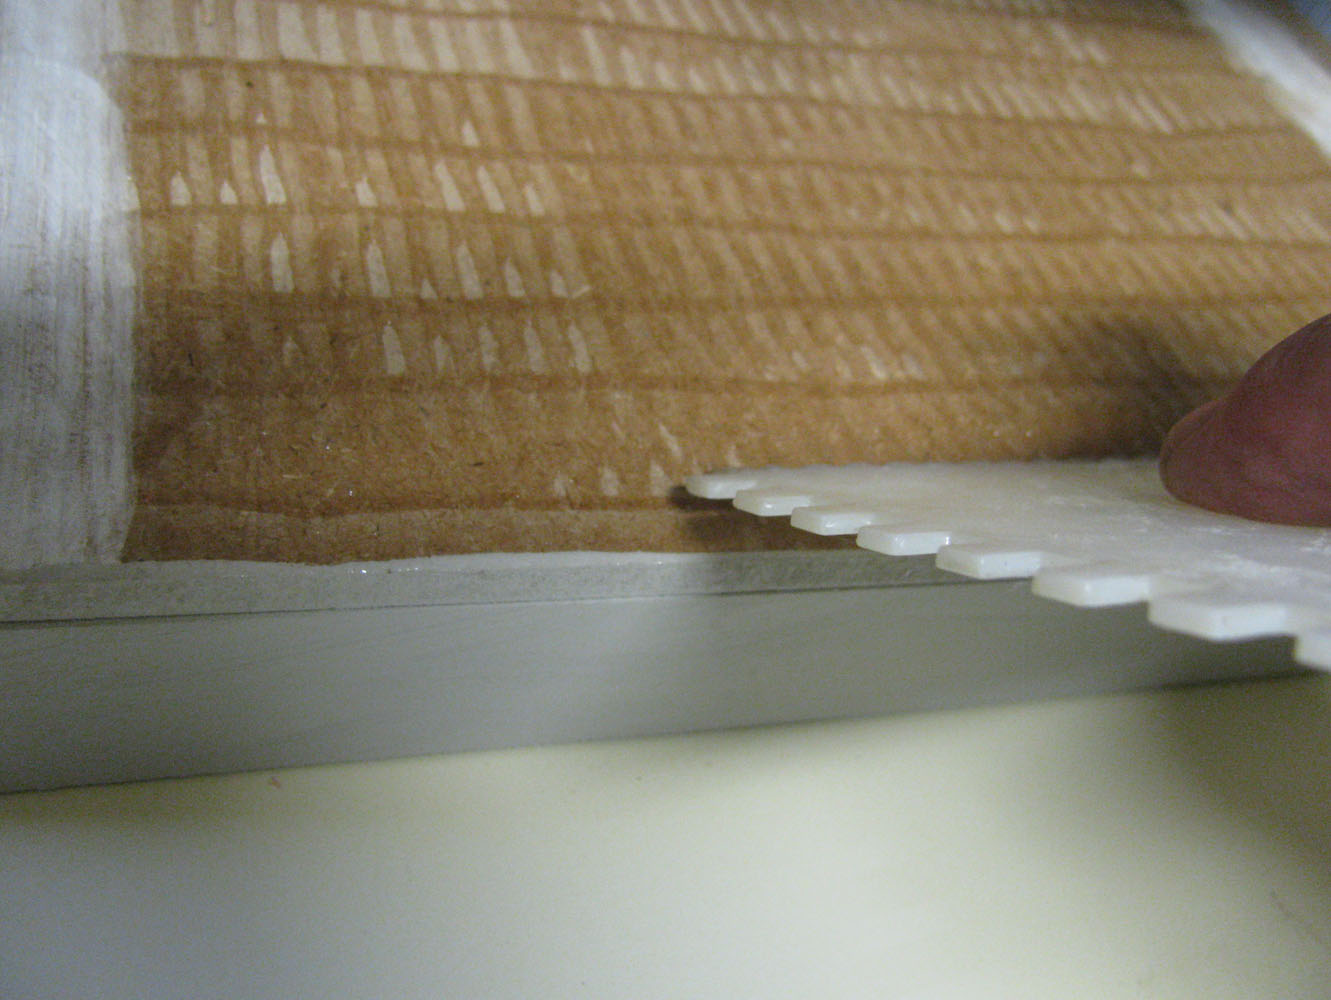
 4. A cutting board protects the table (one layer of cardboard isn't enough)
flooring/flooring04_lg.jpg
4. A cutting board protects the table (one layer of cardboard isn't enough)
flooring/flooring04_lg.jpg
4. A cutting board protects the table (one layer of cardboard isn't enough)
flooring/flooring04_lg.jpg


DHTMLGoodies.com
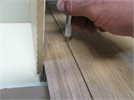
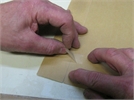
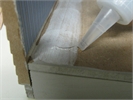
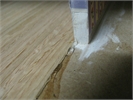
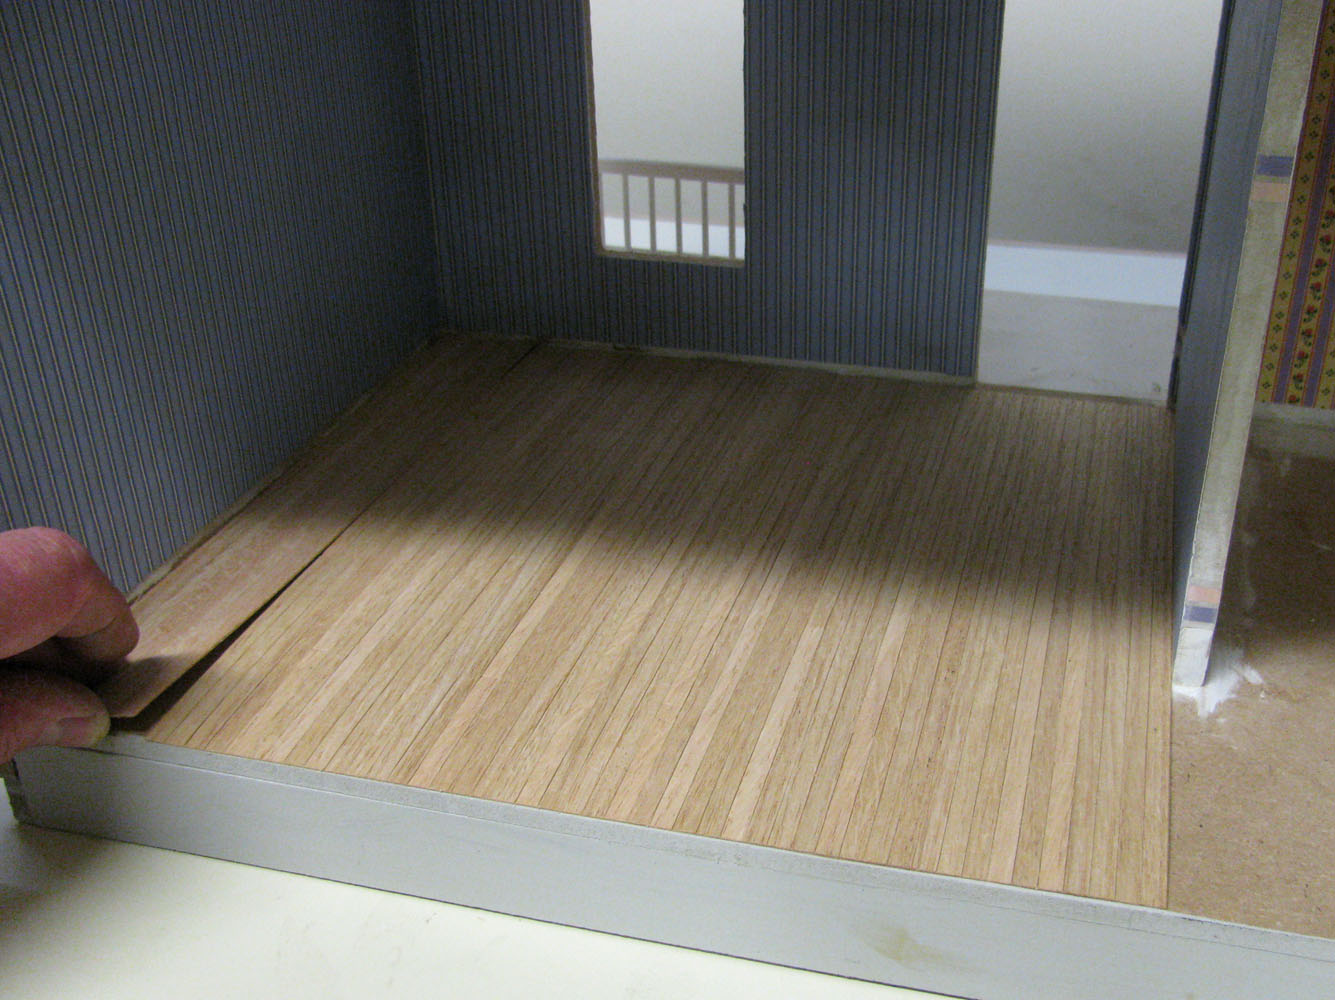
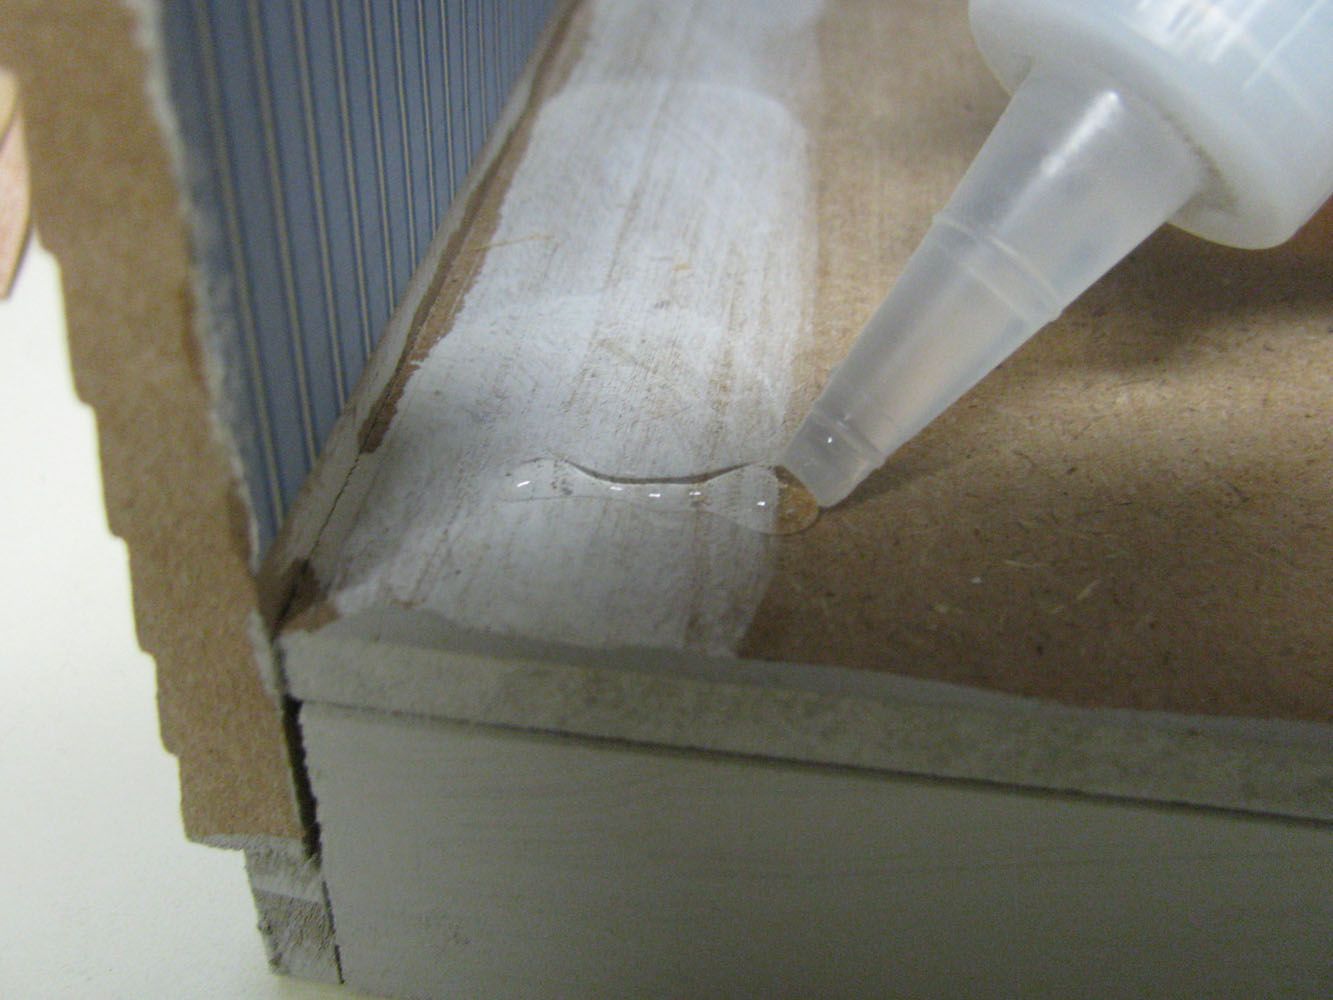
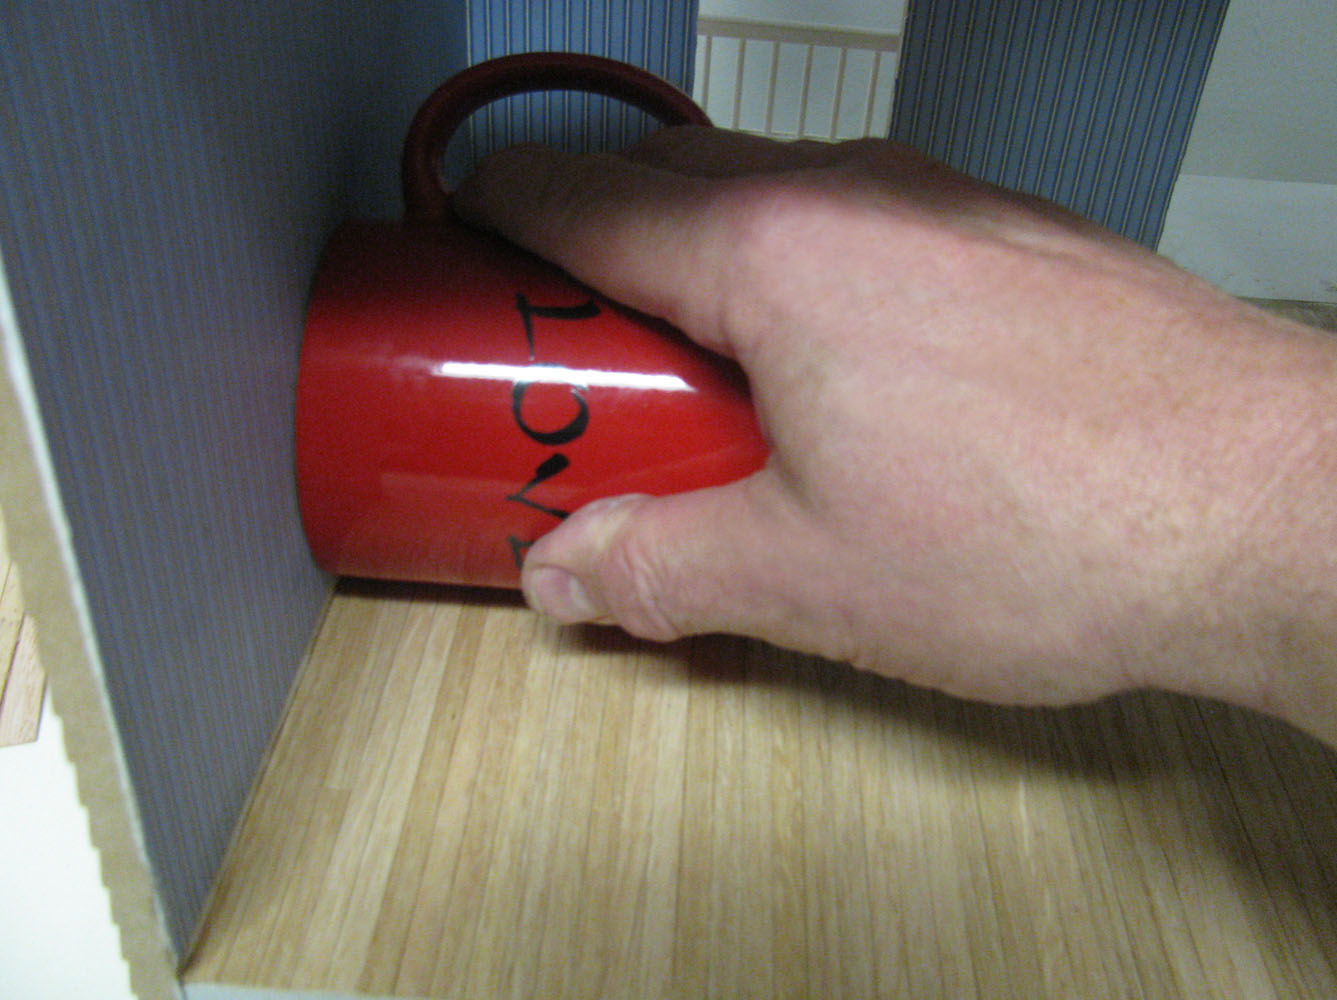
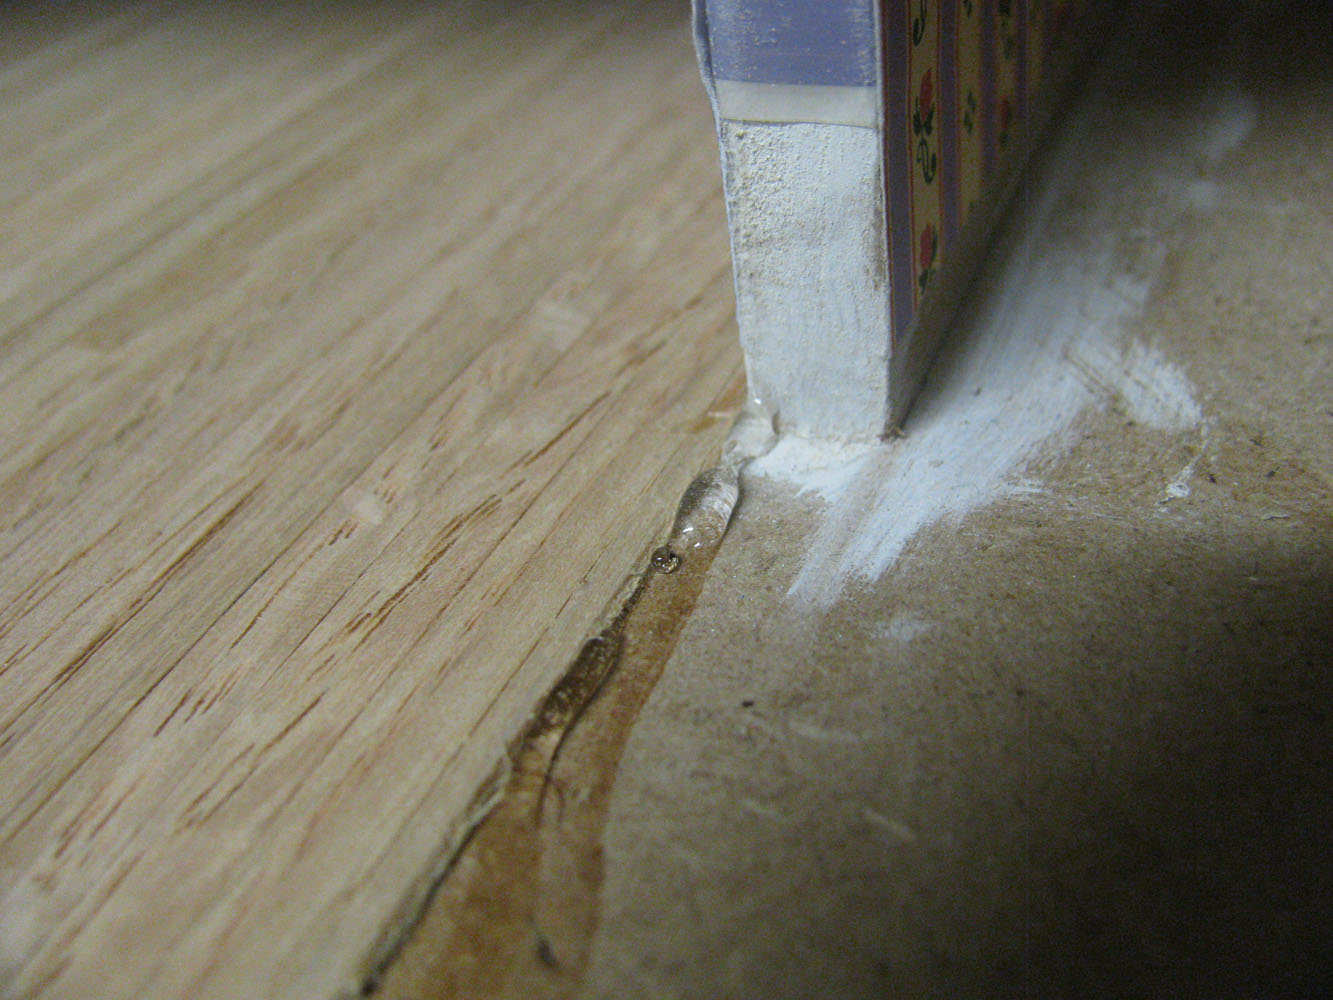
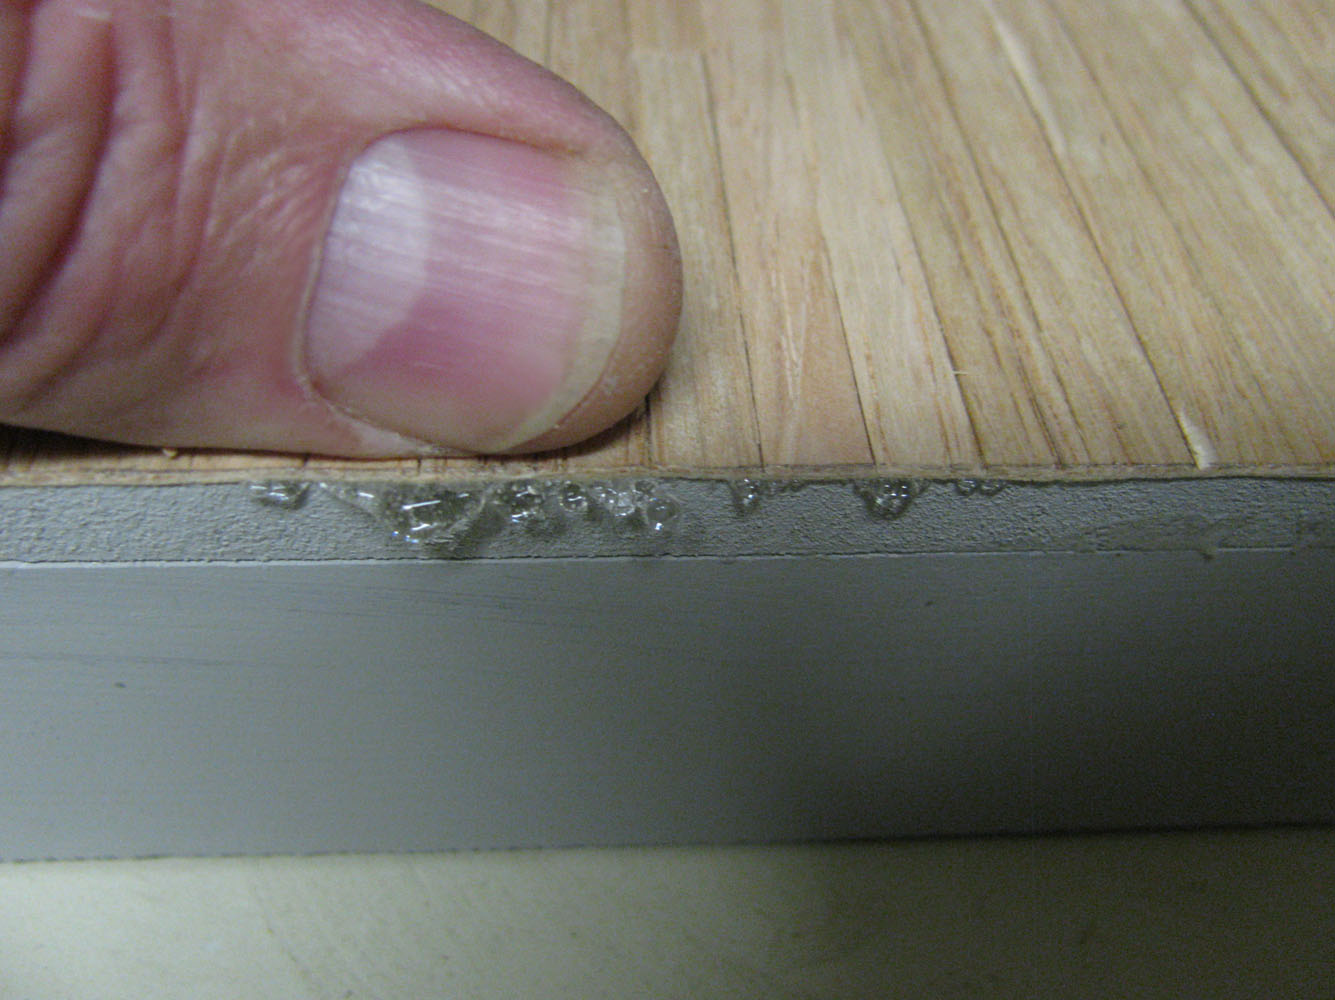
 28. Press along the back edge to squeeze glue to the edge
flooring/flooring24_lg.jpg
28. Press along the back edge to squeeze glue to the edge
flooring/flooring24_lg.jpg
28. Press along the back edge to squeeze glue to the edge
flooring/flooring24_lg.jpg
