![]()
![]()
![]()
![]()
![]()
Other Great! Websites:
![]()
![]()
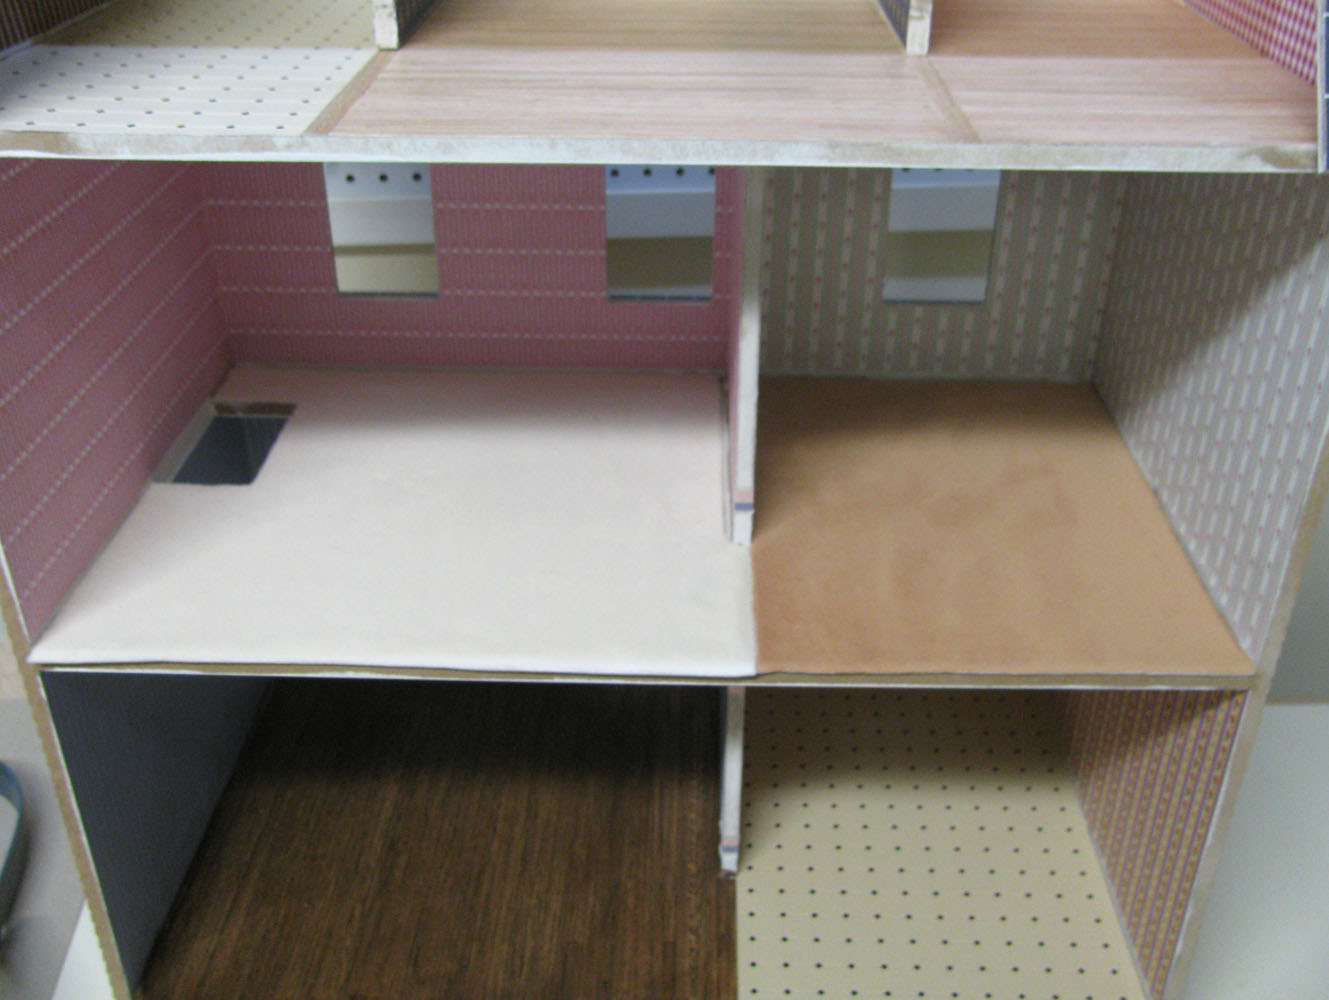
| 1. Sheet Flooring | |
| 2. Attic Flooring | |
| 3. Stain and Finishing | |
| 4. Tile and Carpet | here |
| Flooring Sales | |

DHTMLGoodies.com
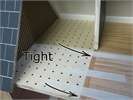
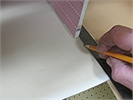
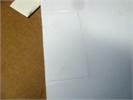
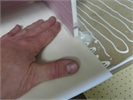
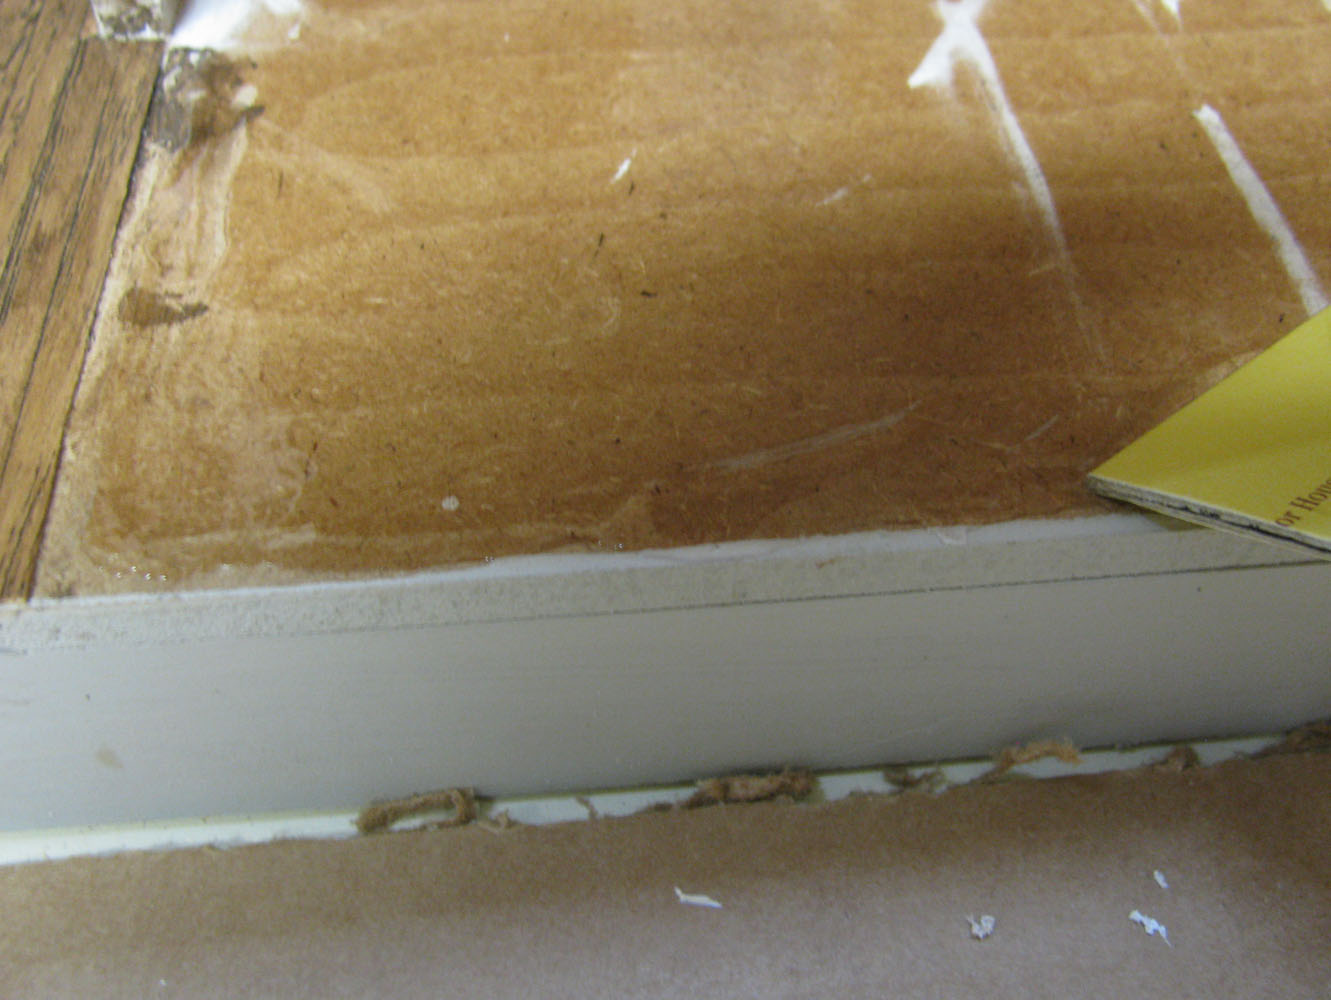
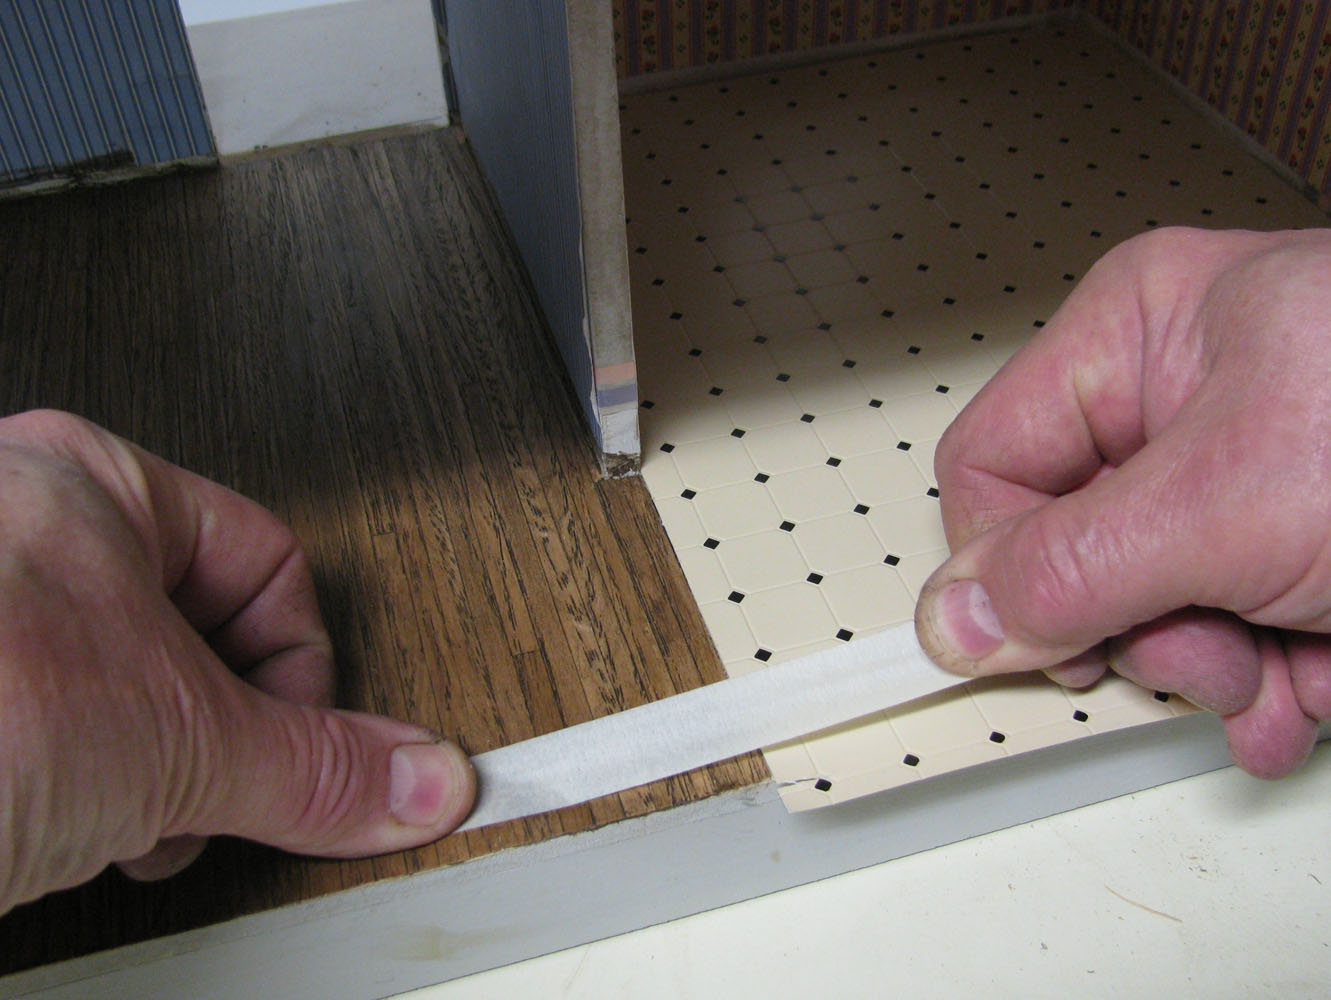
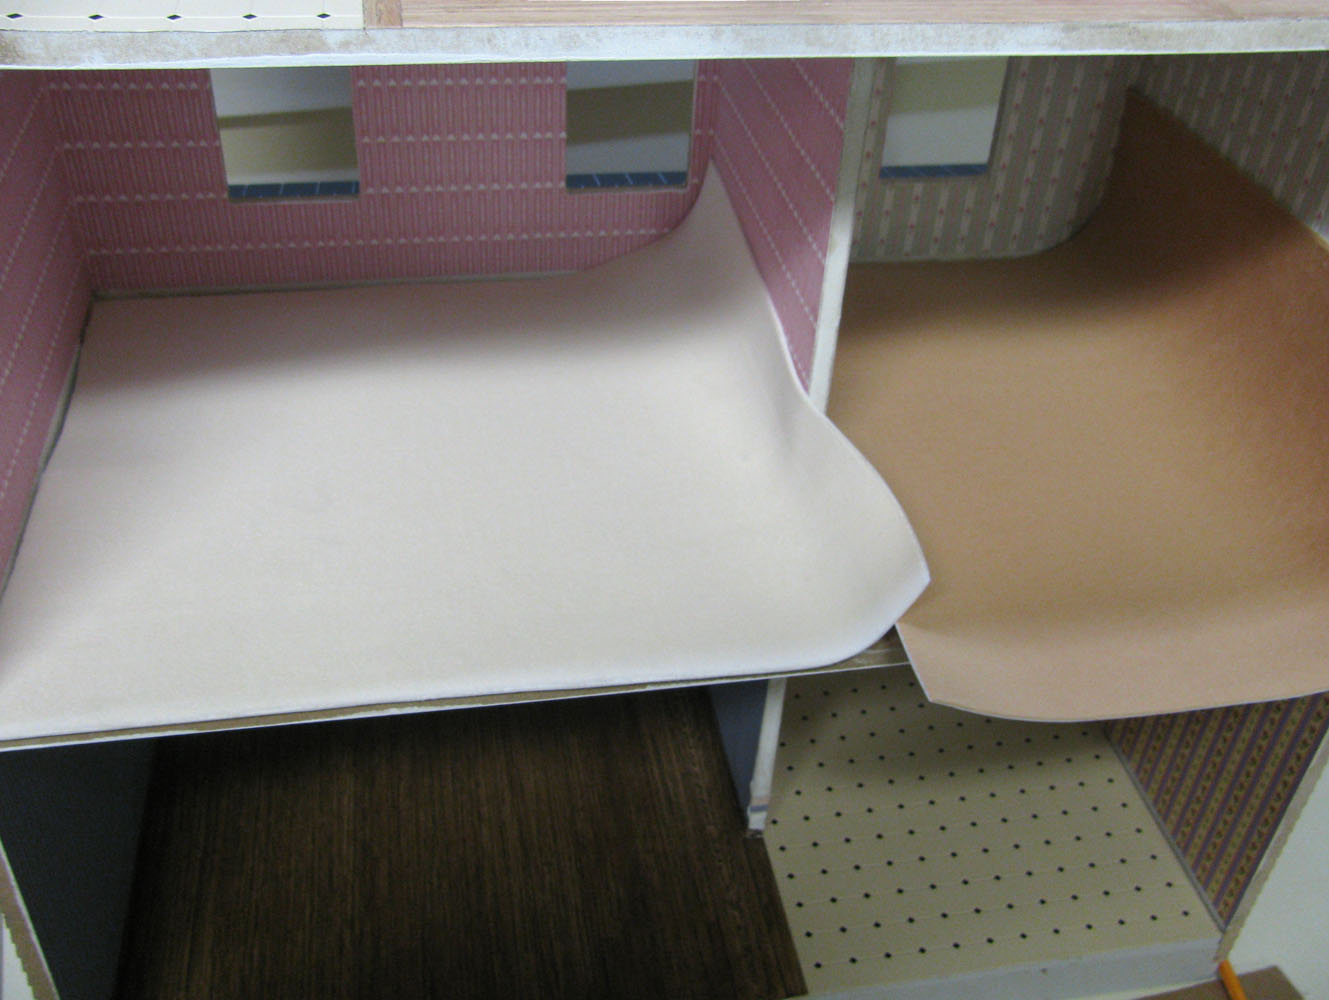
 4. Several gentle cuts to keep the knife under control
flooring/TileCarpet04_lg.jpg
4. Several gentle cuts to keep the knife under control
flooring/TileCarpet04_lg.jpg
4. Several gentle cuts to keep the knife under control
flooring/TileCarpet04_lg.jpg

DHTMLGoodies.com
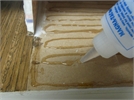
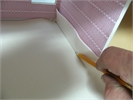
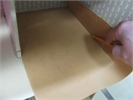
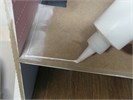
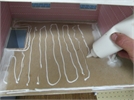
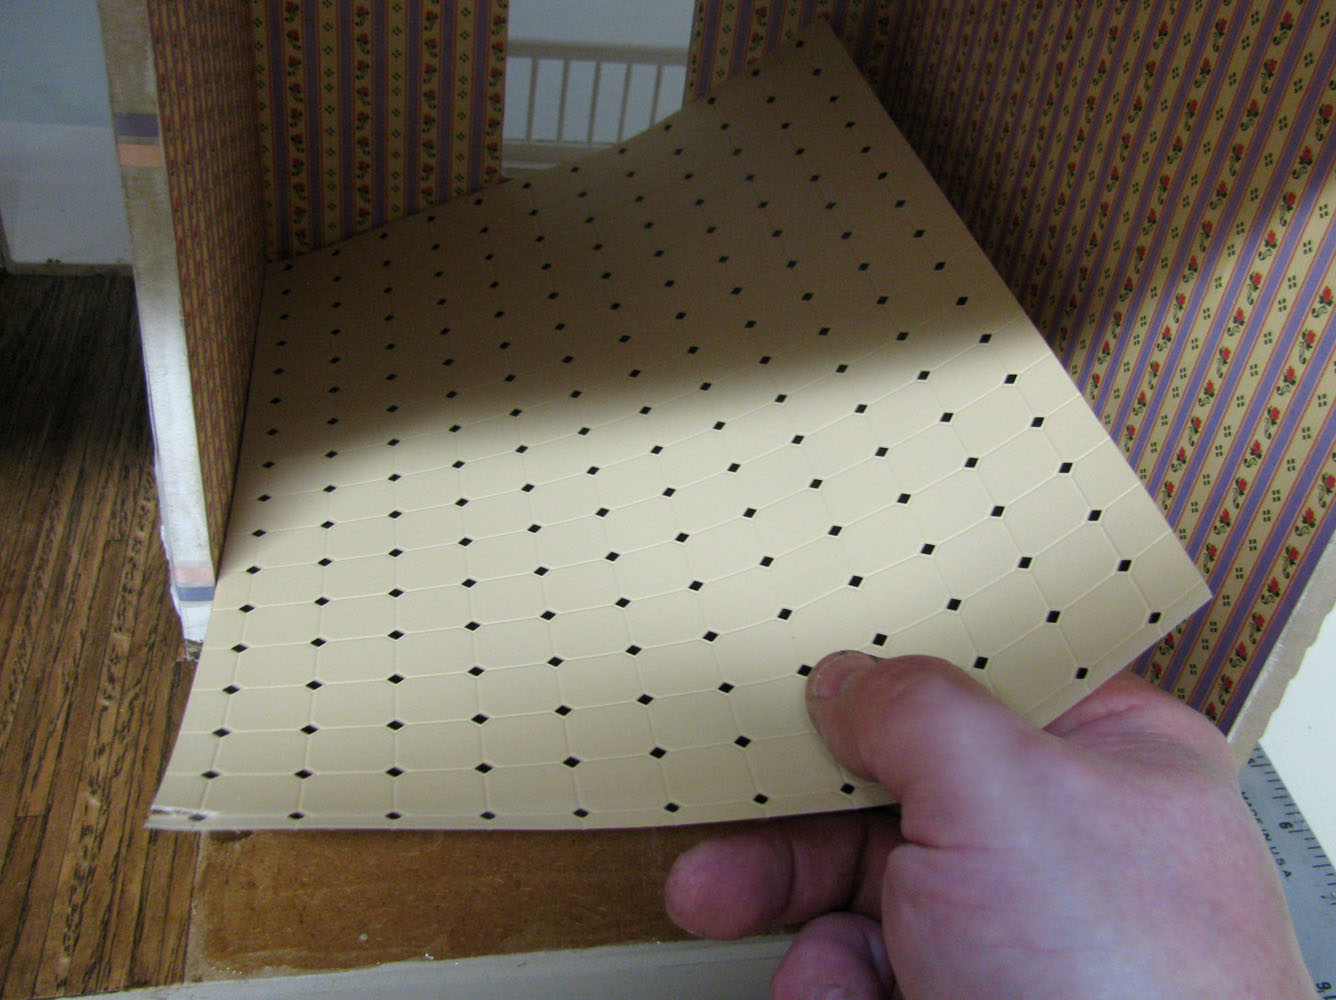
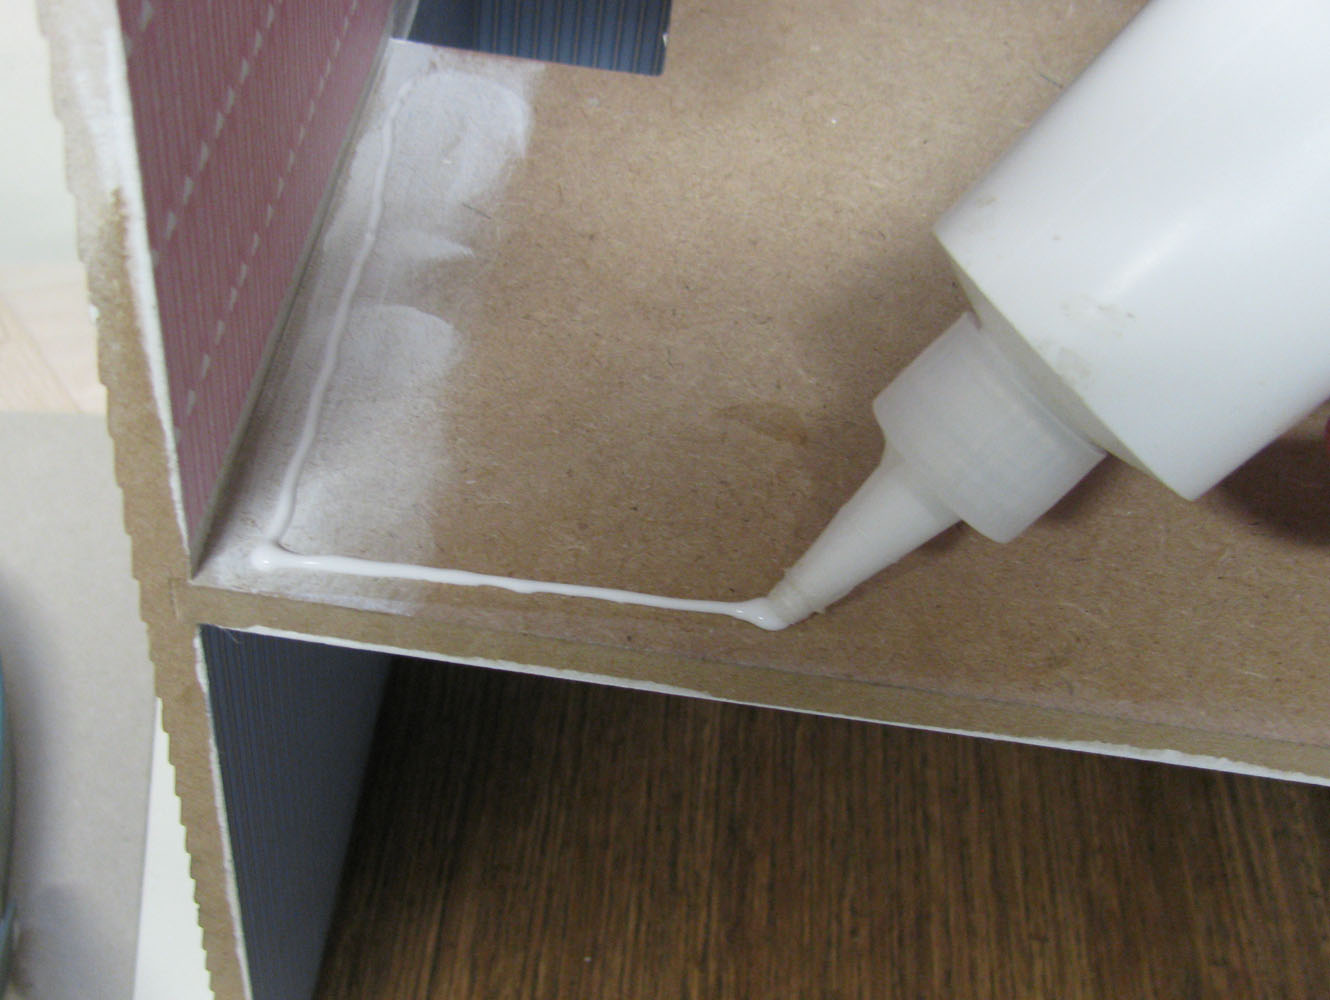
 8. Spread the glue... make sure you have enough at the back edge
flooring/TileCarpet08_lg.jpg
8. Spread the glue... make sure you have enough at the back edge
flooring/TileCarpet08_lg.jpg
8. Spread the glue... make sure you have enough at the back edge
flooring/TileCarpet08_lg.jpg


DHTMLGoodies.com
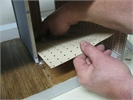
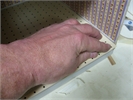
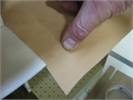
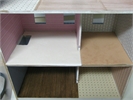
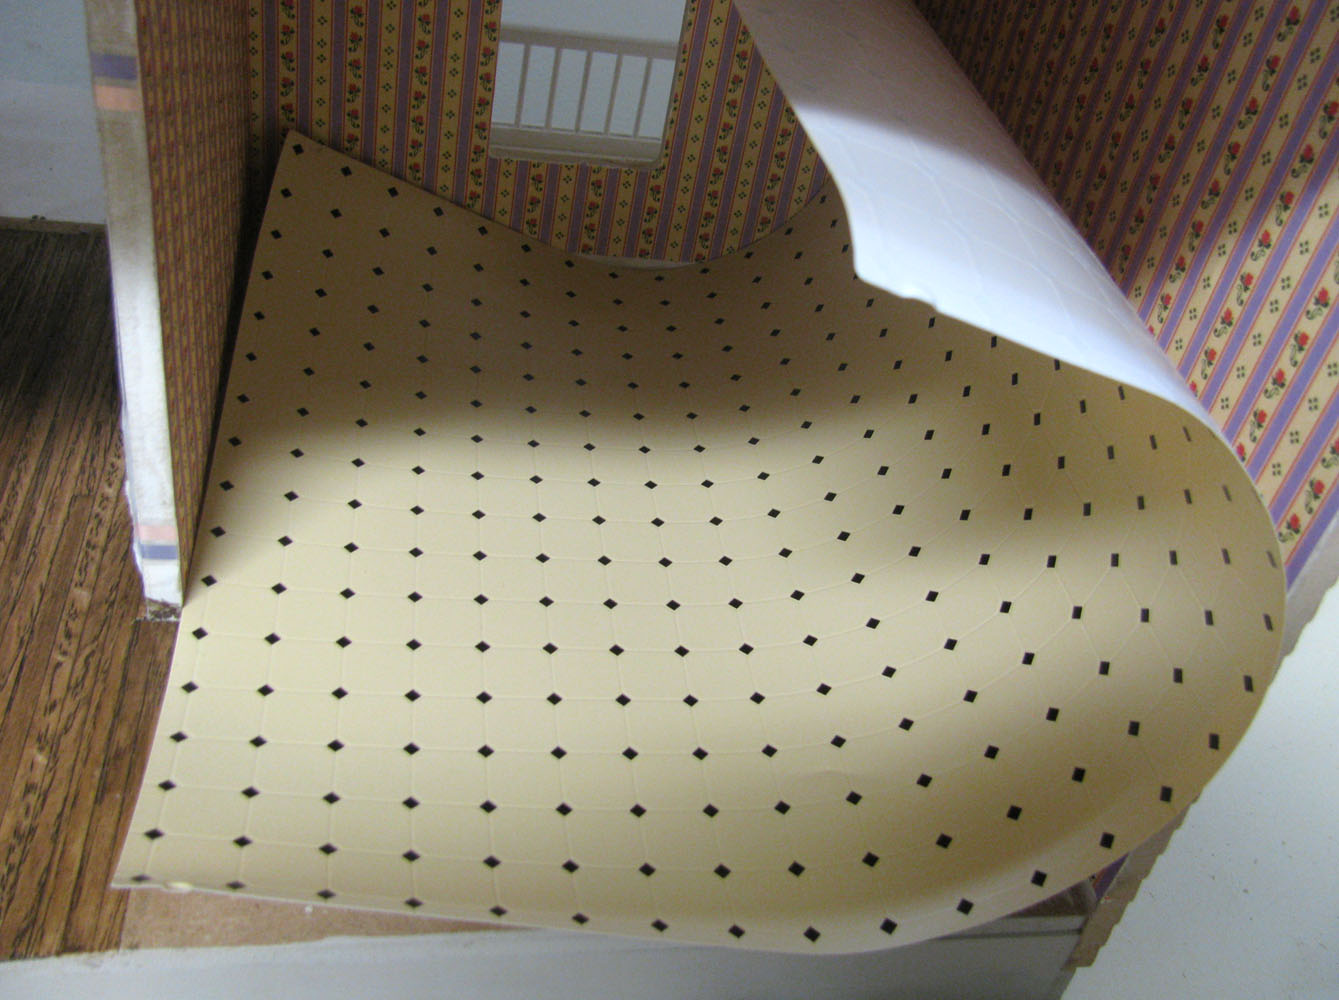
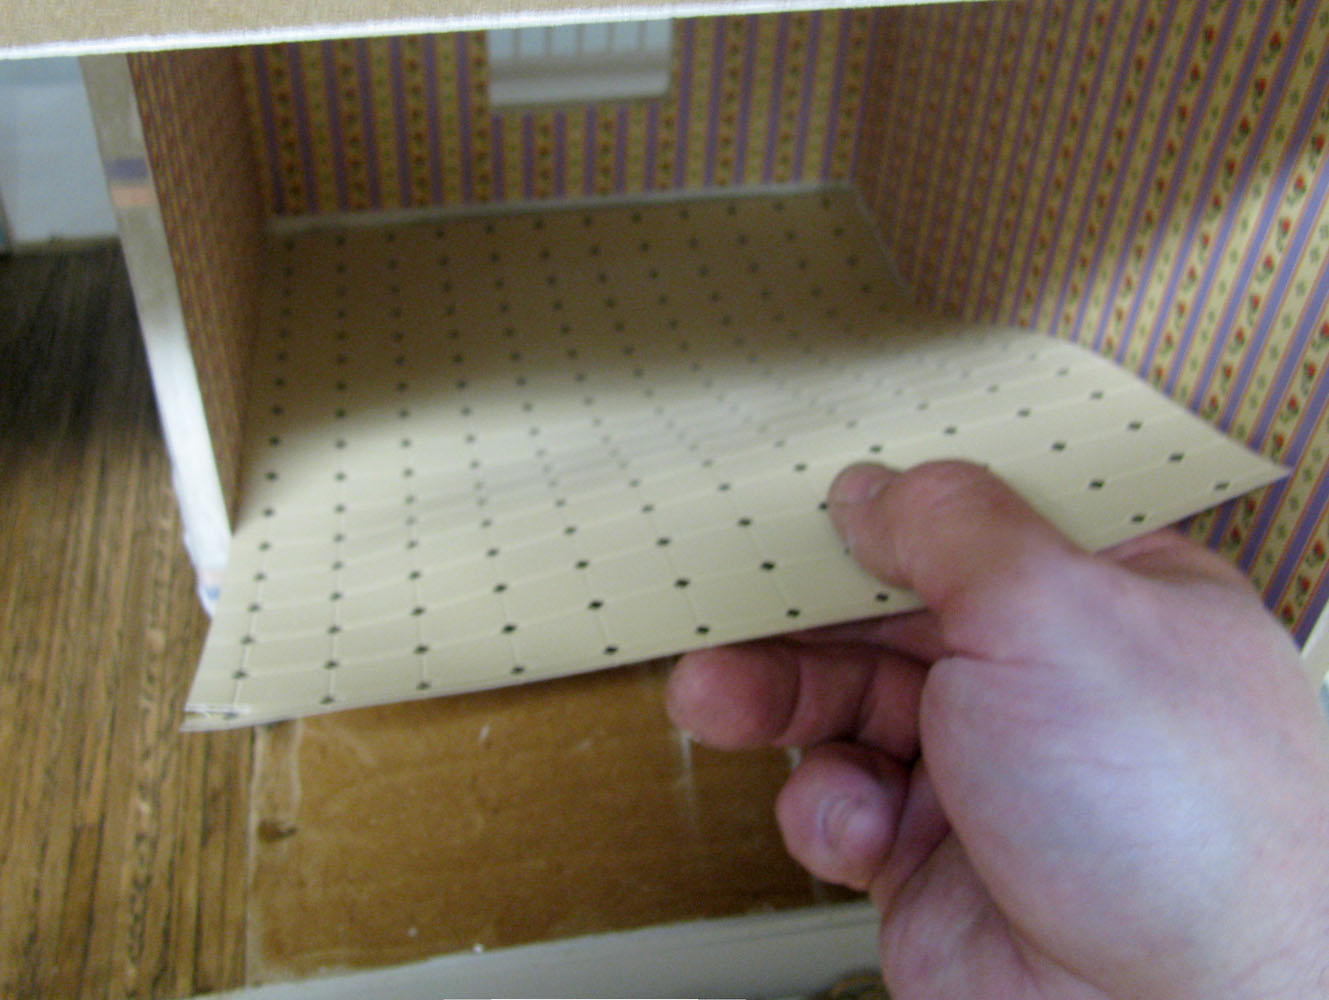
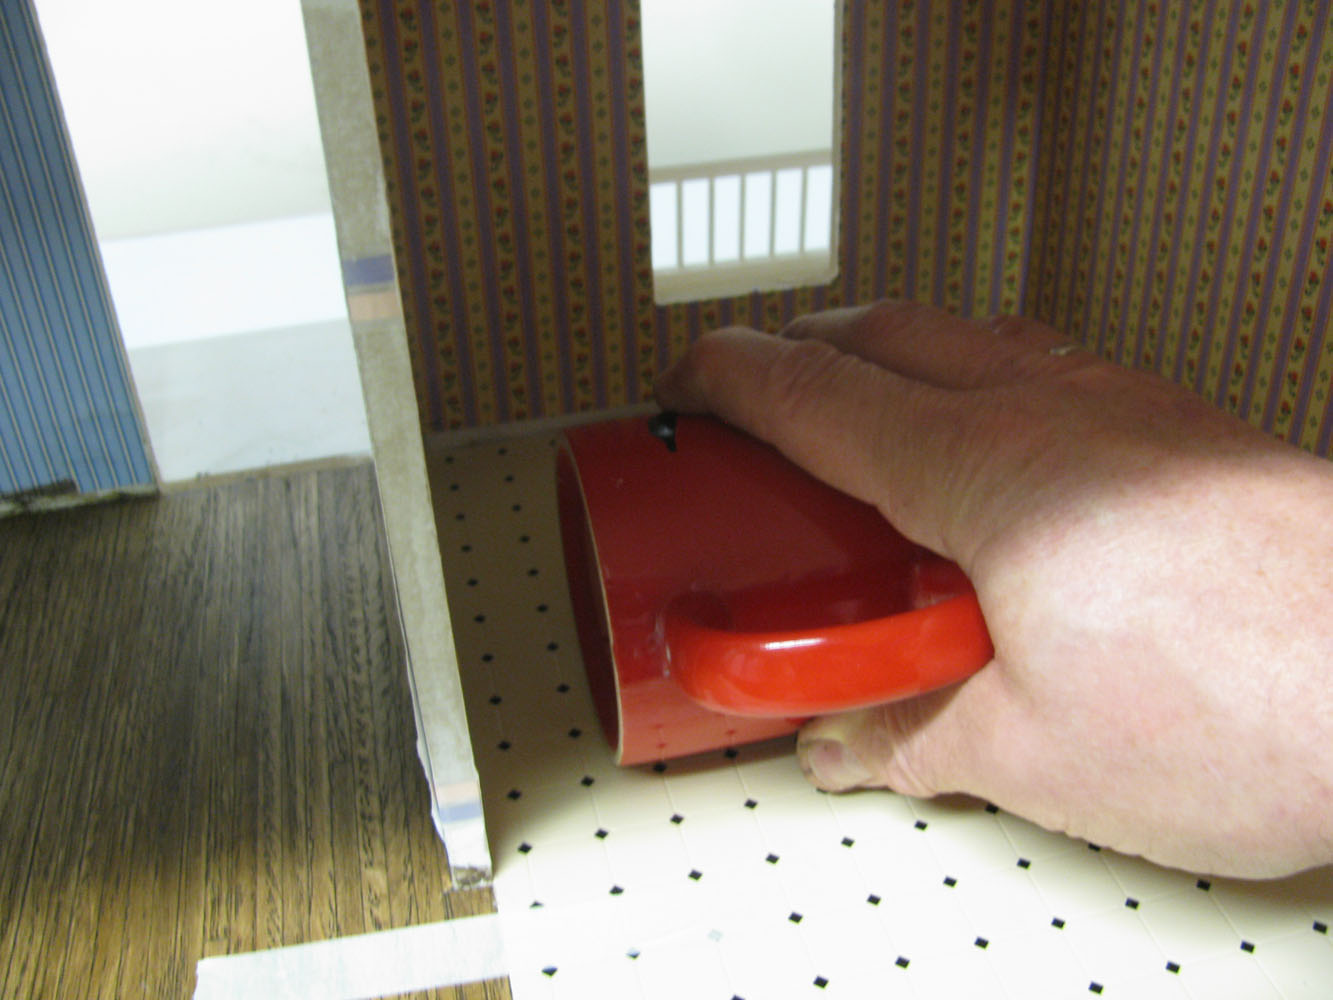
 13. Don't let it slip while you are pressing the sheet elsewhere
flooring/TileCarpet13_lg.jpg
13. Don't let it slip while you are pressing the sheet elsewhere
flooring/TileCarpet13_lg.jpg
13. Don't let it slip while you are pressing the sheet elsewhere
flooring/TileCarpet13_lg.jpg


DHTMLGoodies.com
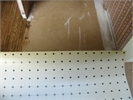
 25. Carpet can be crowded or stretched - unlike tile or wood
flooring/TileCarpet25_lg.jpg
25. Carpet can be crowded or stretched - unlike tile or wood
flooring/TileCarpet25_lg.jpg
25. Carpet can be crowded or stretched - unlike tile or wood
flooring/TileCarpet25_lg.jpg
DHTMLGoodies.com
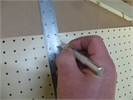
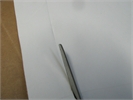
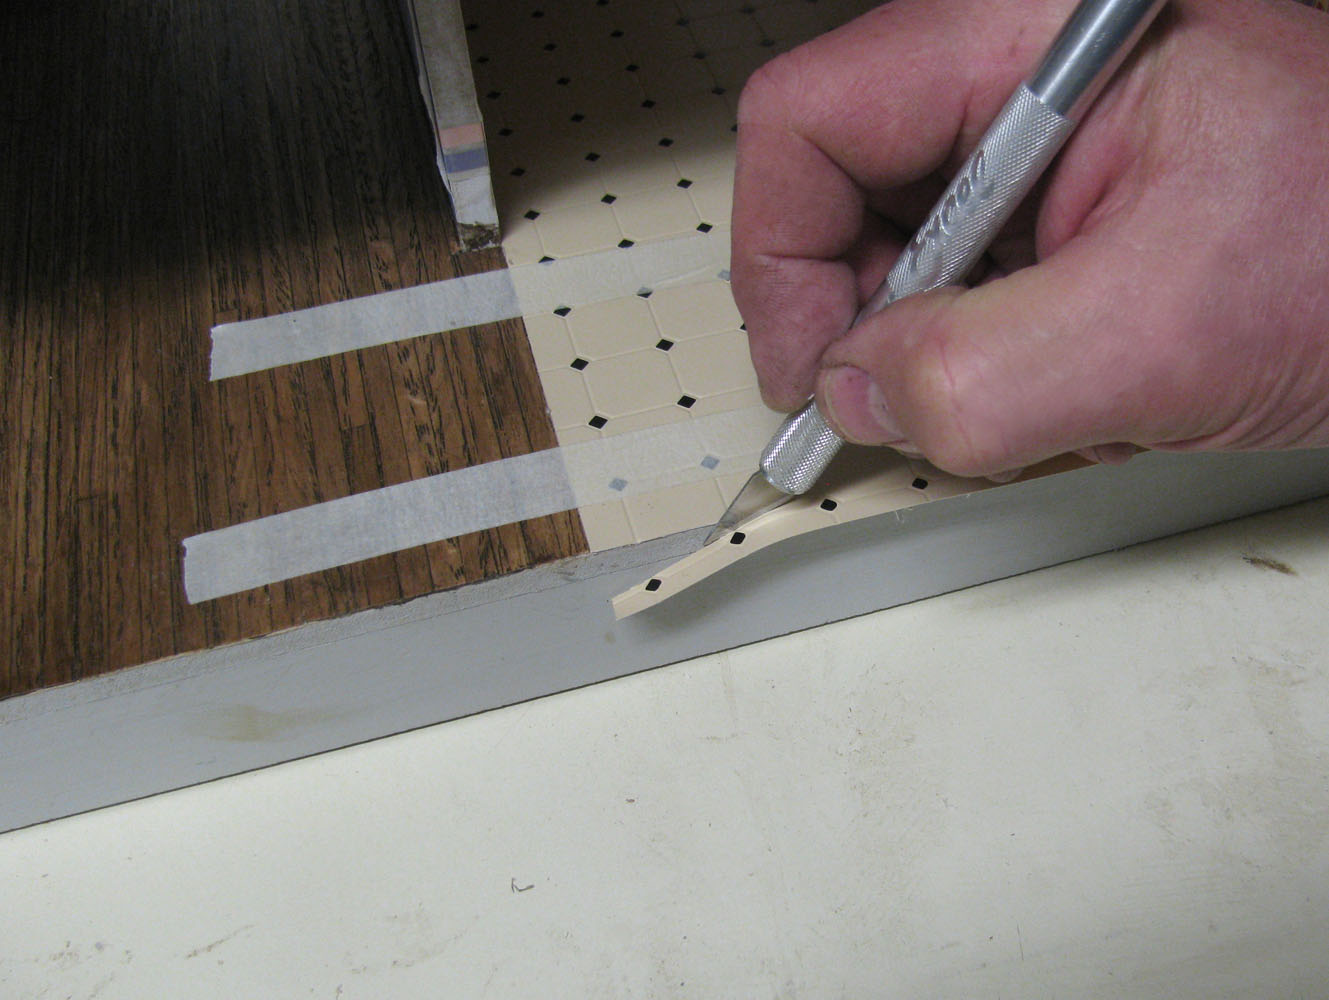
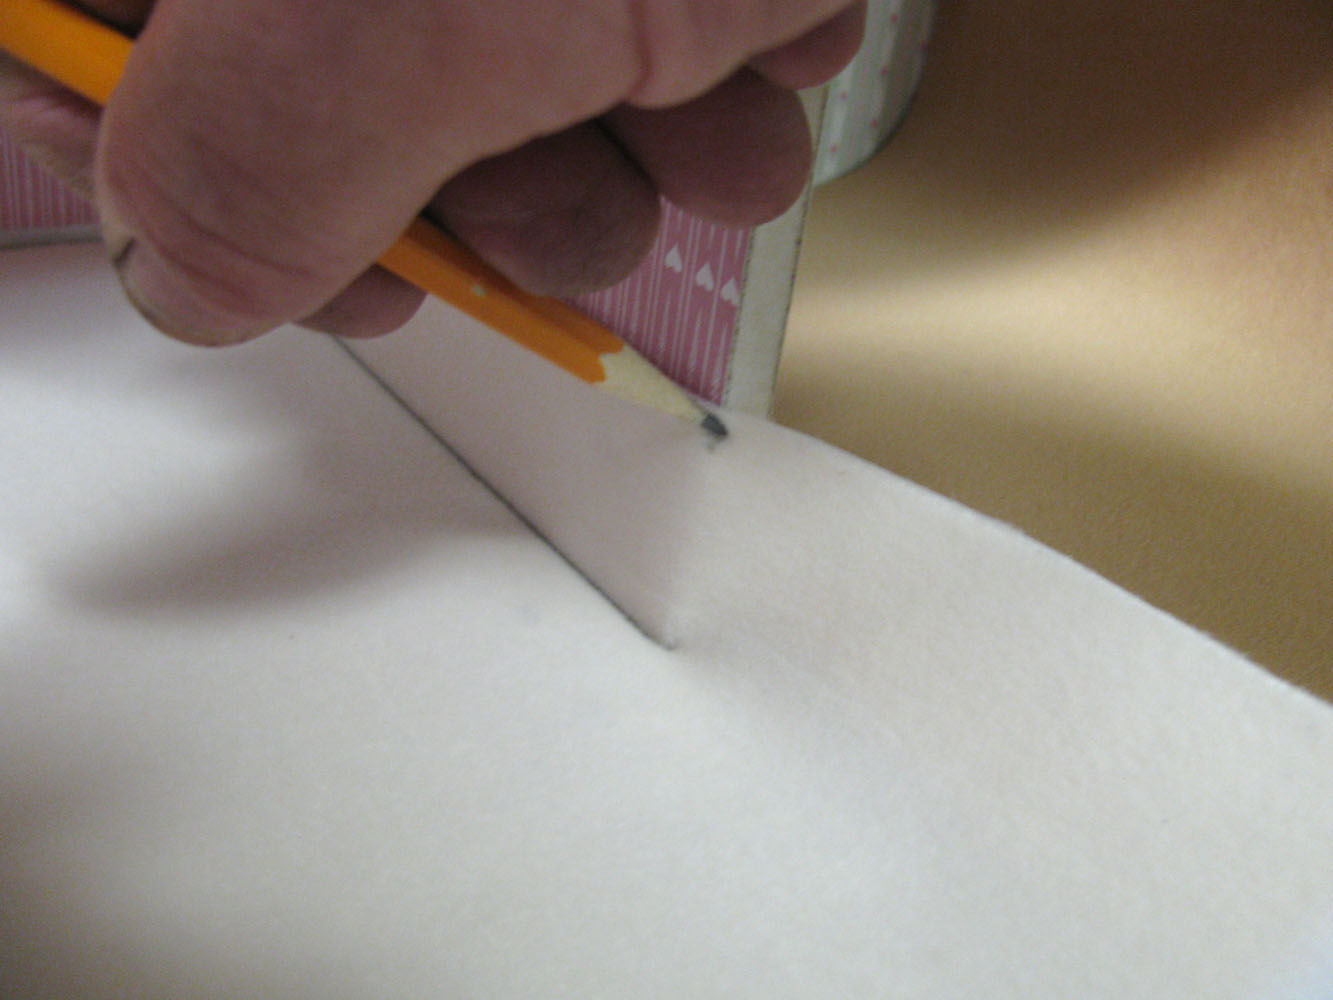
 26. It is important to keep this cut straight and smooth
flooring/TileCarpet26_lg.jpg
26. It is important to keep this cut straight and smooth
flooring/TileCarpet26_lg.jpg
26. It is important to keep this cut straight and smooth
flooring/TileCarpet26_lg.jpg
DHTMLGoodies.com
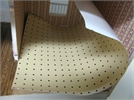
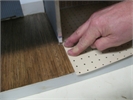
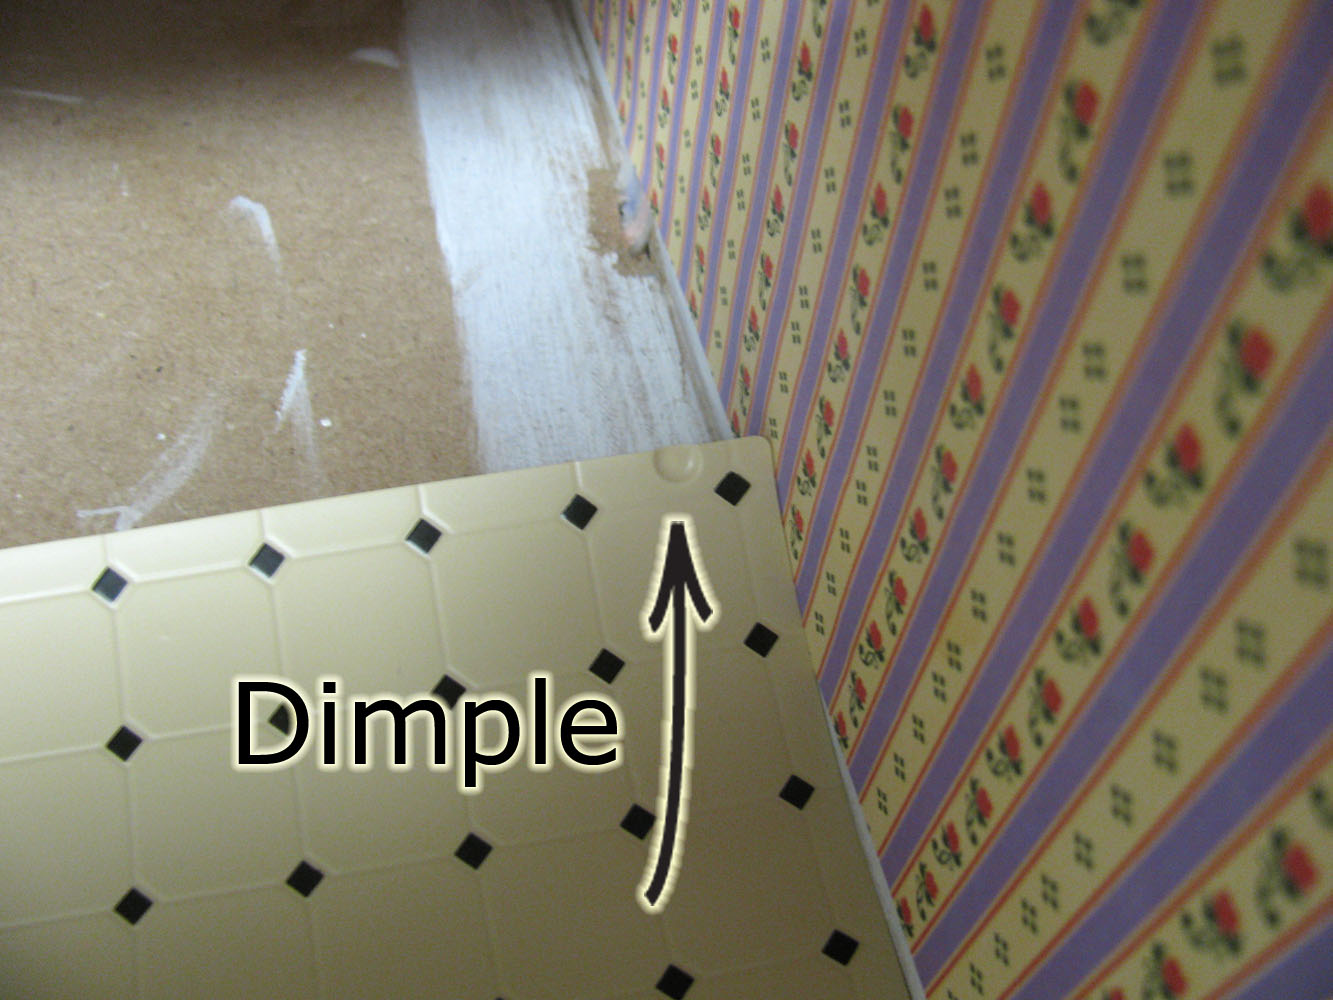
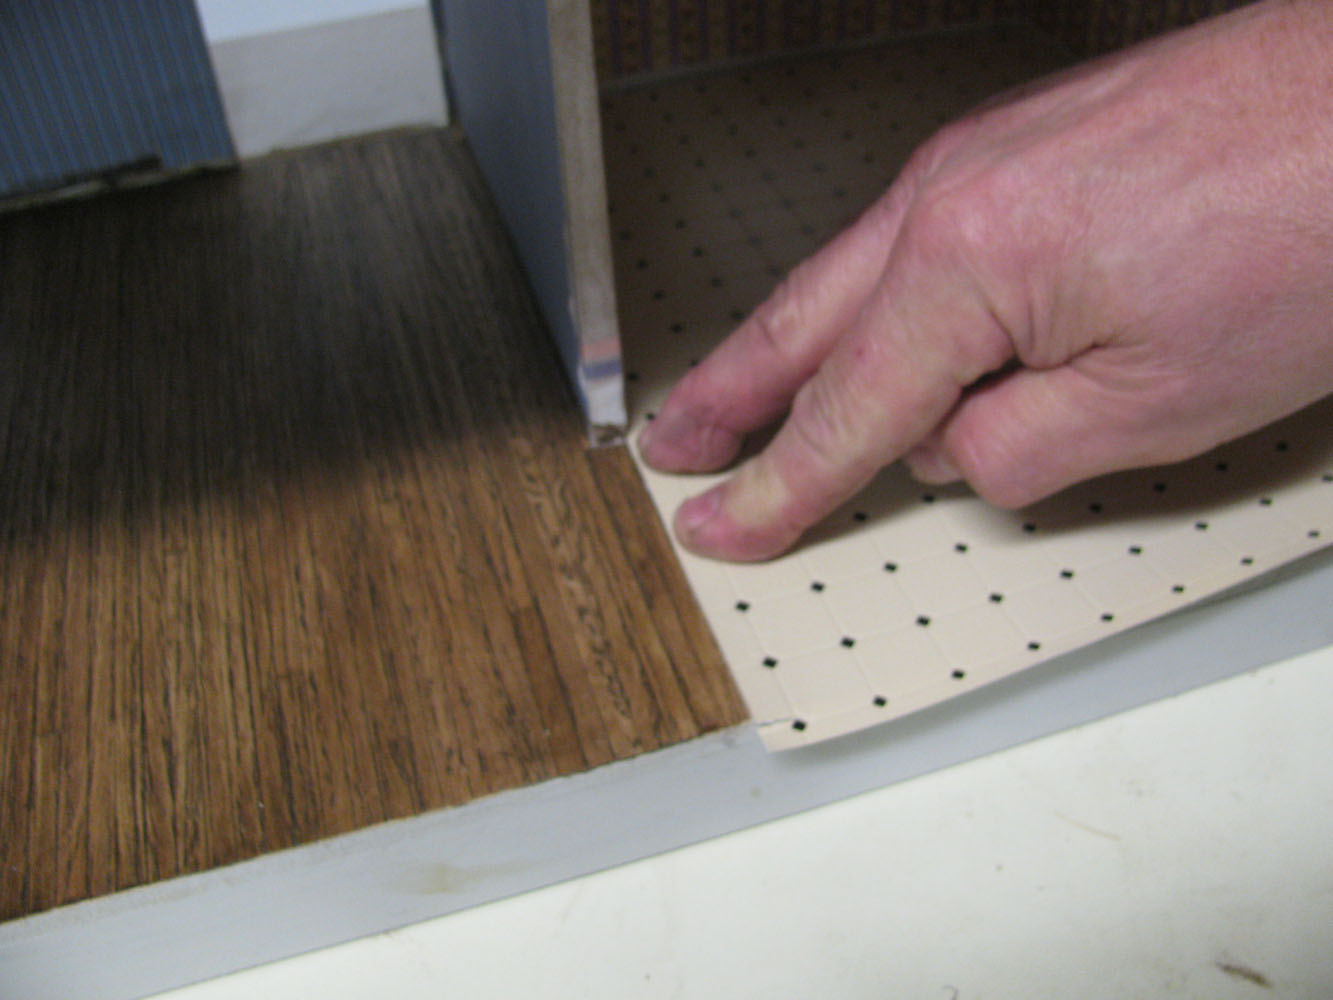
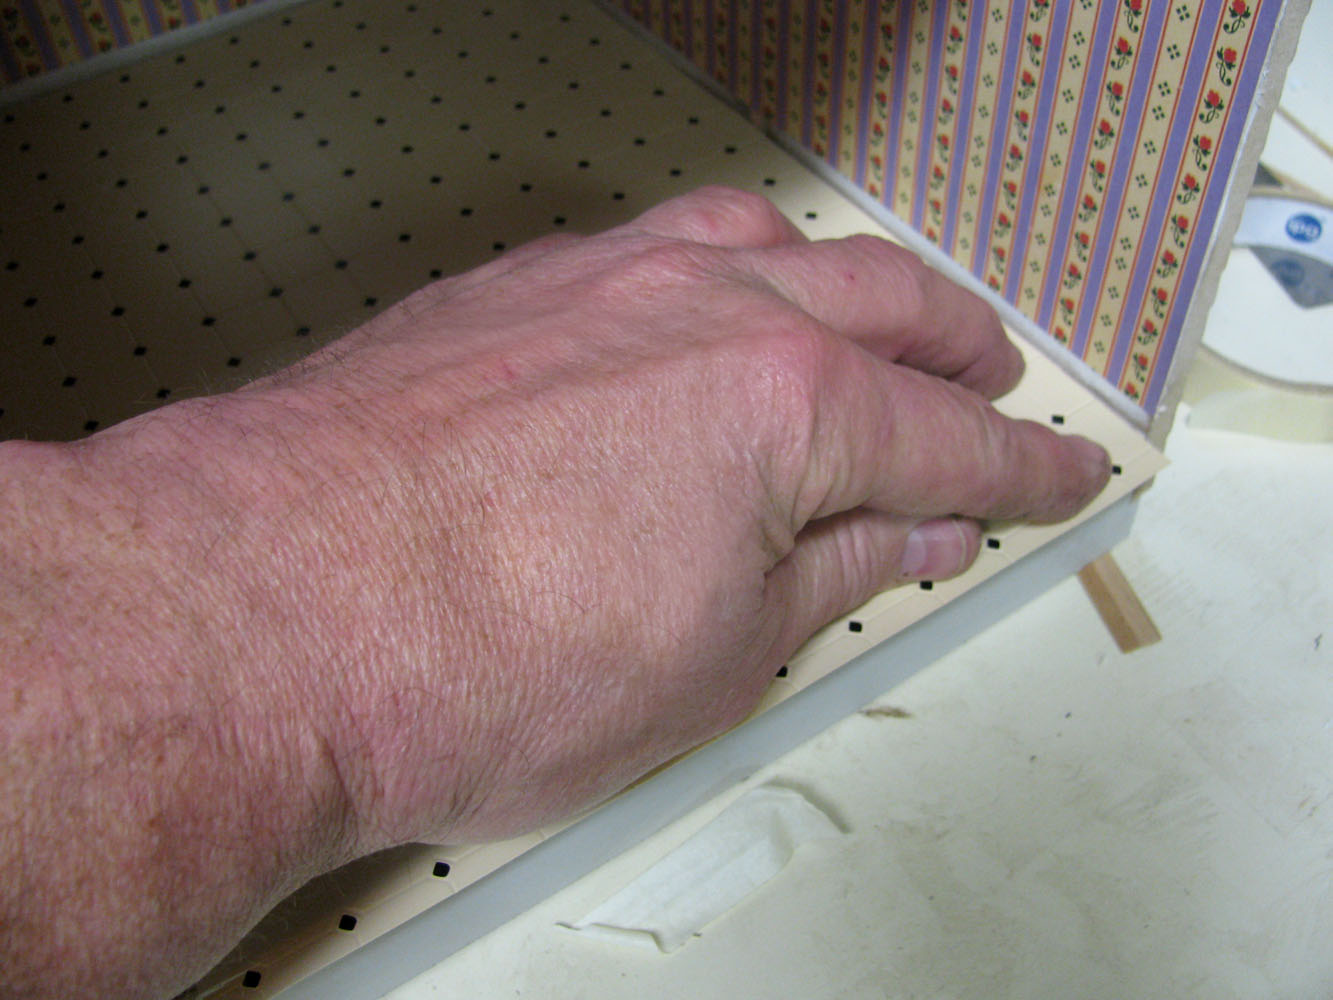
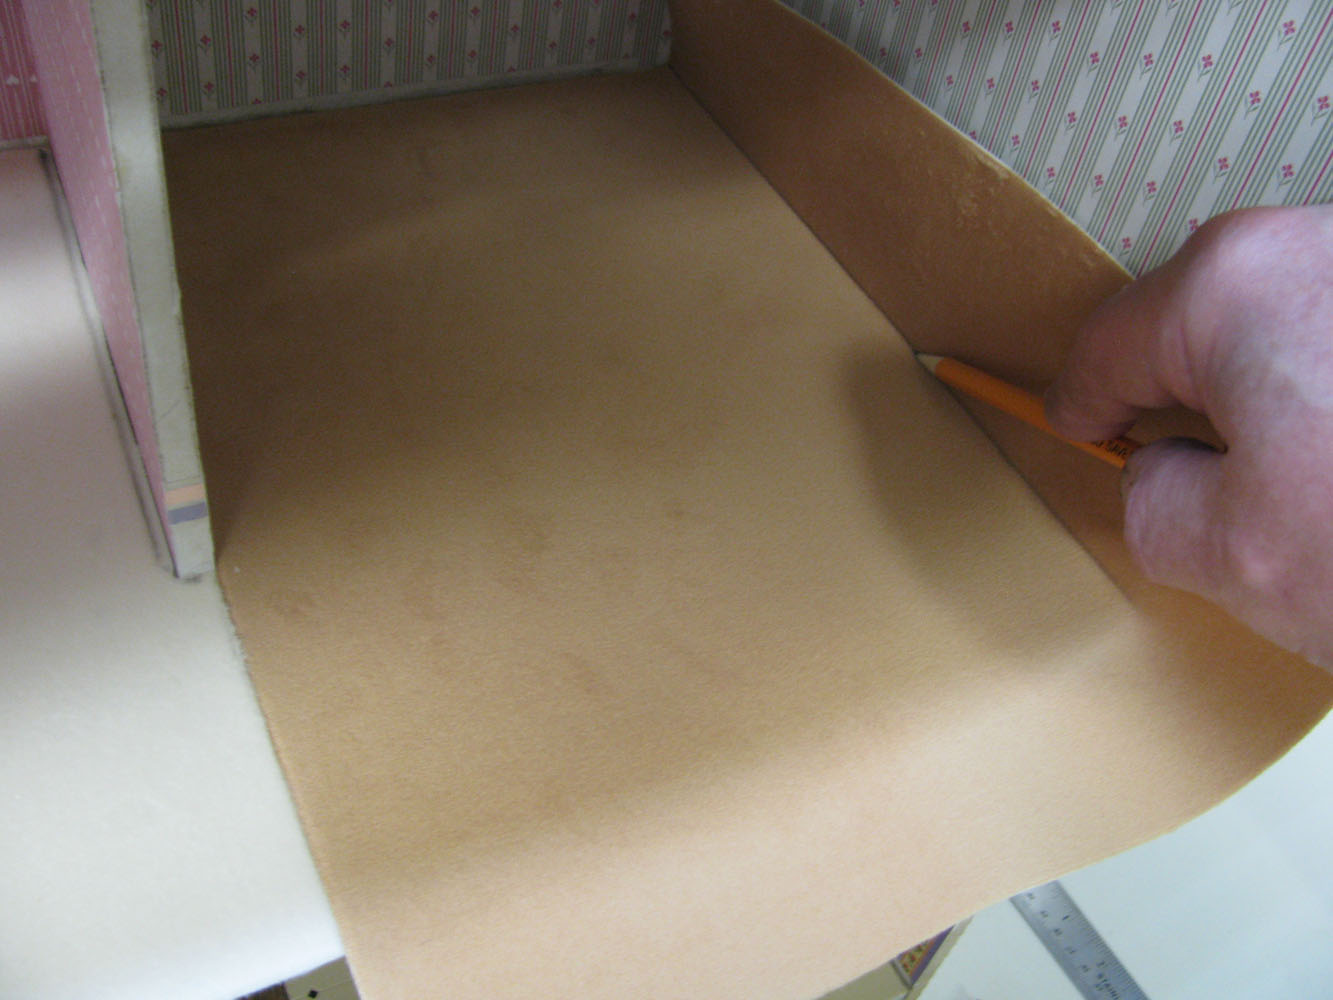
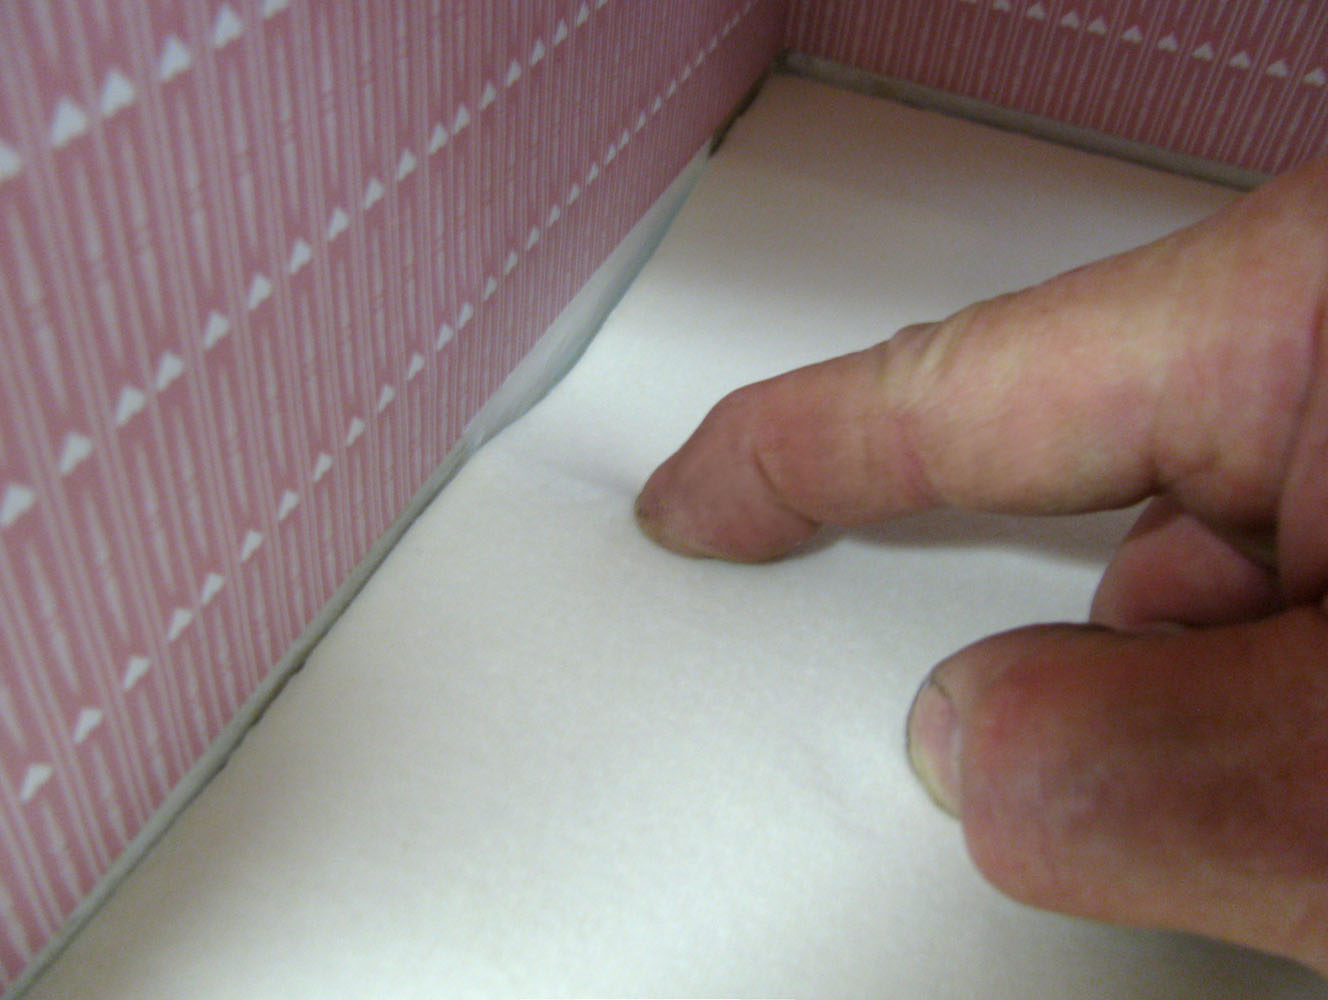
 28. Press the carpet against the corner at the back of the floor
flooring/TileCarpet28_lg.jpg
28. Press the carpet against the corner at the back of the floor
flooring/TileCarpet28_lg.jpg
28. Press the carpet against the corner at the back of the floor
flooring/TileCarpet28_lg.jpg


DHTMLGoodies.com
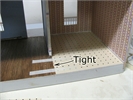
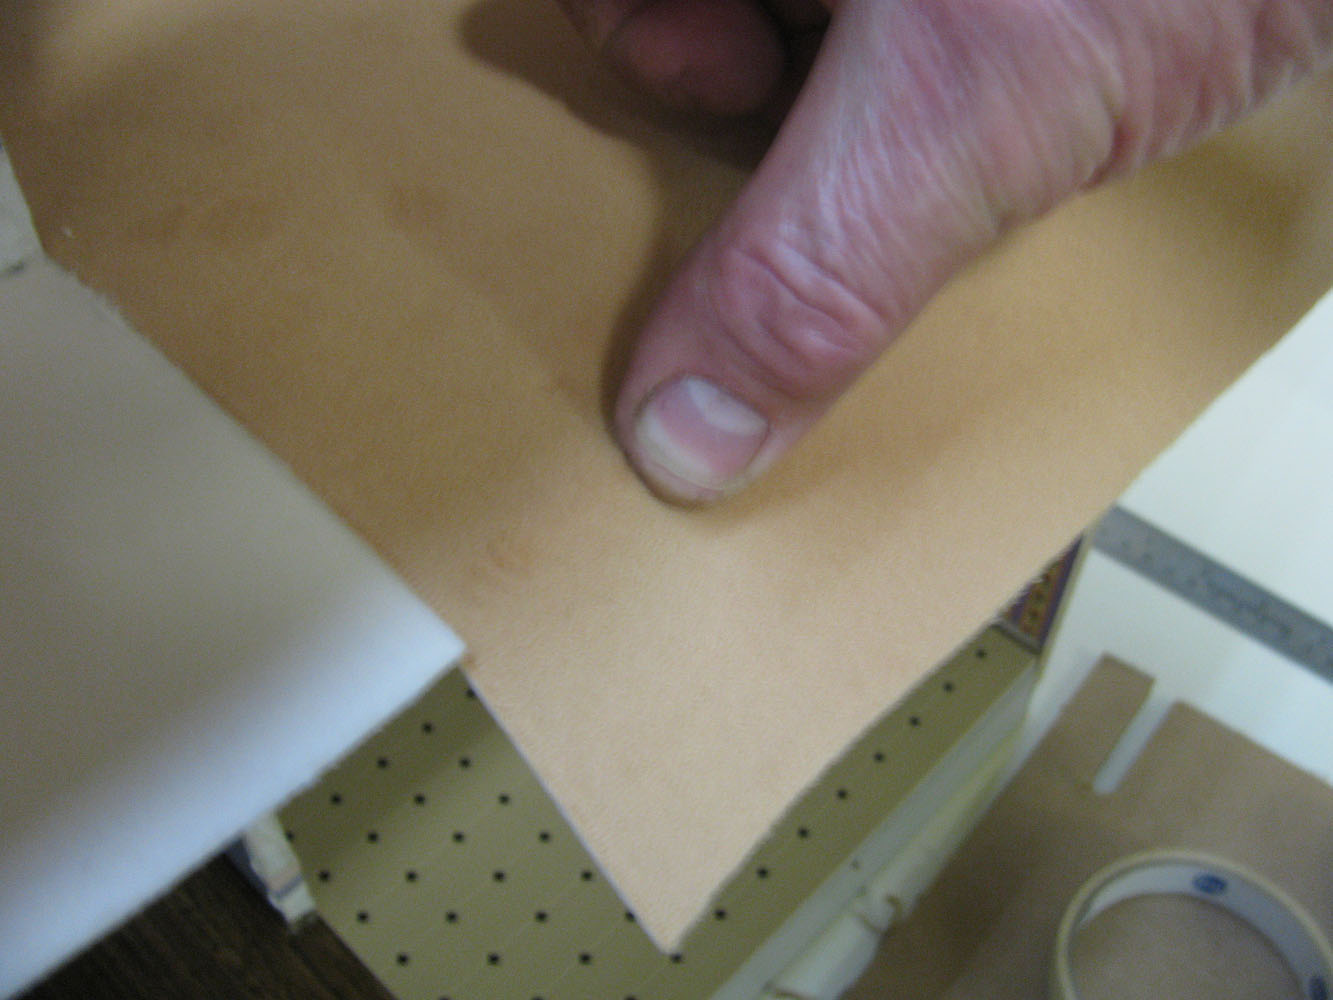
 33. Leave a tiny overhang at the back edge... this is too much
flooring/TileCarpet33_lg.jpg
33. Leave a tiny overhang at the back edge... this is too much
flooring/TileCarpet33_lg.jpg
33. Leave a tiny overhang at the back edge... this is too much
flooring/TileCarpet33_lg.jpg


DHTMLGoodies.com
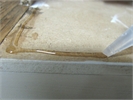
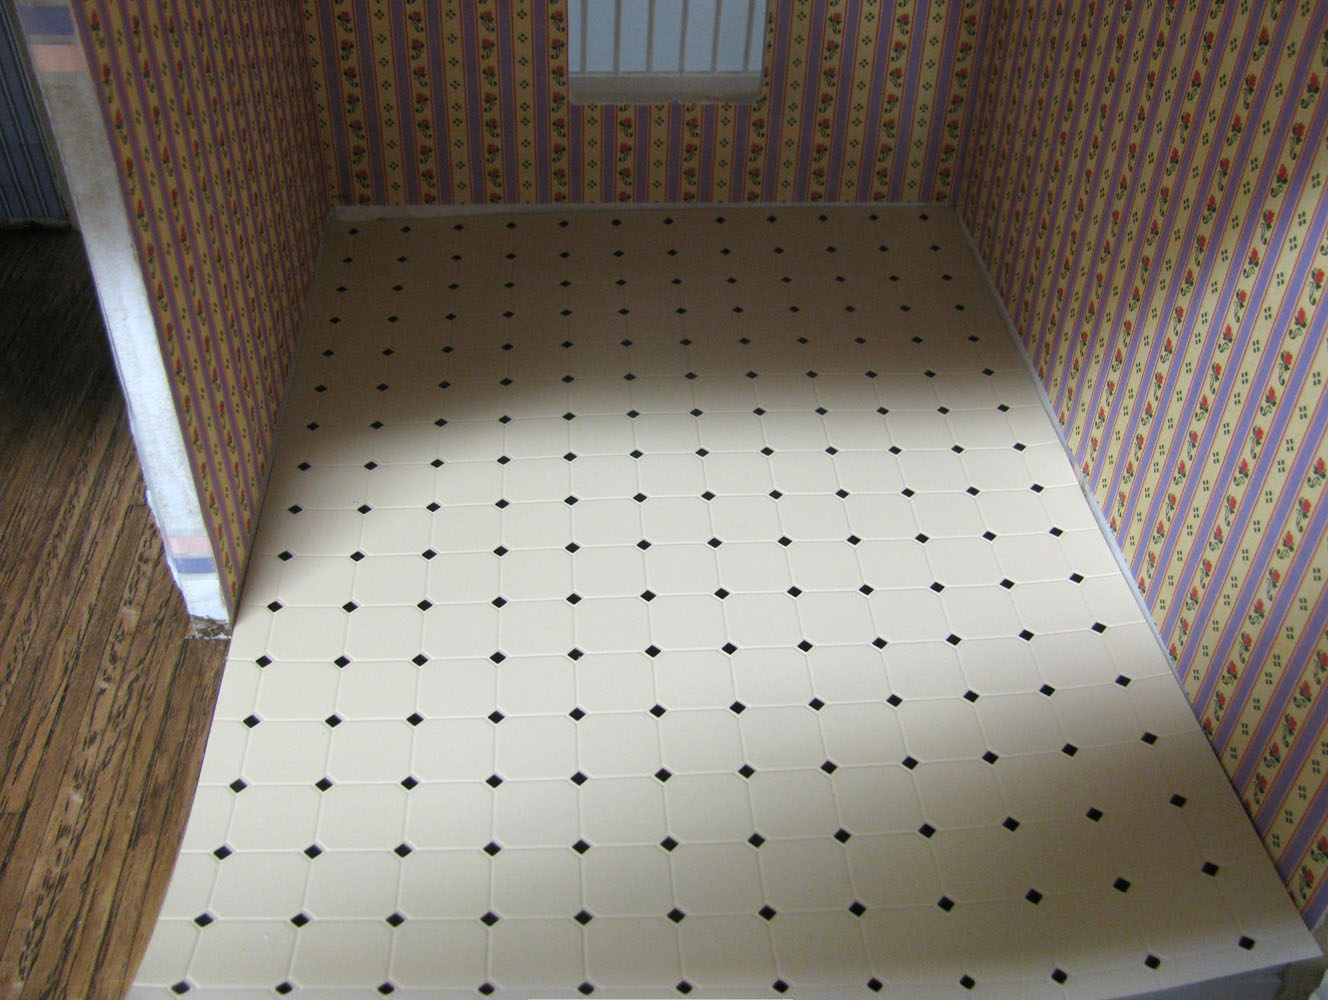
 40. A damp towel then a dry towel cleaned up my extra glue
flooring/TileCarpet40_lg.jpg
40. A damp towel then a dry towel cleaned up my extra glue
flooring/TileCarpet40_lg.jpg
40. A damp towel then a dry towel cleaned up my extra glue
flooring/TileCarpet40_lg.jpg
