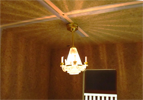
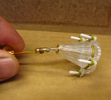
| CK3384 Crystalene Chandelier |
| plus adapter 804-1 (included when purchased from Real Good Toys) |

Installing fixture adaptors
|
DHTMLGoodies.com
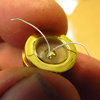
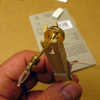
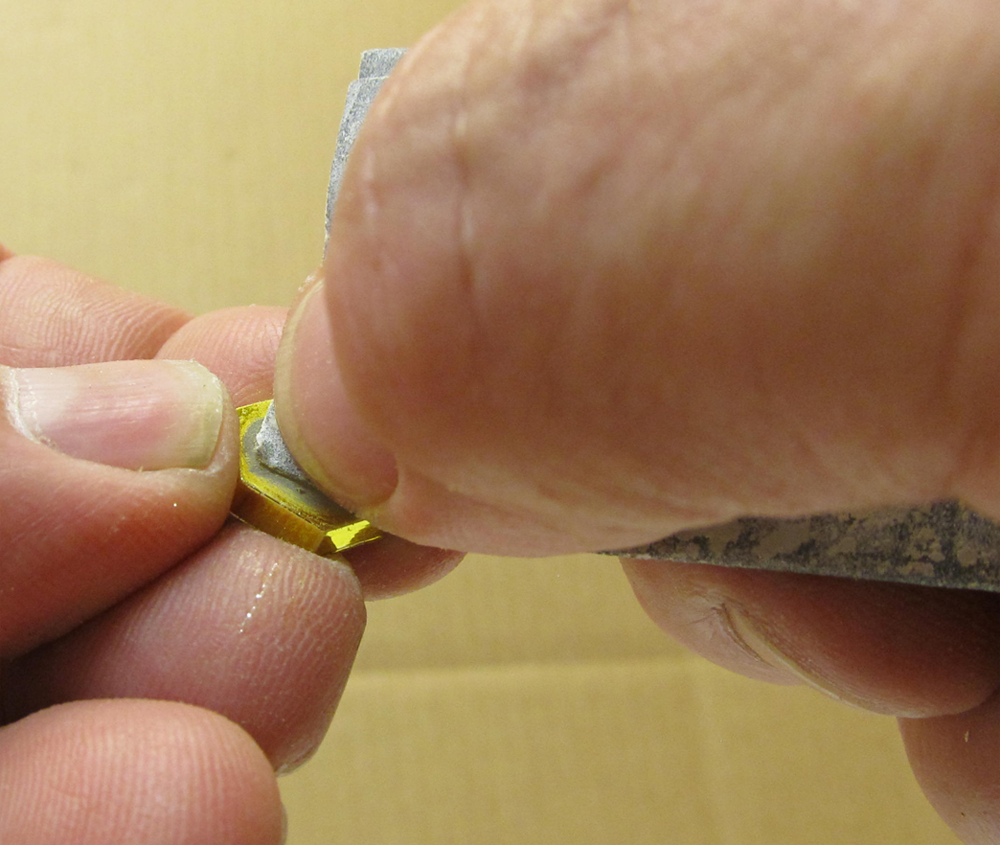
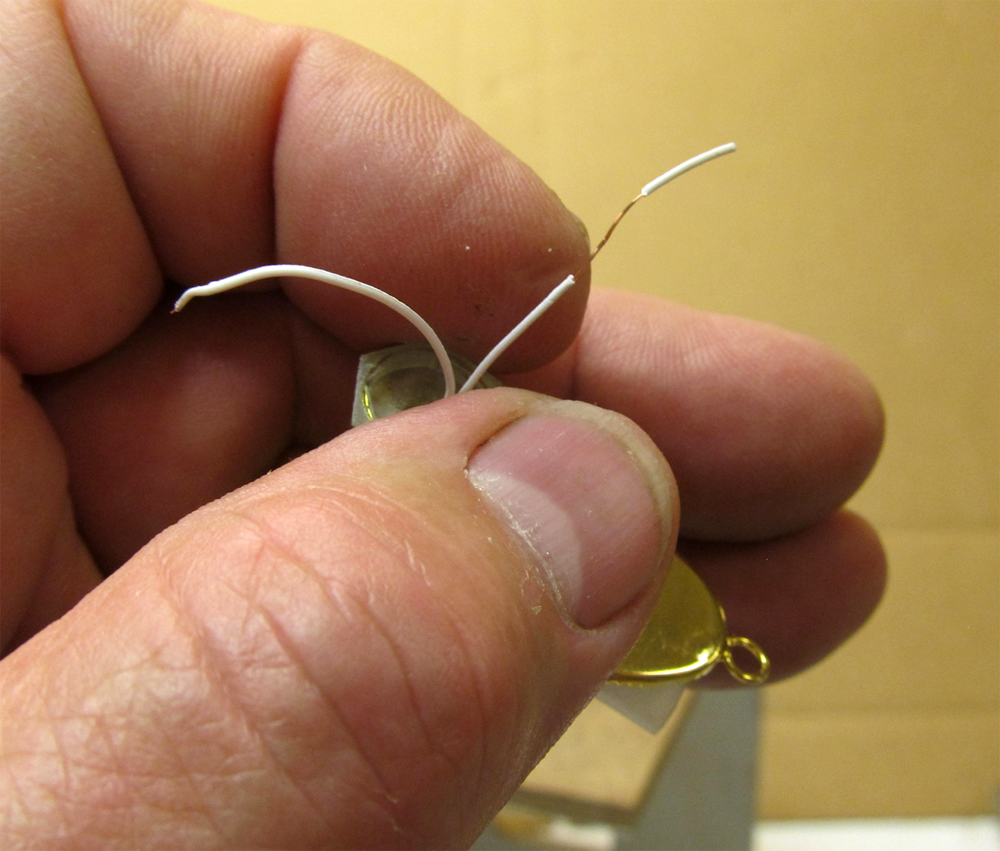
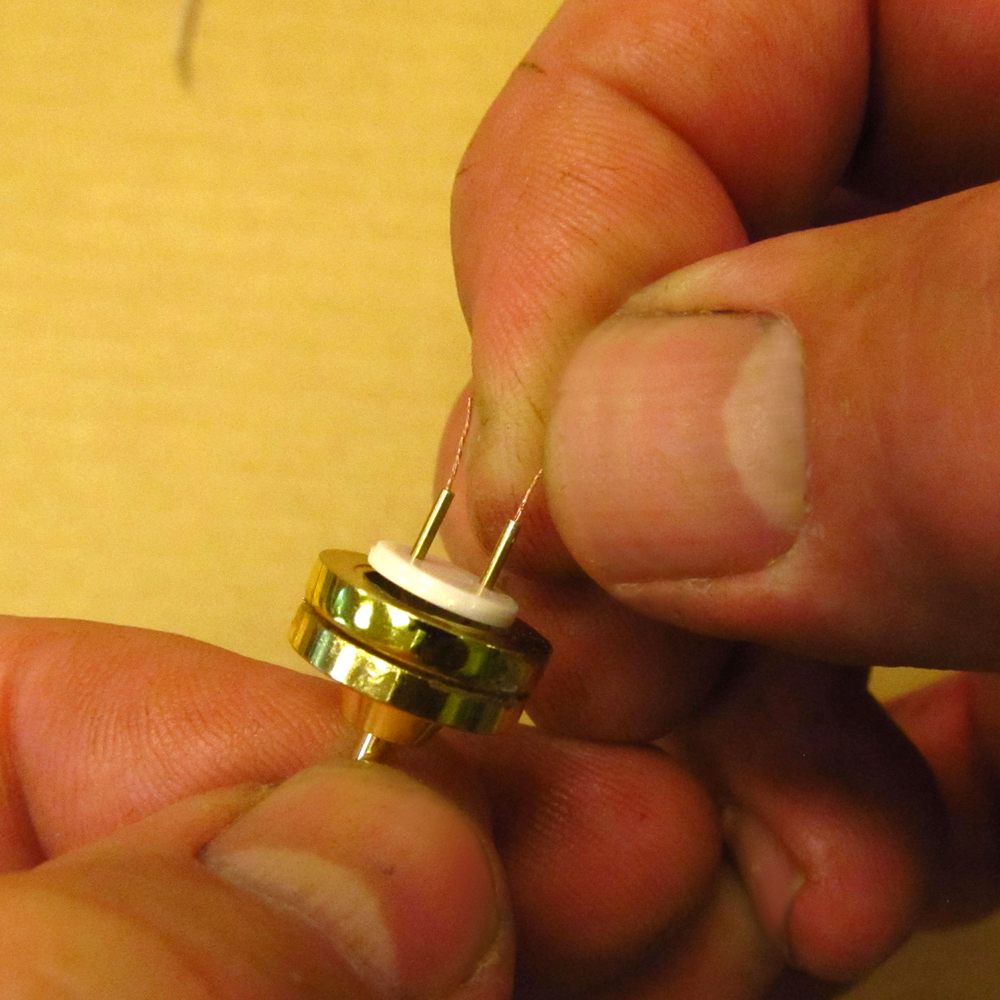
 Same part - different fixture, but it shows the right step.
06D.png
Same part - different fixture, but it shows the right step.
06D.png
DHTMLGoodies.com
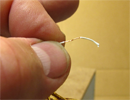
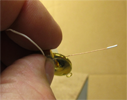
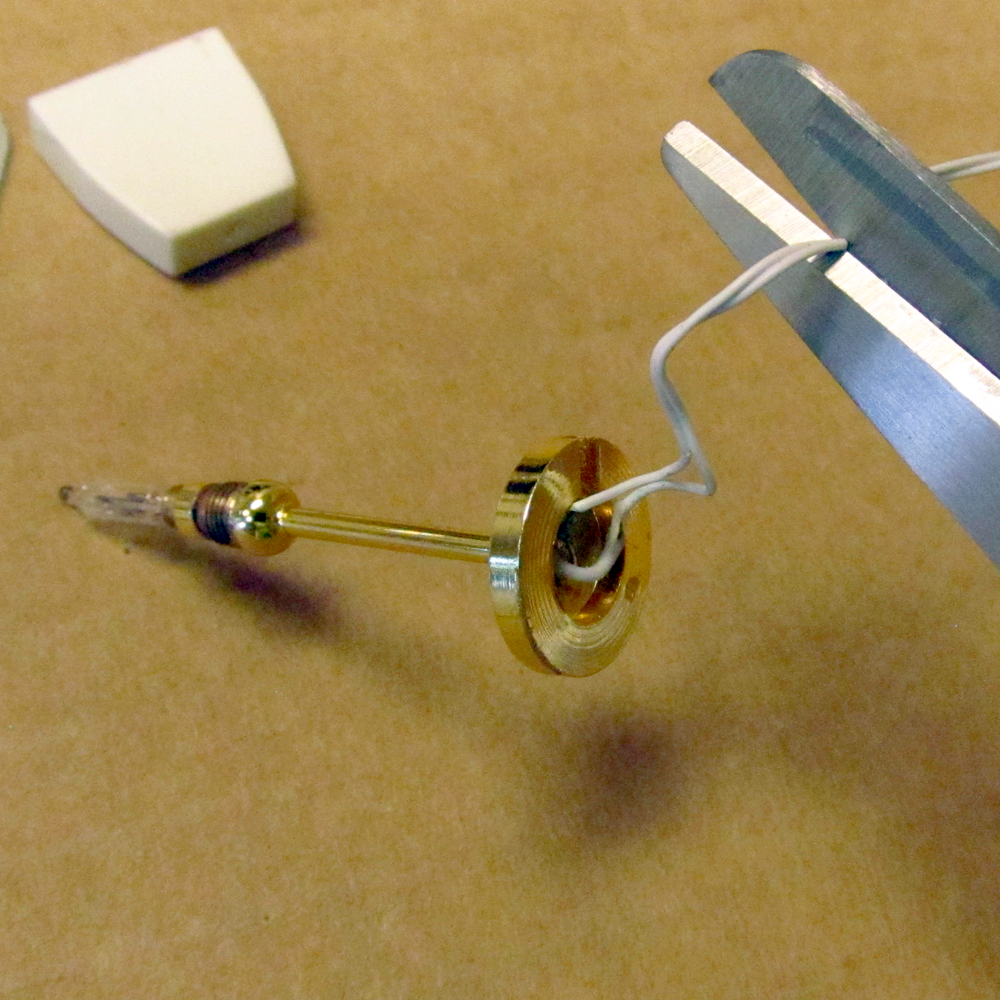
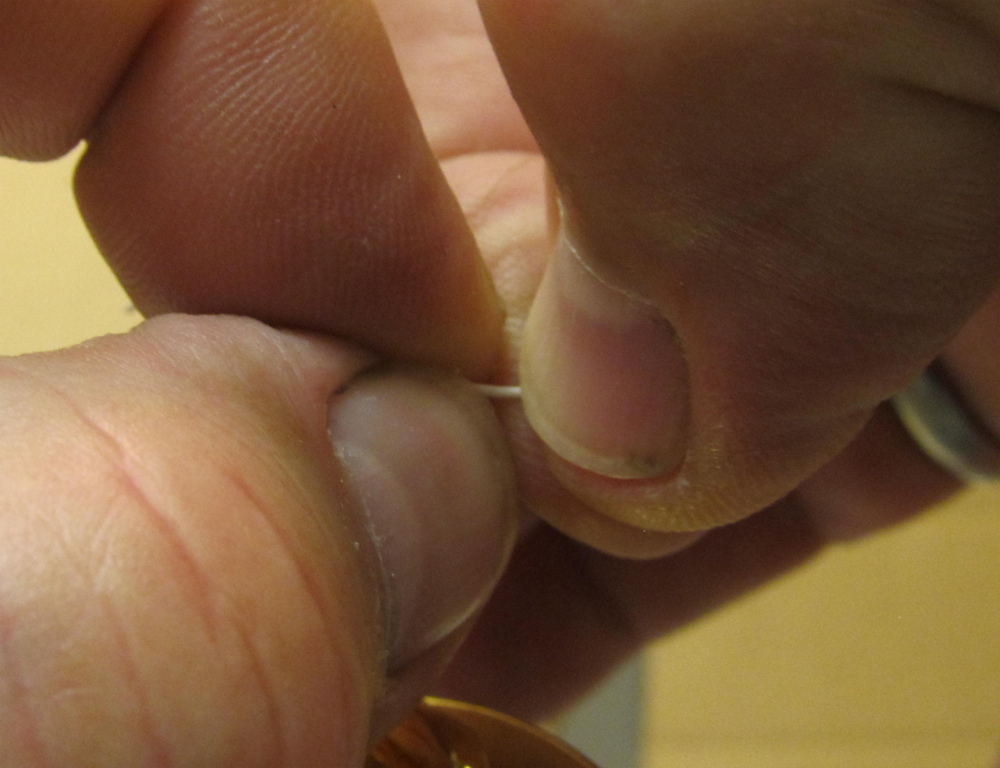
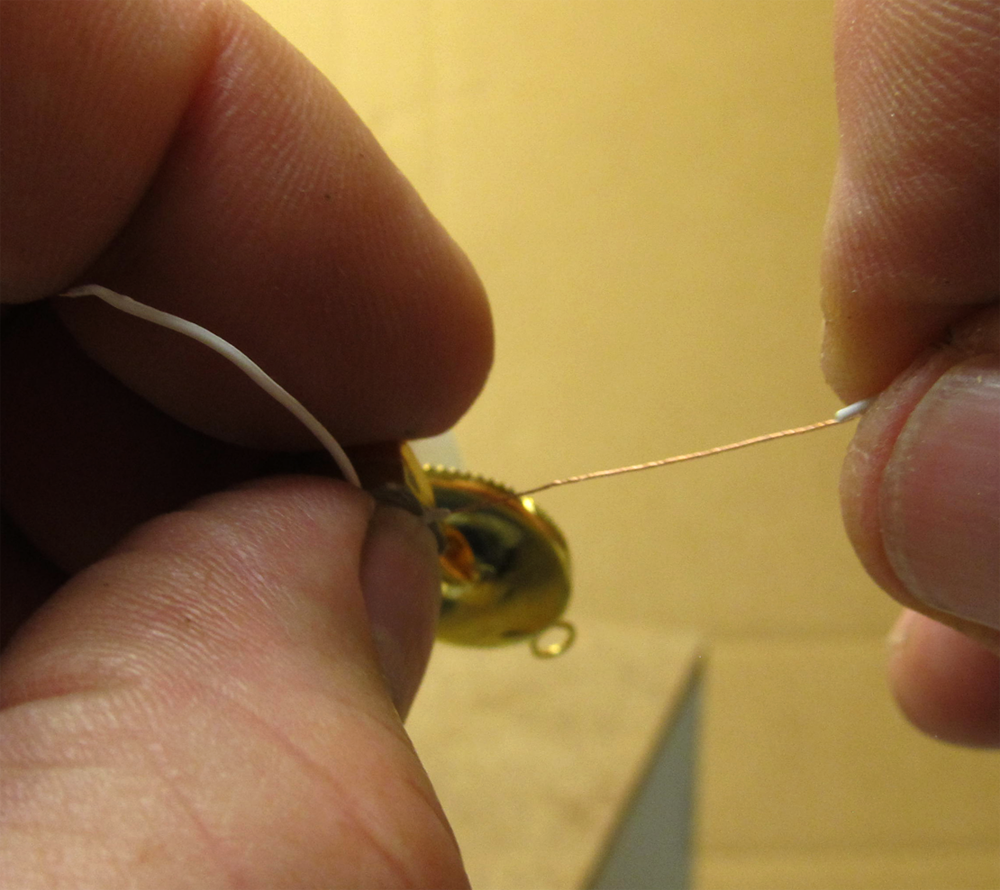
 Work on the wire a little bit at-a-time to keep forces gentle
09D.png
Work on the wire a little bit at-a-time to keep forces gentle
09D.png
DHTMLGoodies.com
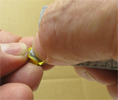
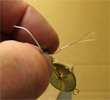
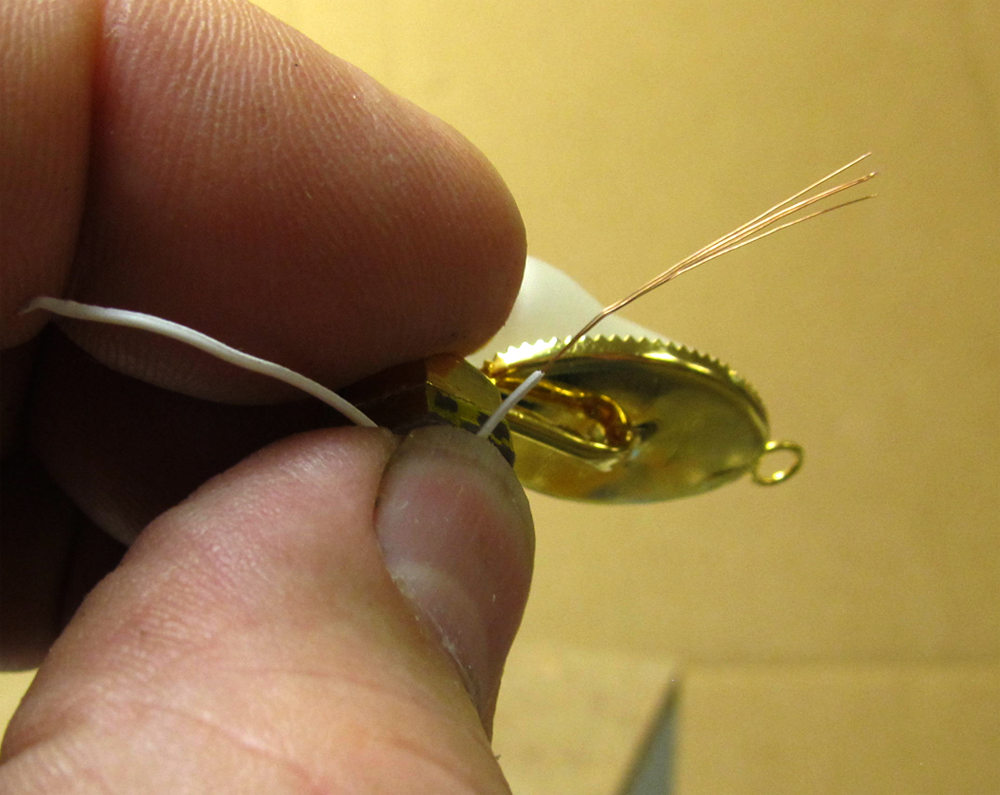
 Press the wire against the Adapter so you don't pull on the fixture at all
07D.png
Press the wire against the Adapter so you don't pull on the fixture at all
07D.png
DHTMLGoodies.com
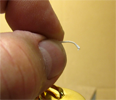
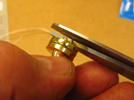
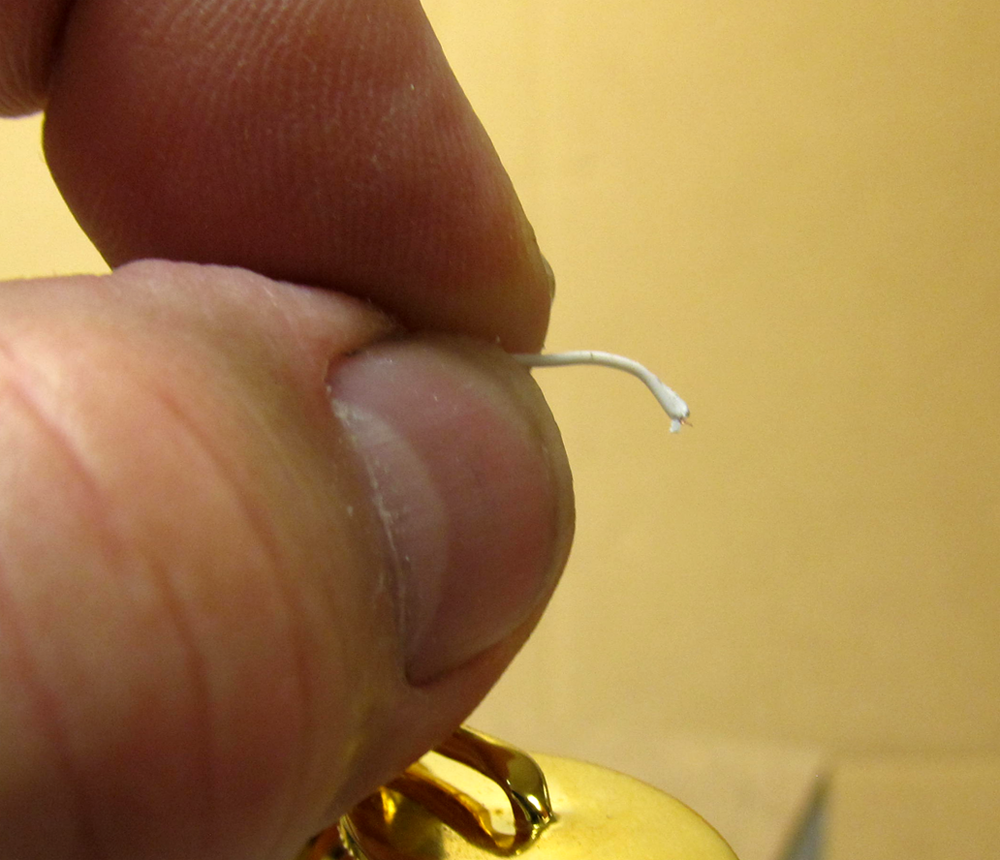
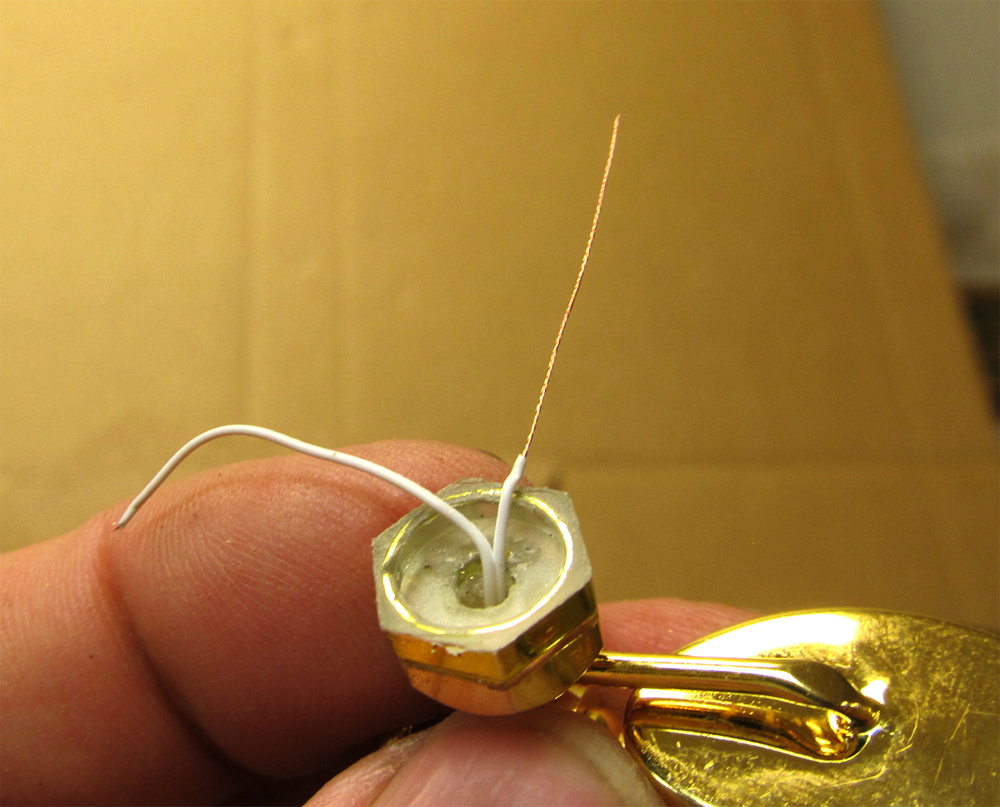
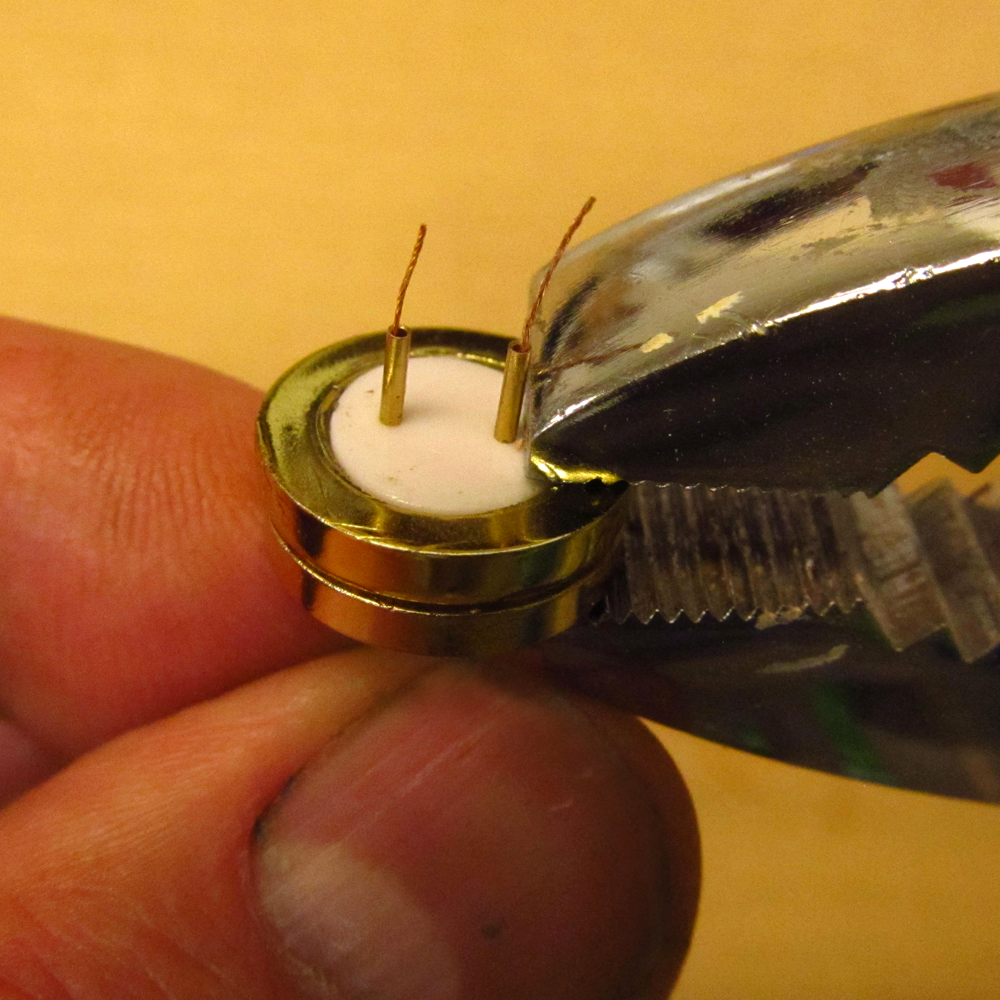
 ... pinch (separate a bit of the insulation - maybe 1/4 to 1/3 of an inch)
13D.png
... pinch (separate a bit of the insulation - maybe 1/4 to 1/3 of an inch)
13D.png
DHTMLGoodies.com
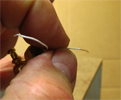
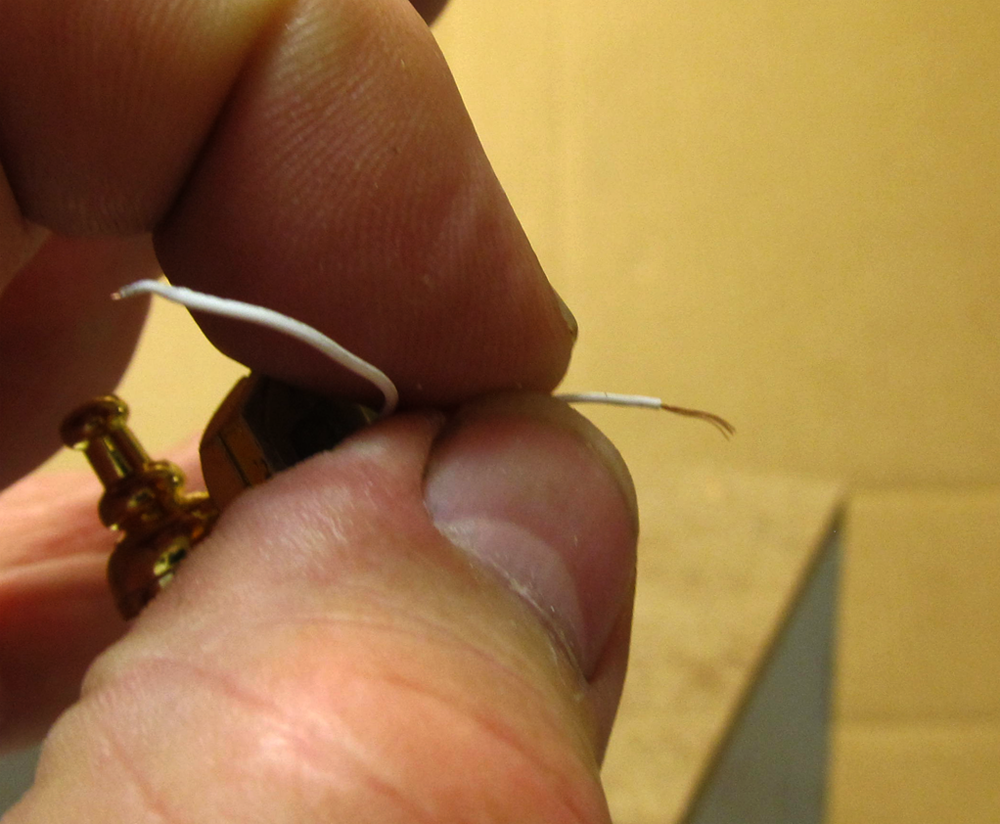
 ... because they show really well the "a bit at-a-time" series for taking off insulation
16D.png
... because they show really well the "a bit at-a-time" series for taking off insulation
16D.png
DHTMLGoodies.com
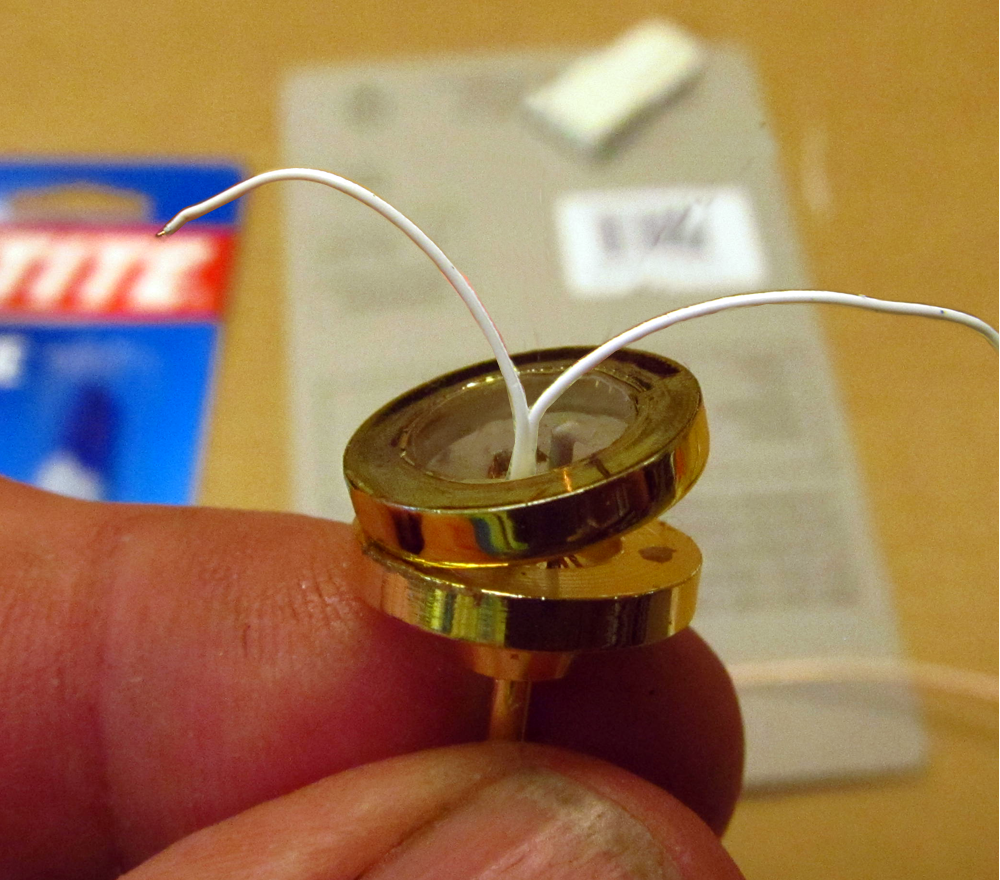
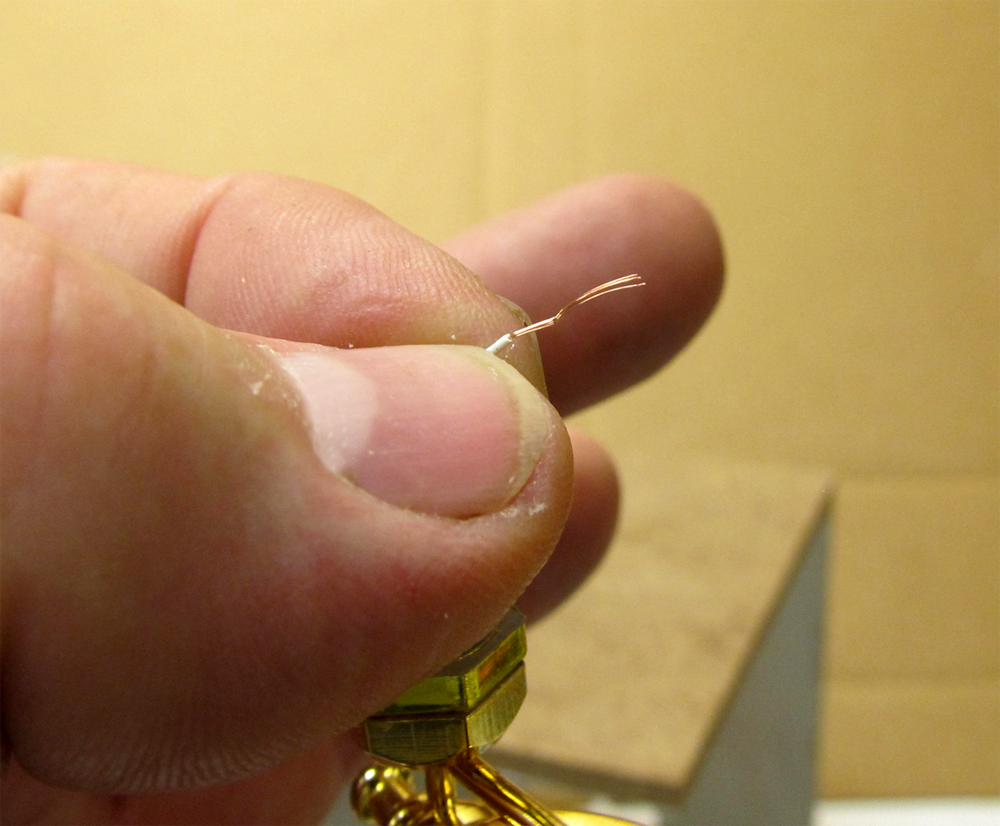
 Twisted and trimmed - now they can be inserted into the tubes
21D.png
Twisted and trimmed - now they can be inserted into the tubes
21D.png
DHTMLGoodies.com
 Pull the wires so the insulation will come up to the back of the tubes
22D.png
Pull the wires so the insulation will come up to the back of the tubes
22D.png
DHTMLGoodies.com
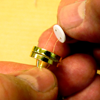
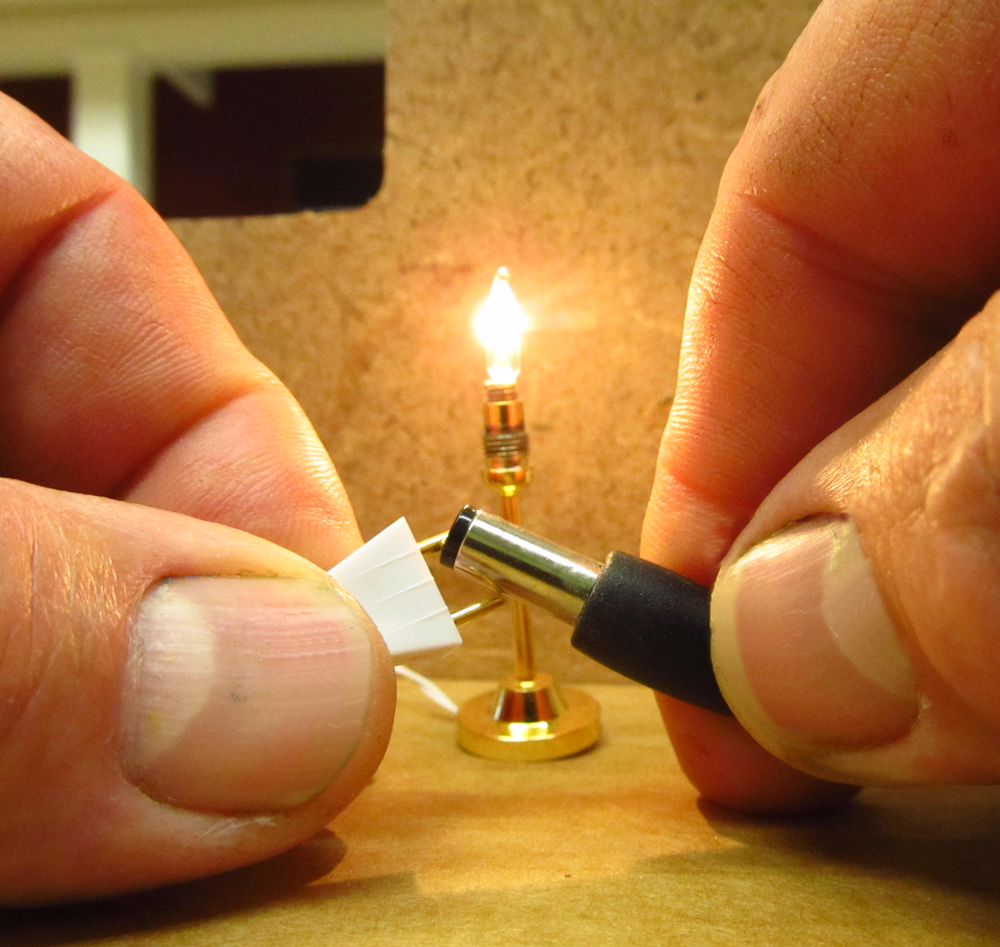
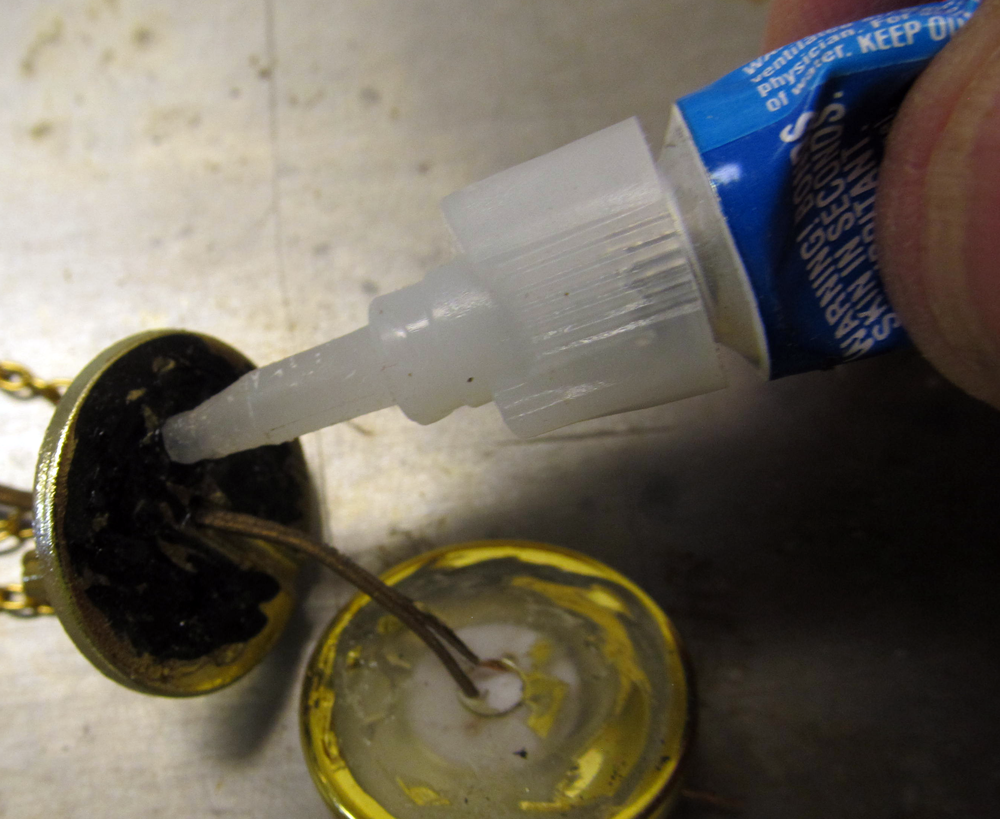
 Test the light now, then squeeze the backer into the adapter
23D.png
Test the light now, then squeeze the backer into the adapter
23D.png
DHTMLGoodies.com
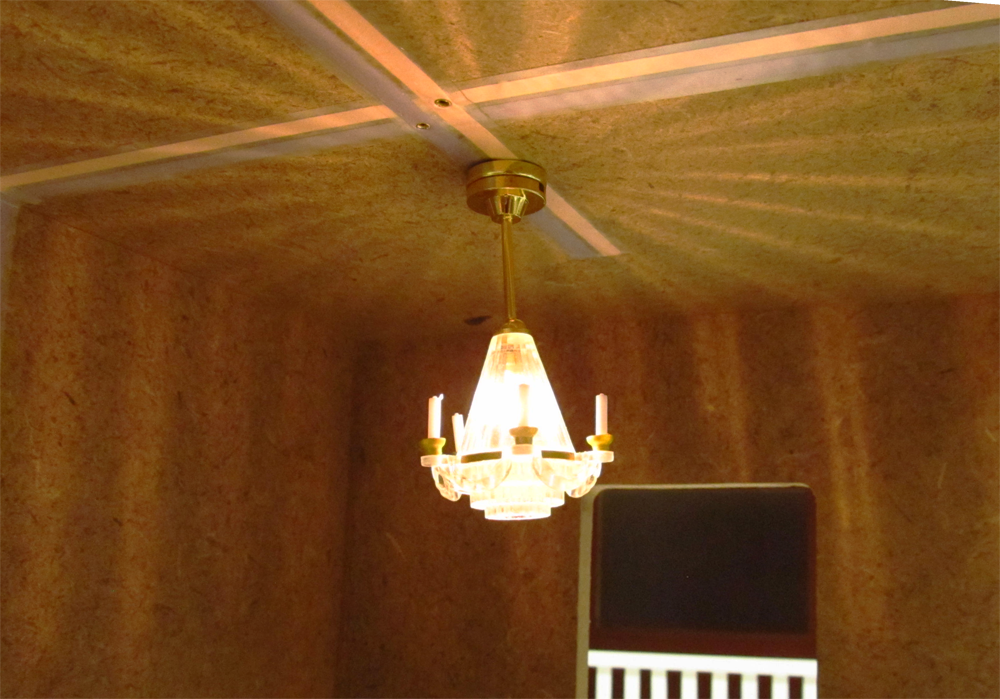
 The Tester sets the right spacing for the Spring-Loaded Eyelets
27D.png
The Tester sets the right spacing for the Spring-Loaded Eyelets
27D.png
|
  |
| Spring Loaded Eyelets: |
link |
| Best Practices and Tools |
link |
| CK3010 Candle Chandelier |
link |
| CK3378 Victorian Chandelier |
link |
| CK3384 Crystalene Chandelier |
here |
| CK3717 Large Ceiling Light |
link |
| CK3718 Ceiling w/ cover |
link |
| CK3719 Ceiling w/ fluted shade |
link |
| CK3952 Fan |
link |
| CK4001 Sconce - oil lamp |
link |
| CK4003 Sconce - Up Tulip |
link |
| CK4009 Sconce - Candlestick |
link |
CK4153 Coach Lamp, Brass |
link |
| CK4157 Coach Lamp, Black |
link |
 |
- Test the light before you start (tighten bulbs if necessary)
- Re-test along the way
- Inspect the fit of the adapter to know how much lacquer to sand
- Complete the plug before gluing it on
- Pinch the insulation off a bit at-a-time
- Spin the last insulation bit as you pull it off to twist the wire
|


