 |
 |
 |
 |
 |
 |
 |
|
|
|
|
|
|
|
|
Real Good Toys "JM" Series Houses This collection is still under construction. |
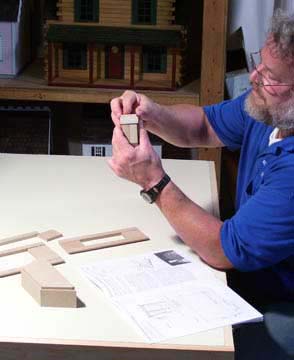 This is possibly the most important step in building any dollhouse. The builder is reading the instructions and trying the pieces. This step is valuable for becoming familiar with the parts, getting the parts grouped for assembly and painting, and finalizing a plan for paint and exterior details. Skipping this step is a mistake for beginners and experienced builders alike |
||
| Clicking on a link opens a new window - you can drag the edges to re-size it When you come to the end of a gallery group, close the window |
|||
| Setting up a workspace | ||||
| Parts identification and organization, 1065 example applies to all | Measuring tutorial | |||
| JM401 | JM401 Wiring | Paint and assemble Railings: 975, 1065 | ||
| JM907 with wallpaper, baseboard & crown molding, and landing rails | Flooring and floor finishing all | |||
| JM907 wiring | Dye or Stain Shingles, all | |||
| JM907 Foundation | JM907 Top Floor | Assemble Windows | ||
| JM907 Roofs | JM907 Shingling | Window Panes and Interior Frames : JM159, JM401, JM907 | ||
| JM975 Assembly | Shutters: JM1065, JM401, JM907, JM33, JM44, JM122 | |||
| Bruce's JM-975 | Draw Shingle Guidelines: 1065 example applies to all | |||
| JM-1065 Building the Victoria's Farmhouse | Shingle the Roof: 1065 example uses half flashing | |||
| Valley Shingle Slideshow Vt Farmhouse example applies to all | ||||
| Link to Real Good Toys' Instructions | ||||
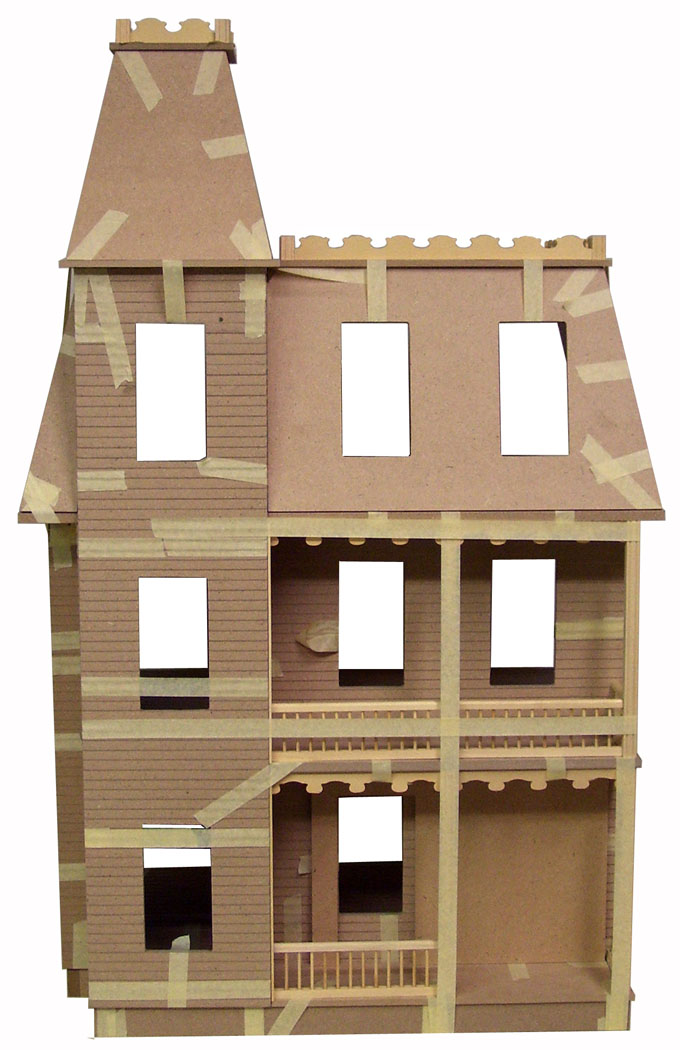
These test assemblies were done for parts-checking; they are not painted or glued, and are not necessarily in the order of the instructions, but the photos are useful for parts identification and orientation |
||||
test assembly of a JM44  |
test assembly of a JM159 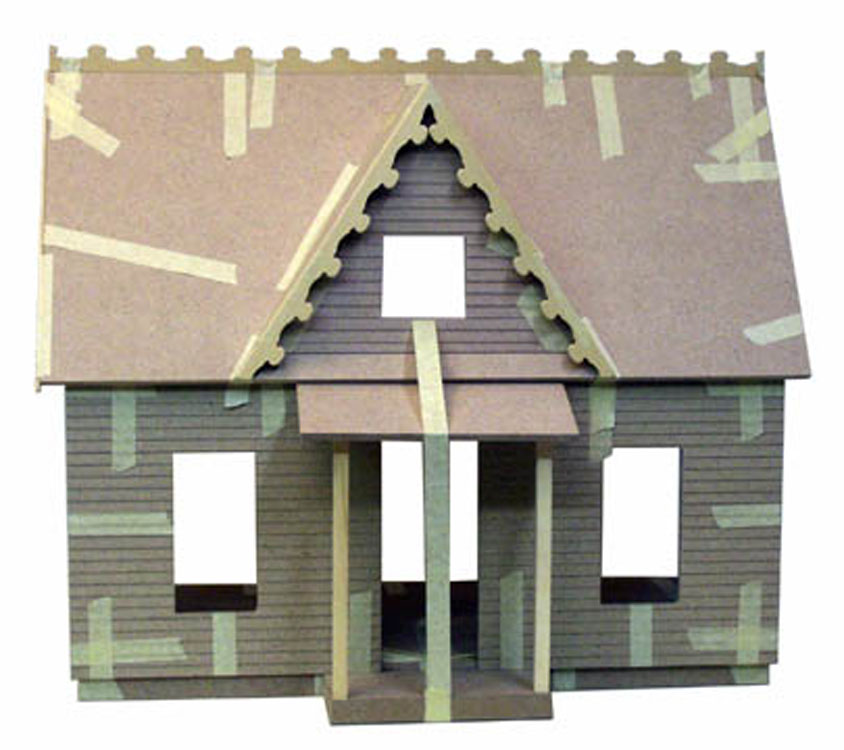 |
test assembly of a JM401 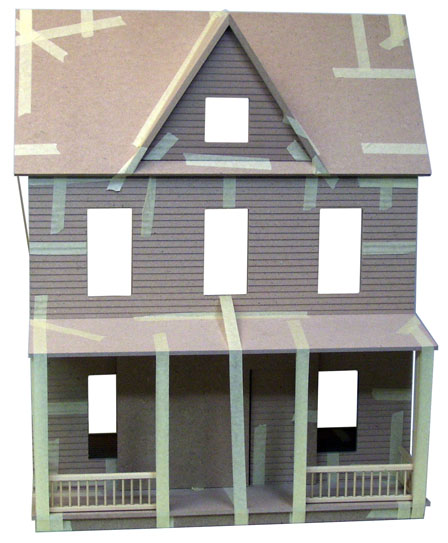 |
 |
|