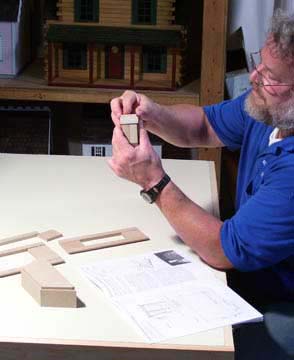
![]() |
![]() |
![]() |
![]() |
![]() |
![]() |
![]() |
![]() |
|
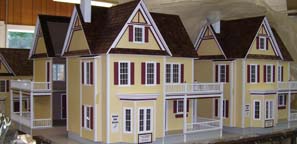
Any dollhouse is a dance between doing one step at a time and jumping ahead so you'll be ready with the parts when the house is ready for them. Use these pictures to surf the project so your build will make sense to you as it is under way. | |||
| Measuring and fractions | ||||
| Using a Tape Measure | ||||
| Paint and Assemble Rails | ||||
| Dye or Stain Shingles | ||||
| Assemble the Walls and Floors | faux-wood floor finish (YouTube video) | |||
| .Double Windows | Shutters | |||
Start dollhouse wiring now(see below) |
||||
| the FrontBay's "Bevel Guide" and Facia | ||||
| "Boston Lap" ridgecap | ||||
| Installing Dividers | Customizing Dividers | |||
Customizing |
Other "JM" Series houses, |
|||
| Dollhouse Wiring | Layout diagram for a Victoria's Farmhouse | |||
| Run tapewire before finishing construction | ||||
| Move a Window | Wiring phase 2 (more in the attic) | |||
| Attic Paint or Wallpaper | Finish the Attic | |||
| Making Eyelet Connections (YouTube video) | ||||
| Wallpaper | Fixtures | |||
| The Stairs | Using the 4017 Stairs | Interior Doors and Window Trim | ||
| Custom Bathroom Dividers | Wiring the Bathroom | |||