Identify Parts #1 (Panels) (here)
Differentiate AccessBay similar parts
Identify Parts #2 (Boxes)
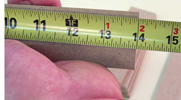
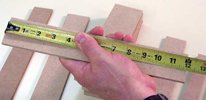
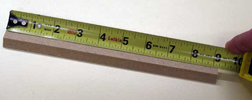
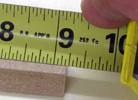
Measuring tutorial
Pre-Assembly (before painting)
Front Steps and Chimney
Bay Walls
Foundation
Floors
Shingle Lines
Wiring? start now
![]()
This slideshow illustrates
"Identify the Parts" on page 4 of the
newest instructions
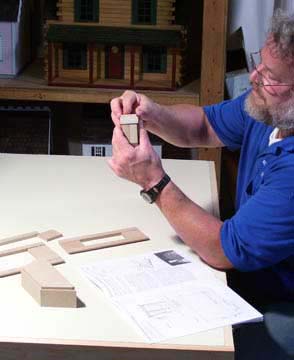
Get in Touch with the Parts!
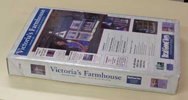
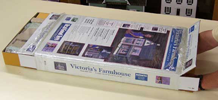
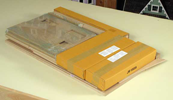
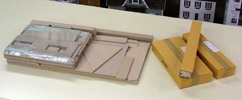
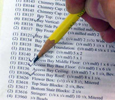
Identify, Label, and Check off the parts #1
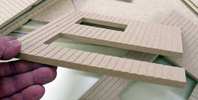 06. group together znything with a clapboard profile, and set it aside for now.
06D.png
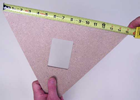
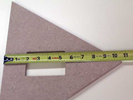
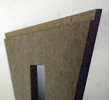
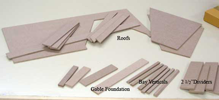
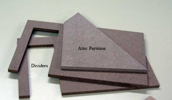
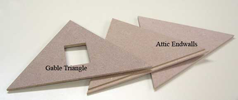 48. These are (1) Gable Triangle and (2) Attic Endwalls. I'll stack them together and mark them off the Parts List
48D.png
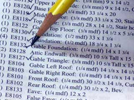
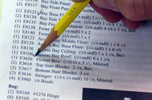
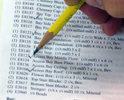
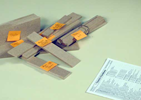
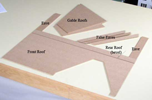
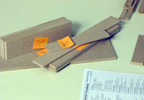 20. I will identify and check off all of the parts, and label them with post-its
20D.png
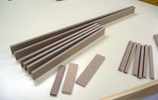
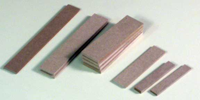
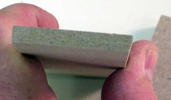
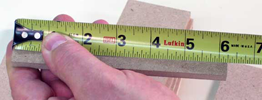
Panels Bundle Box Strips
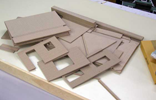
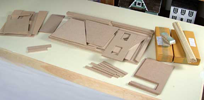
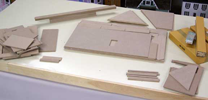
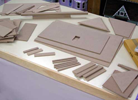
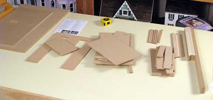
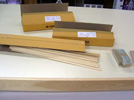
A: Go to the stationery store (Staples, Copy Center...) and get four of the boxes copy-paper comes in - they are different from other boxes... they have a lower carton and a lid, and the lid makes a dandy tray for managing loose parts and for painting parts too - very handy!. Set anything that is still in a bag into one of the boxes to be looked at later, and set it aside so you aren't looking at it now and can focus on what is left. Take the floors out of the pile... they are the hugest pieces, smooth, and two of them have stair holes. Stand them together up against a wall somewhere so you aren't looking at them now. Take everything that has a clapboard surface out of the pile and stack them in another box but out of the way so you aren't looking at them now. Now the pile isn't so intimidating, and you can get on with parts identification and inventory.
As you identify a part, put a sticky-note on it with its name from the parts list and group like-parts together but otherwise set them aside so you don't have to look at them again... each time something gets taken out of the 'pile', what's left is easier to sort through. Having the parts labeled gets them familiar to you and makes the name on your part the same as the name used in the instructions, which makes the instructions much easier to follow; it is a step that really helps with your enjoyment of the dollhouse-build journey. As you identify and label any part named "floor", put it with the floors that are leaning up against the wall. Anything named "roof", or "Eave" - stack together. Foundations: stack them together. Do that until all of the panels have been identified and labeled, then move on to what you set aside at the start.
Best wishes
