![]()
Identify Parts #1 (Panels)
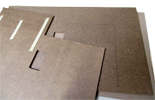
Identify Parts #2(Boxes)
Measuring tutorial
Pre-Assembly (before painting)
Front Steps and Chimney
Bay Walls
Foundation
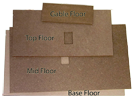
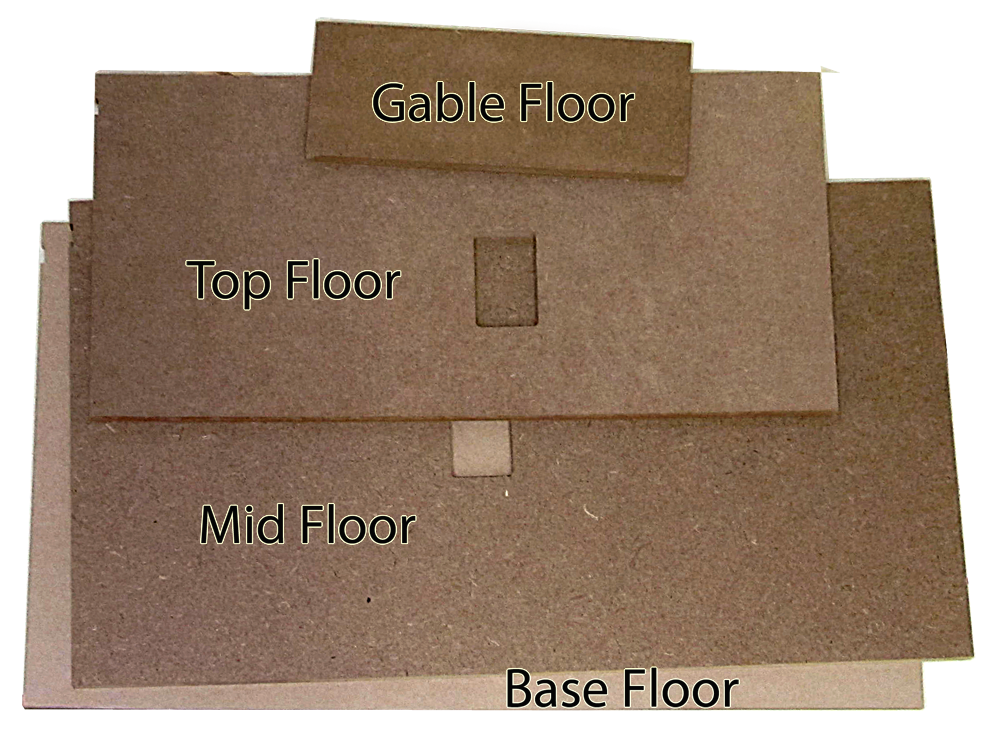
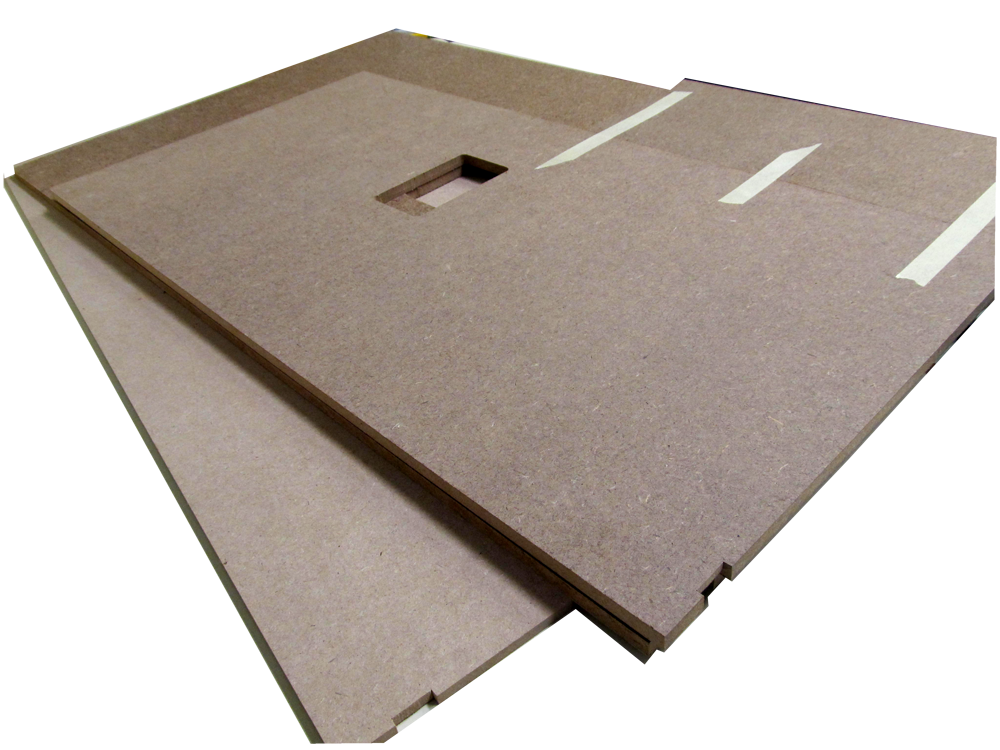
Floors
Shingle Lines
Wiring? start now
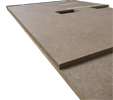
Faux-Wood Floor Finish
![]()
DHTMLGoodies.com
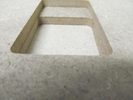
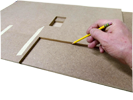
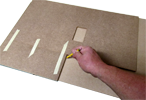
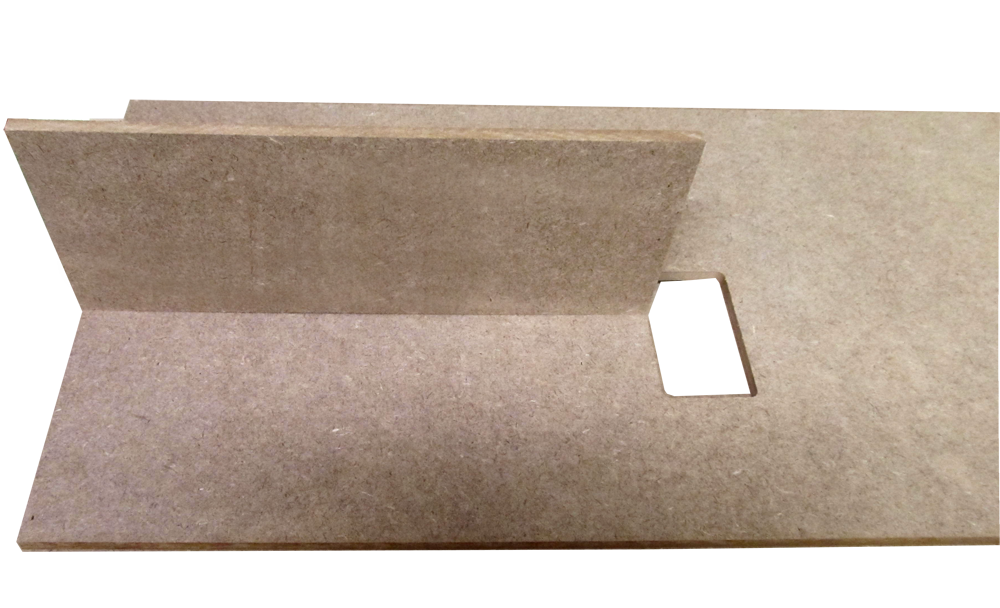
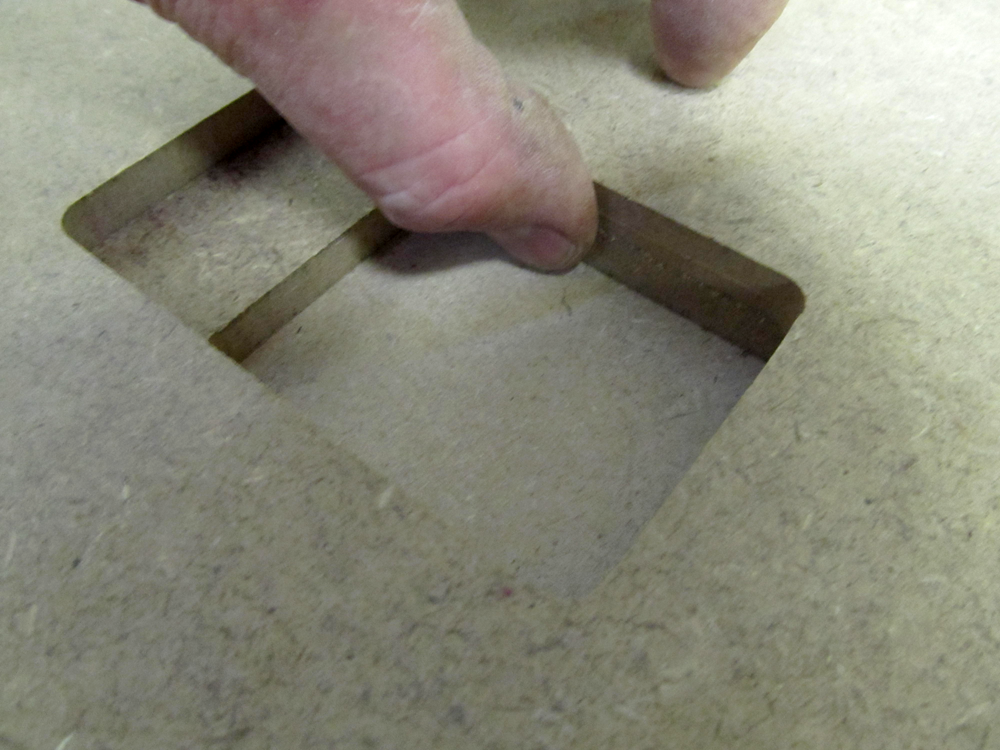
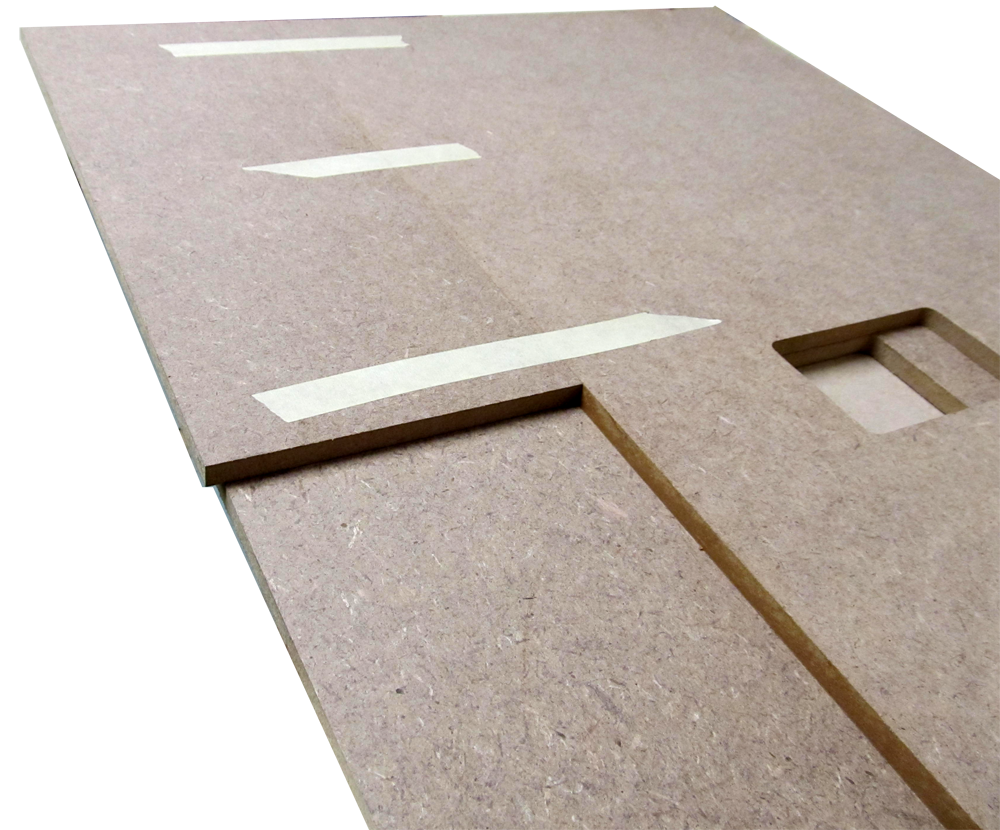
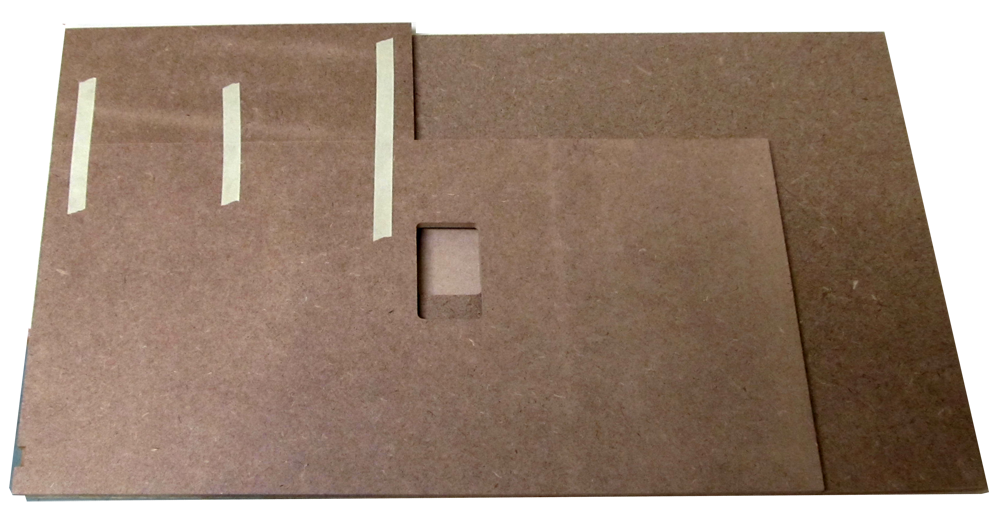
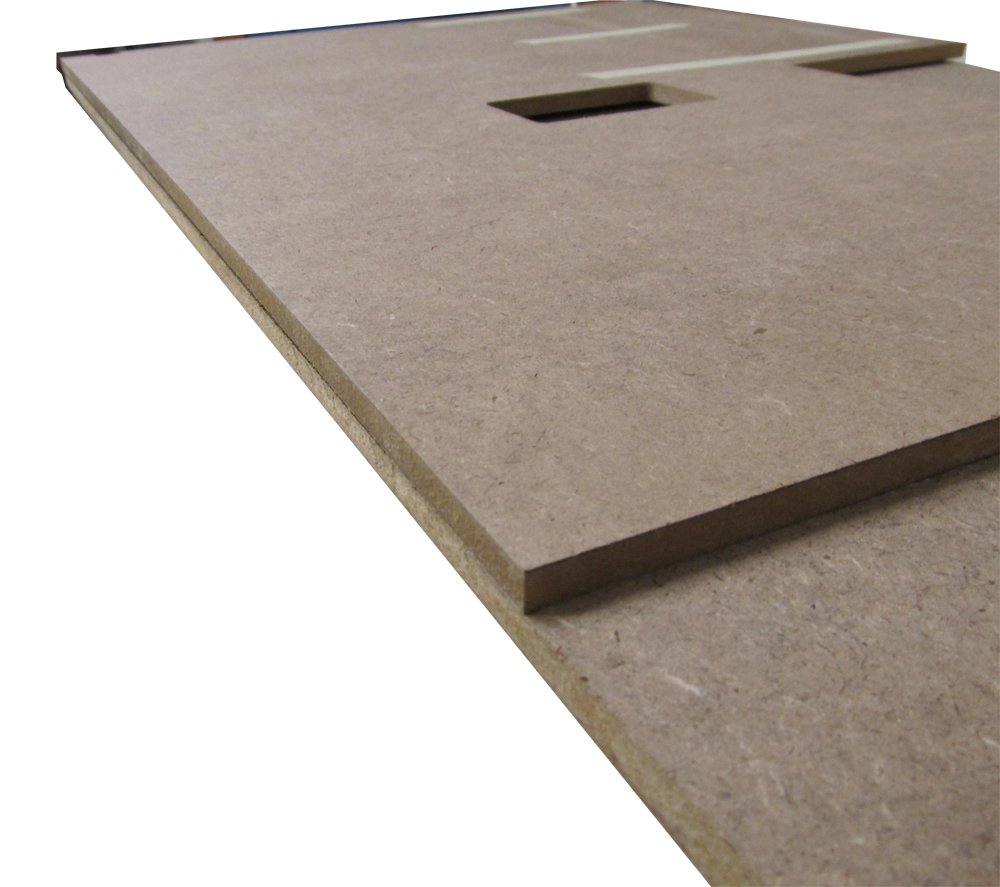
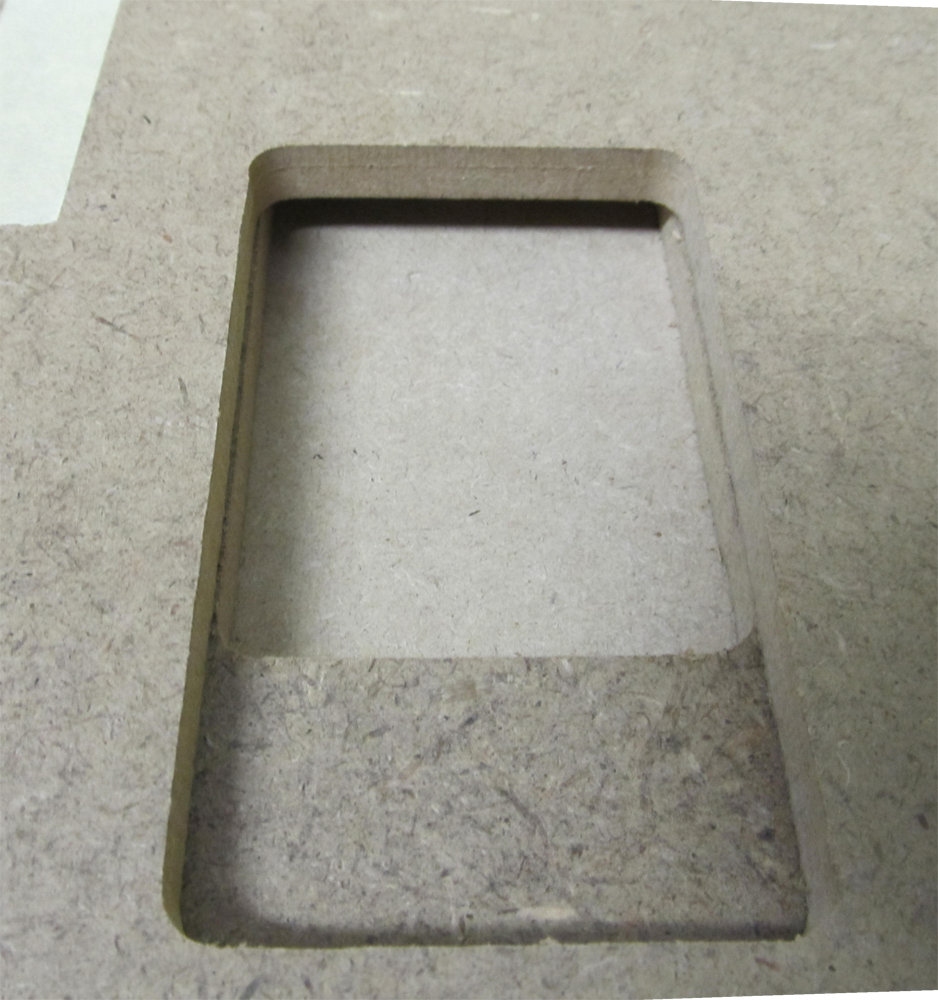
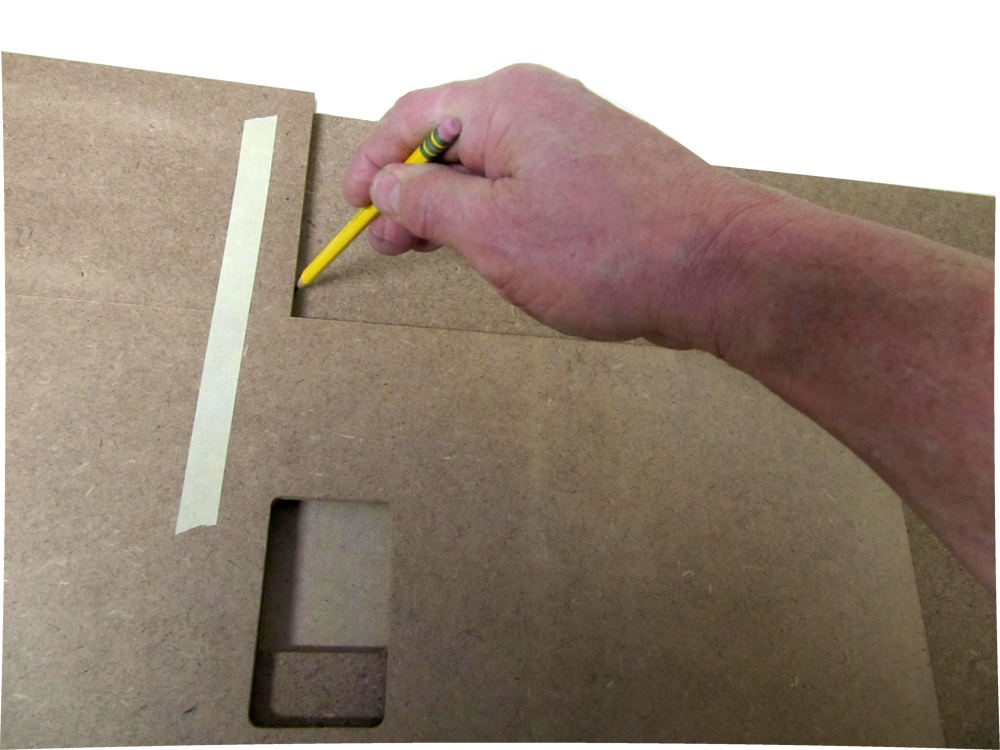
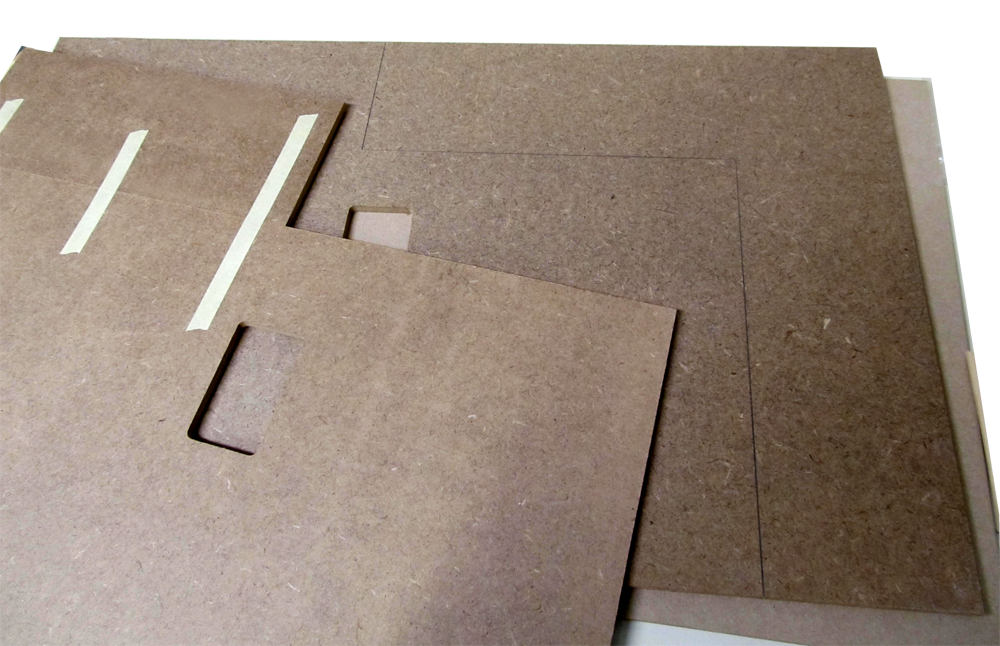
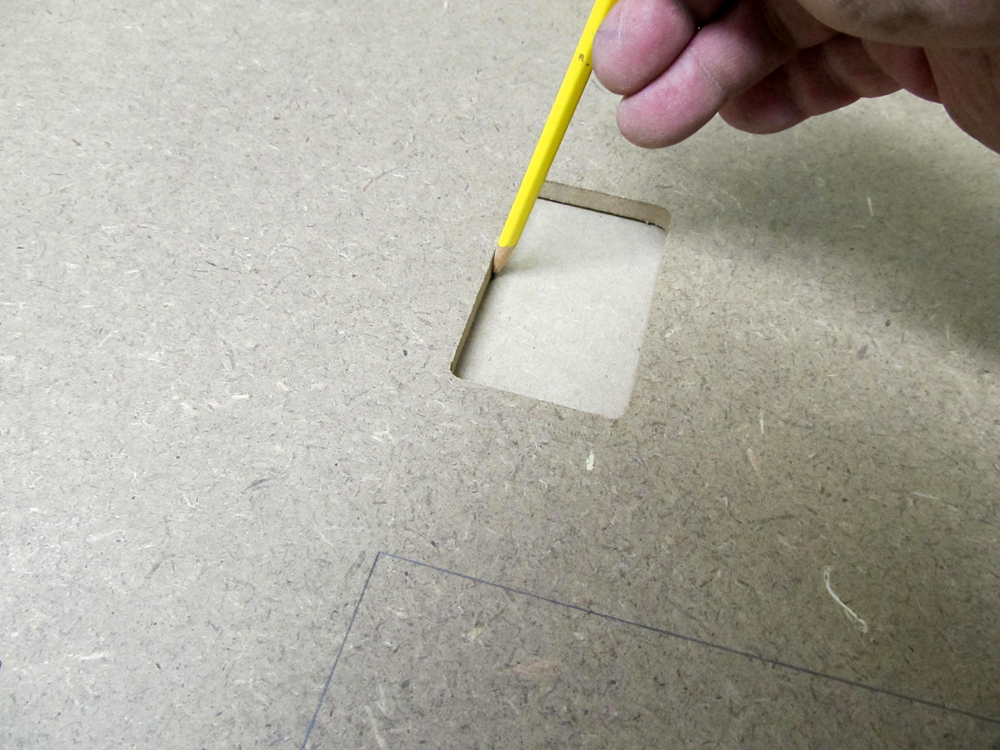
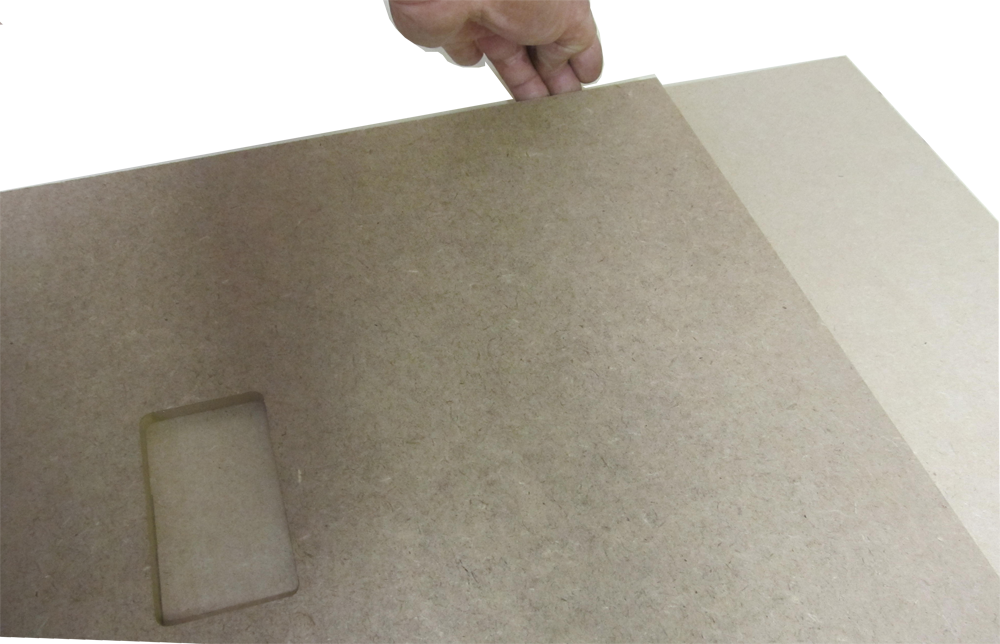
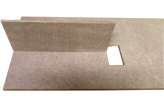 02. Top Floor's stair hole is closer to the front and fits the Gable Floor on the left
02L.png
02. Top Floor's stair hole is closer to the front and fits the Gable Floor on the left
02L.png
02. Top Floor's stair hole is closer to the front and fits the Gable Floor on the left
02L.png
DHTMLGoodies.com
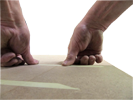
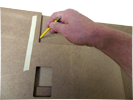
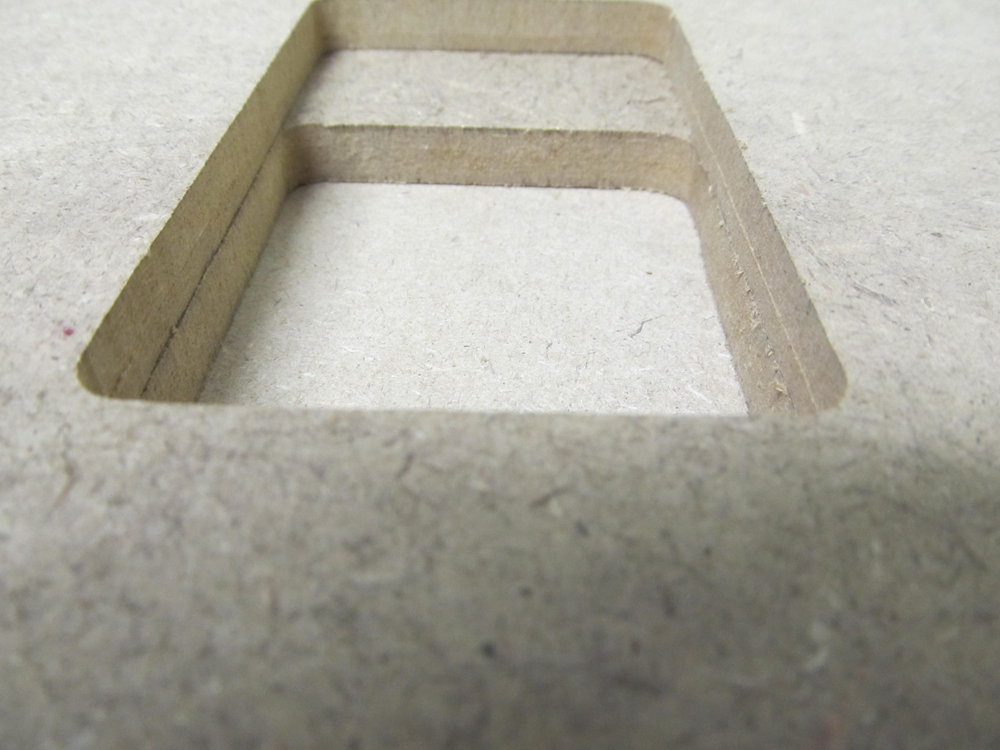
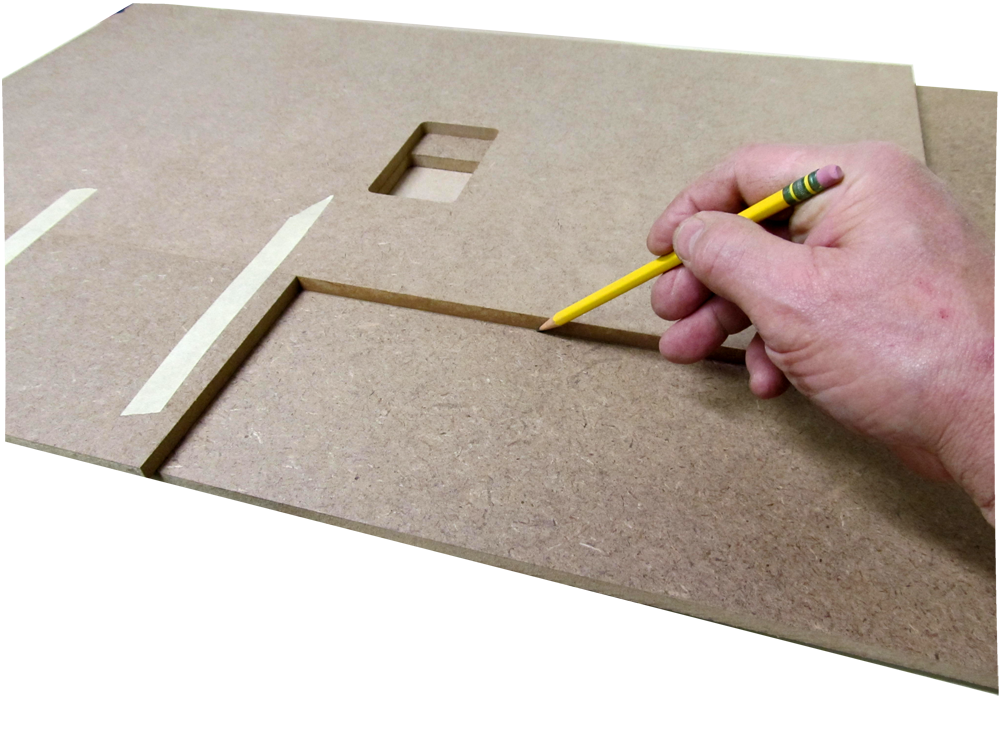
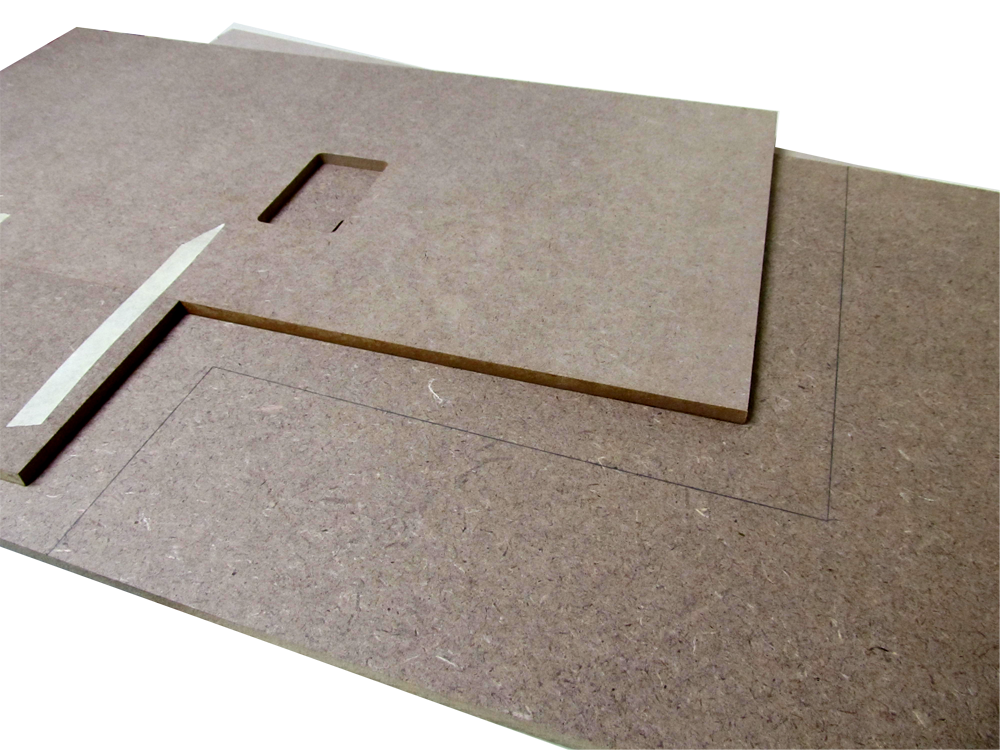
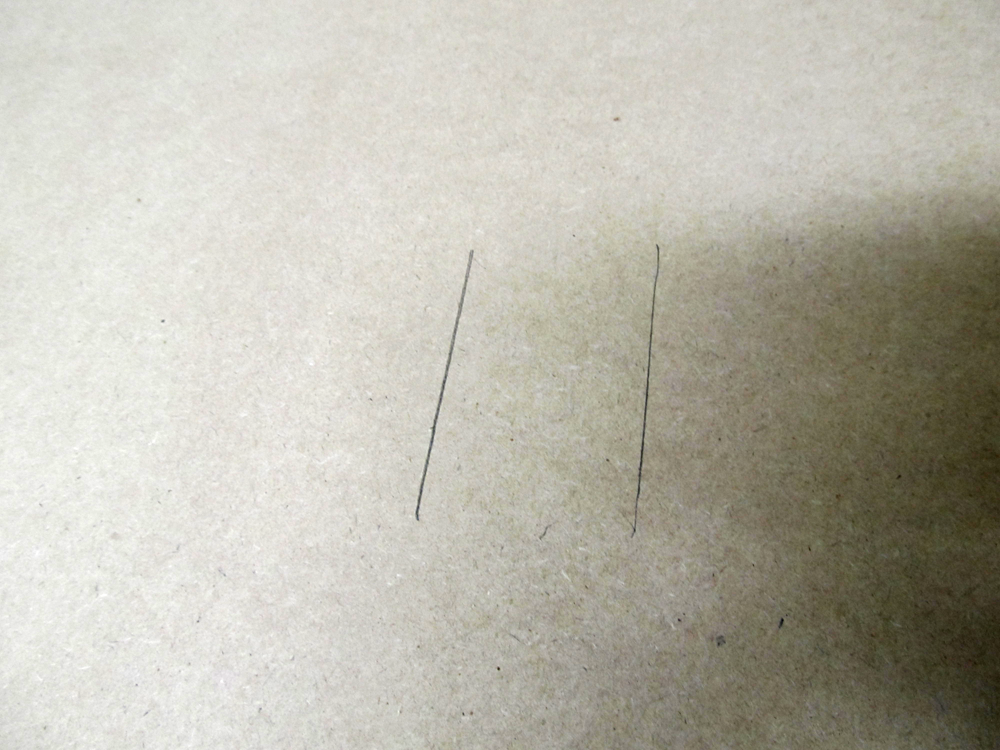
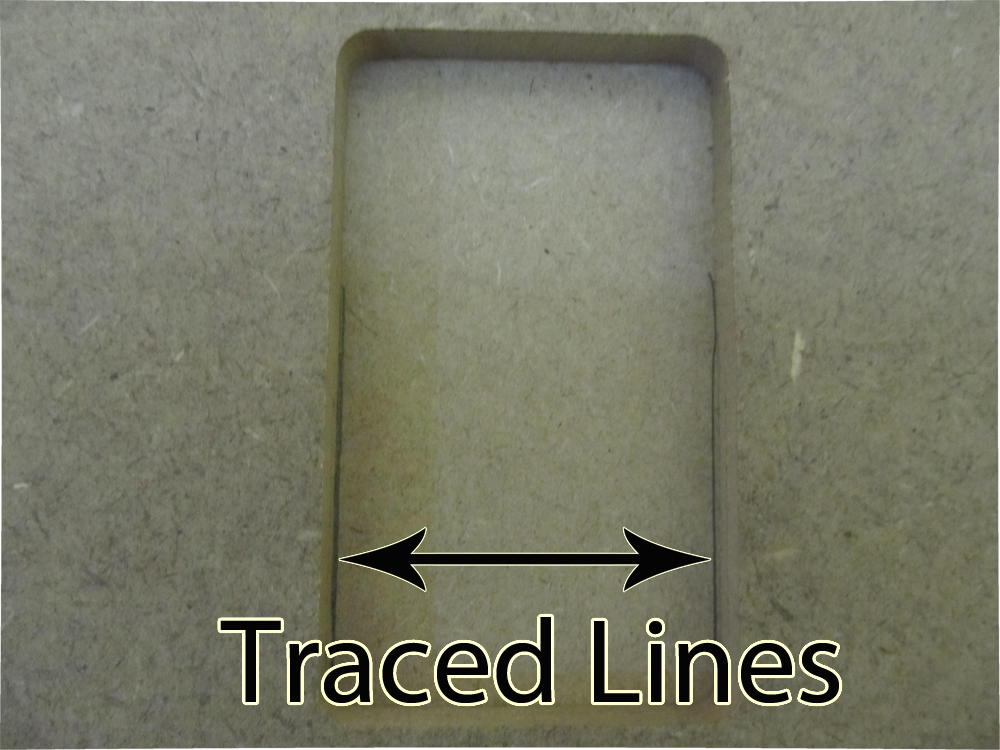
 03. It's right when the end of the Gable Floor lines up with the edge of the stair hole
03L.png
03. It's right when the end of the Gable Floor lines up with the edge of the stair hole
03L.png
03. It's right when the end of the Gable Floor lines up with the edge of the stair hole
03L.png


DHTMLGoodies.com
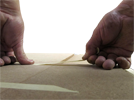
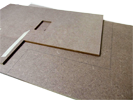
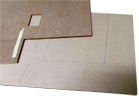
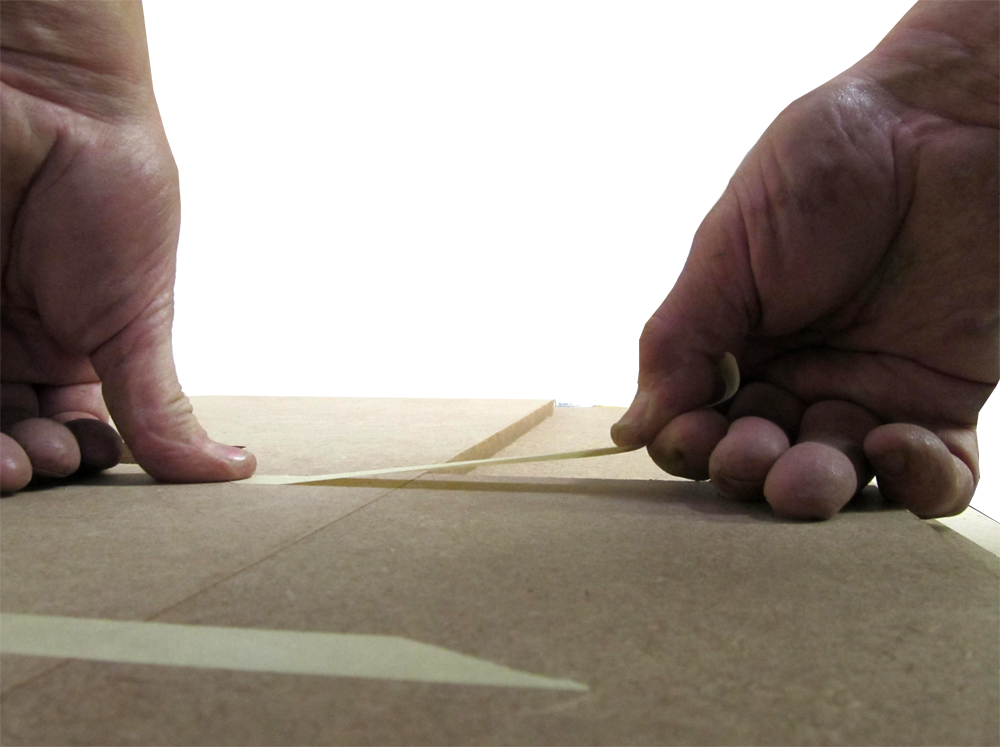
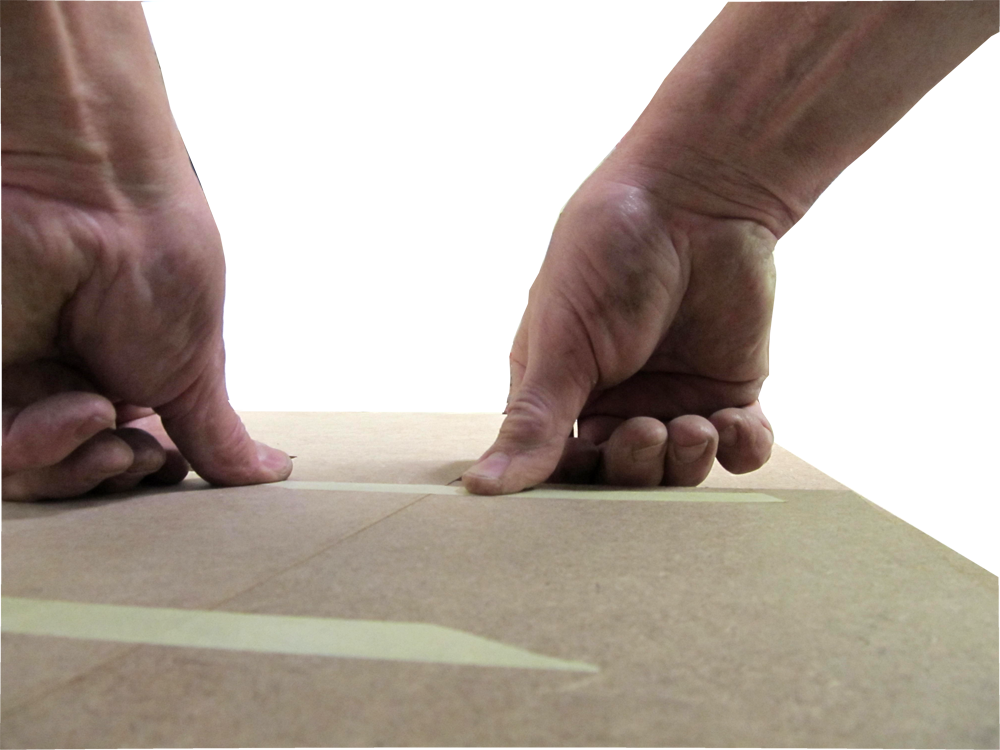
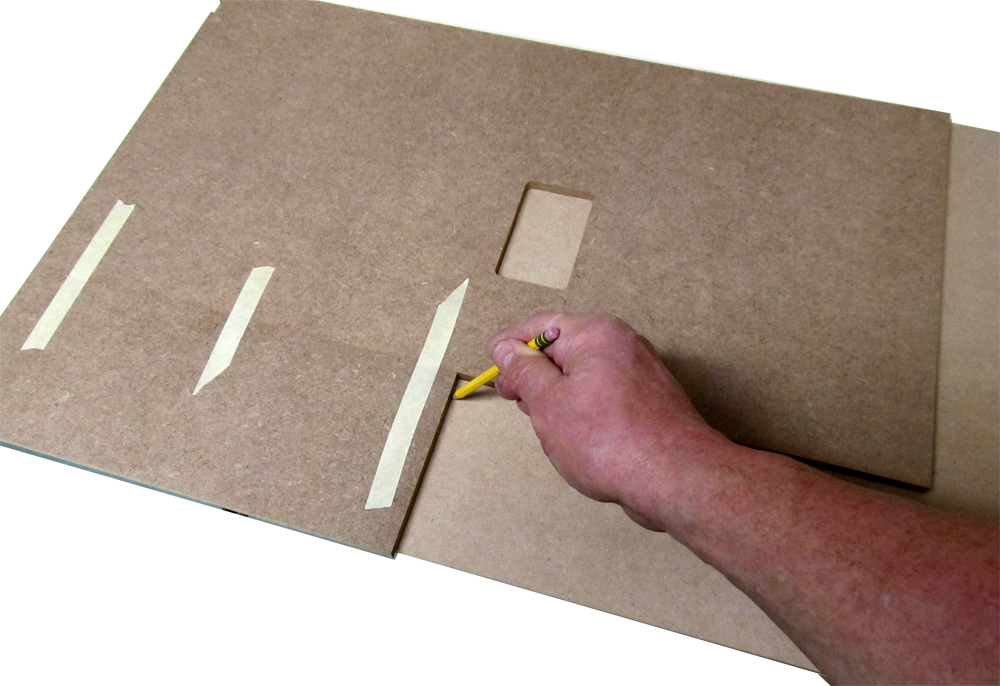
 17. This is the porch ceiling - make sure it lines up with the Balcony Floor
17L.png
17. This is the porch ceiling - make sure it lines up with the Balcony Floor
17L.png
17. This is the porch ceiling - make sure it lines up with the Balcony Floor
17L.png
DHTMLGoodies.com
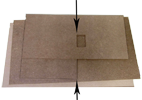
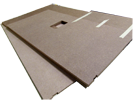
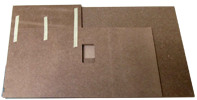
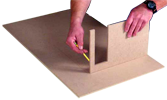
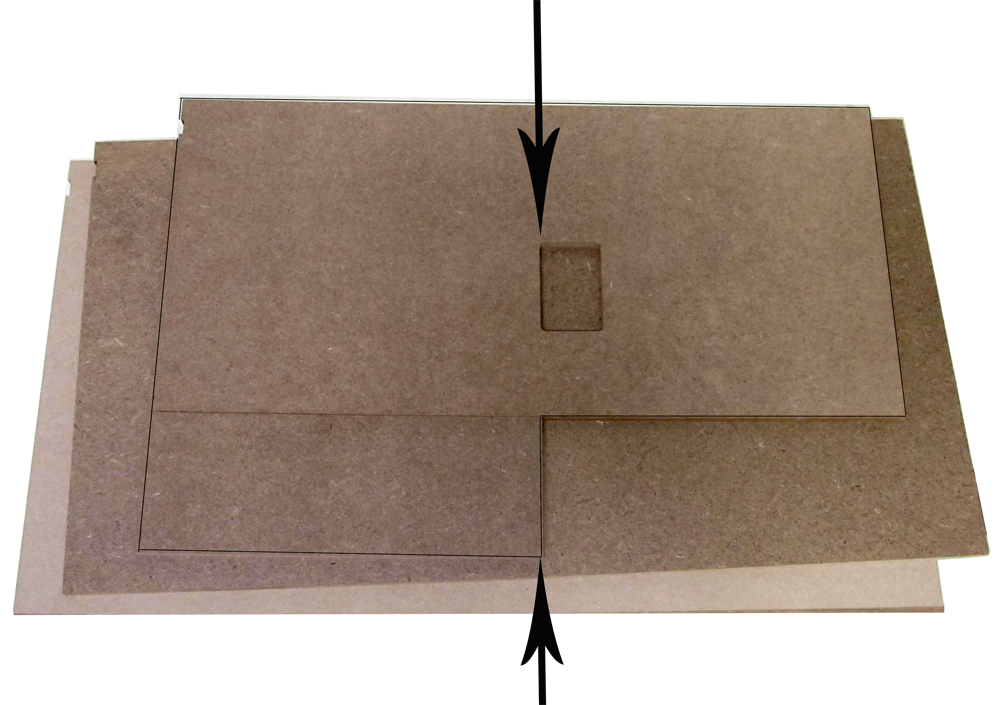
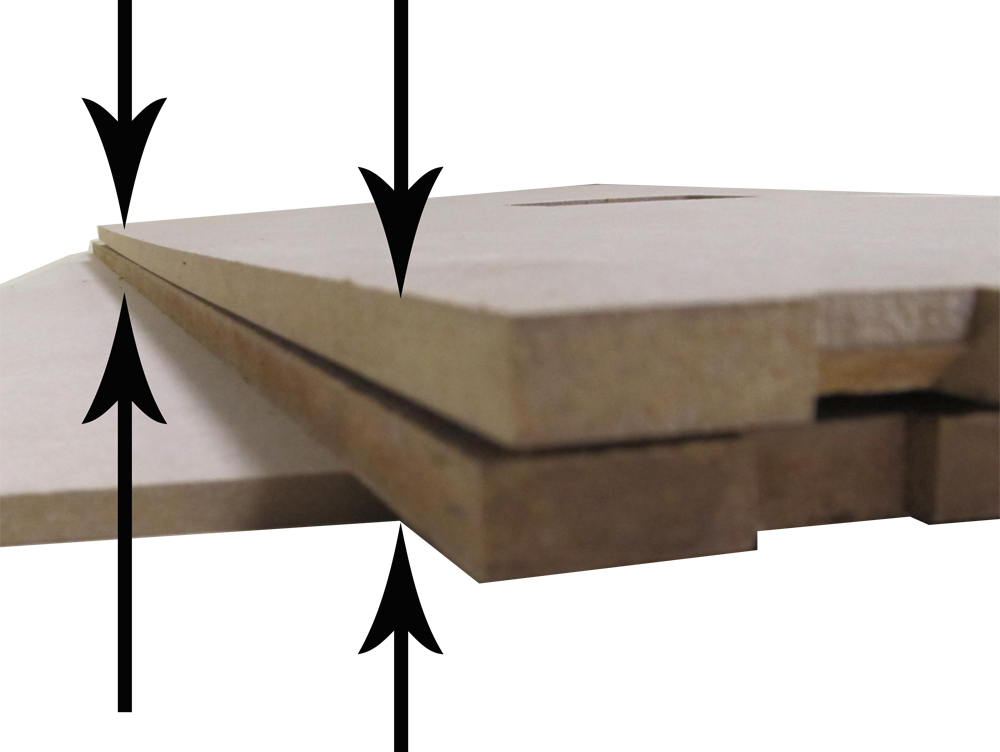
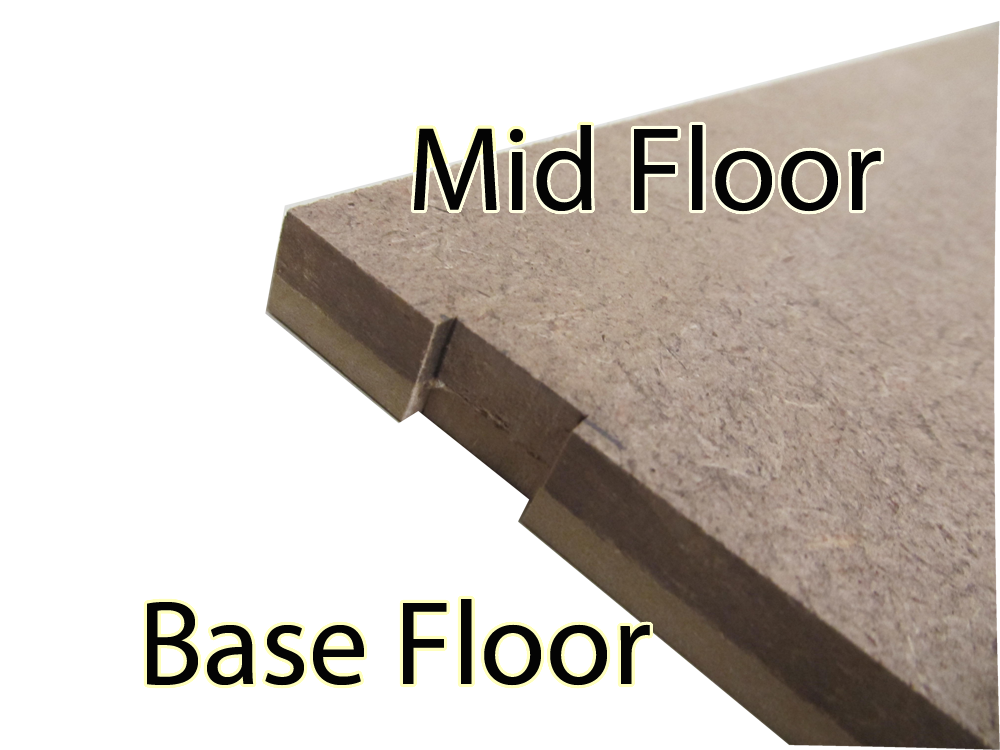
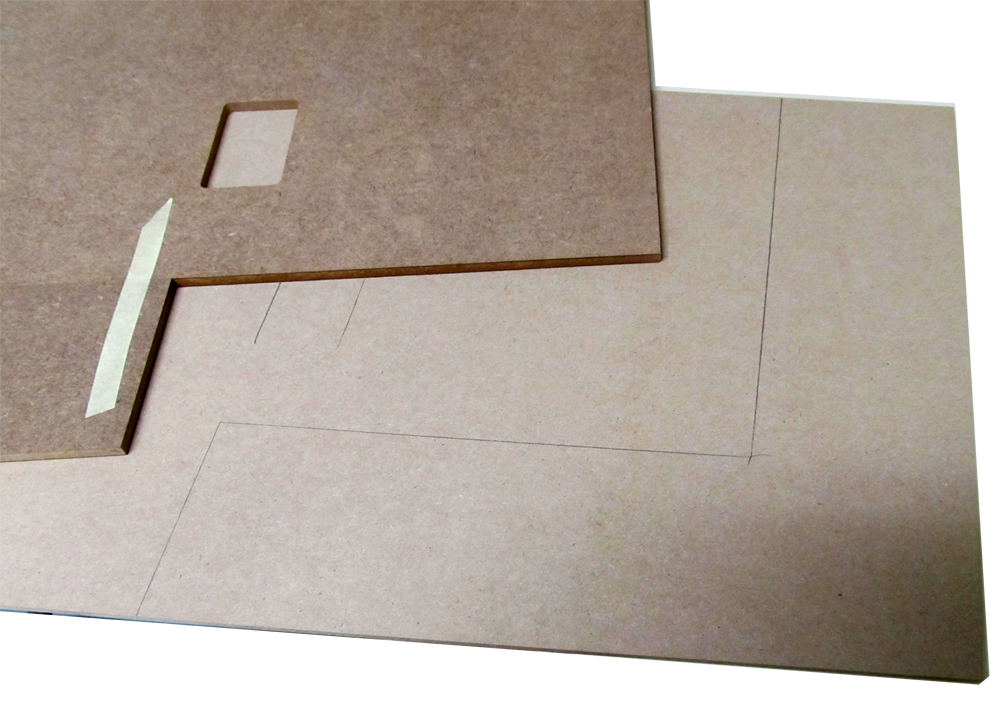
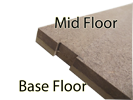 18. Set the Mid Floor (right-side-up) on the Base Floor, lined up on the edges
18L.png
18. Set the Mid Floor (right-side-up) on the Base Floor, lined up on the edges
18L.png
18. Set the Mid Floor (right-side-up) on the Base Floor, lined up on the edges
18L.png

DHTMLGoodies.com
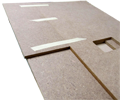
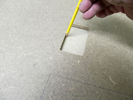
 28. Painted floors (and ceiling) - see also "Faux-Wood Floor Finish" at left
28.png
28. Painted floors (and ceiling) - see also "Faux-Wood Floor Finish" at left
28.png
 28. Painted floors (and ceiling) - see also "Faux-Wood Floor Finish" at left
28.png
28. Painted floors (and ceiling) - see also "Faux-Wood Floor Finish" at left
28.png
This slideshow supports and augments the instructions, but is not a substitute.