![]()
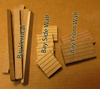
Identify Parts #1 (Panels)
Identify Parts #2(Boxes)
Measuring tutorial
Pre-Assembly (before painting)
Front Steps and Chimney
Bay Walls
Foundation
Floors
Shingle Lines
Wiring? start now
![]()
This slideshow illustrates
"Pre-assembly" step 3 on page 6
of the newest instructions
DHTMLGoodies.com
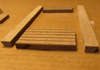
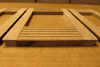
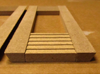
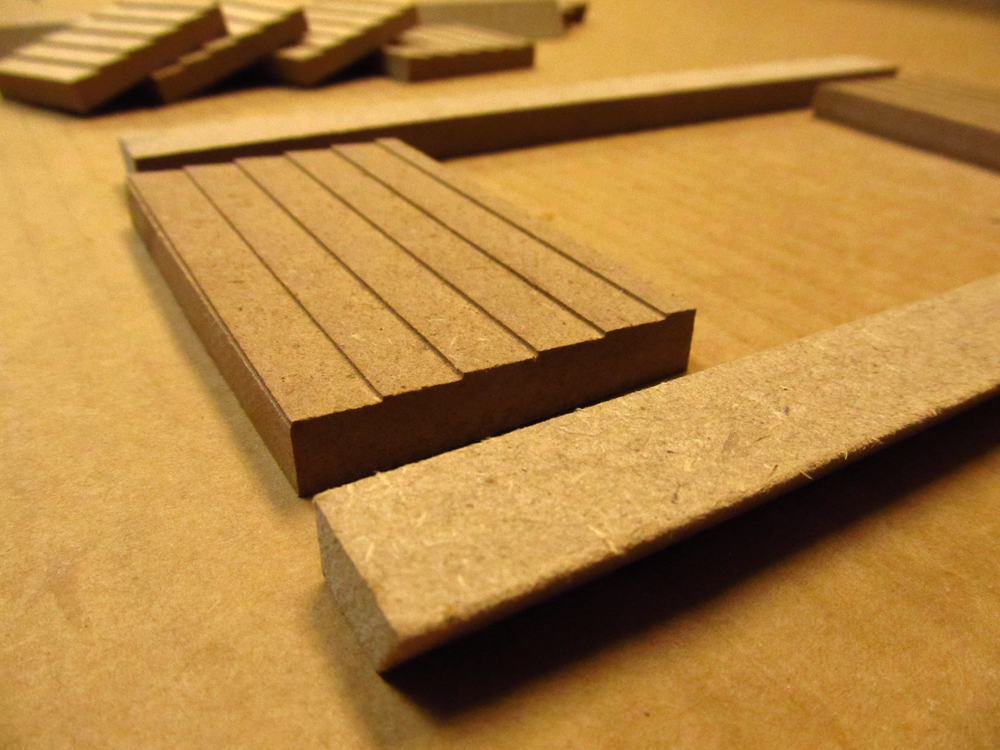
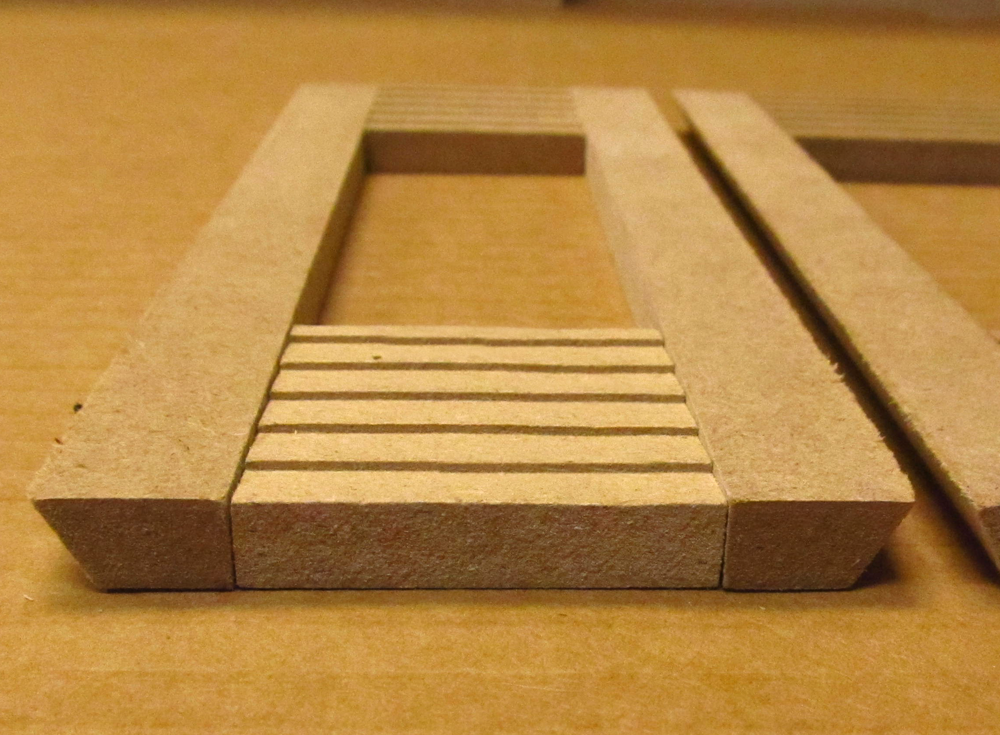
 This is the bottom of one wall from the outside - notice the way the clapboard faces
IMG_7055D.png
This is the bottom of one wall from the outside - notice the way the clapboard faces
IMG_7055D.png
This is the bottom of one wall from the outside - notice the way the clapboard faces
IMG_7055D.png
DHTMLGoodies.com
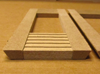
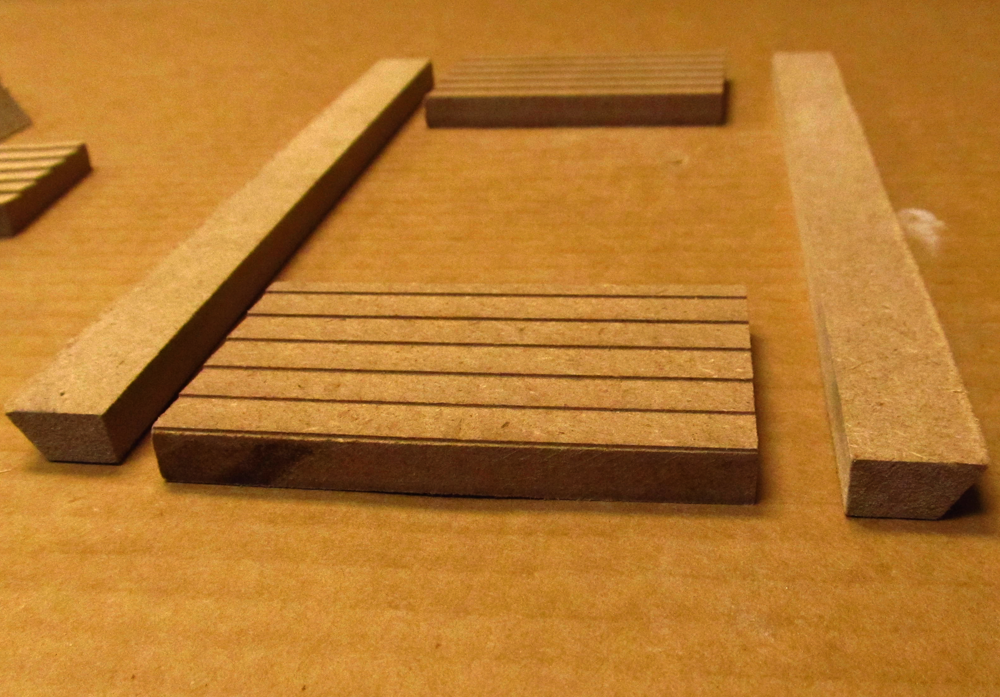
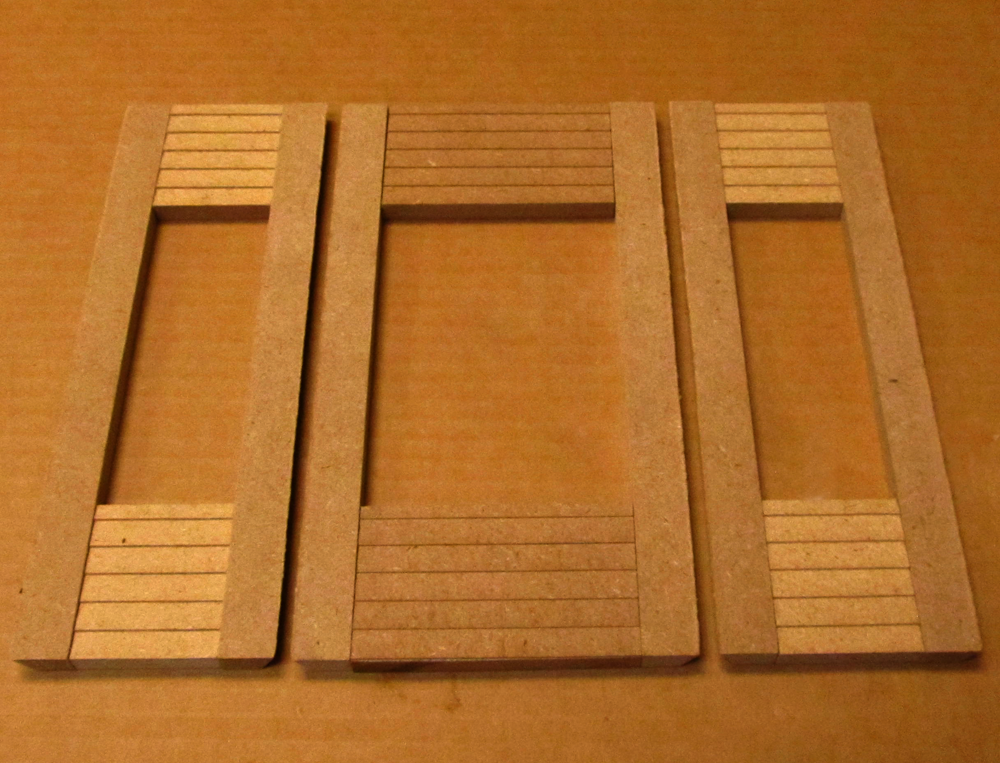
 The bottom again from the outside - notice the way the Verticals face
IMG_7056D.png
The bottom again from the outside - notice the way the Verticals face
IMG_7056D.png
The bottom again from the outside - notice the way the Verticals face
IMG_7056D.png
