|

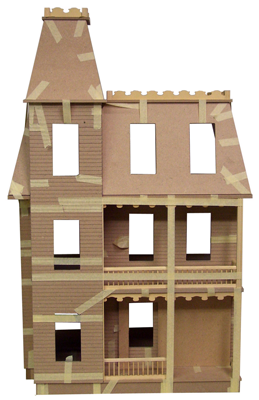
This slideshow uses
un-finished parts built for a special project.
In your build, everything will be painted.
Housebody1
Housebody2
Housebody3
Painting (second-coat)
Top Floor
Start the Wiring
Foundation
Porch
Roof prep. Roof
Dormer Details
Trim and Brackets
(here)
|
DHTMLGoodies.com
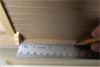
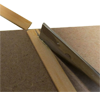
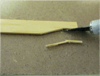
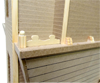
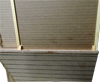
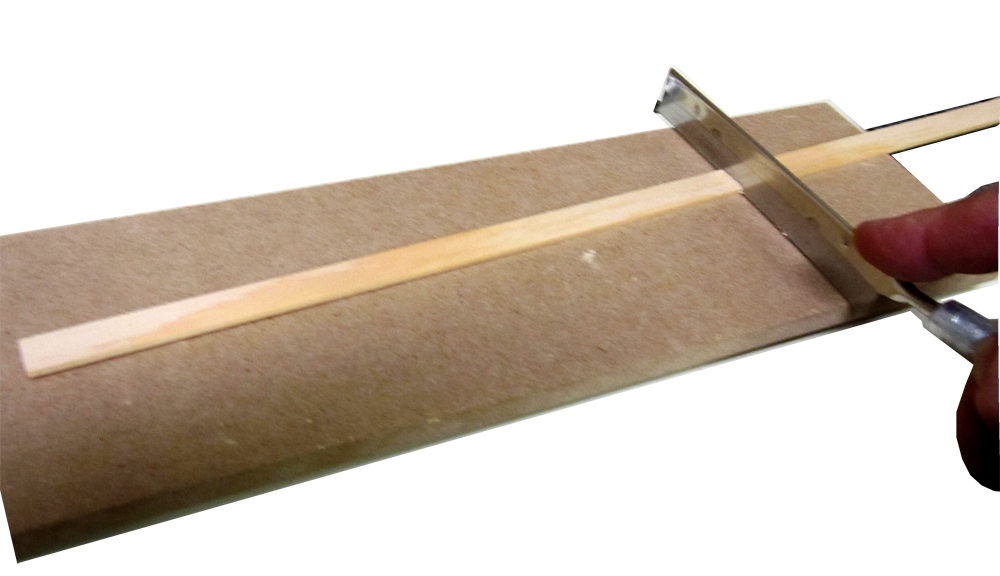
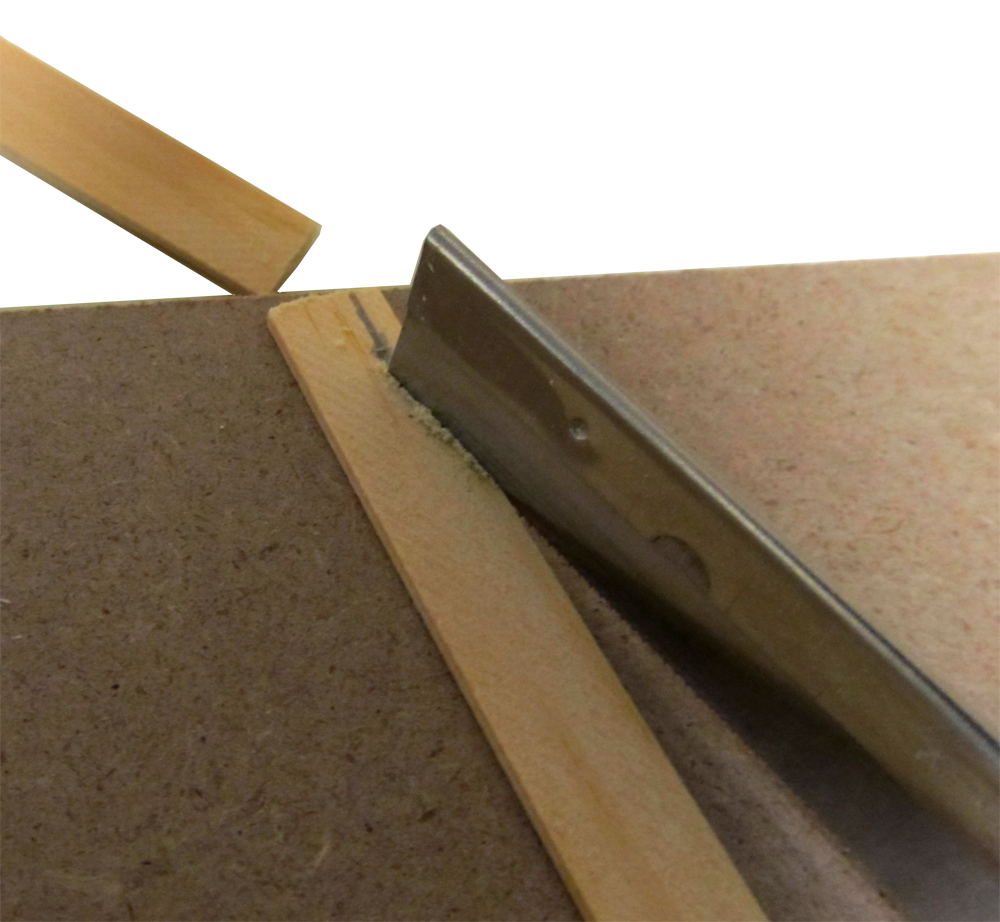
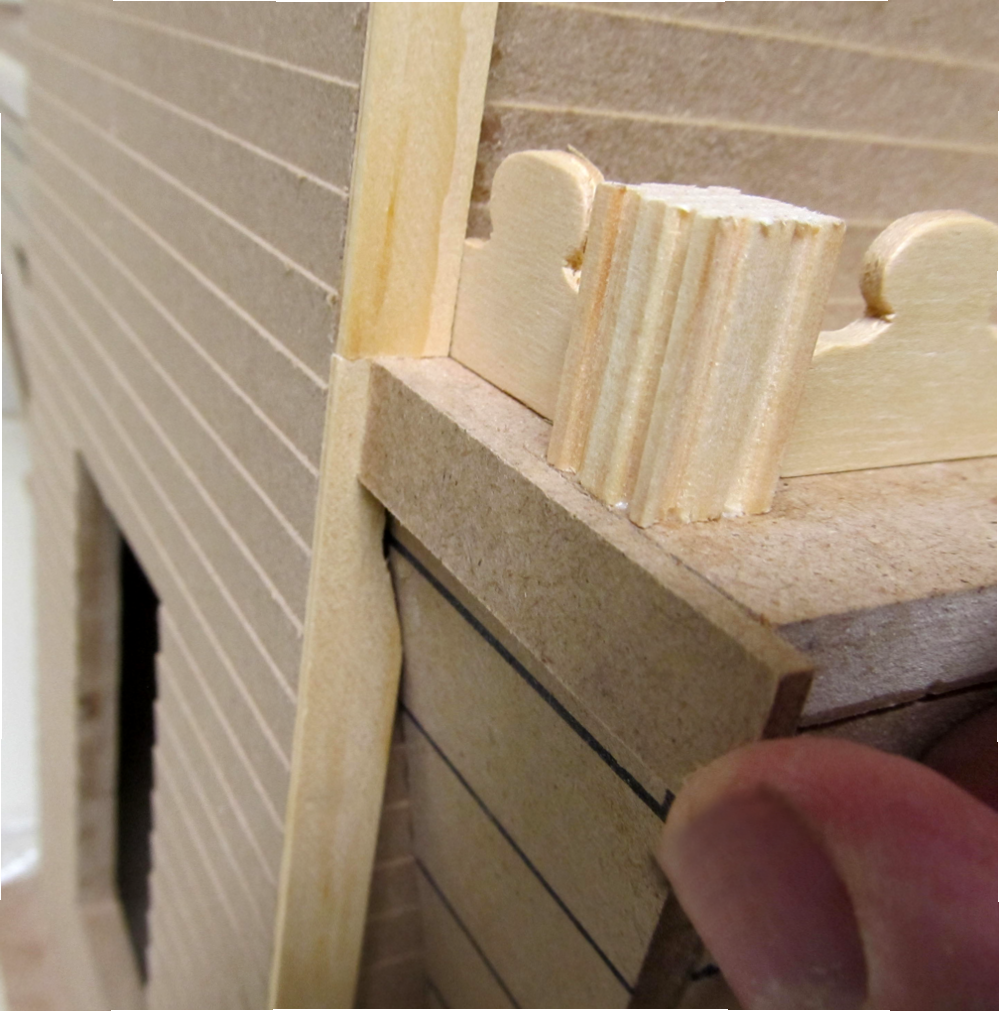
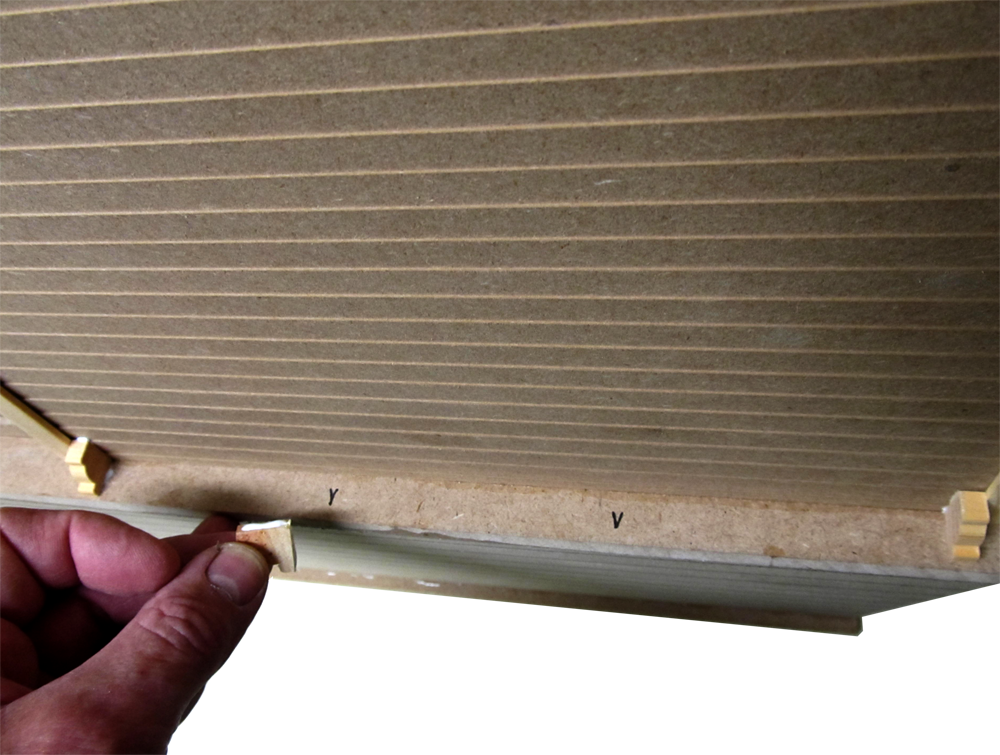
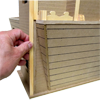 Cut and carve trim to fit the roof: mark the length
Trim/IMG_1844D.png
Cut and carve trim to fit the roof: mark the length
Trim/IMG_1844D.png
DHTMLGoodies.com
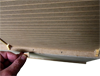
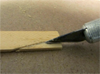
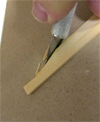
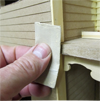
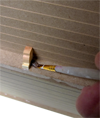
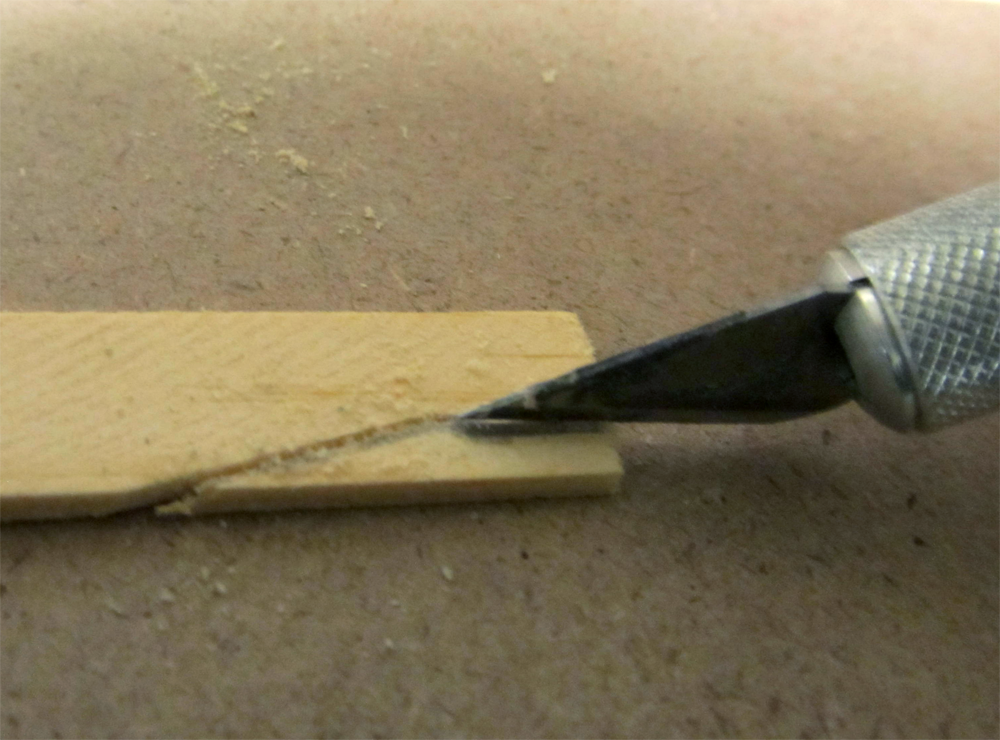
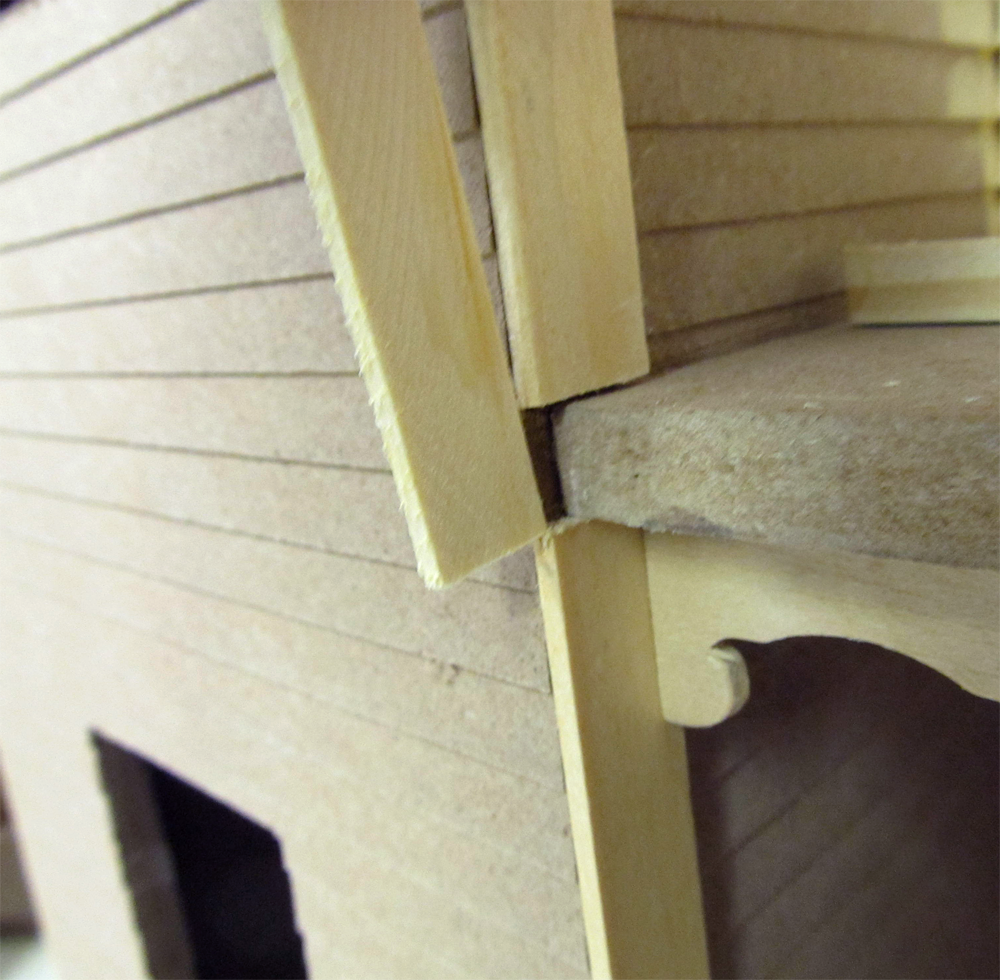
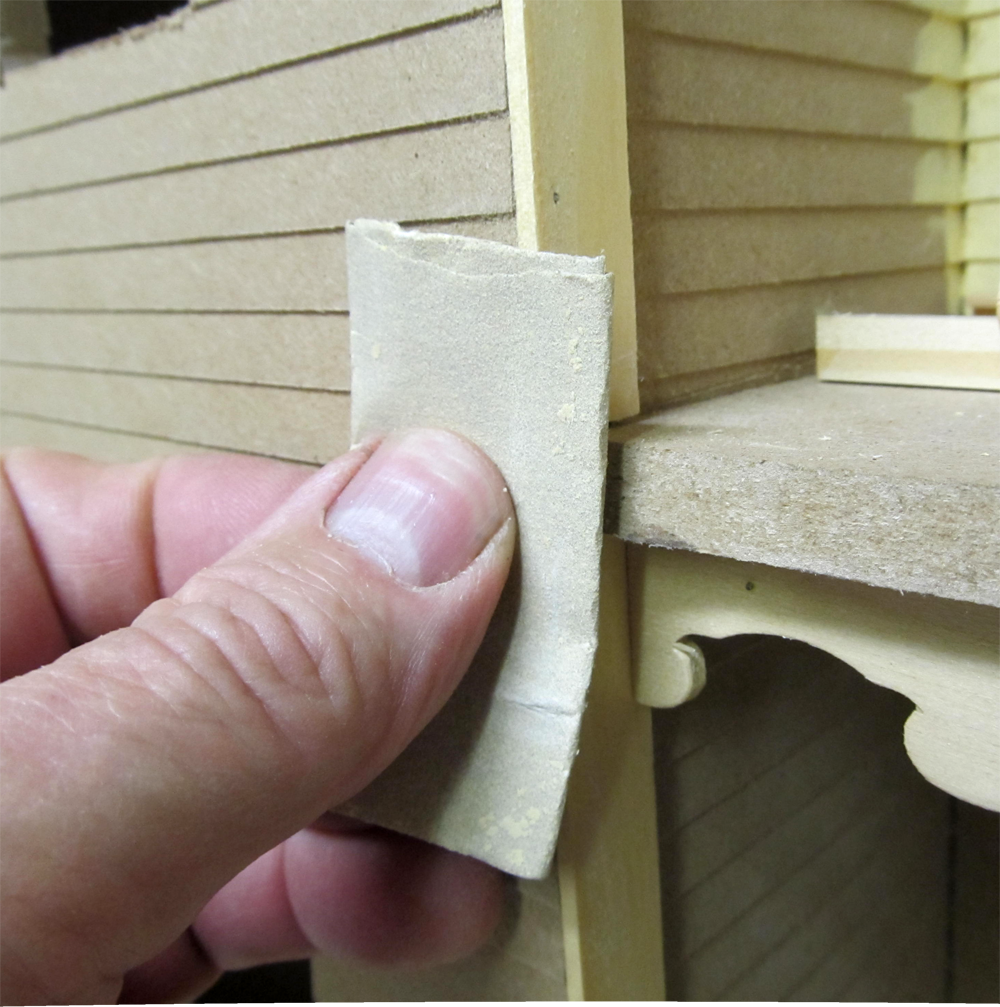
 A razor saw is best, but a hack saw or EZ cutter works too
Trim/IMG_1845D.png
A razor saw is best, but a hack saw or EZ cutter works too
Trim/IMG_1845D.png
DHTMLGoodies.com
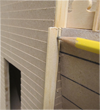
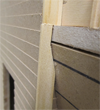
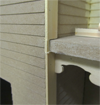
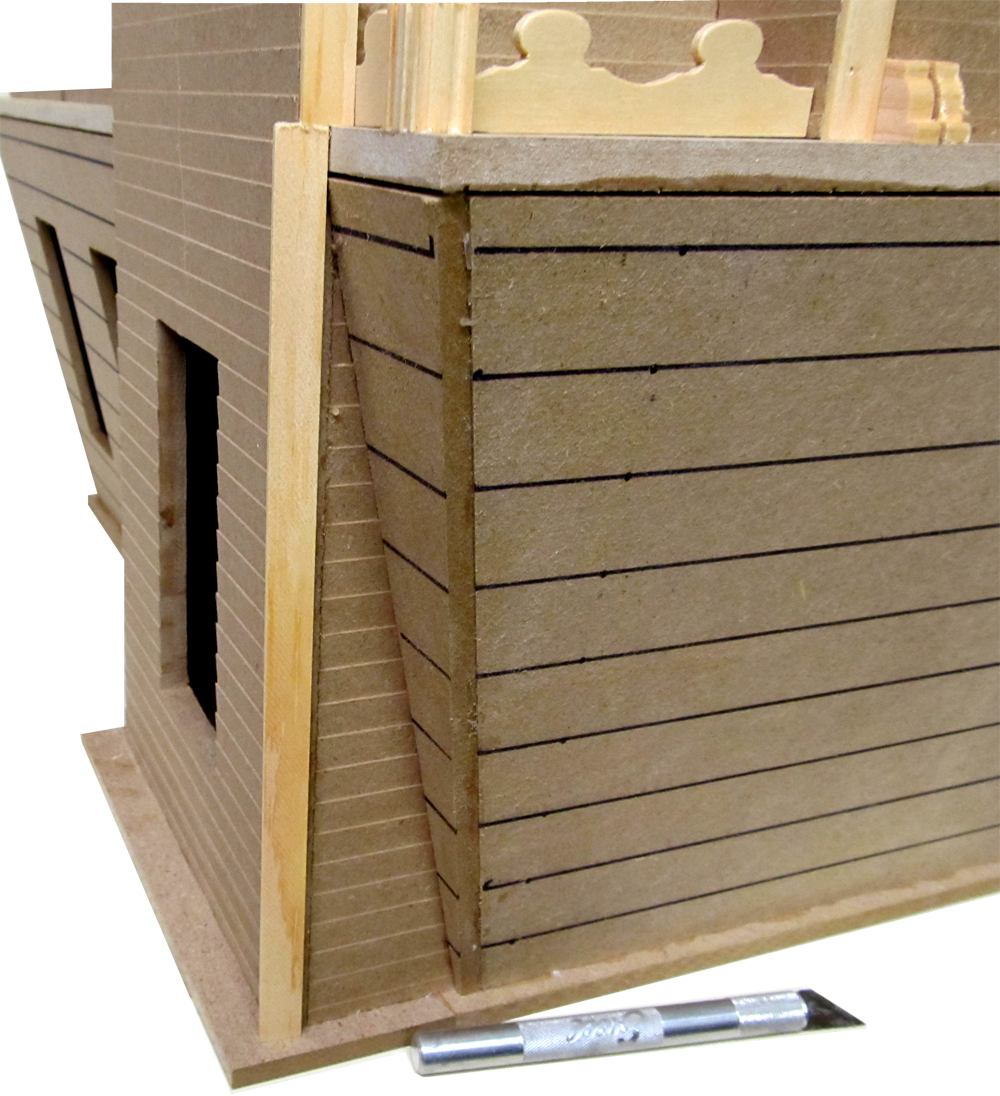
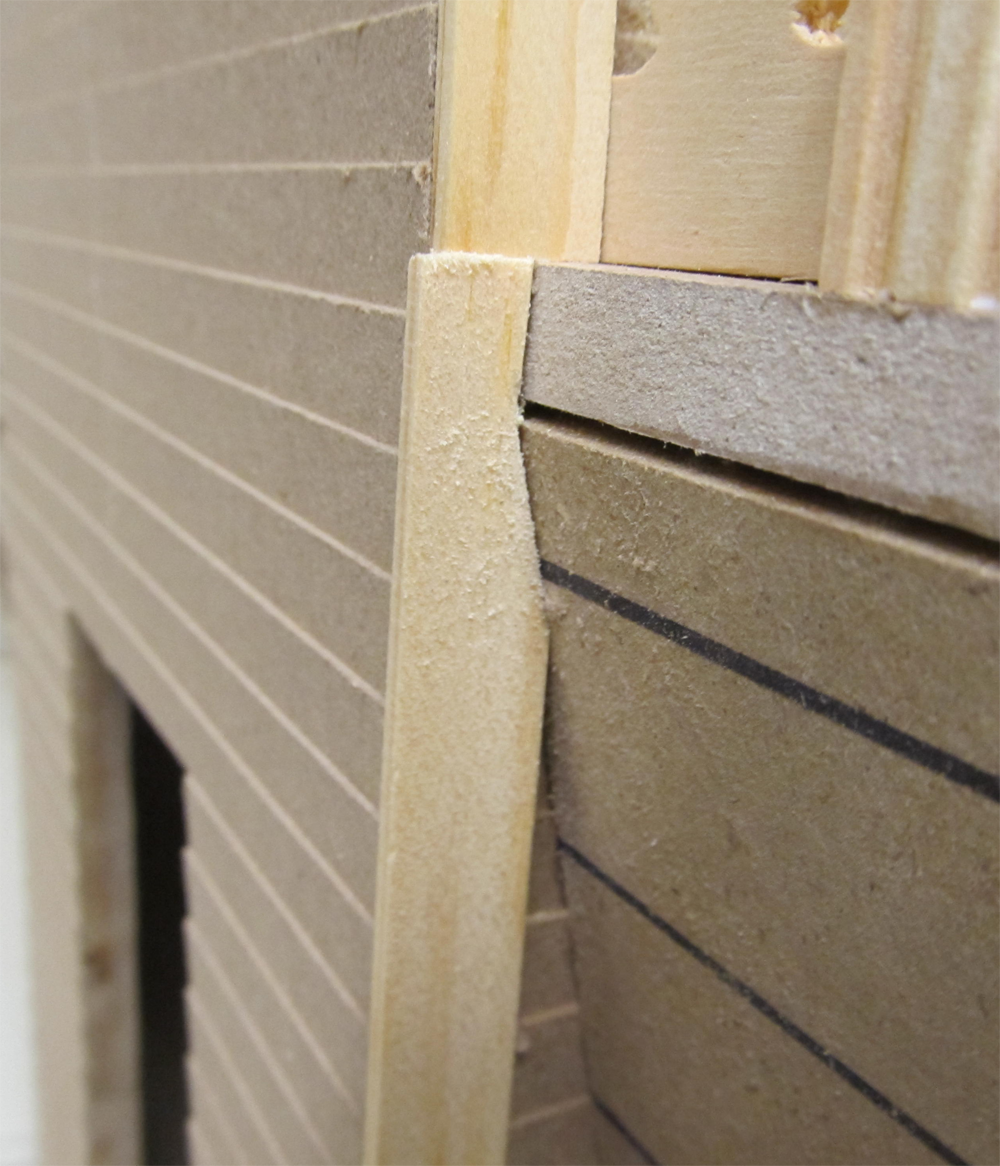
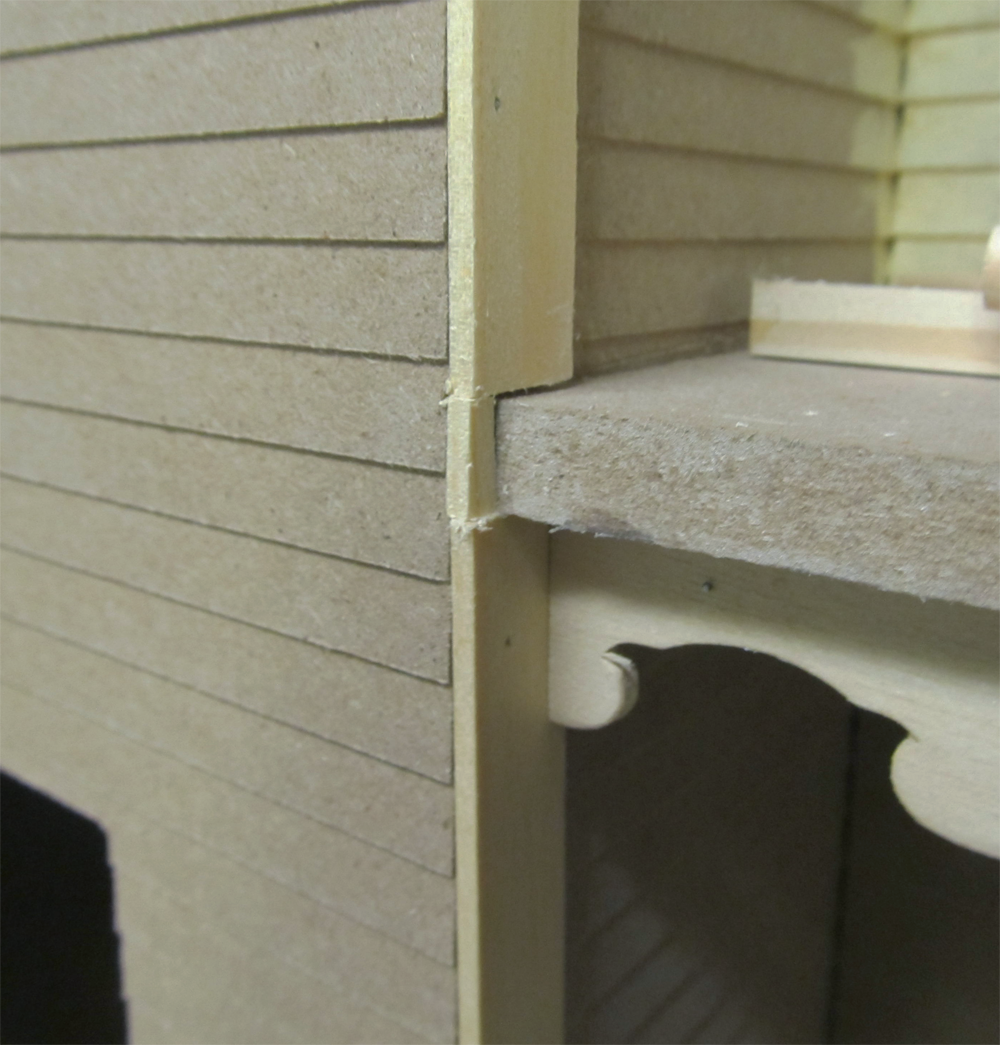
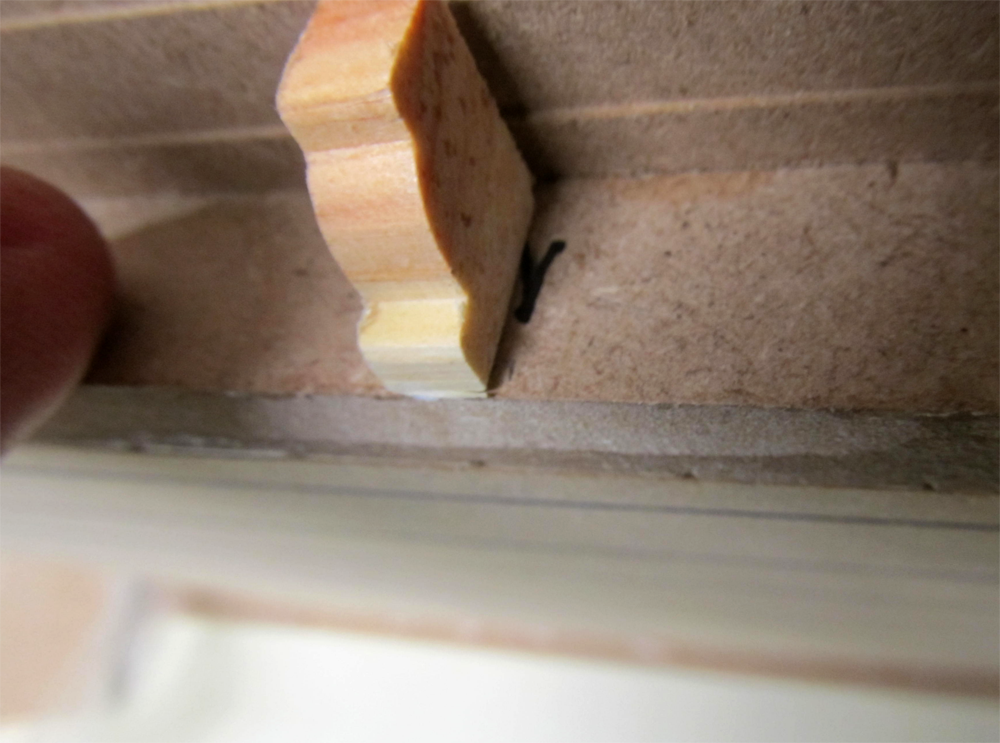
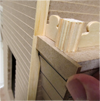 The Ledge Trim and Shingling will cover any gaps
Trim/IMG_1857D.png
The Ledge Trim and Shingling will cover any gaps
Trim/IMG_1857D.png
DHTMLGoodies.com
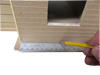
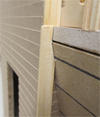
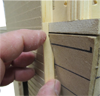
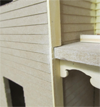
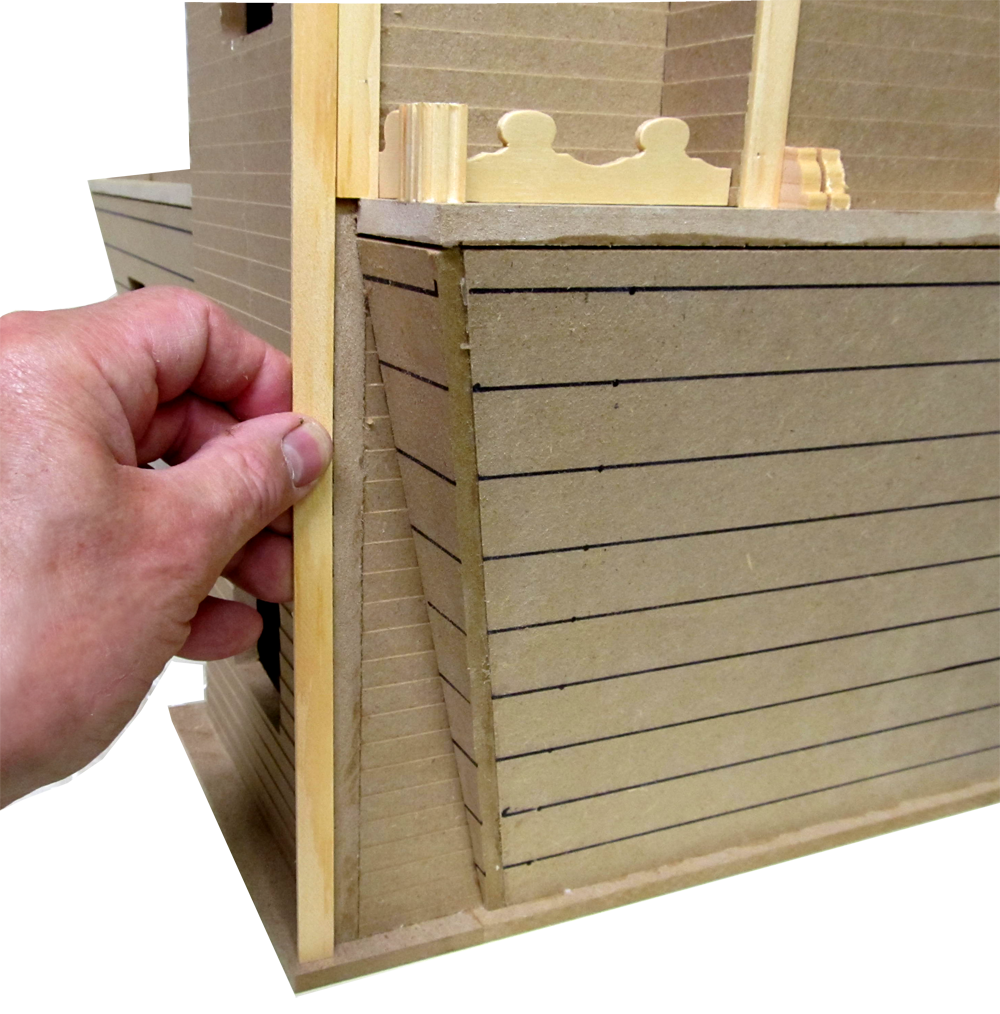
 Tower Right Trim must be fit around the Porch Floors
Trim/IMG_1887D.png
Tower Right Trim must be fit around the Porch Floors
Trim/IMG_1887D.png
DHTMLGoodies.com
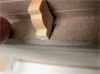
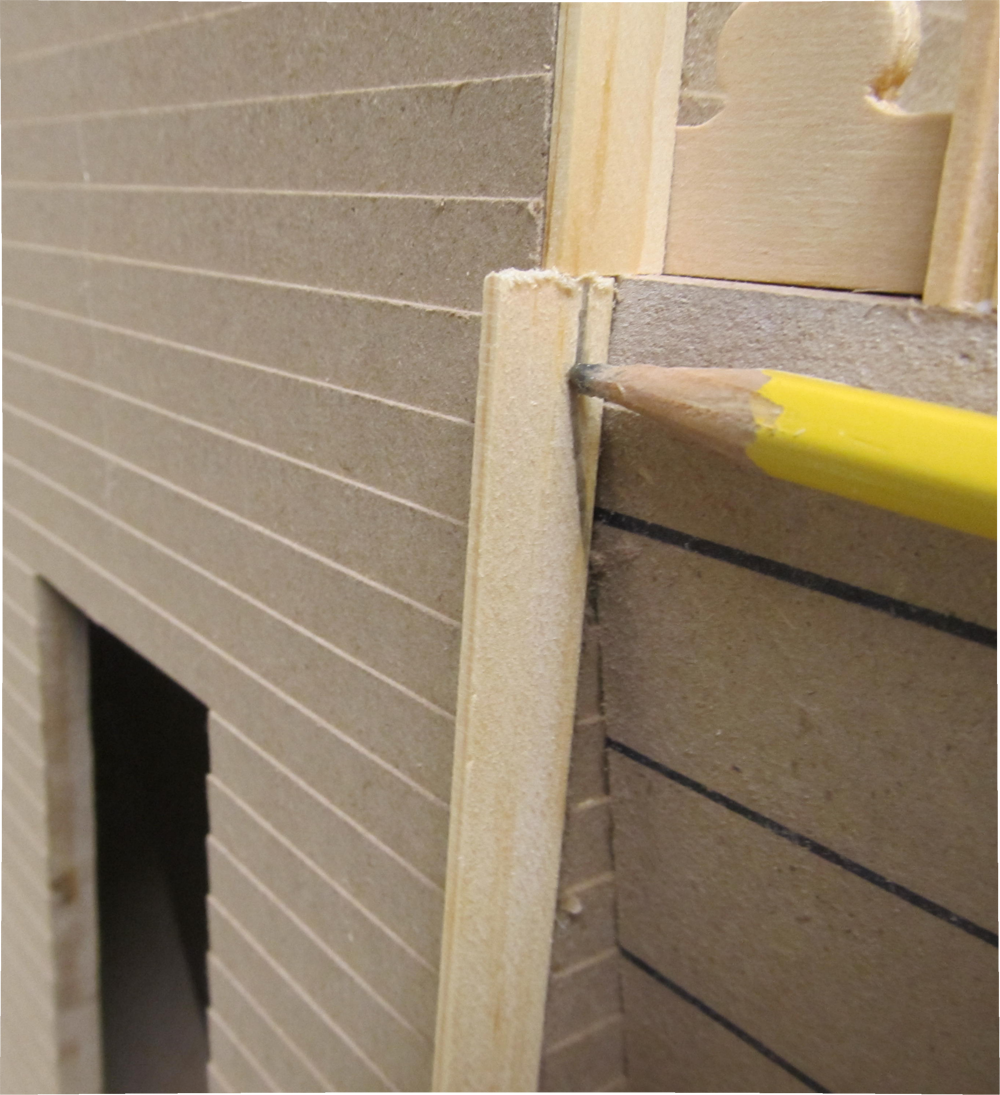
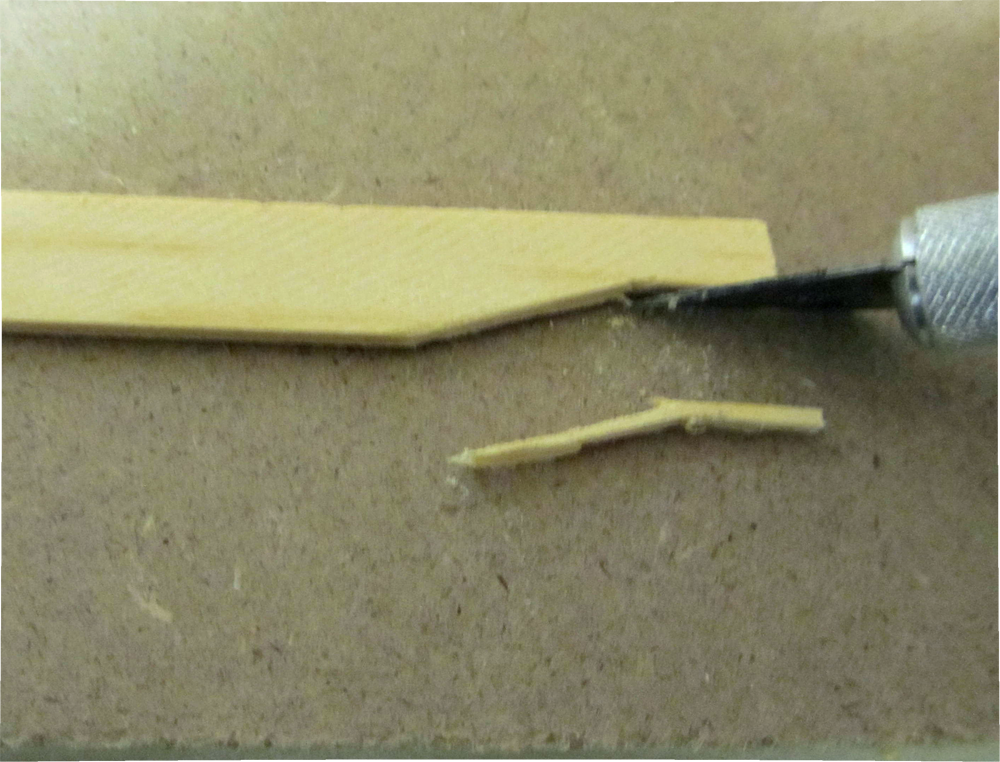
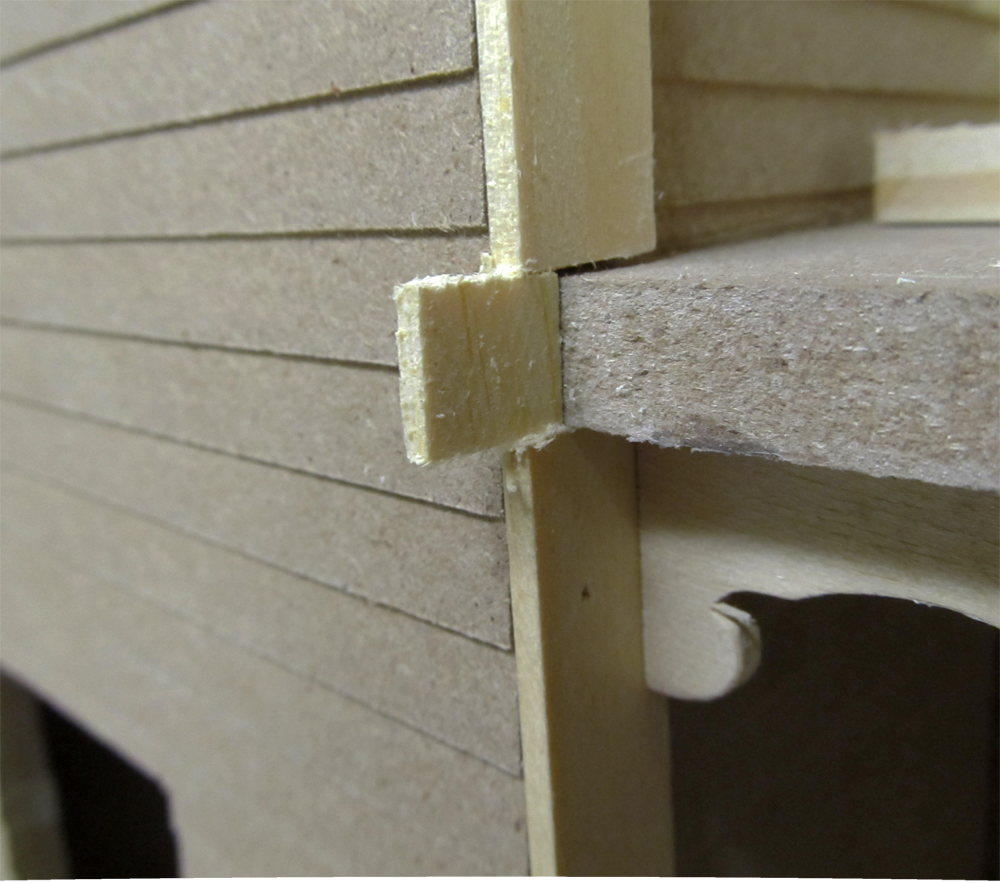
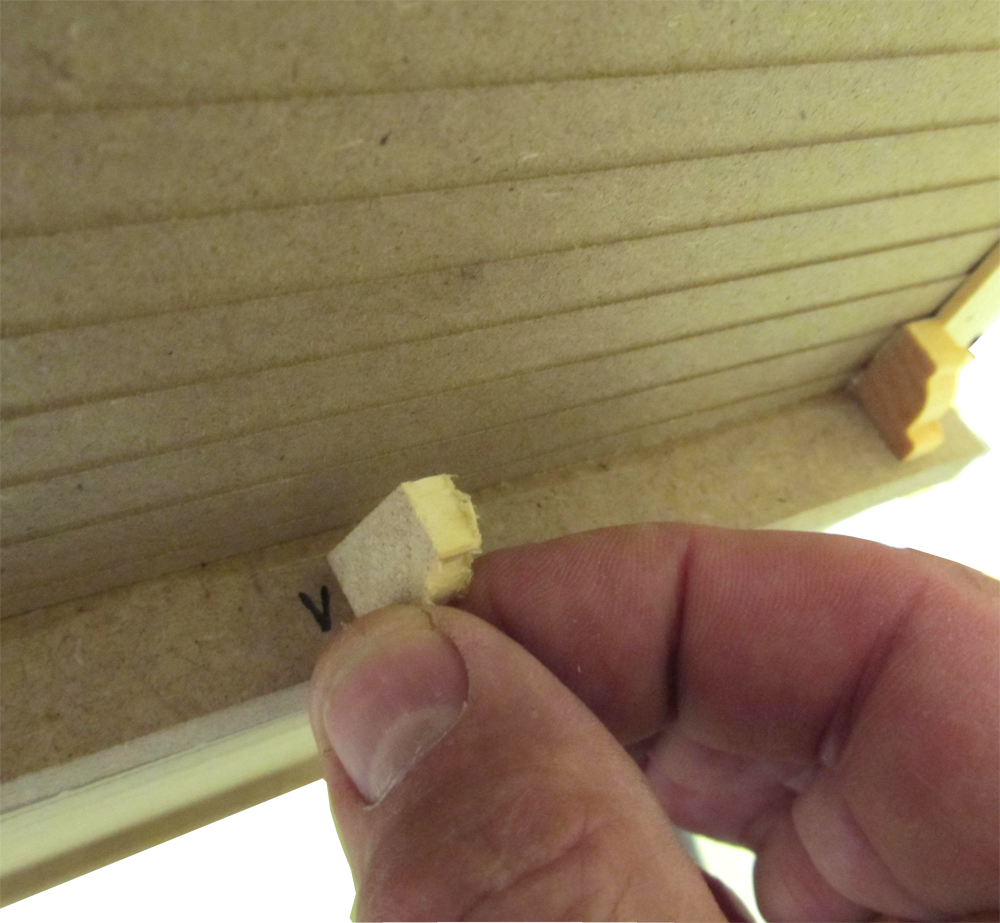
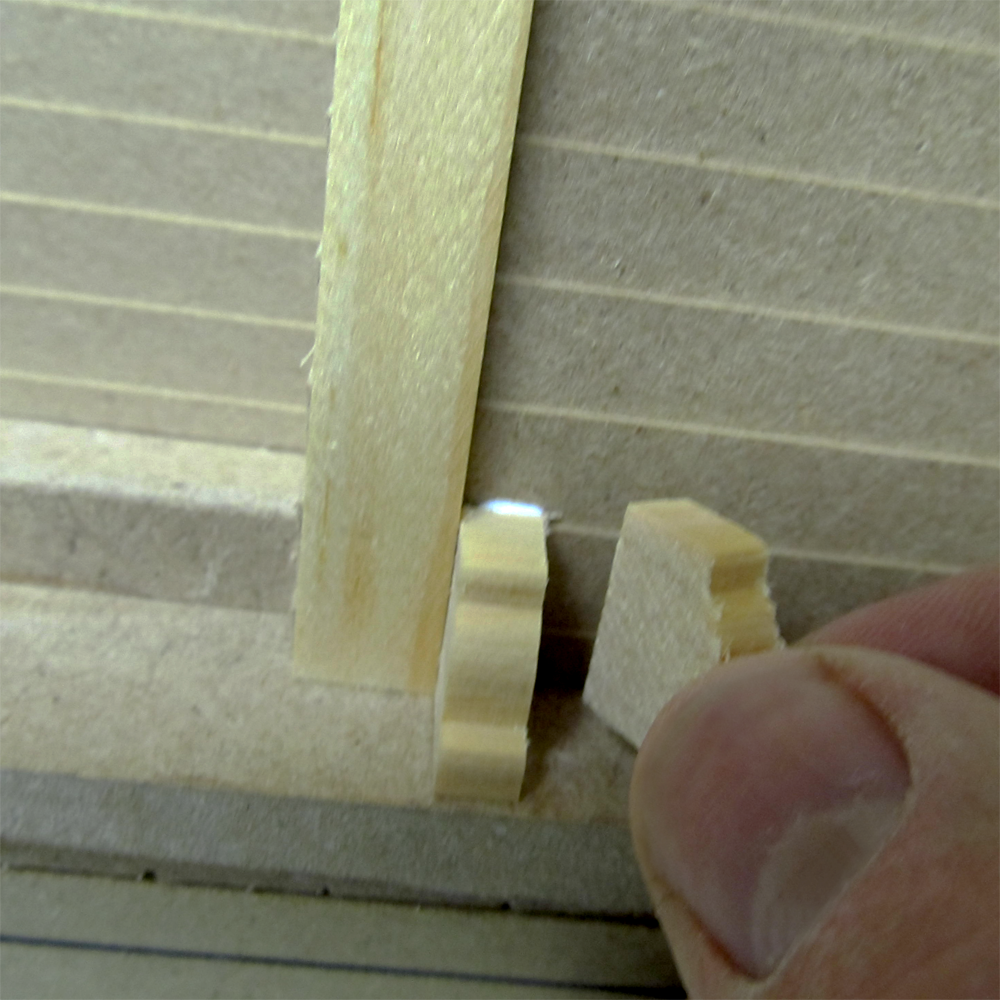
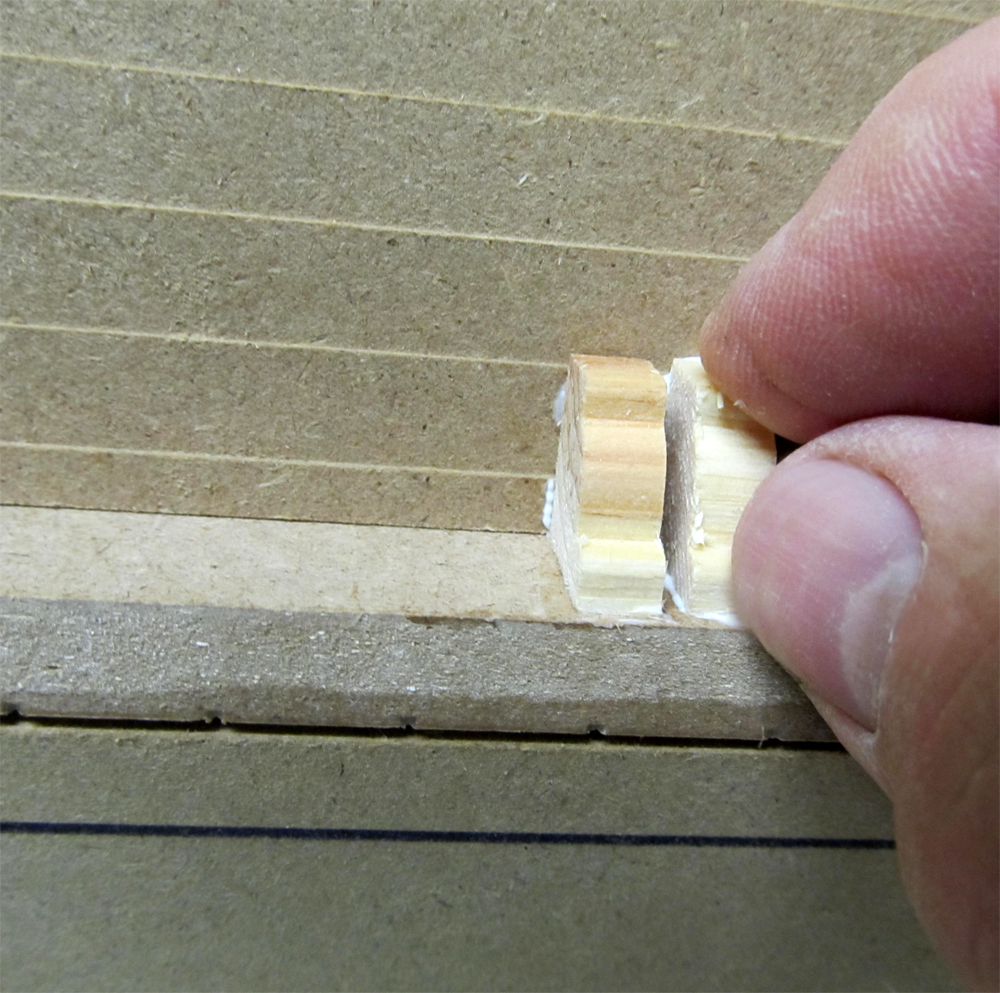
 Any scrap of trim will be big enough for this plug
Trim/IMG_1888D.png
Any scrap of trim will be big enough for this plug
Trim/IMG_1888D.png
DHTMLGoodies.com
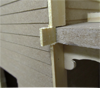
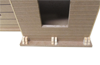
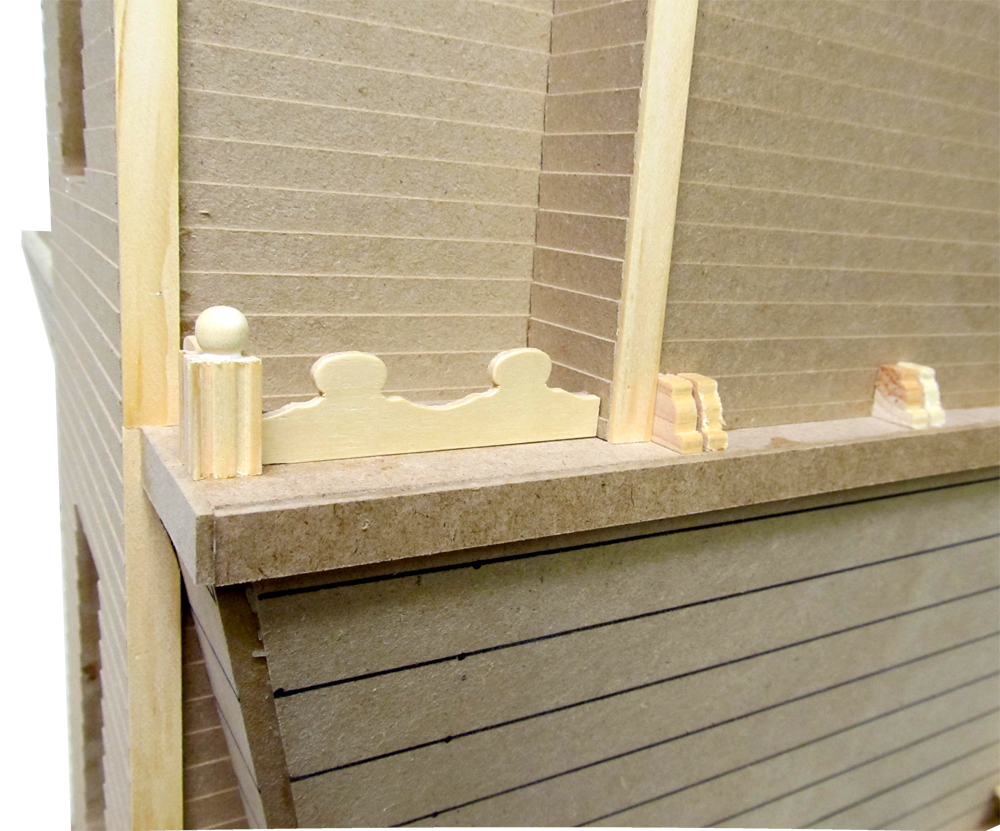
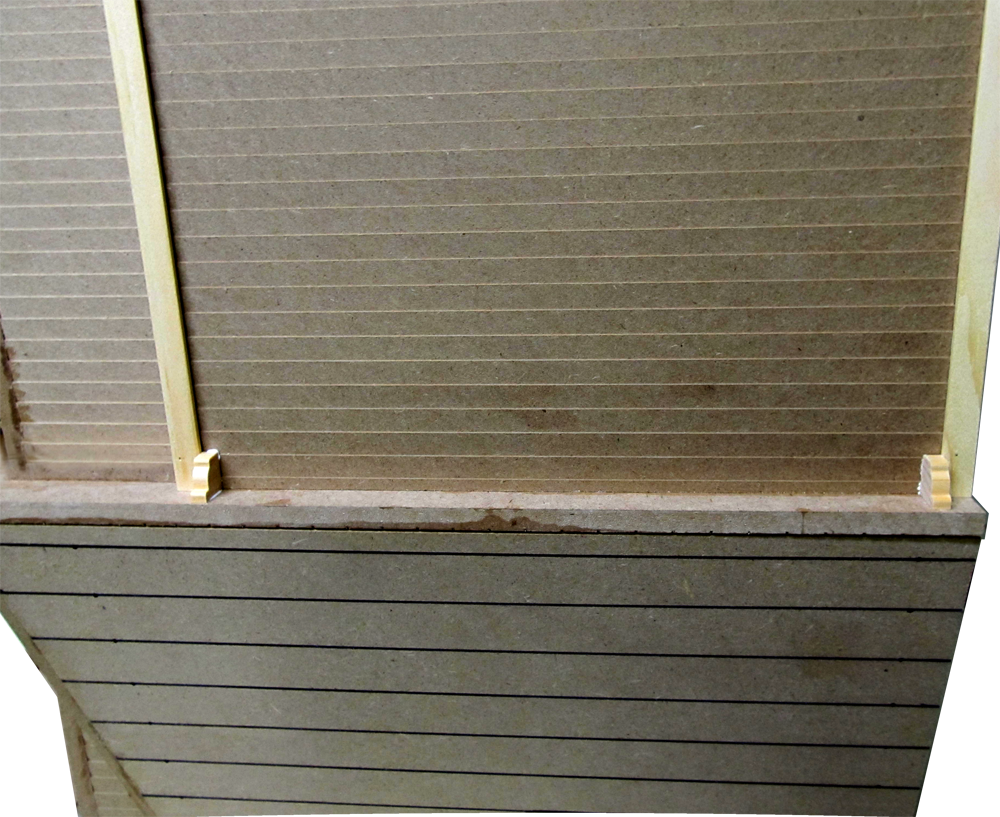
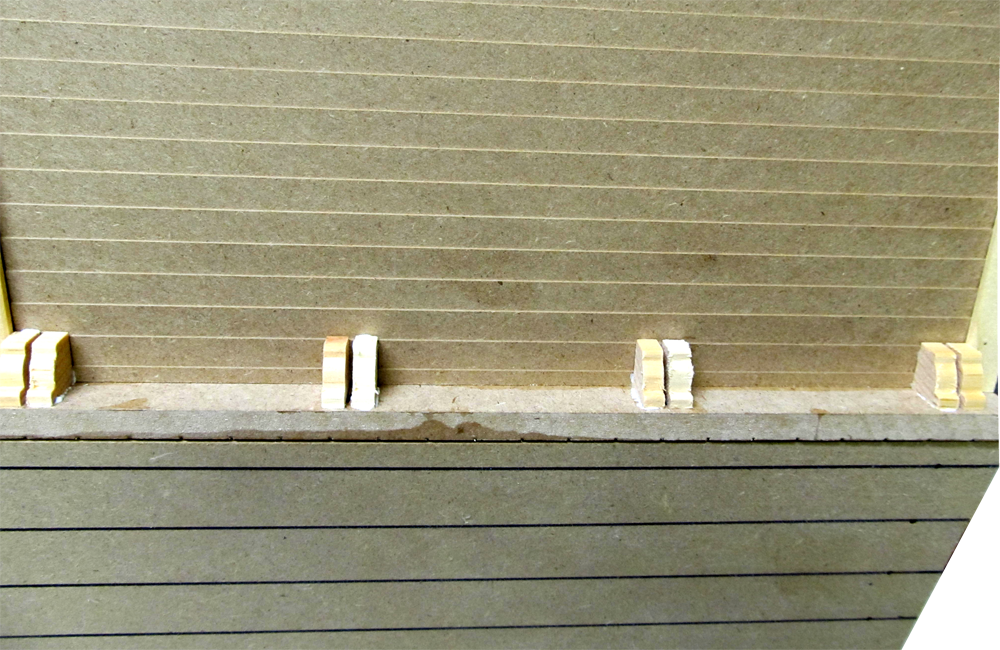
 One bracket of the front and back Bracket pairs is in place
Trim/IMG_1834BD.png
One bracket of the front and back Bracket pairs is in place
Trim/IMG_1834BD.png
DHTMLGoodies.com
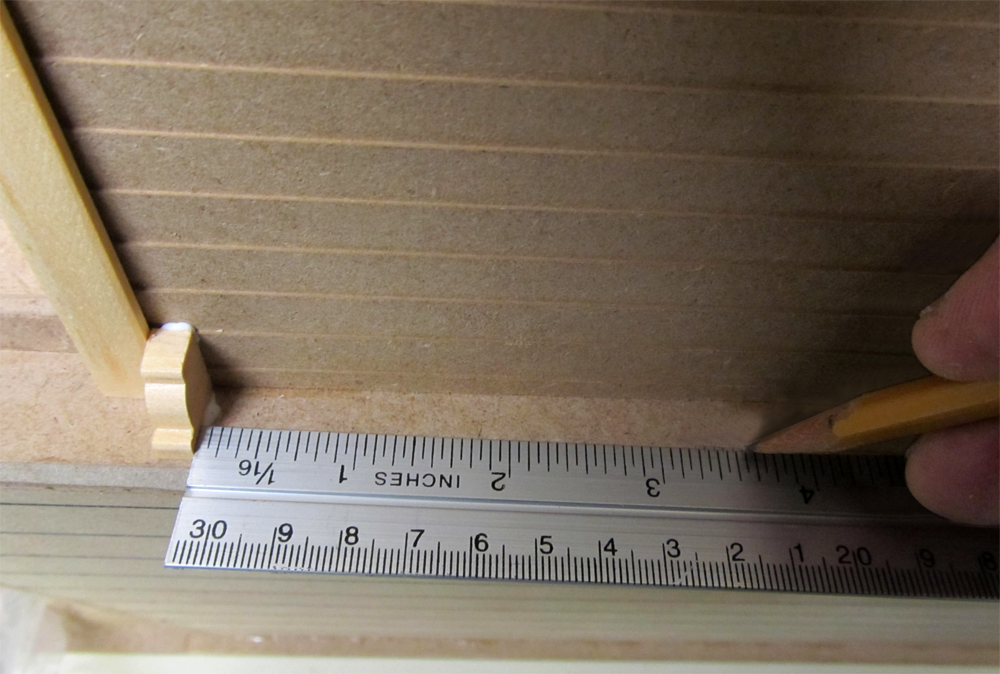
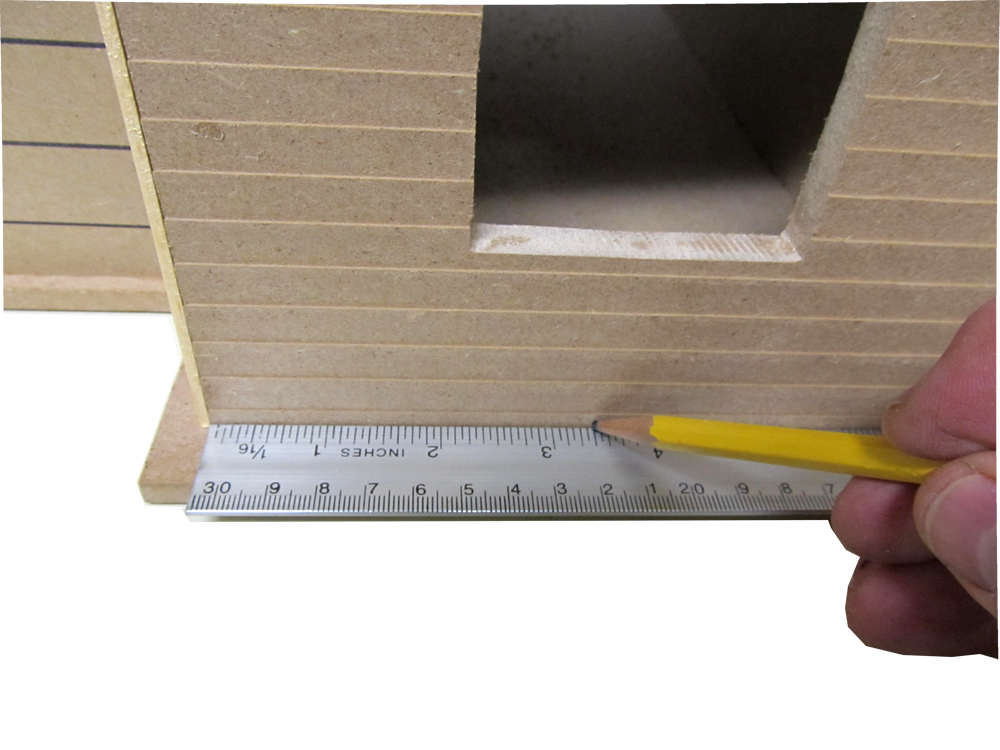
 About 3 9/16 to the center of each Bracket Pair
Trim/IMG_1835D.png
About 3 9/16 to the center of each Bracket Pair
Trim/IMG_1835D.png
DHTMLGoodies.com
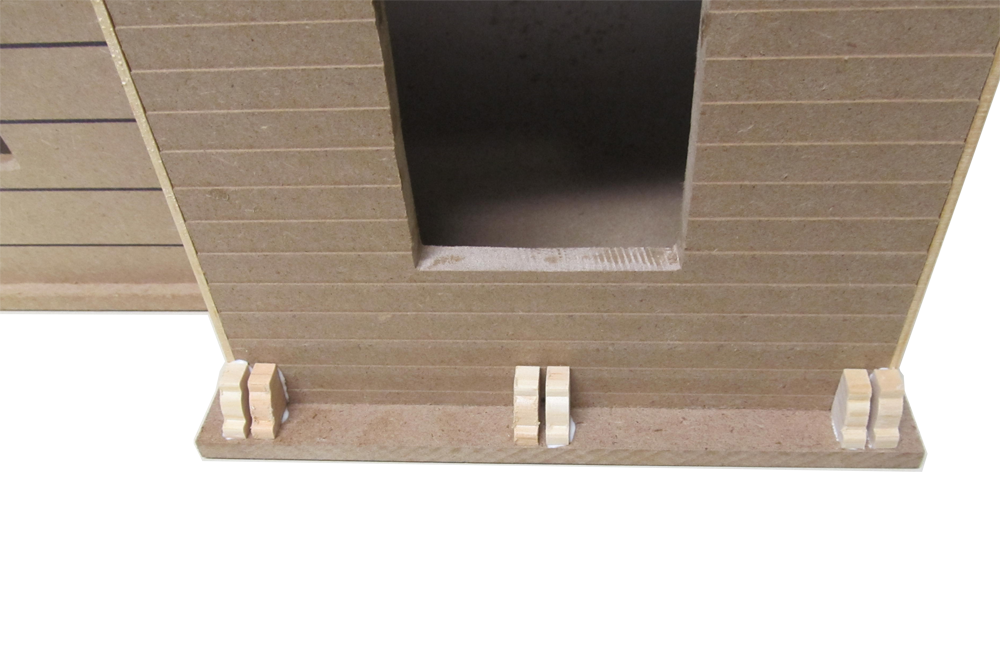
 Two Brackets for each mark with about 1/16 between
Trim/IMG_1839D.png
Two Brackets for each mark with about 1/16 between
Trim/IMG_1839D.png
DHTMLGoodies.com
 The Tower has 3 pairs - the center pair is in the center (3 1/2)
Trim/IMG_1893D.png
The Tower has 3 pairs - the center pair is in the center (3 1/2)
Trim/IMG_1893D.png
Click on the big picture for a printable copy
|


