PreAssembly
Windows (video) (slideshow)
Brackets (slideshow)
Railings (paint and assemble)
Foundation
Painting (first coat)
Start the Wiring
Assembly
Housebody
Painting (second-coat)
Porch
Roof prep. Roof
Dormer (here)
Trim
If your floors are tight in the grooves, scrape them
Click on the thumbnail for a printable copy
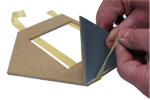
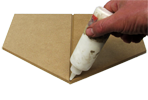 10. Turn them over, spread glue in the "V" and on the back edges (beveled)
Assembly/Dormer/10D.png
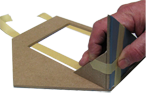
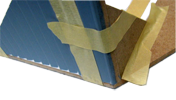
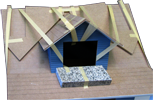 11. Lots of tape for a tight joint - the Attic Partitions are pressing the back edge down
Assembly/Dormer/11D.png
