![]()
![]()
![]()
![]()
PreAssembly
Windows (video) (slideshow)
Brackets (slideshow)
Railings (paint and assemble)
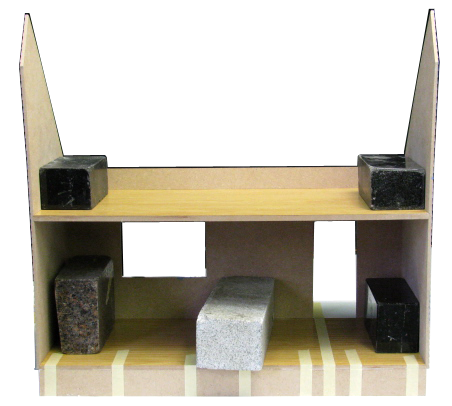
Foundation
Painting (first coat)
Start the Wiring
Assembly
Housebody
Painting (second-coat)
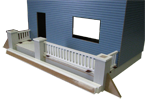
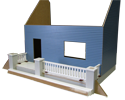
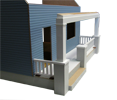
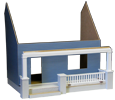
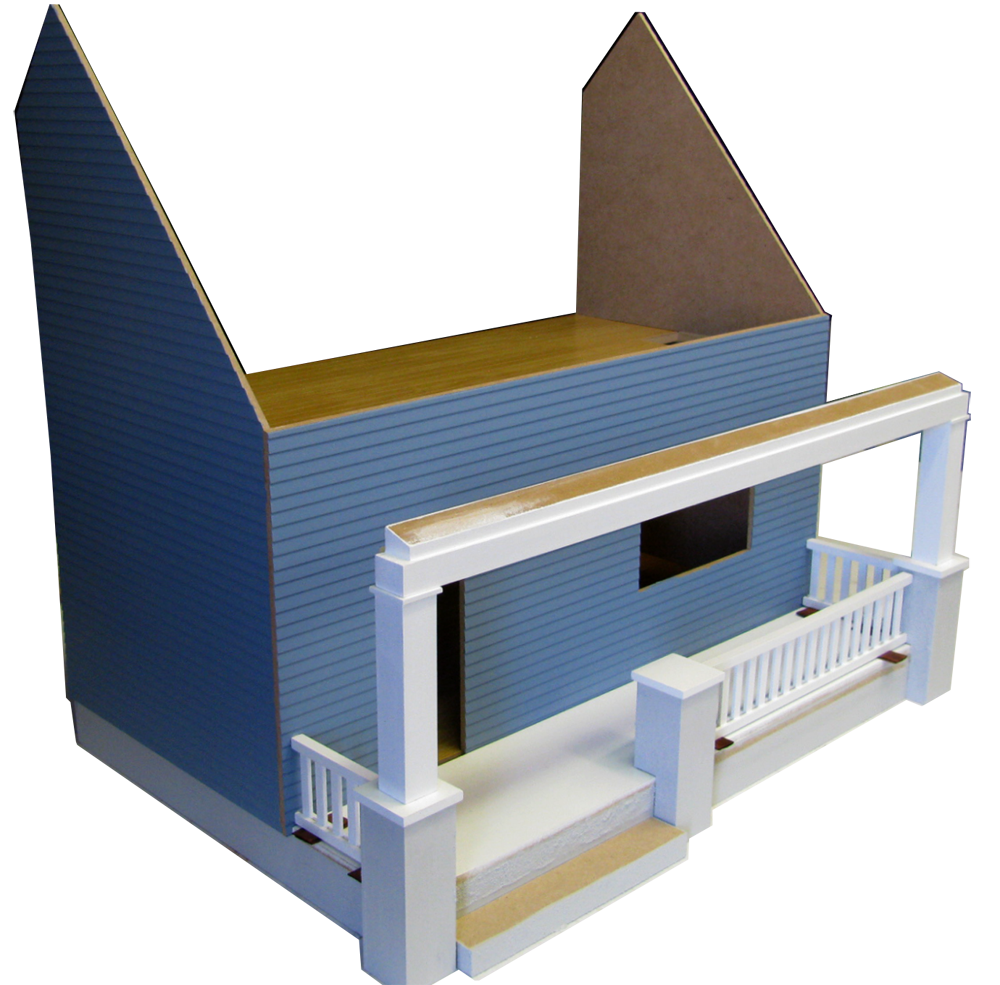
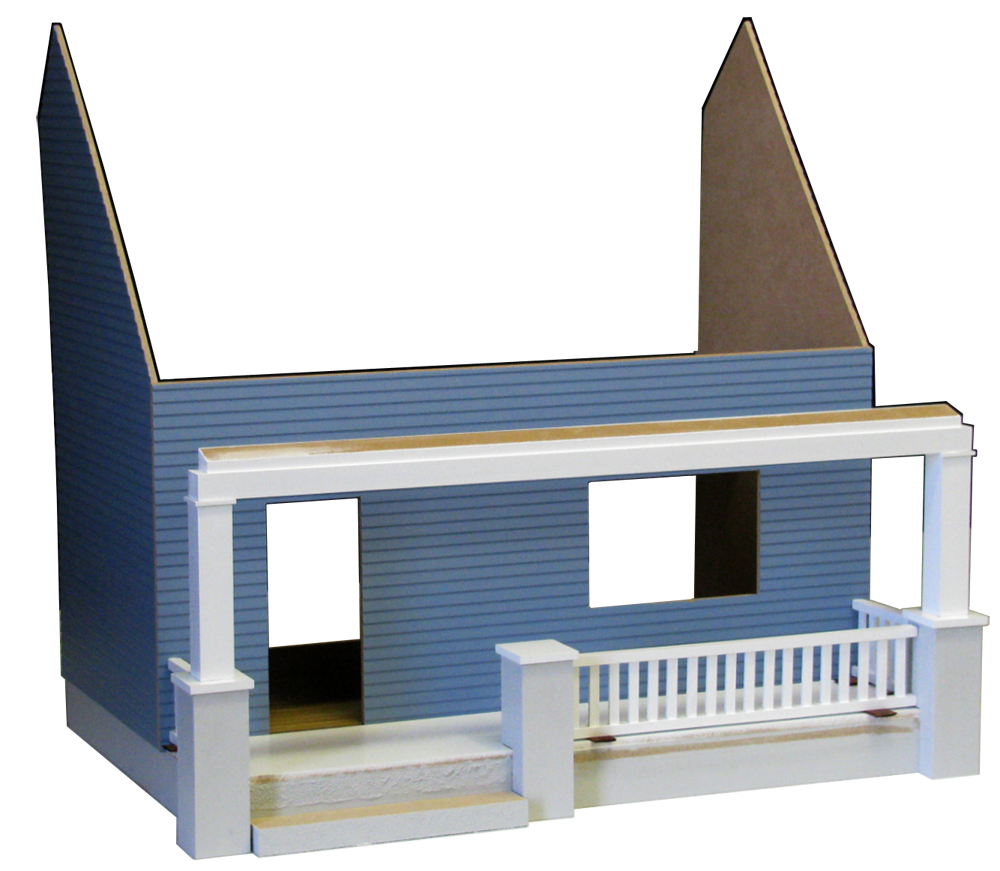
Porch (here)
Roof prep. Roof
Dormer
Trim
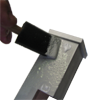
If your floors are tight in the grooves, scrape them
Click on the thumbnail for a printable copy
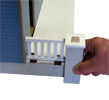
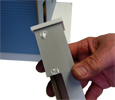
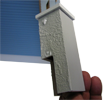
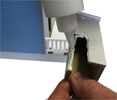
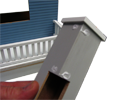
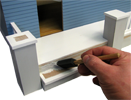
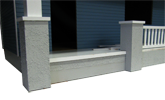
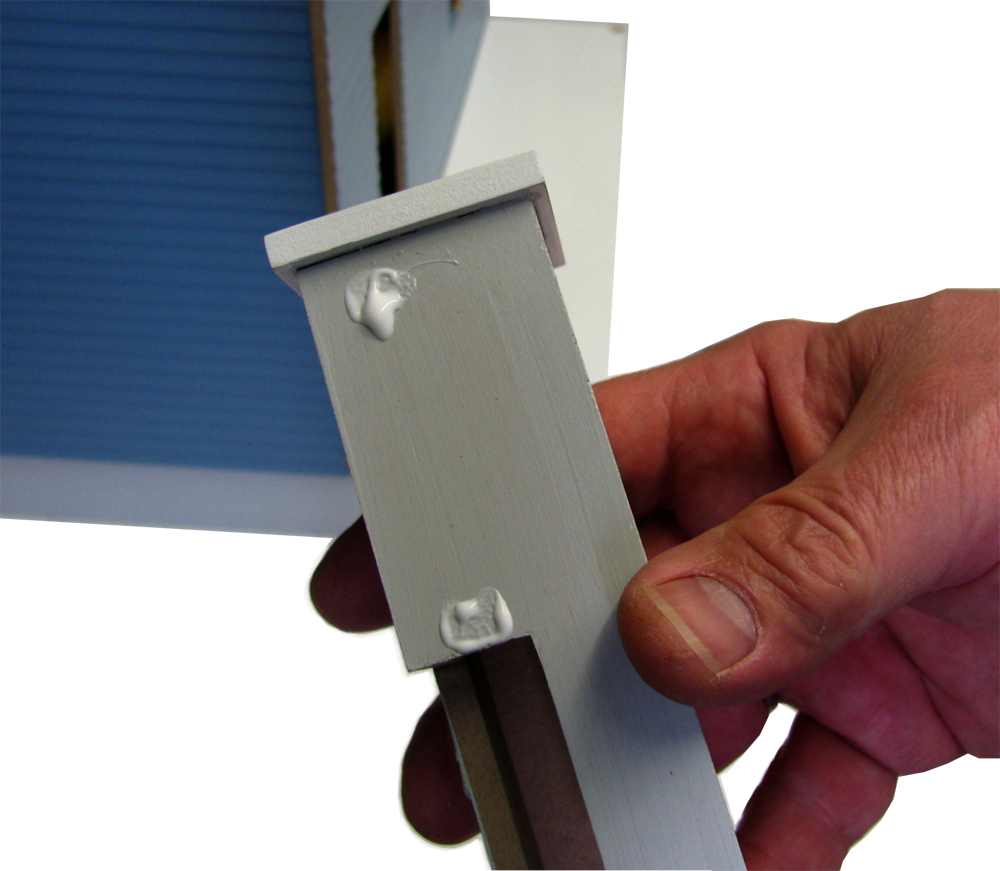
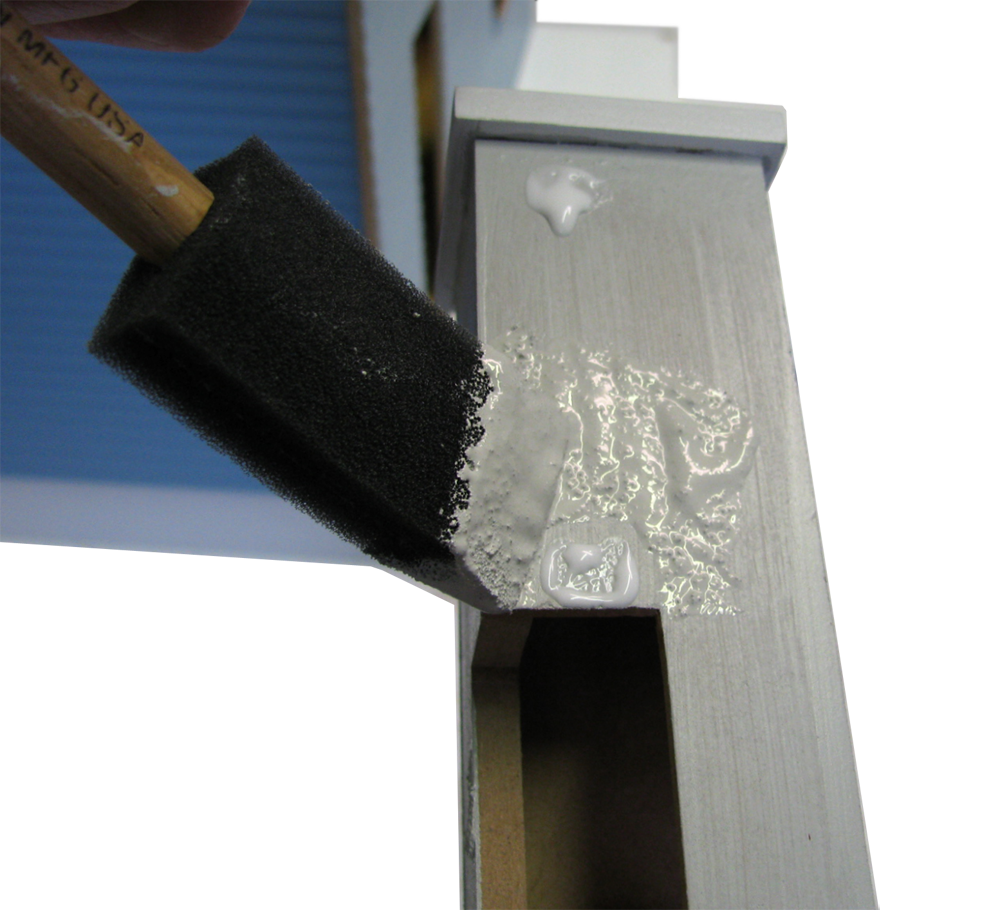
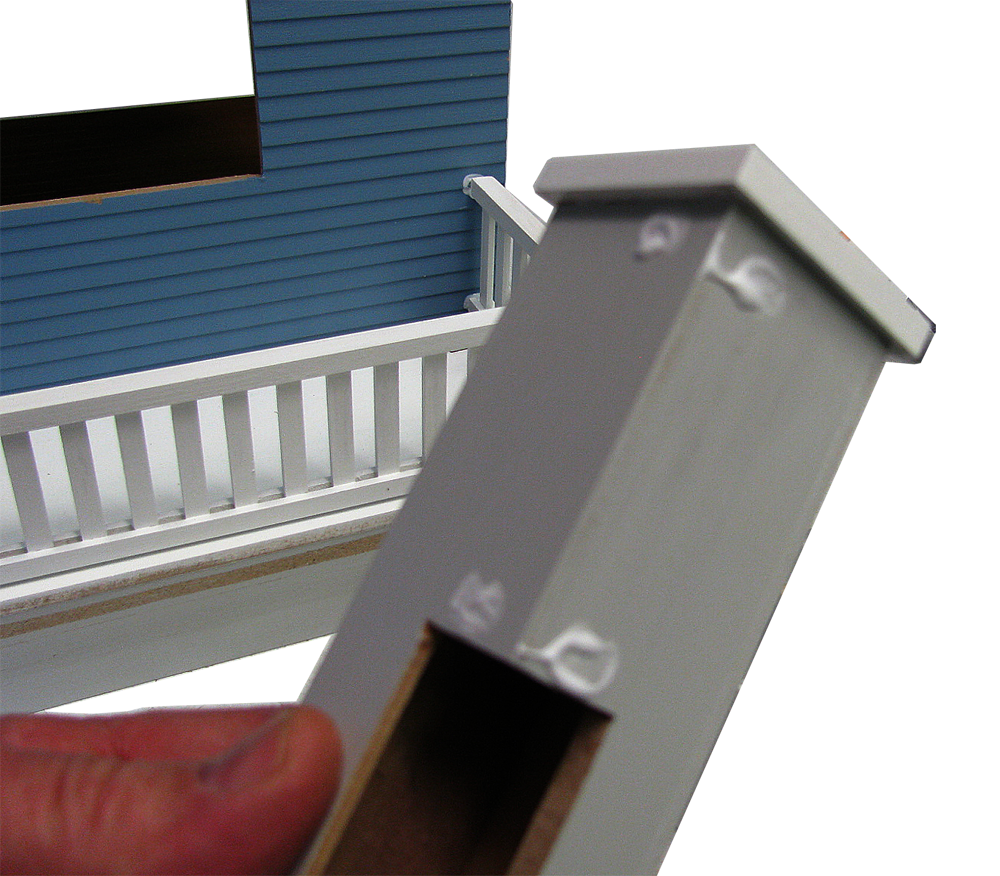
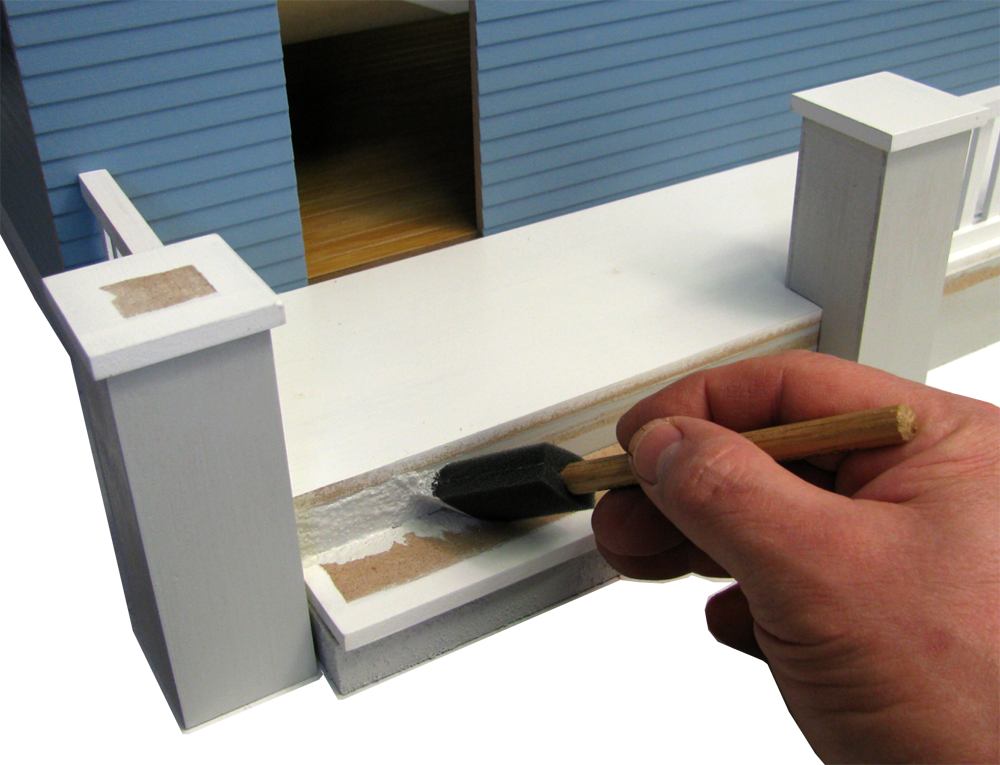
 8. The Handy Square and the Porch Beam straighten the Postbase
Assembly/Porch/08D.png
8. The Handy Square and the Porch Beam straighten the Postbase
Assembly/Porch/08D.png
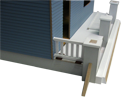
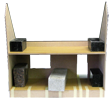
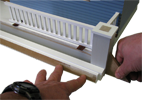
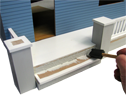
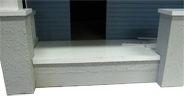
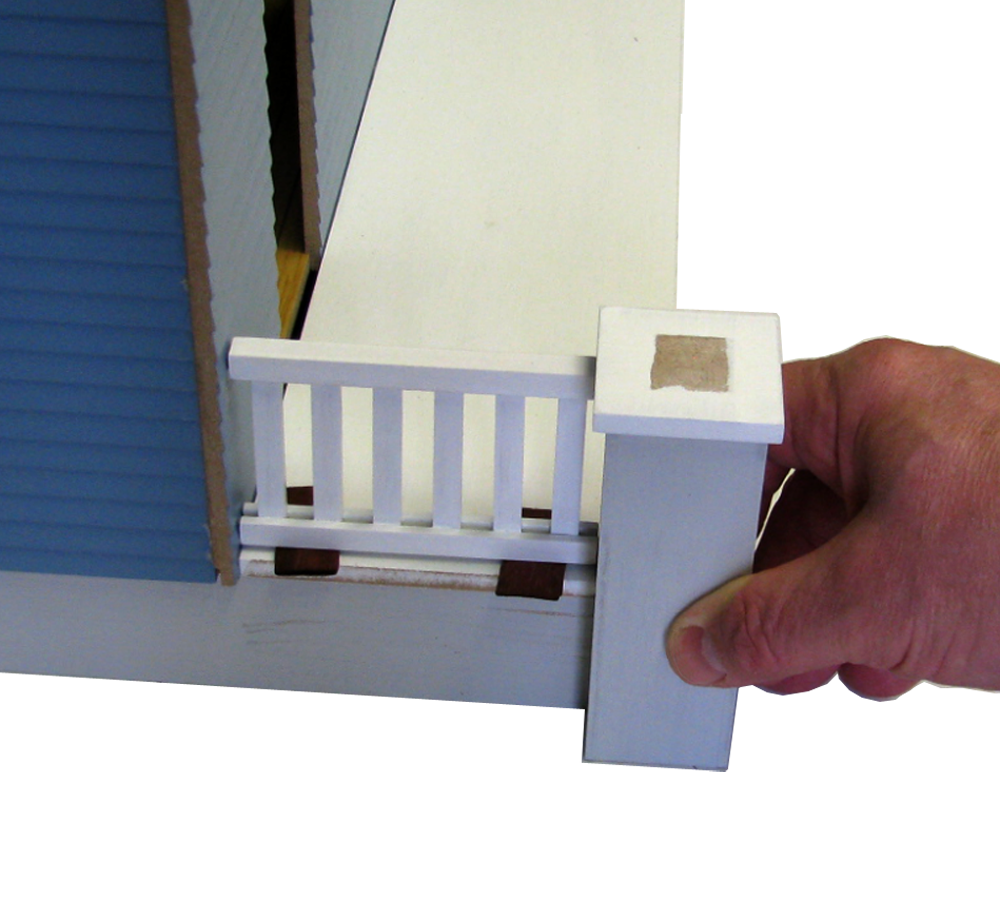
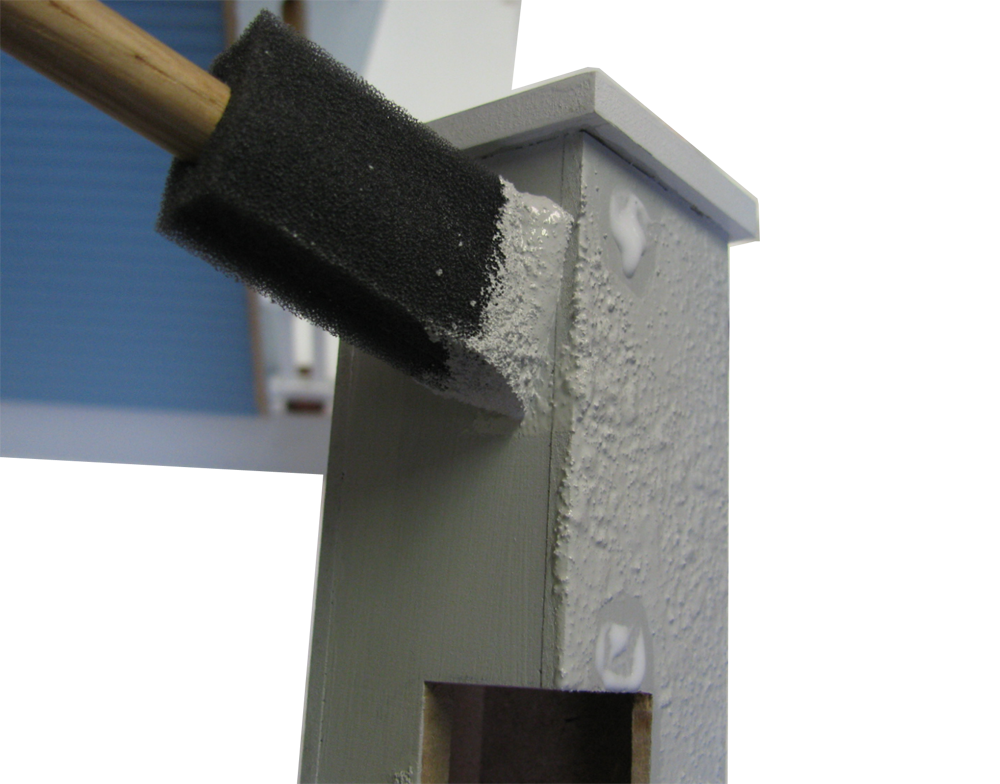
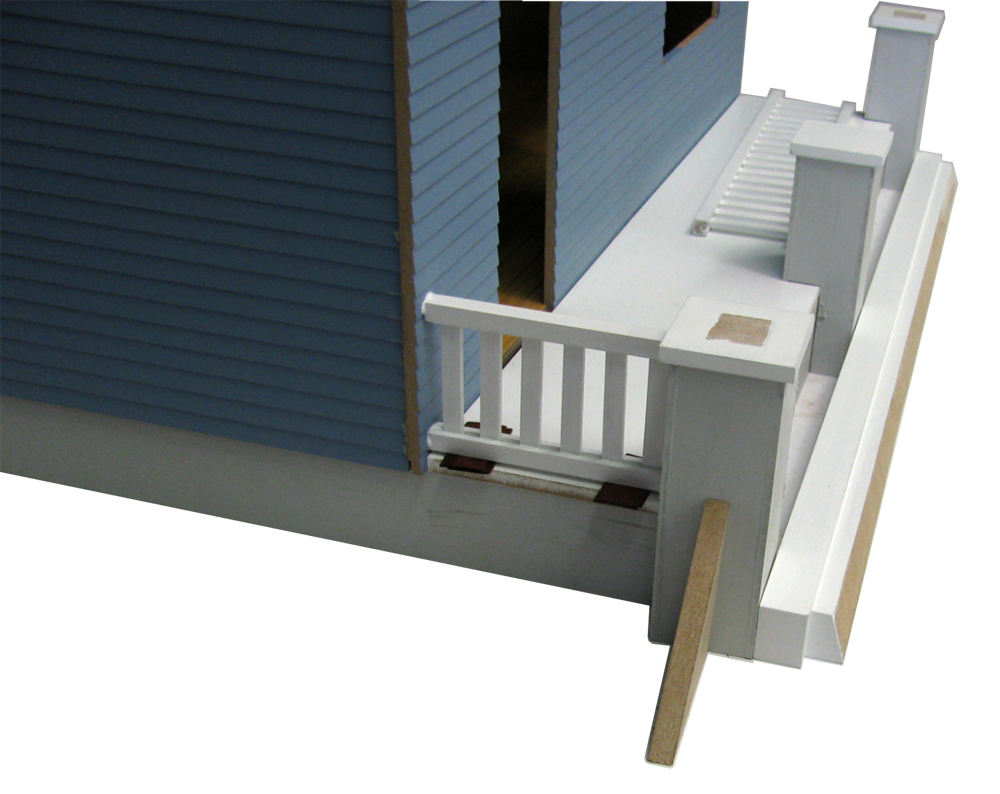
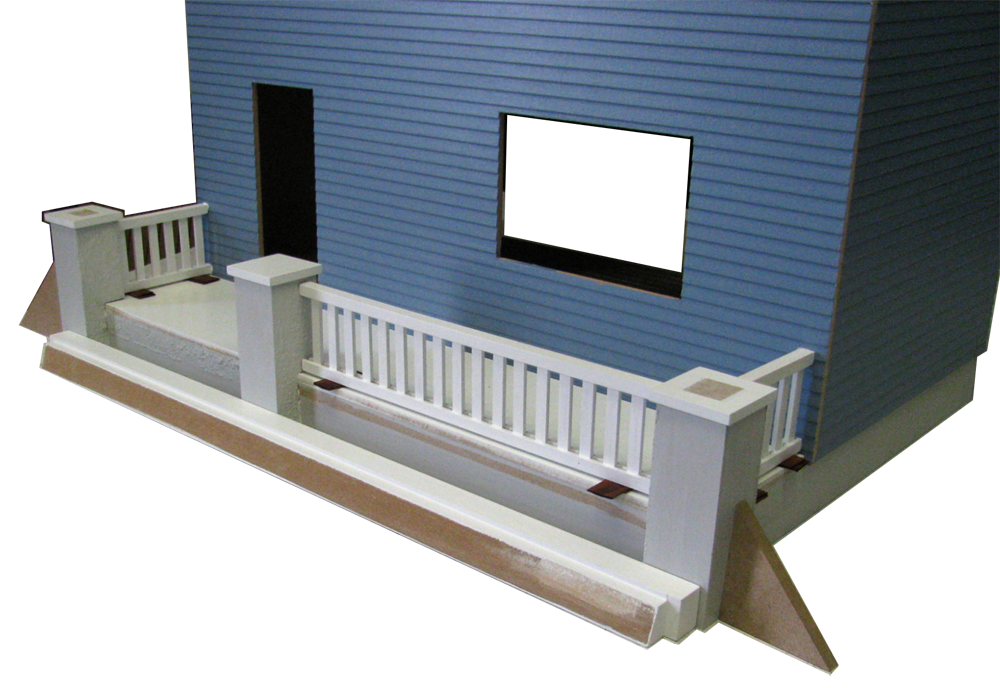
 10. Set up the right Postbase, the side Railing, and the front Railing
Assembly/Porch/10D.png
10. Set up the right Postbase, the side Railing, and the front Railing
Assembly/Porch/10D.png
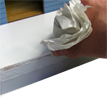
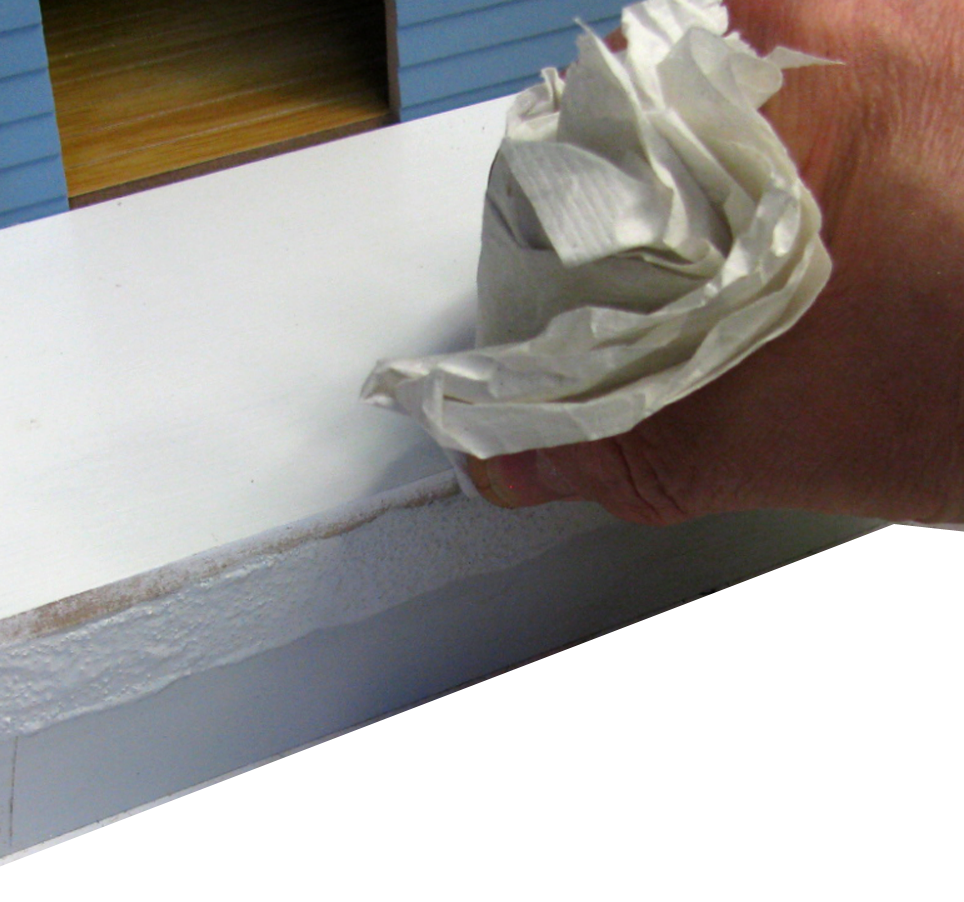
 15. You can avoid the marks because of the 1st-coat and sanding
Assembly/Porch/15D.png
15. You can avoid the marks because of the 1st-coat and sanding
Assembly/Porch/15D.png
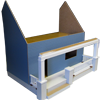
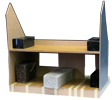
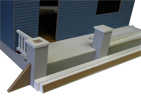
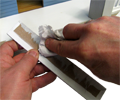
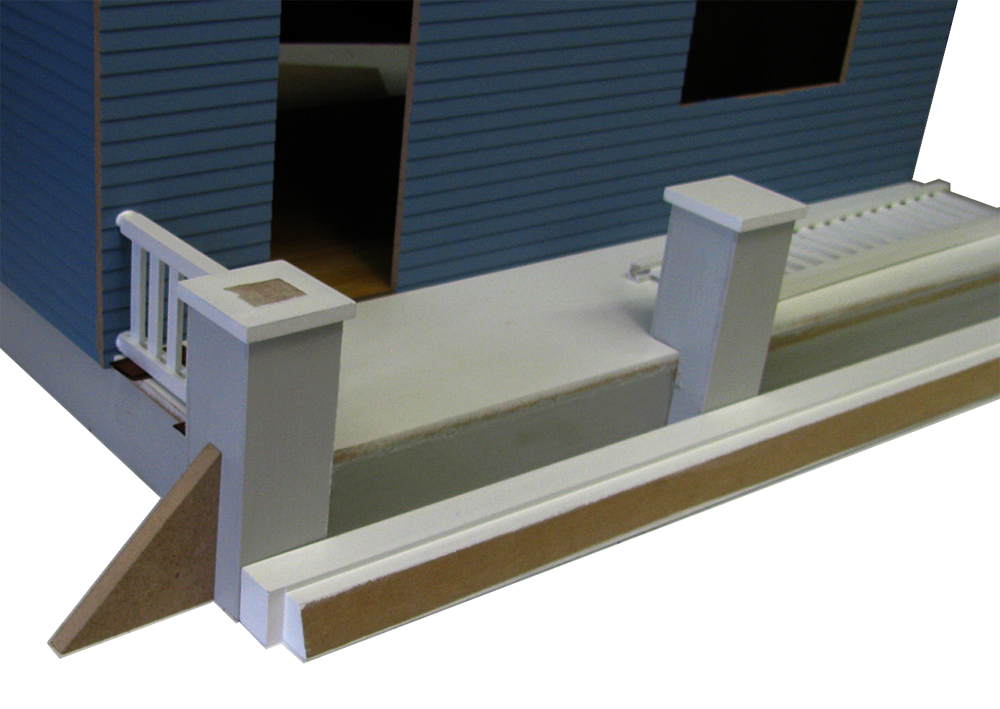
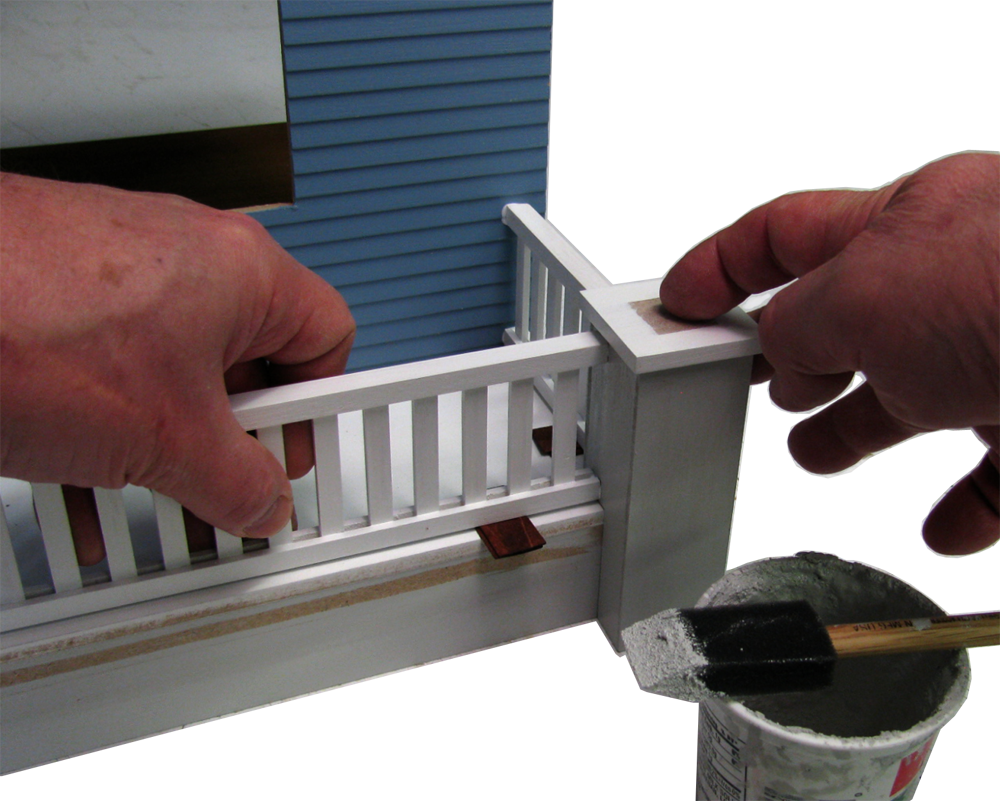
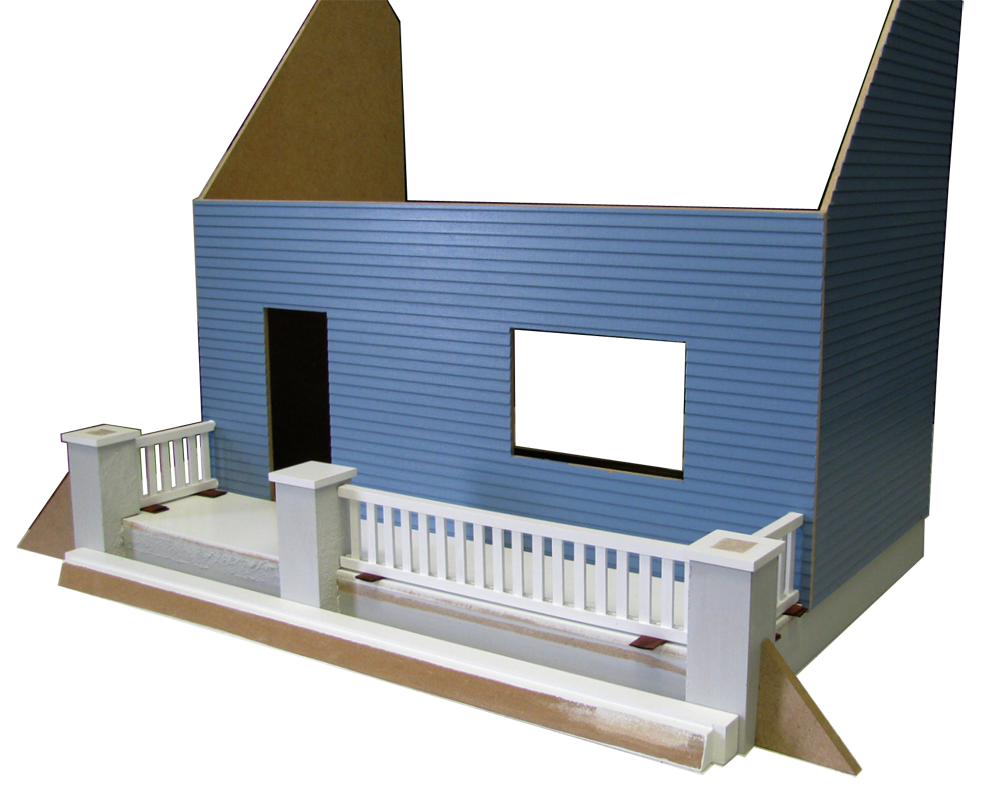
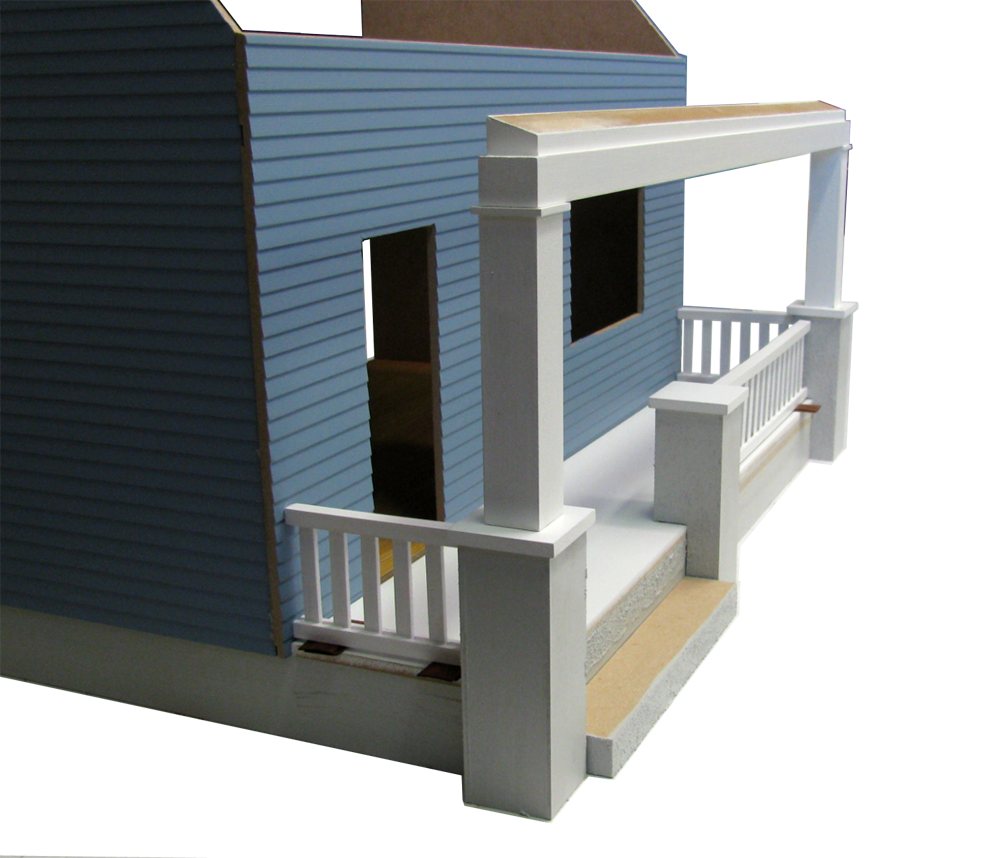
 19. The Porch Beam is lined up with the Posts - front, back, and on the ends
Assembly/Porch/19D.png
19. The Porch Beam is lined up with the Posts - front, back, and on the ends
Assembly/Porch/19D.png
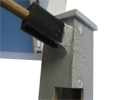
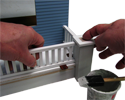
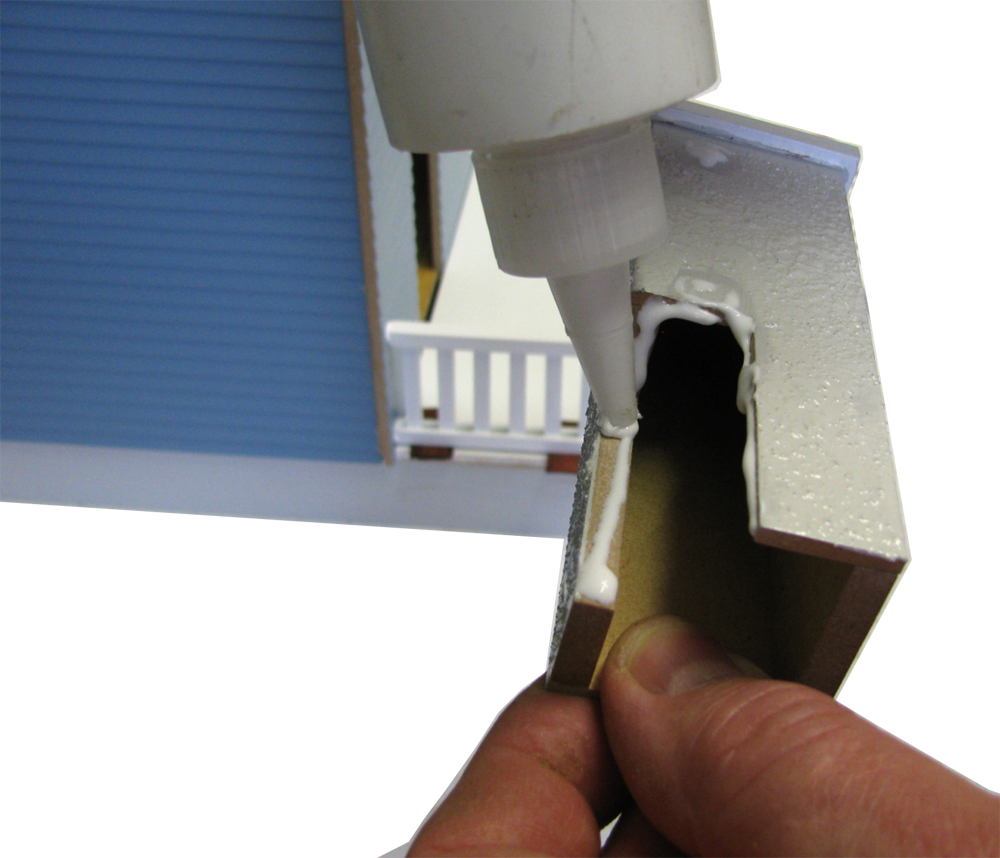
 20. Paint the Foundation - mask the glue-surface for the Step
Assembly/Porch/20D.png
20. Paint the Foundation - mask the glue-surface for the Step
Assembly/Porch/20D.png
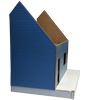
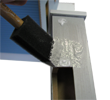
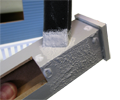
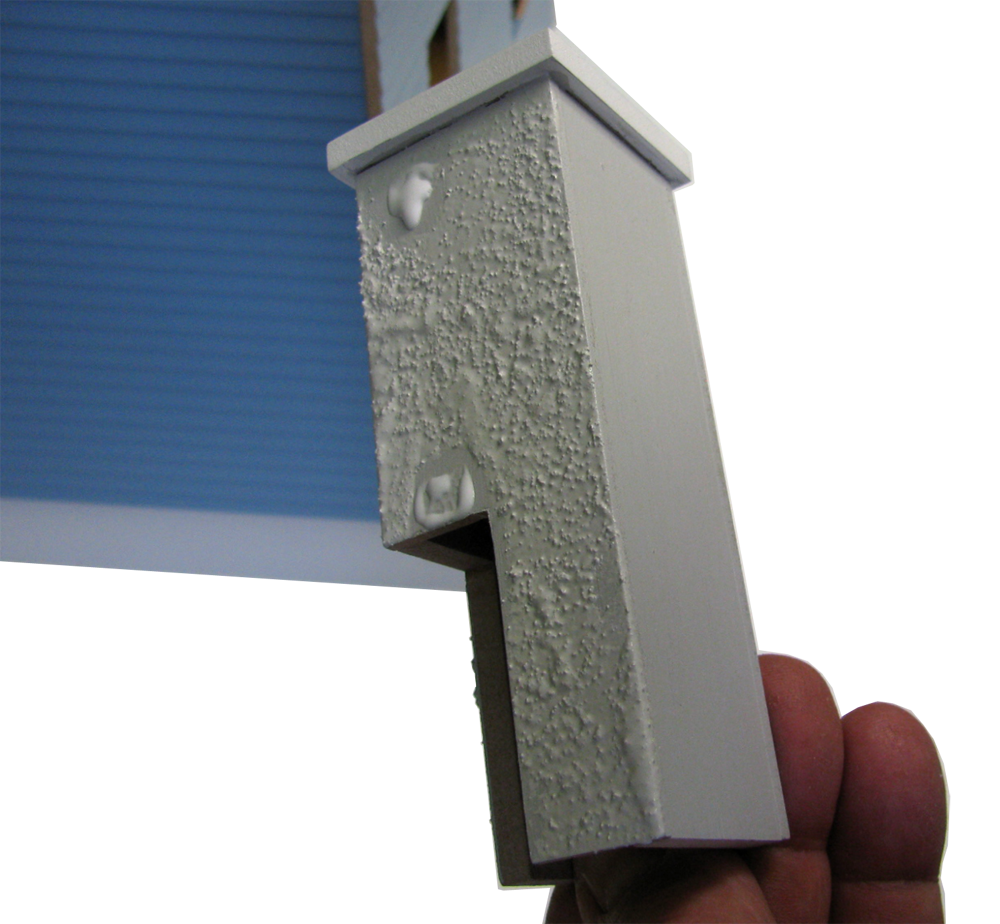
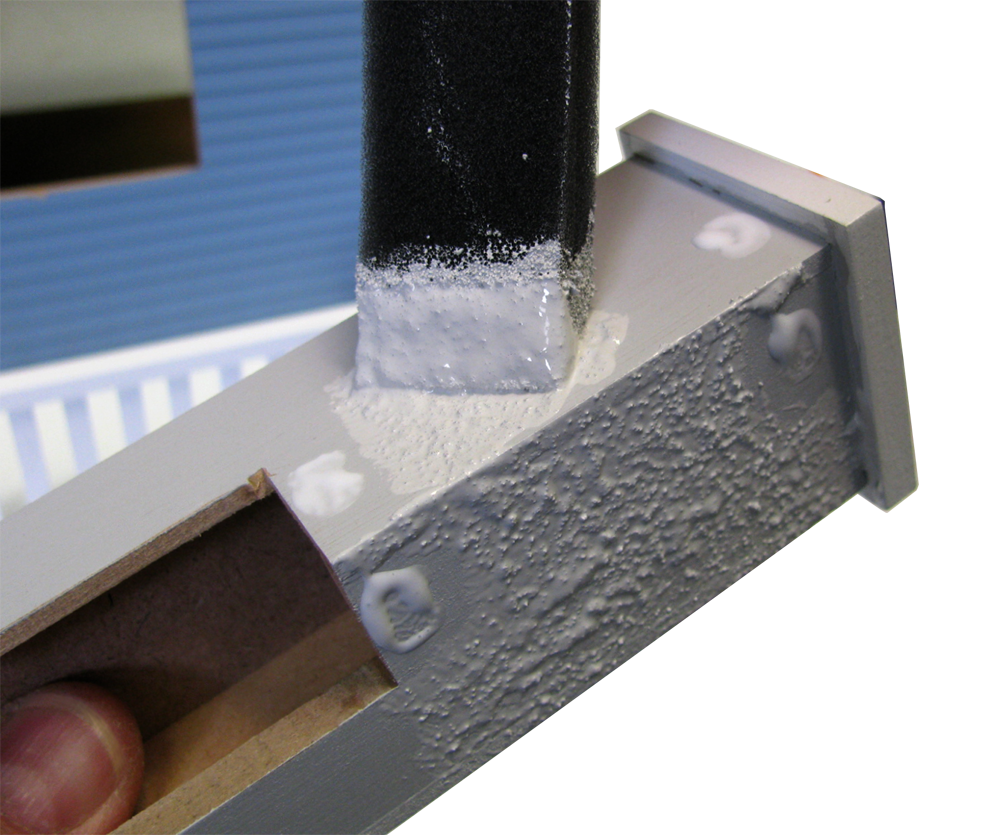
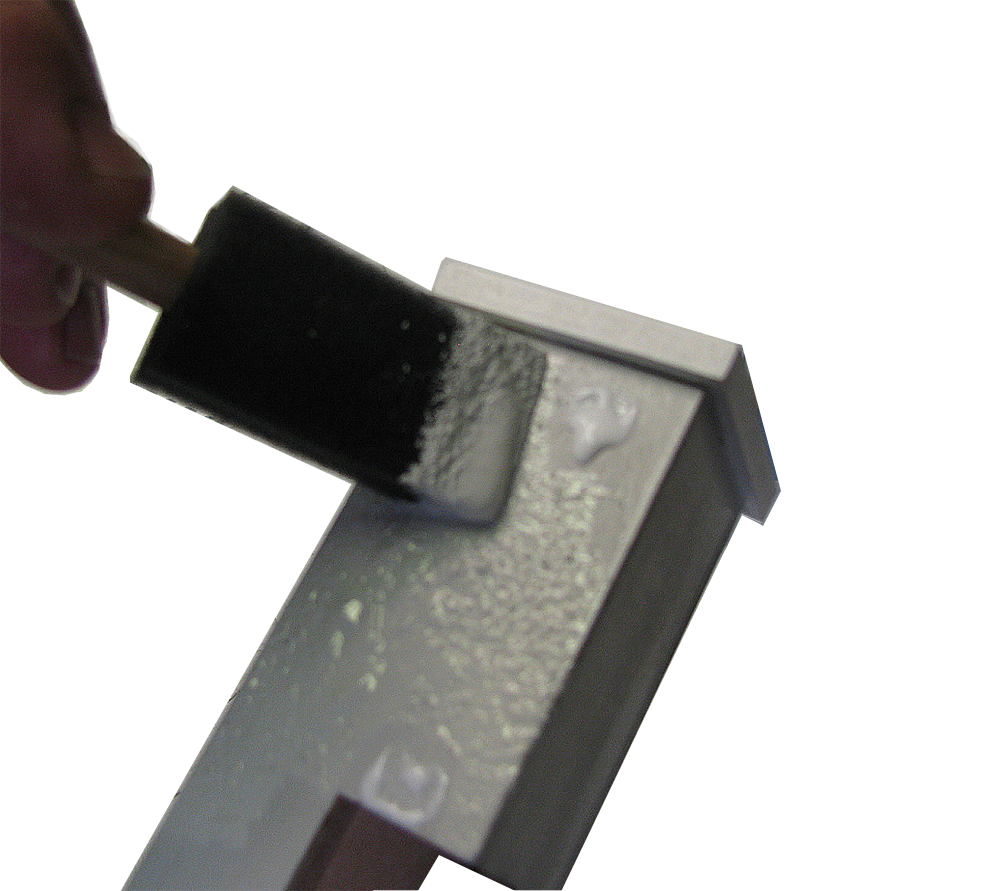
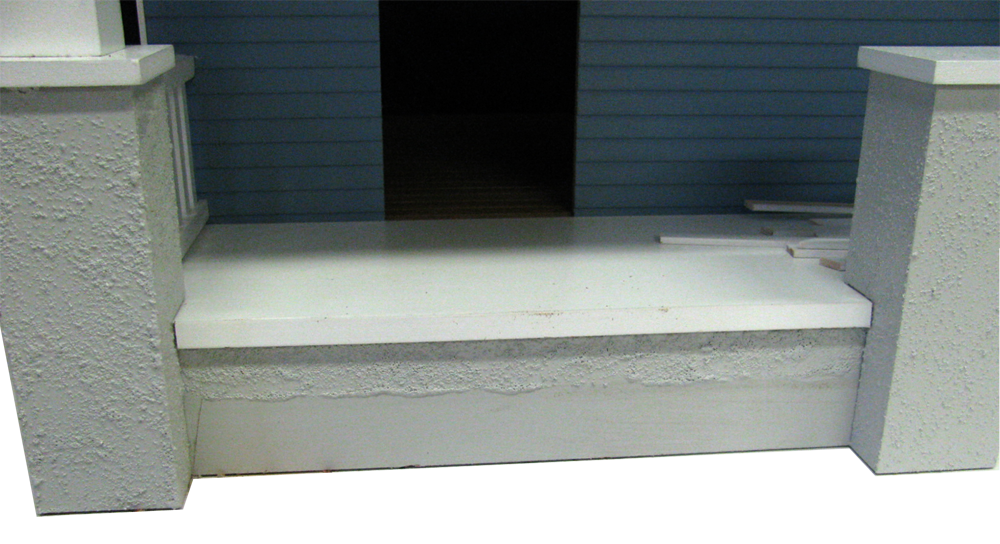
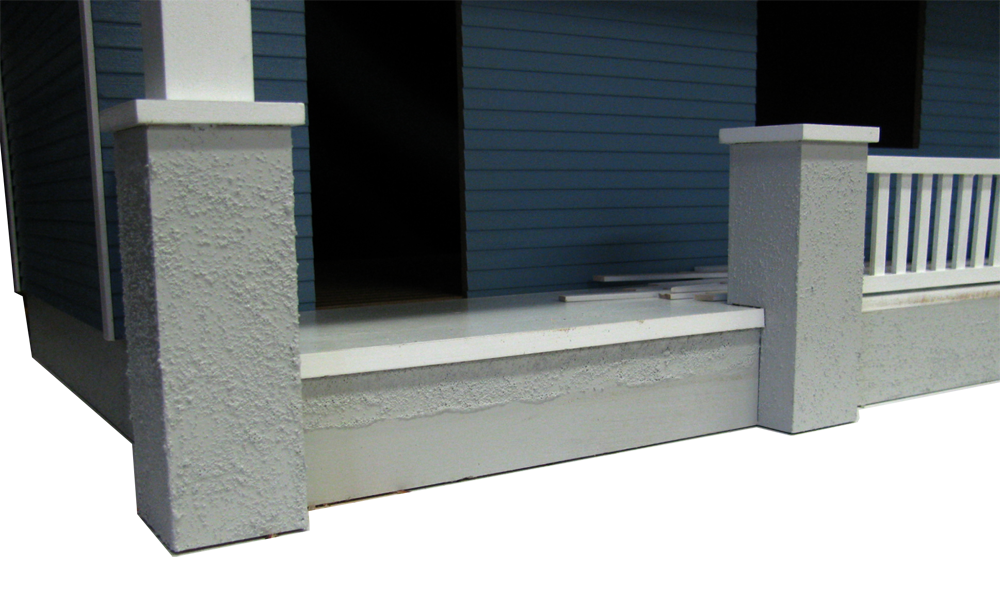
 24. The part of the Foundation that will show has texture paint
Assembly/Porch/24D.png
24. The part of the Foundation that will show has texture paint
Assembly/Porch/24D.png