![]()
![]()
![]()
![]()
PreAssembly
Windows (video) (slideshow)
Brackets (slideshow)
Railings (paint and assemble)
Foundation
Painting (first coat)
Start the Wiring
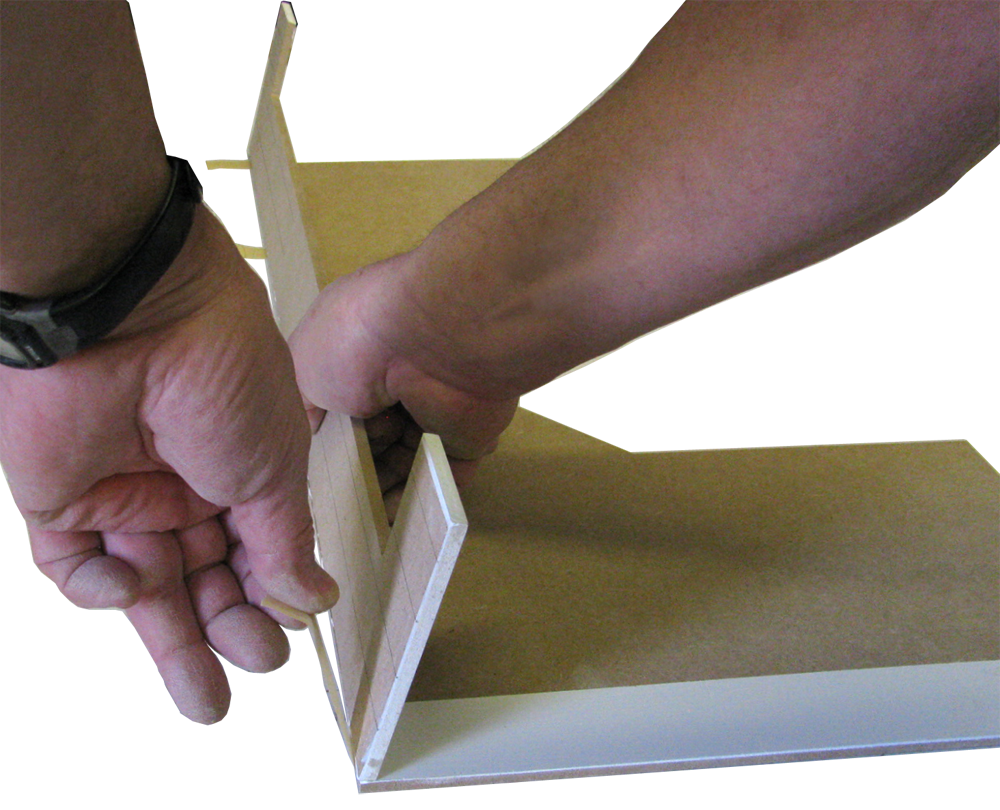
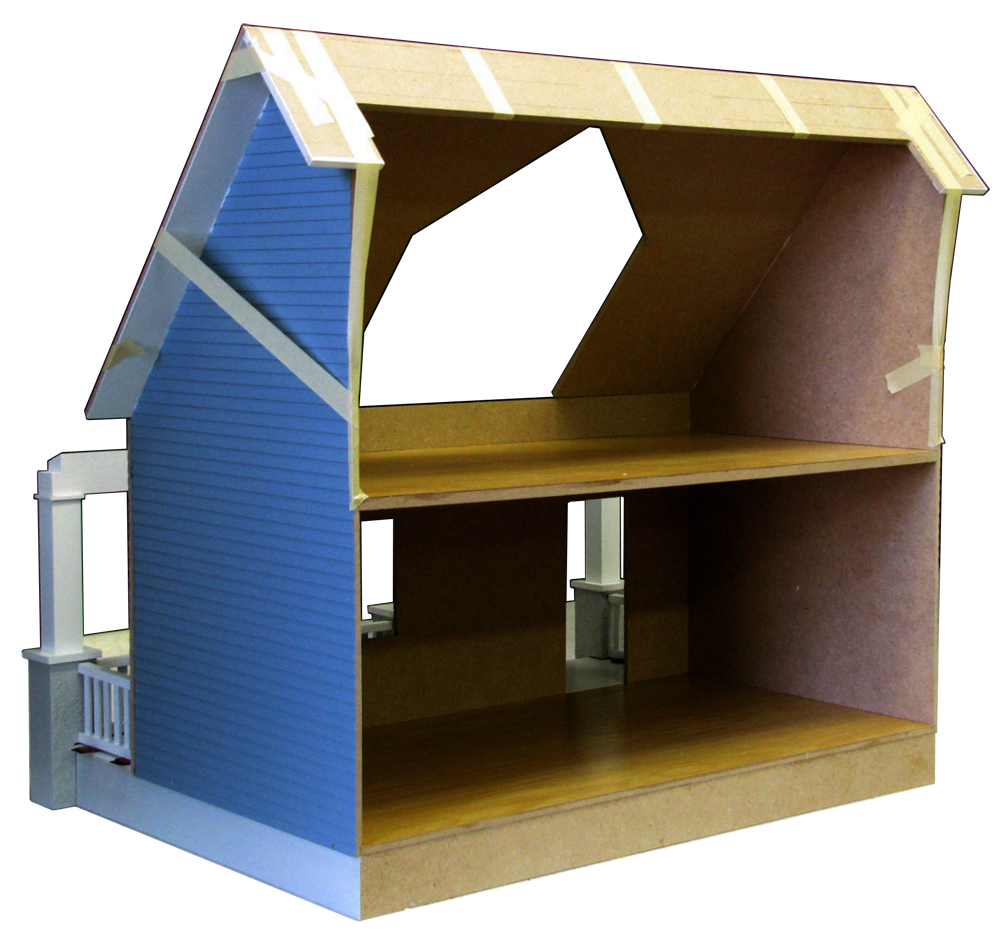
Assembly
Housebody
Painting (second-coat)
Porch
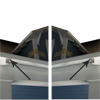
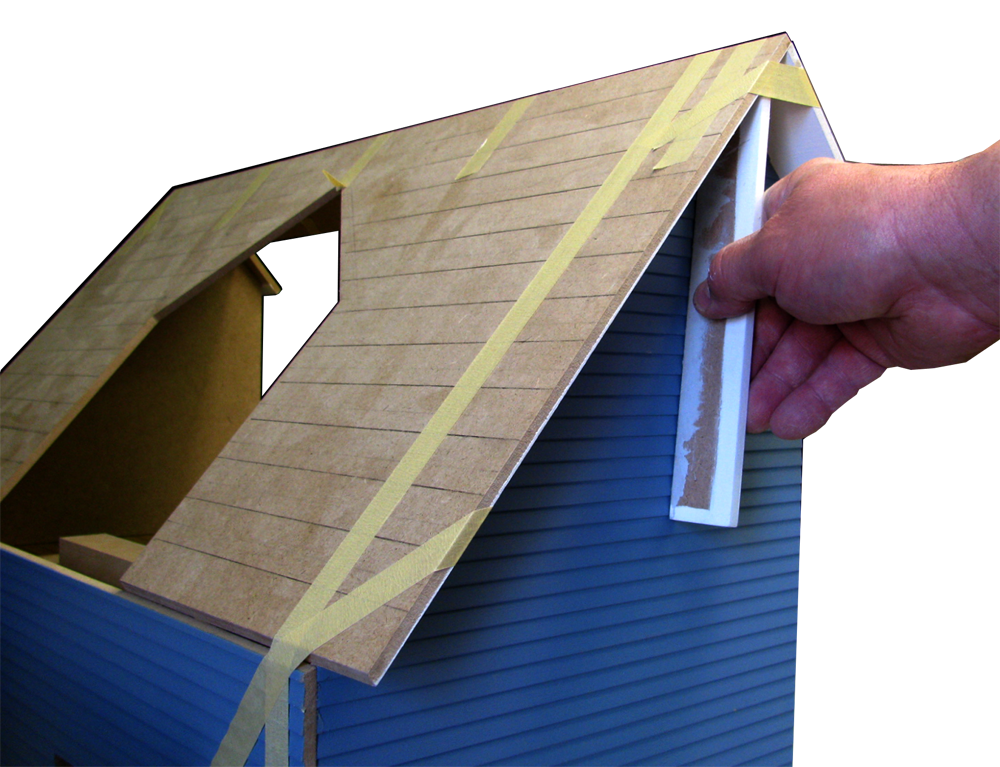
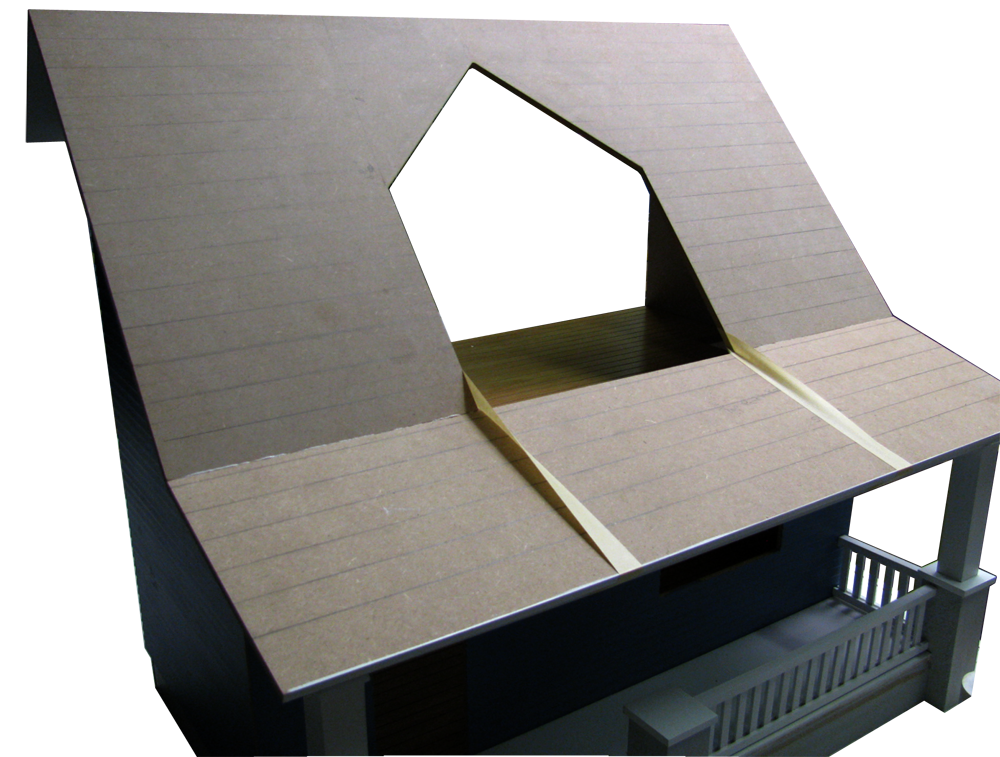
Roof prep. Roof (here)
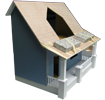
Dormer
Trim
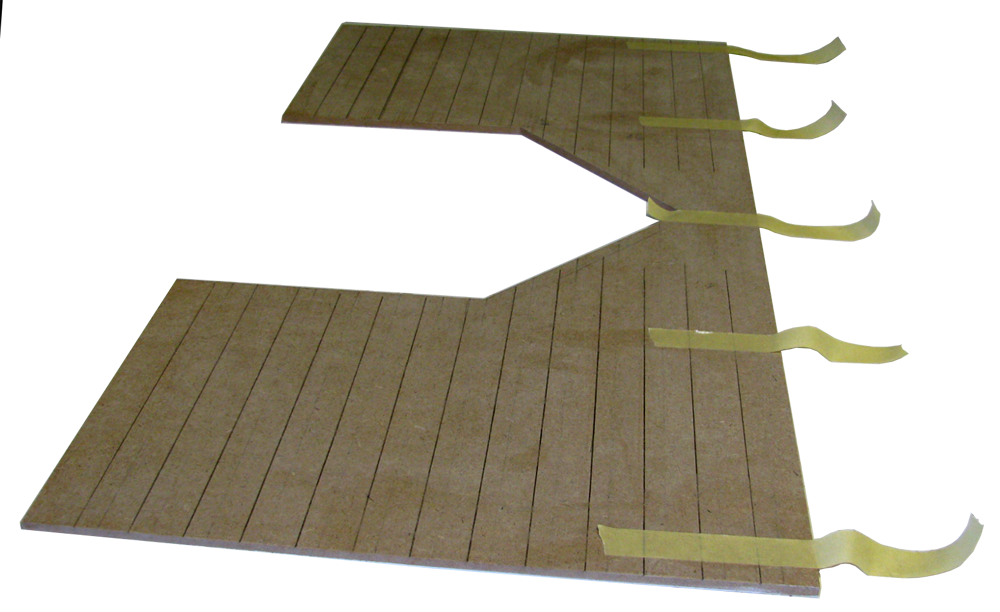
If your floors are tight in the grooves, scrape them
Click on the thumbnail for a printable copy

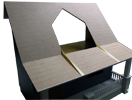
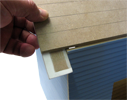 6. I am using the Front Step's Tread to center the Front Roof...
Assembly/Roof/06D.png
6. I am using the Front Step's Tread to center the Front Roof...
Assembly/Roof/06D.png
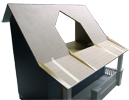
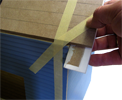 7. it's not quite the same as the overhang, but feeling the 'centering' is easier than measuring
Assembly/Roof/07D.png
7. it's not quite the same as the overhang, but feeling the 'centering' is easier than measuring
Assembly/Roof/07D.png
 8. Feeling at the top of the peak too so it's the same as at the bottom
Assembly/Roof/08D.png
8. Feeling at the top of the peak too so it's the same as at the bottom
Assembly/Roof/08D.png
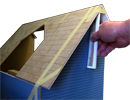
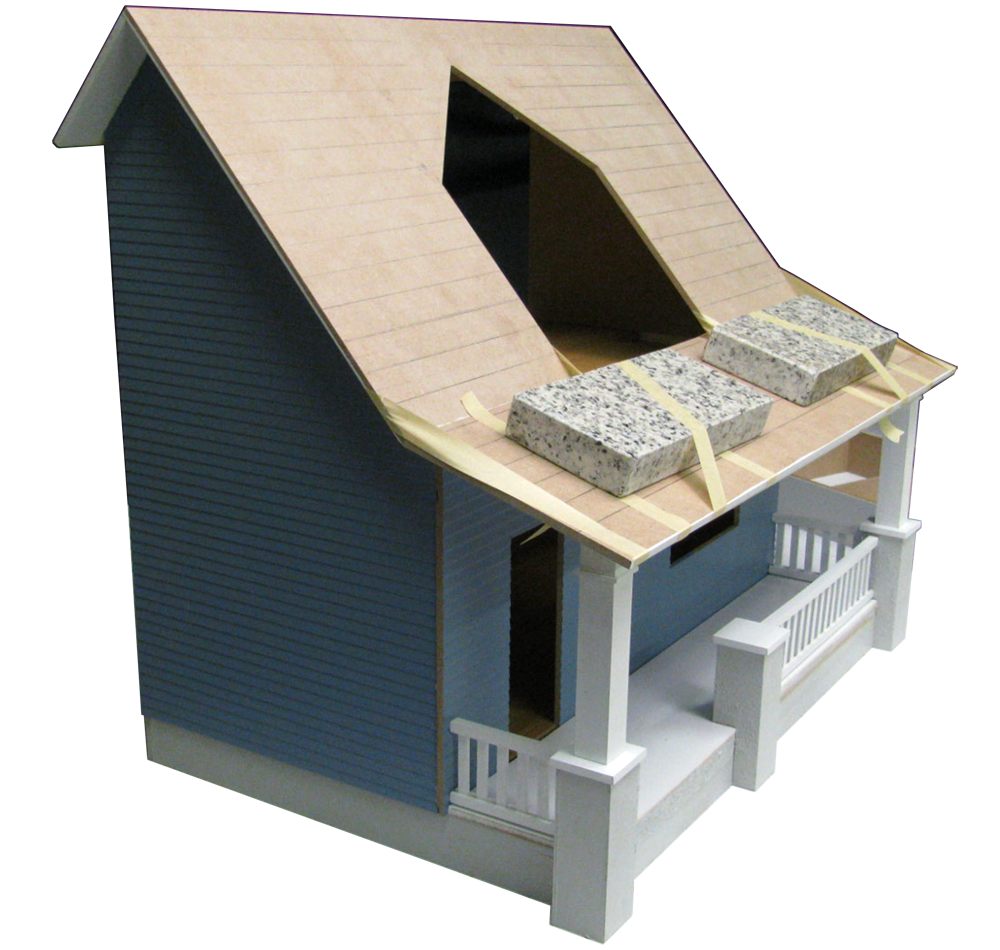
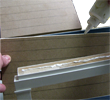 10. Lay glue on the Porch Roof's back edge, the Front's top edge, and the Porch Beam top
Assembly/Roof/10D.png
10. Lay glue on the Porch Roof's back edge, the Front's top edge, and the Porch Beam top
Assembly/Roof/10D.png
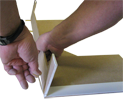
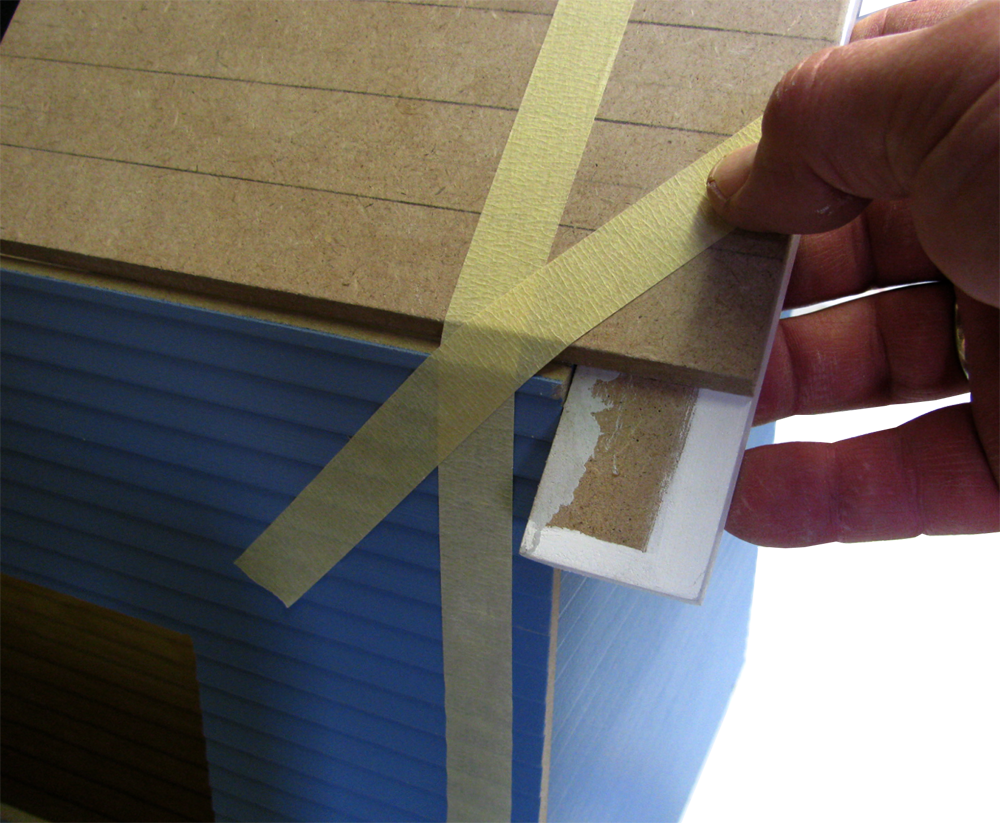
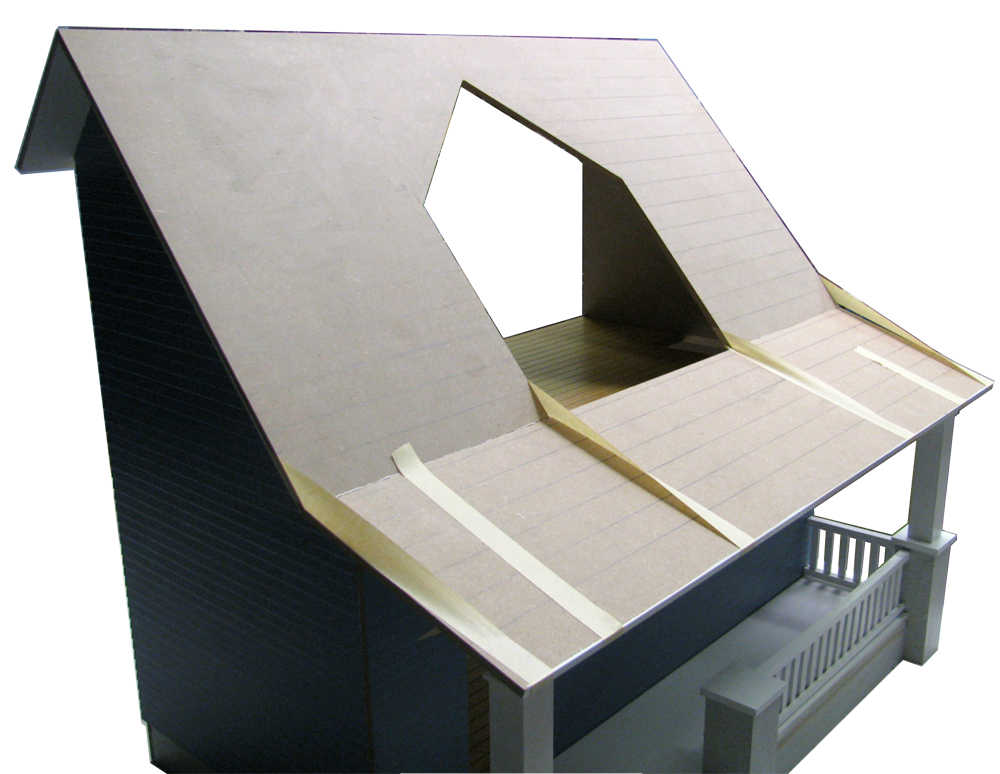
 11. Some of the tape keeps the Porch Roof tight to the Front Roof
Assembly/Roof/11D.png
11. Some of the tape keeps the Porch Roof tight to the Front Roof
Assembly/Roof/11D.png
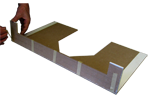
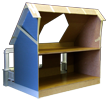
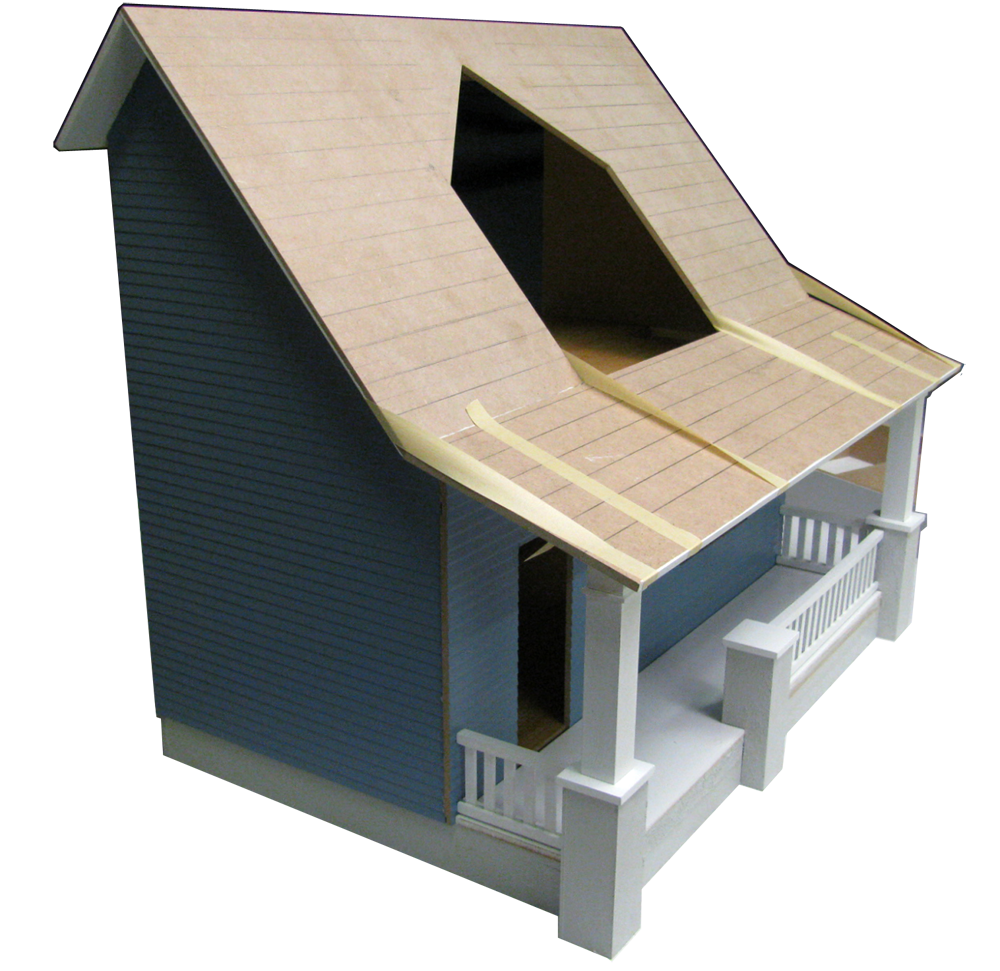
 12. Some of the tape keeps the Porch Posts straight up-and-down
Assembly/Roof/12D.png
12. Some of the tape keeps the Porch Posts straight up-and-down
Assembly/Roof/12D.png
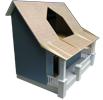
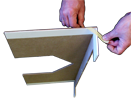
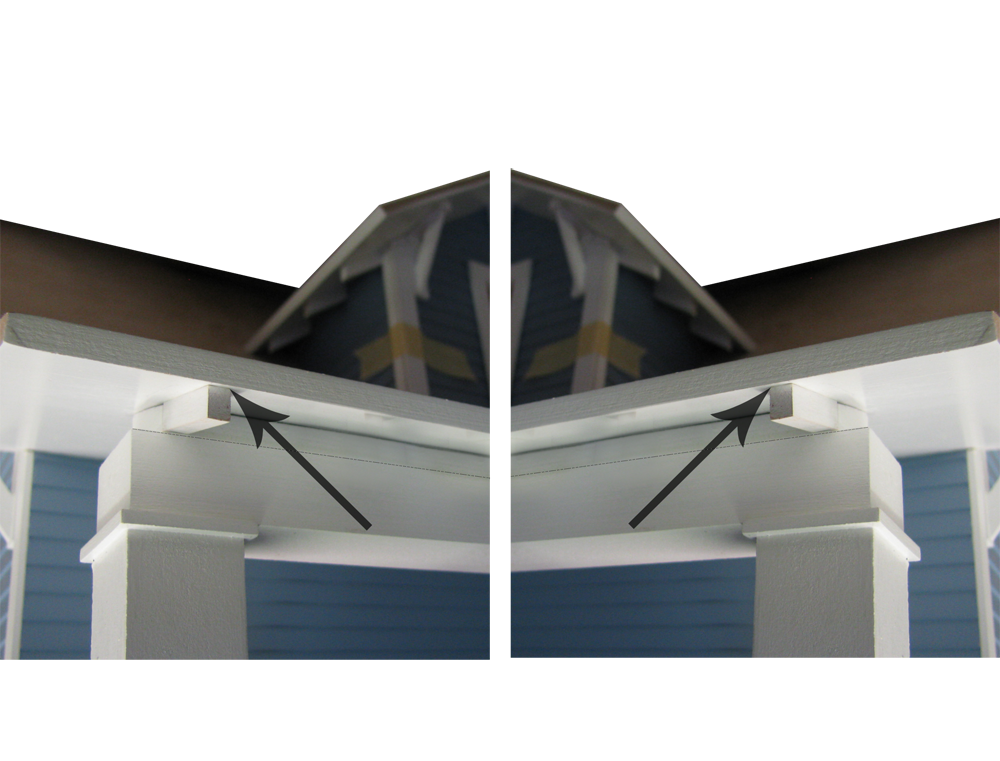
 14. Put a Porch Rafter End in place on both ends to check that the overhang is the same
Assembly/Roof/14D.png
14. Put a Porch Rafter End in place on both ends to check that the overhang is the same
Assembly/Roof/14D.png