![]()
![]()
![]()
![]()
PreAssembly
Windows (video) (slideshow)
Brackets (slideshow)
Railings (paint and assemble)
Postbase (assemble)
Foundation (here)
Painting (first coat)
Start the Wiring
Assembly
Housebody
Painting (second-coat)
Porch
Roof prep. Roof
Dormer
Trim
If your floors are tight in the grooves, scrape them
Click on the thumbnail for a printable copy
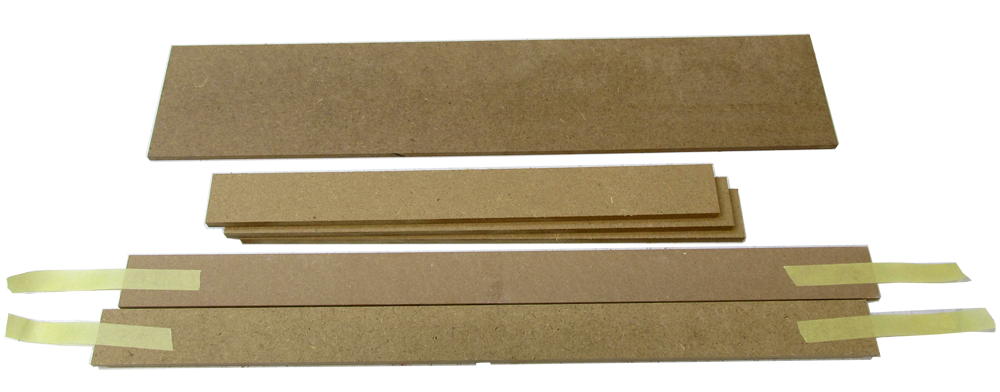
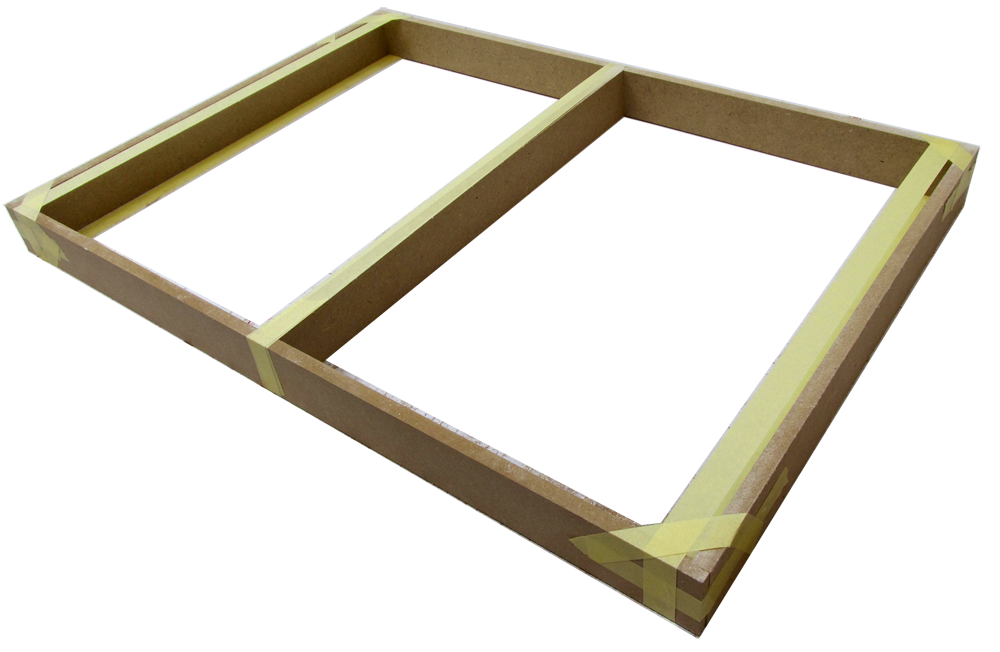
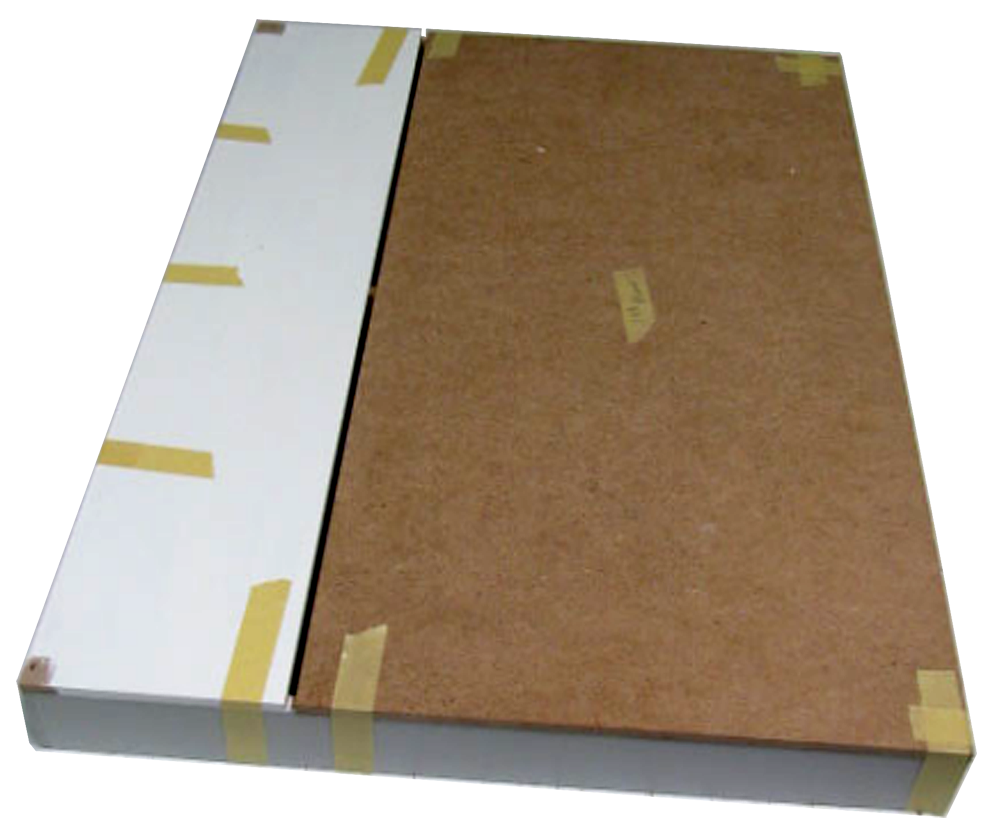
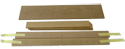 1. Parts: Front/Back Foundations, Mid Foundations, Porch Floor
Assembly/Foundation/01D.png
1. Parts: Front/Back Foundations, Mid Foundations, Porch Floor
Assembly/Foundation/01D.png
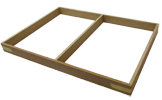


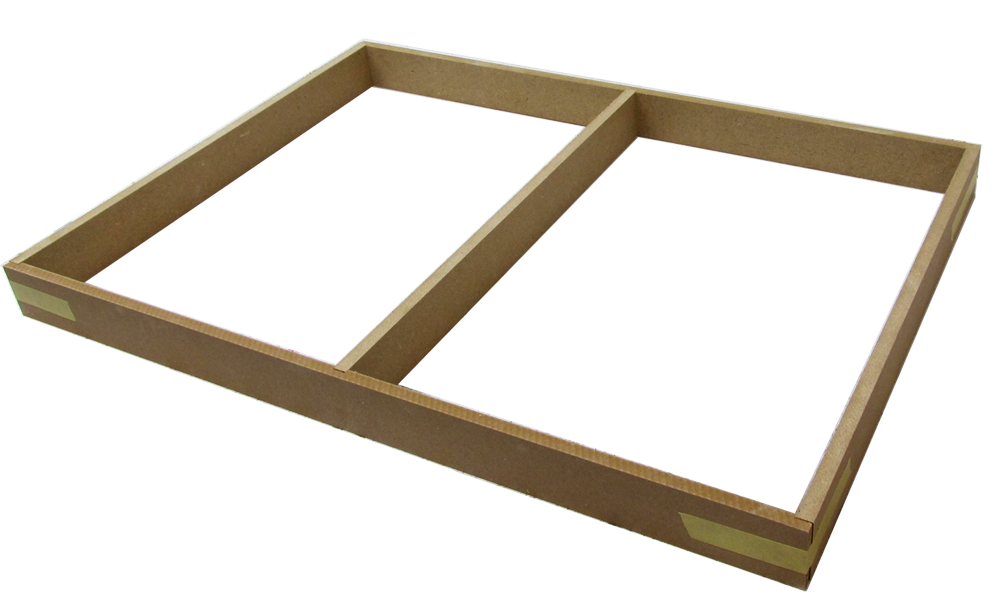
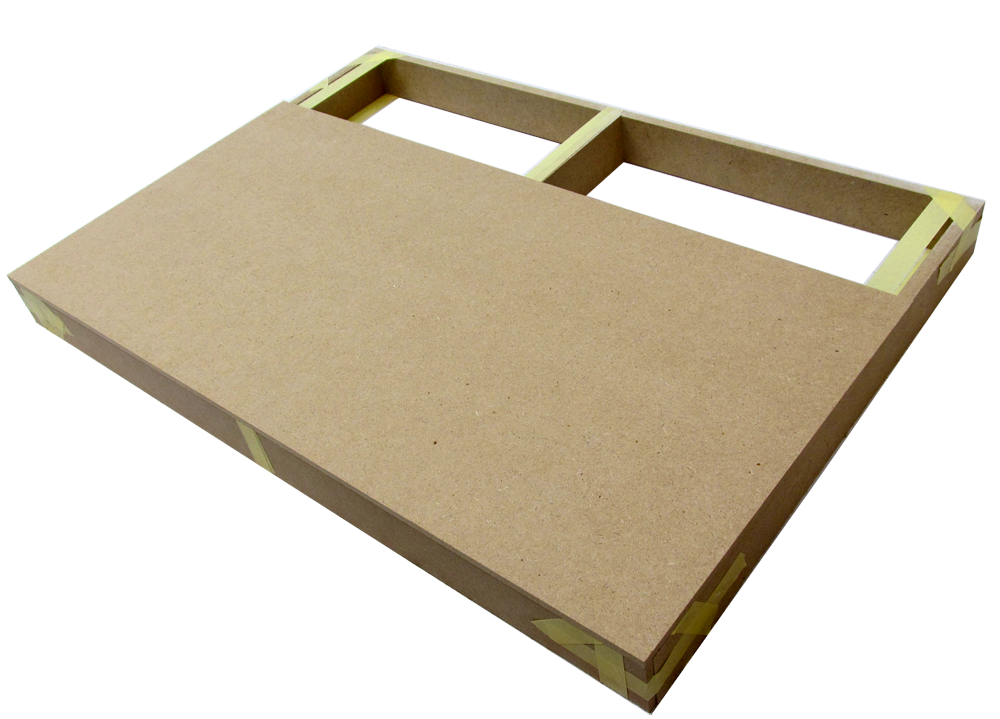
 7. TEMPORARY use of the Base Floor to hold the Foundation square
Assembly/Foundation/07D.png
7. TEMPORARY use of the Base Floor to hold the Foundation square
Assembly/Foundation/07D.png


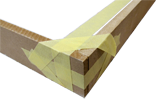
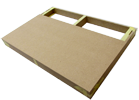
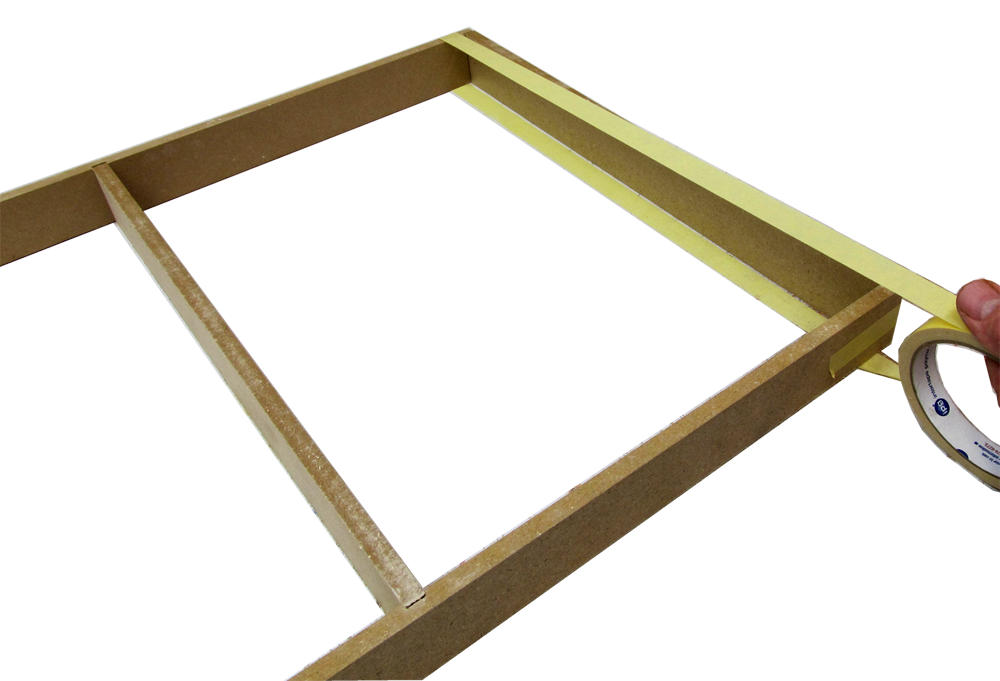
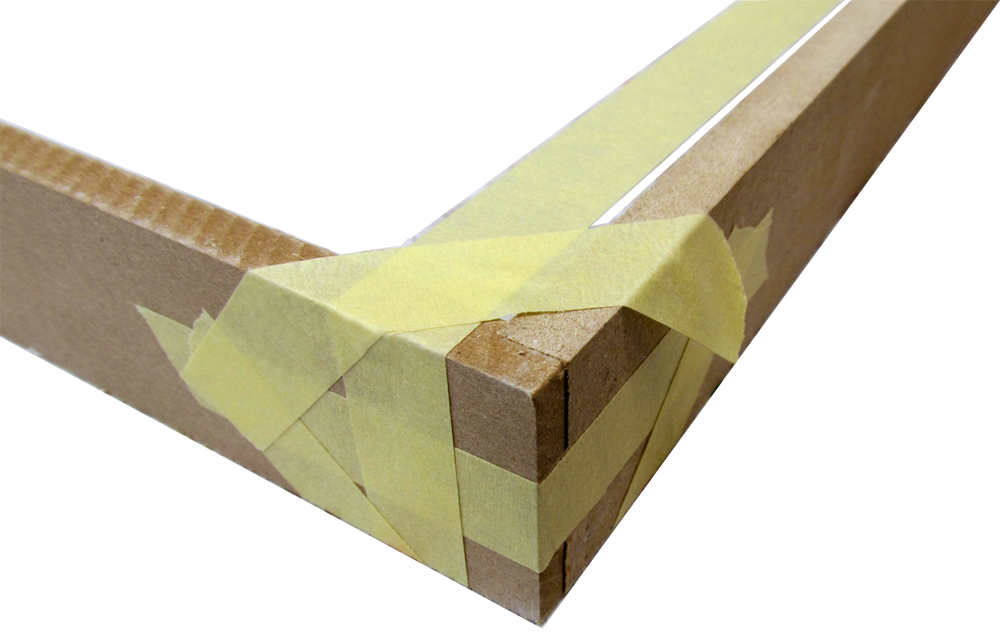
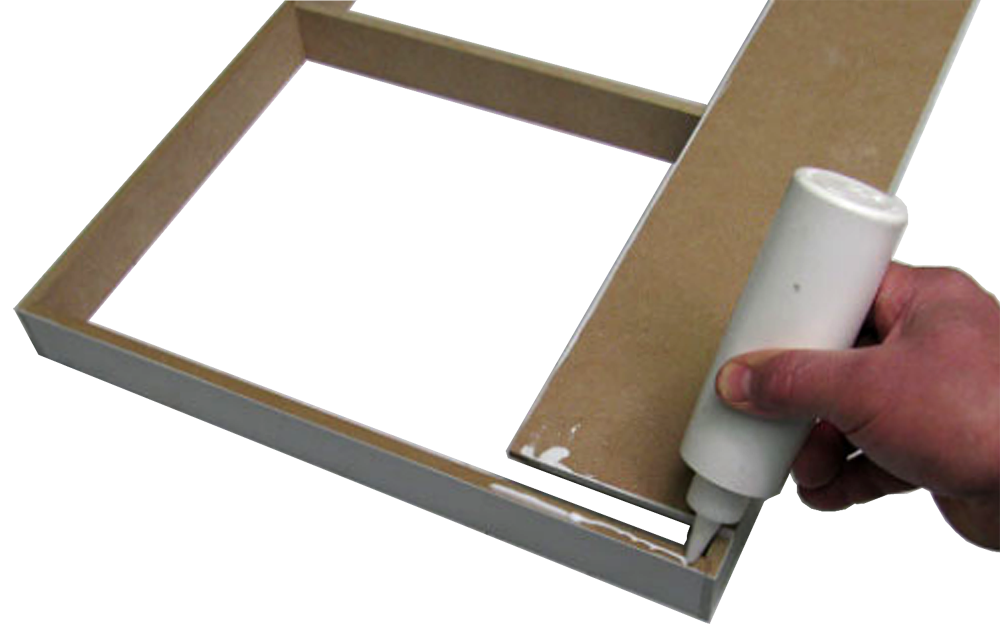
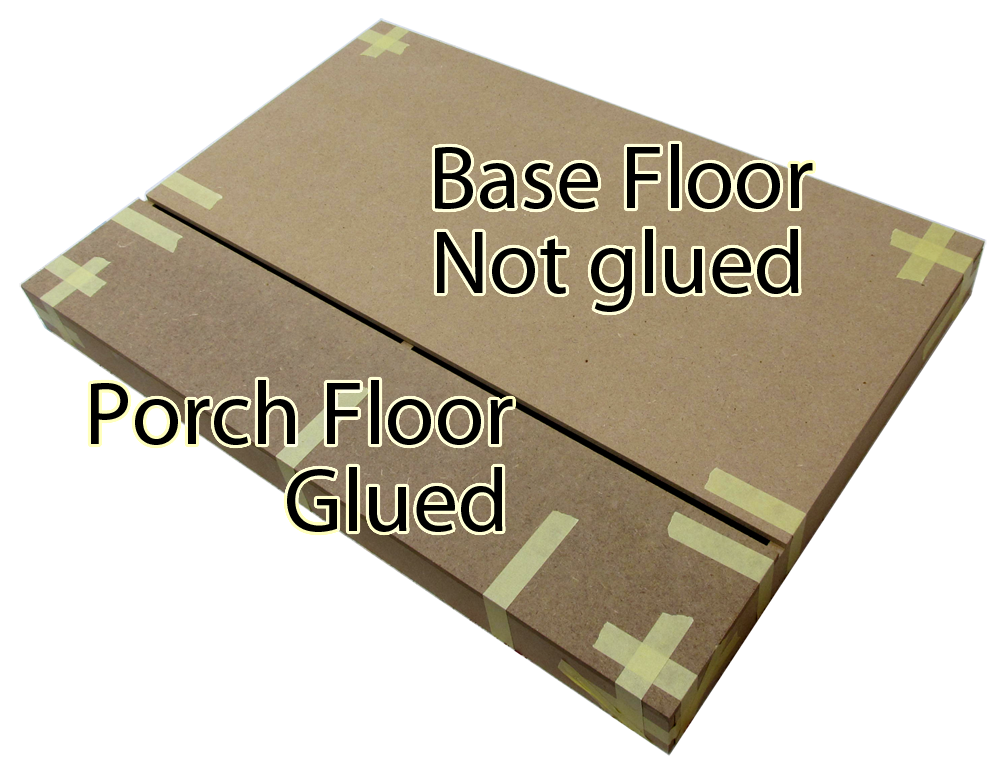
 11. Glue, tape, and weight only the Porch Floor to the foundations
Assembly/Foundation/11D.png
11. Glue, tape, and weight only the Porch Floor to the foundations
Assembly/Foundation/11D.png
