![]()
Slideshows support but do not replace the instructions
Pre-Assembly:
Parts Identification: Packs
Parts Identification: Panels
PreAssemble
Stain and Paint
Assembly:
Housebody
Logs
Attic Logs
Dormer
Nubs
Dormer Roof
Carve
Foundation
Porch 1 Porch 2
Exterior Finishing
Trim
Windows and Shutters
Interior Finishing
Window Trim and Stairs
![]()
![]()
2024 instructions
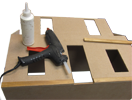
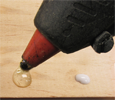
Using Hot-Melt Glue (Blog)
Glue Dots (Movie)
![]()
DHTMLGoodies.com
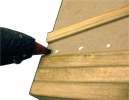
 00 Aleene's Tacky Glue, Hot-melt glue, and an X-Acto razor saw
../../RGT_Website_assets/ajax-loader.gif
 00 Aleene's Tacky Glue, Hot-melt glue, and an X-Acto razor saw
../../RGT_Website_assets/ajax-loader.gif
DHTMLGoodies.com
 4G. Logs with part numbers come in the kit (see the parts list - page 4)
LogUse6.jpg
 4G. Logs with part numbers come in the kit (see the parts list - page 4)
LogUse6.jpg
DHTMLGoodies.com
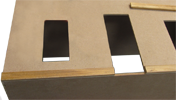 Now back to our regularly scheduled program
../../RGT_Website_assets/ajax-loader.gif
 Now back to our regularly scheduled program
../../RGT_Website_assets/ajax-loader.gif
DHTMLGoodies.com
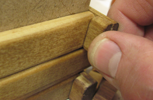
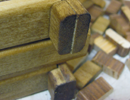
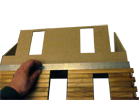
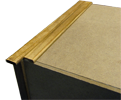 13. The next log is lined up in back - the Nub will cover a discrepancy in front
13D.png
 13. The next log is lined up in back - the Nub will cover a discrepancy in front
13D.png
DHTMLGoodies.com
 00. Next (Attic Logs): Click the "Click" button (above)
../../Buttons/ClickHere.png
 00. Next (Attic Logs): Click the "Click" button (above)
../../Buttons/ClickHere.png
