Slideshows support but do not replace the instructions
Pre-Assembly:
Parts Identification: Packs
Parts Identification: Panels
PreAssemble
Stain and Paint
Assembly:
Housebody
Logs
Attic Logs
Dormer
Nubs
Dormer Roof
Carve
Foundation
Porch 1 Porch 2
Exterior Finishing
Trim
Windows and Shutters
Interior Finishing
Window Trim and Stairs
2024 instructions
|
DHTMLGoodies.com
00. Attach the Foundations
../../RGT_Website_assets/ajax-loader.gif
DHTMLGoodies.com
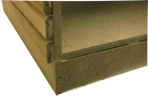
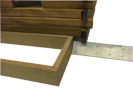
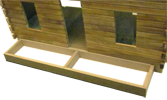
01. House and Porch Foundations were built in PreAssembly
01D.png
DHTMLGoodies.com
02. If not, "Click"(above) to return there
../../Buttons/ClickHere.png
DHTMLGoodies.com
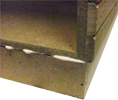
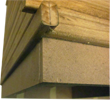
09. the glue is dry, the tape is off, the porch foundation is centered
09D.png
DHTMLGoodies.com
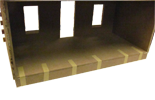
10. Glue and tape - a big band all the way around the house foundation
10D.png
DHTMLGoodies.com
00. Next (Porch) Click the "Click" button (above)
../../Buttons/ClickHere.png
|