![]()
![]()
Slideshows support but do not replace the instructions
Pre-Assembly:
Parts Identification: Packs
Parts Identification: Panels
PreAssemble
Stain and Paint
Assembly:
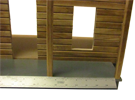
Housebody
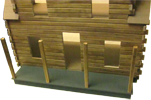
Logs
Attic Logs
Dormer
Nubs
Dormer Roof
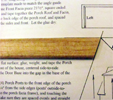
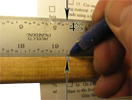
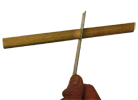
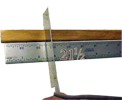
Carve
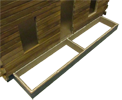
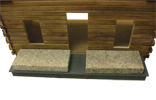
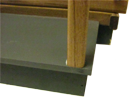
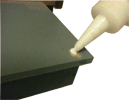
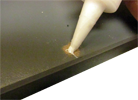
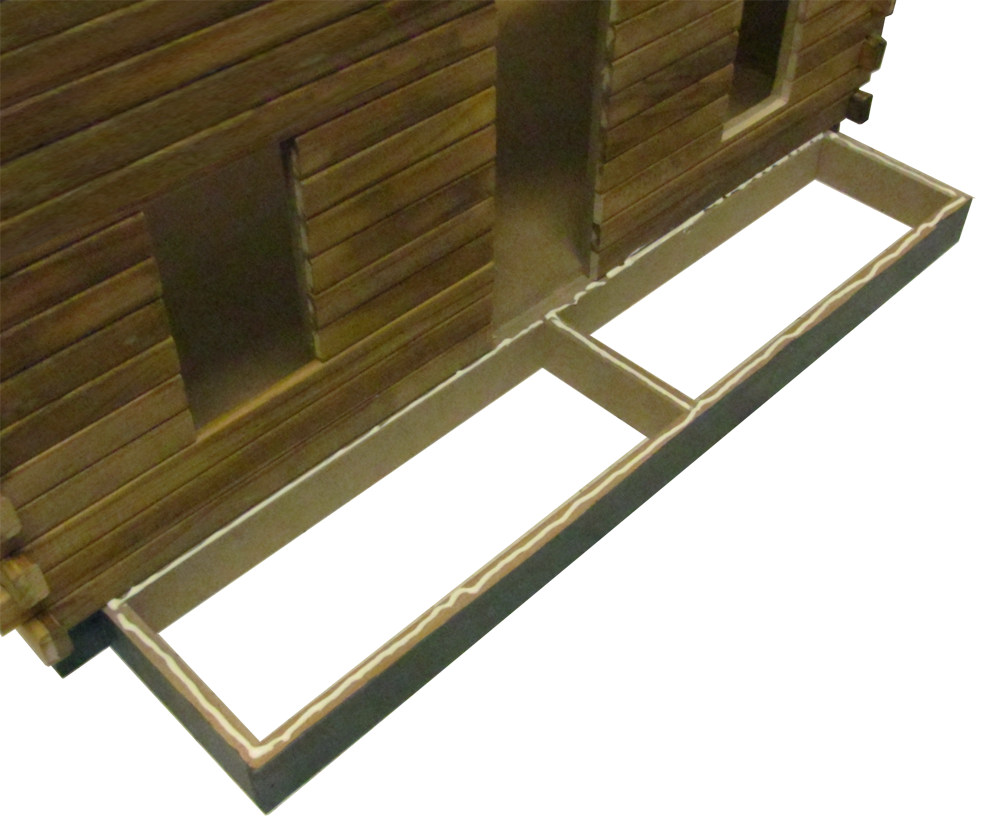
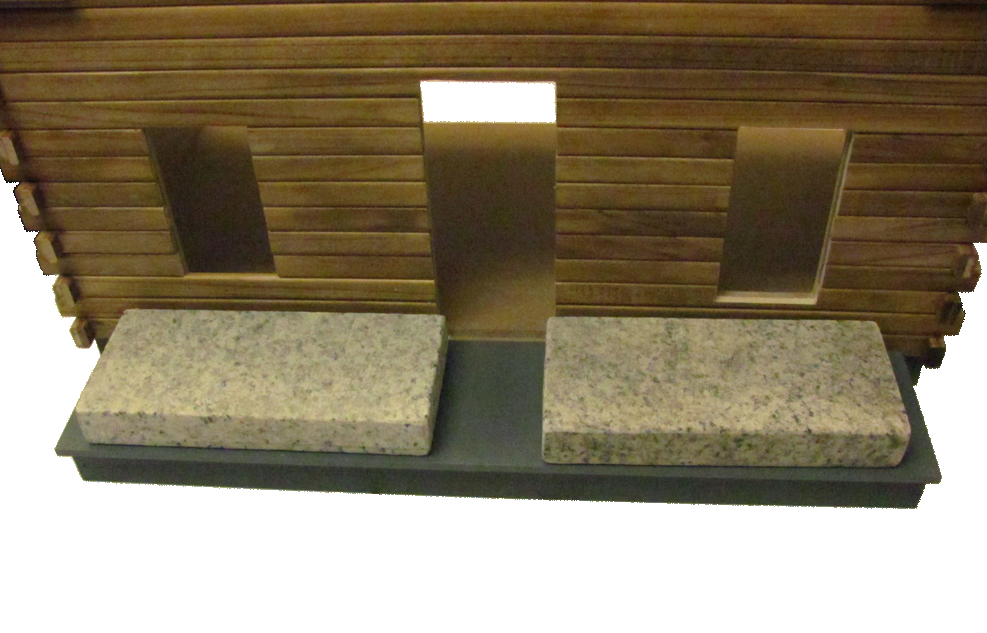
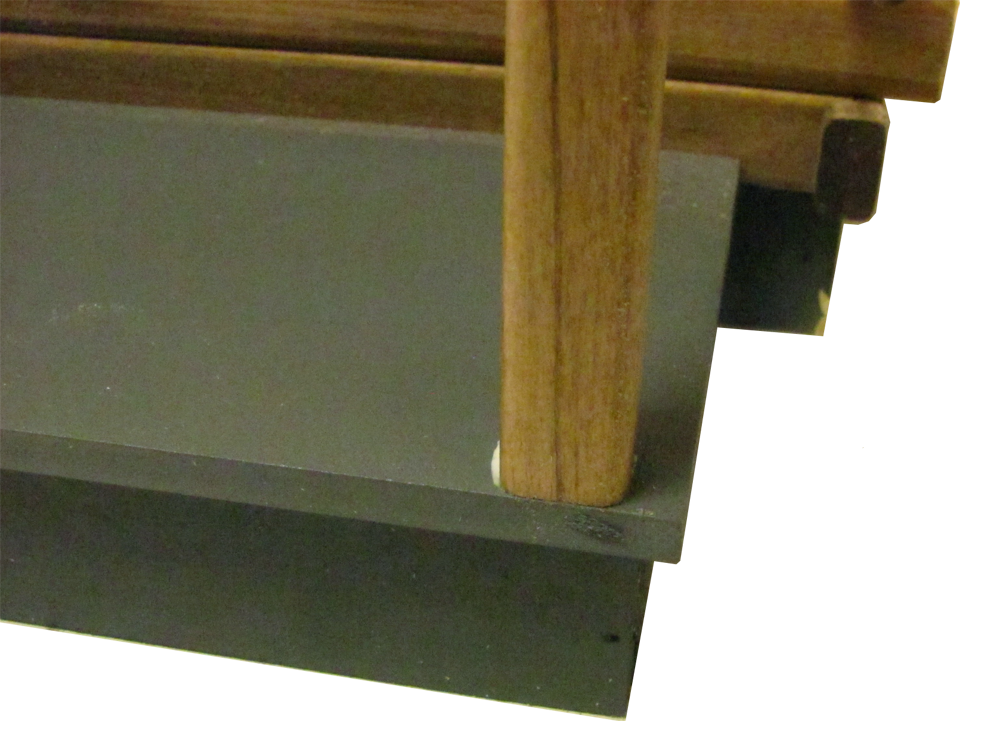
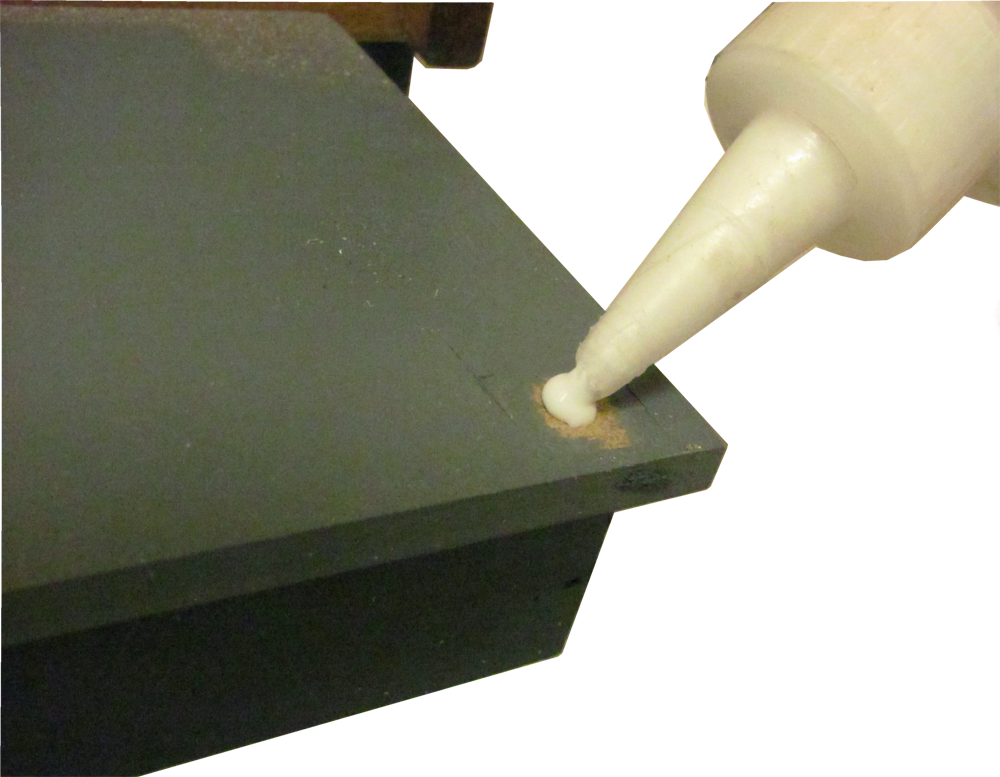
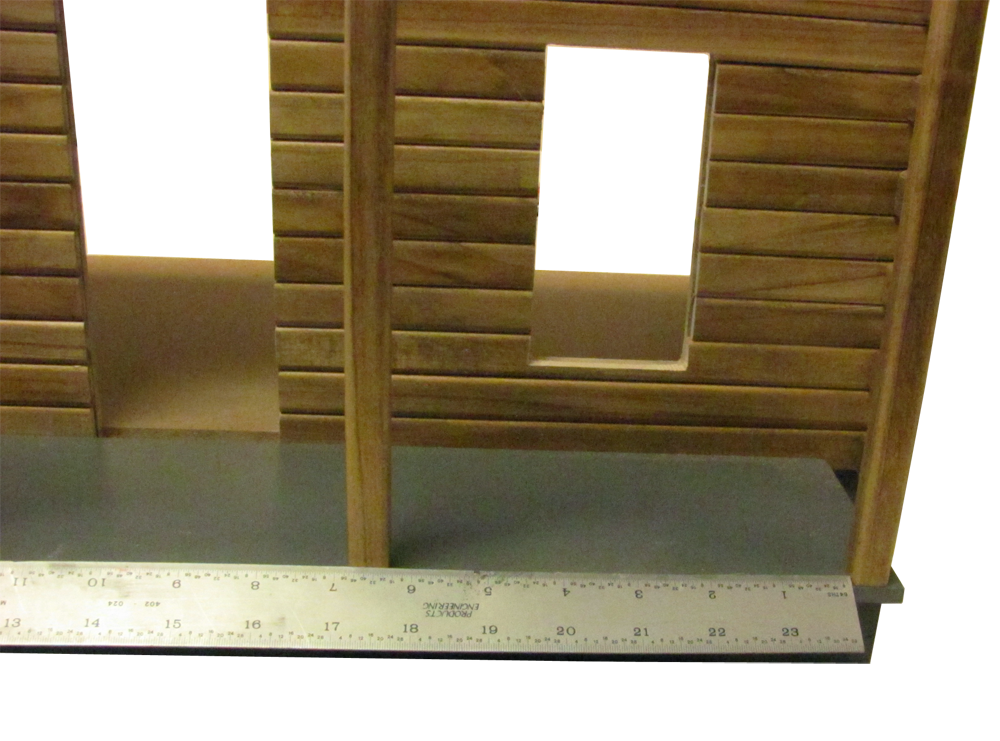
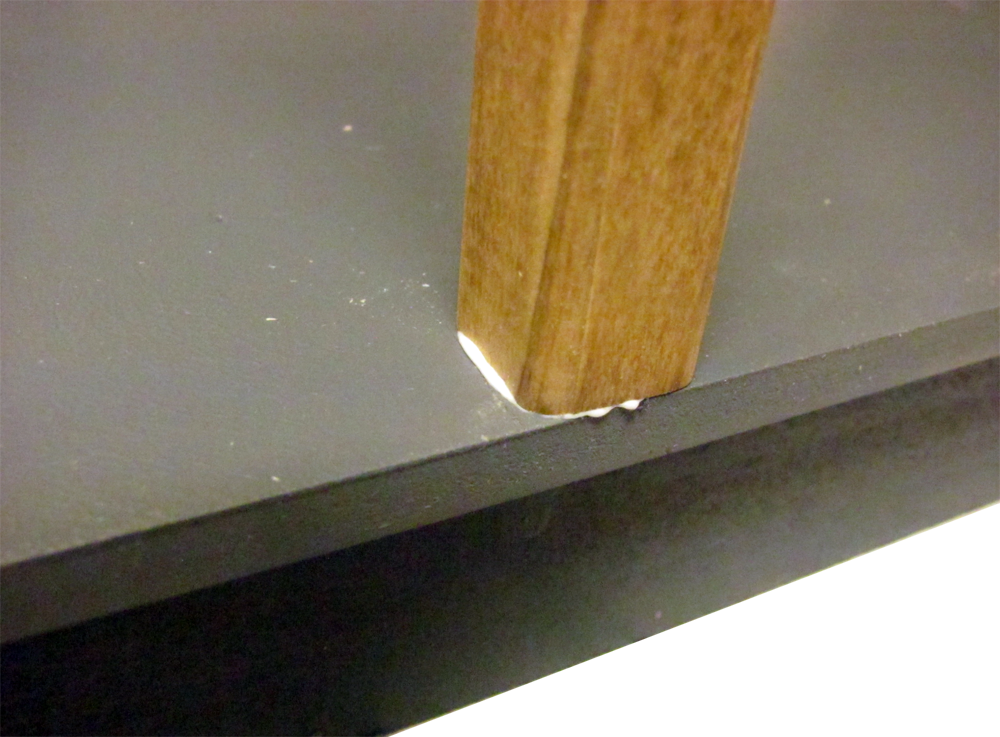
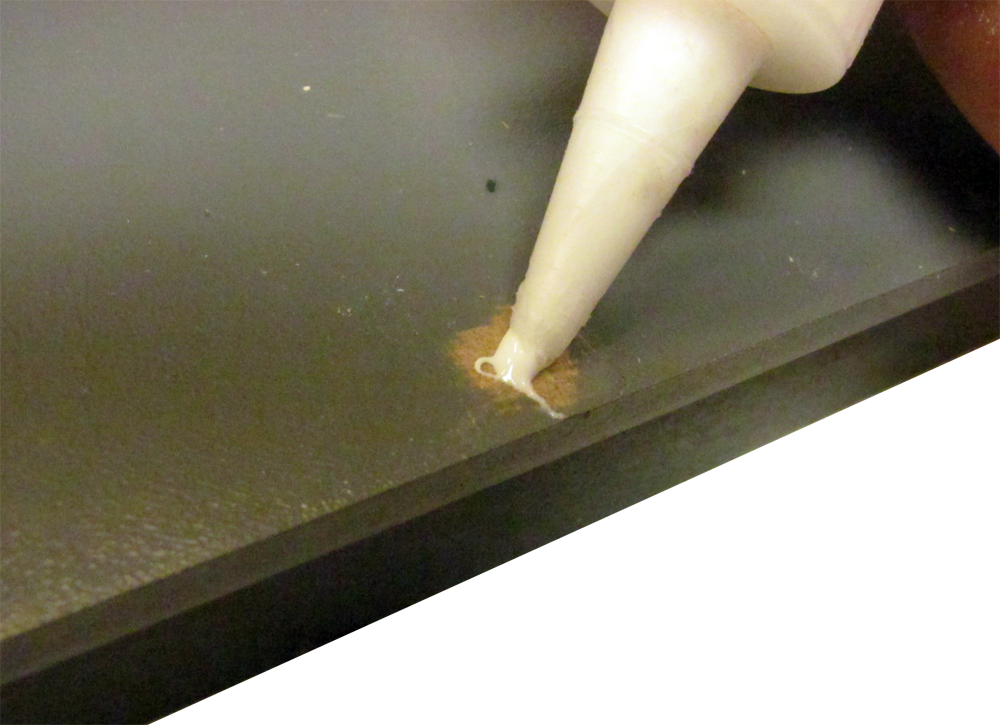
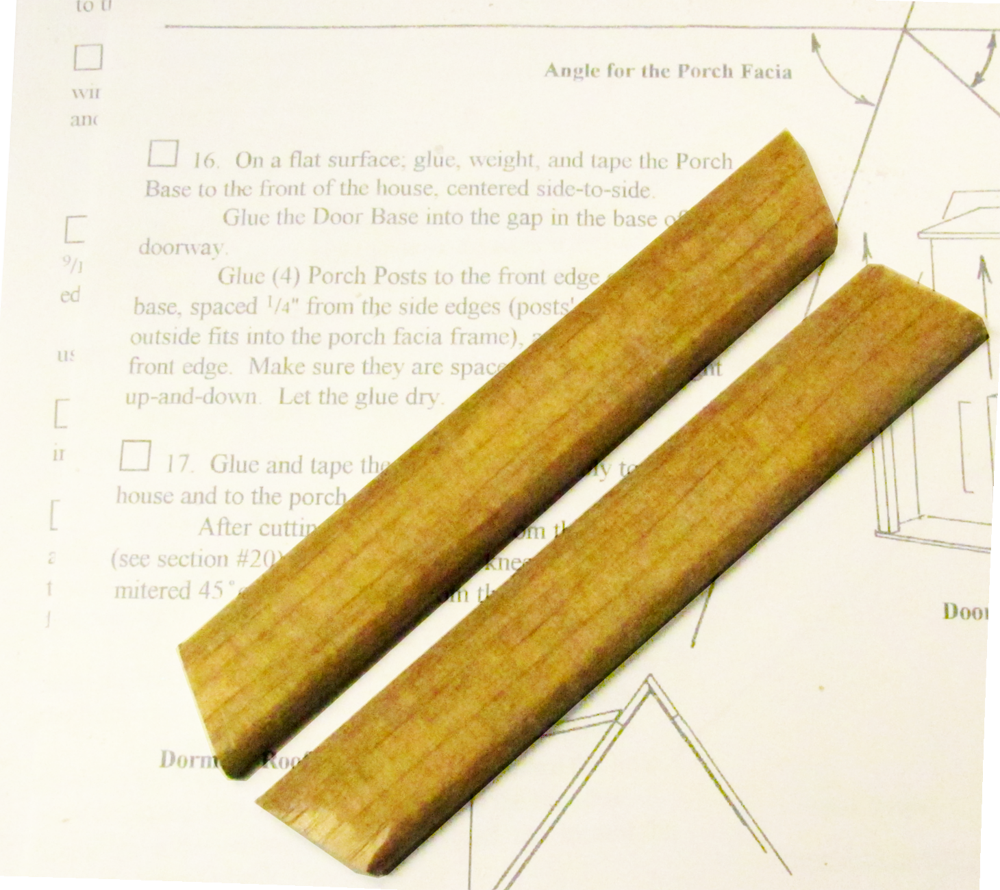
Foundation
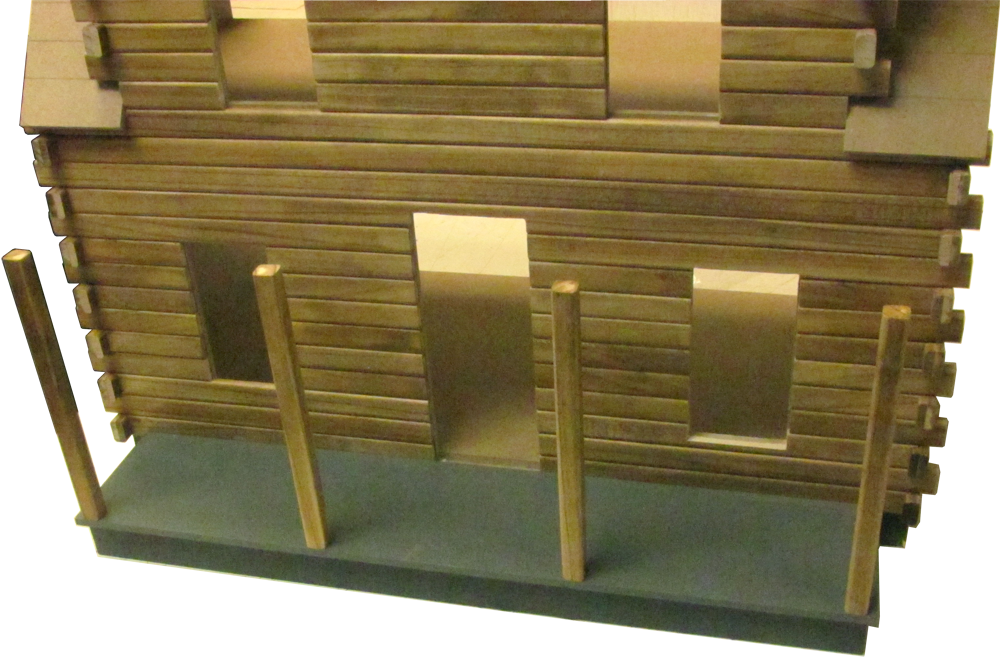
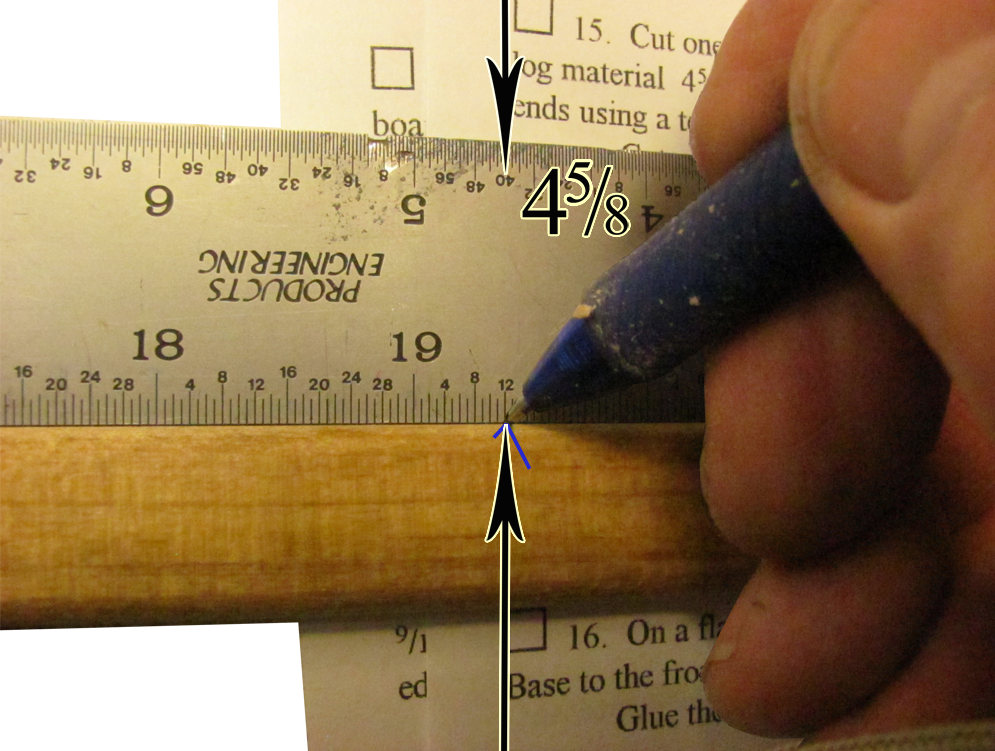
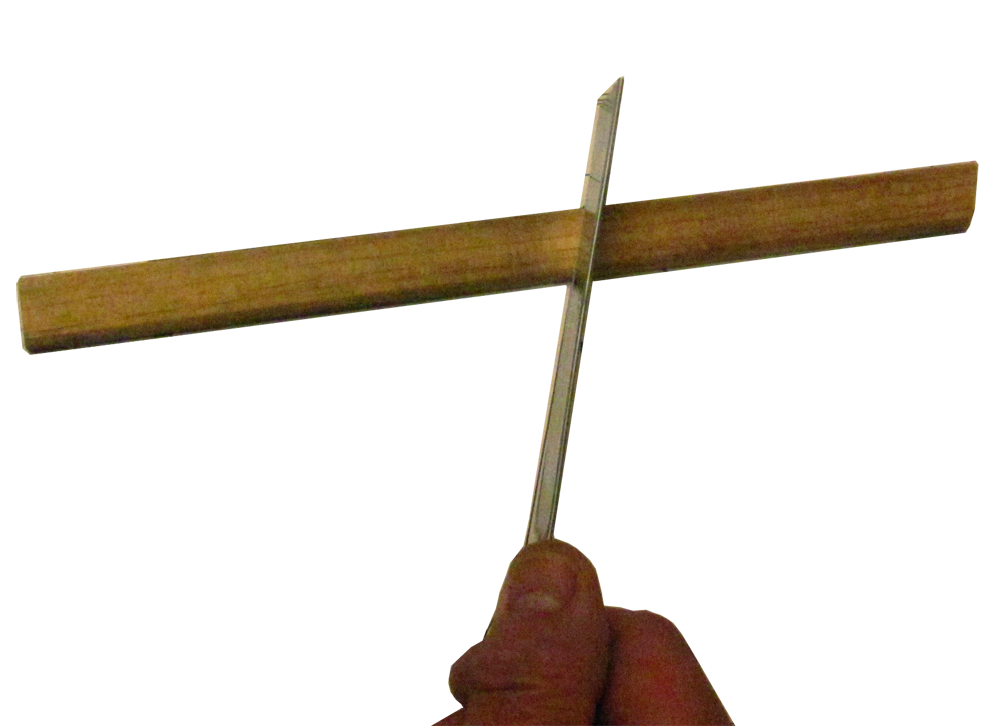
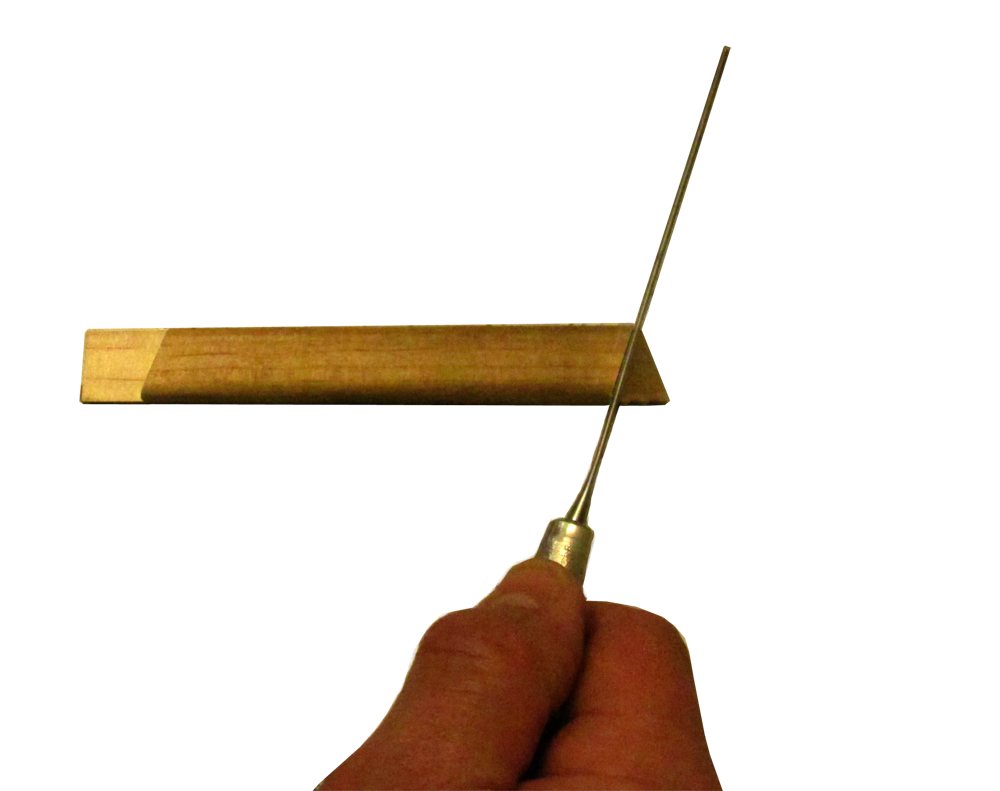
Porch 1 Porch 2
Exterior Finishing
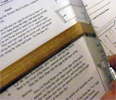
Trim
Windows and Shutters
Interior Finishing
Window Trim and Stairs
![]()
![]()
2024 instructions
![]()


